Pantry shelf depth should fit the largest regular container while keeping its contents visible and reachable. Shelf spacing should fit that container plus the movement needed to take it out. There is no single useful depth for spice jars, bulk food and appliances. Use the worked example below to calculate one shelf from your own measurements.
Images are illustrative design concepts, including AI-generated scenes.
The four measurements behind a useful pantry shelf
Record usable depth, clear height, clear width and the opening available for retrieval. Measure inside the finished cabinet, including hinges, frames and organizer walls. The examples in this guide are chosen fit calculations, not building-code dimensions or accessibility standards.
| Measurement | What it includes | Test it with |
|---|---|---|
| Usable depth | Container plus the chosen handling margins | A full-size cardboard tray |
| Clear height | Tallest item and its removal movement | A raised lid or pump where relevant |
| Clear width | Contents, gaps and organizer sides | The group placed in its normal order |
| Retrieval opening | Door, frame and hinge restrictions | The tray moving out along its actual route |
1. Choose Reach-In Pantry Shelf Depth by Visibility
Start a reach-in pantry with one visible row of the food used most often. Set an empty box at the proposed depth and try scanning its label from the normal standing position. If adding a second row hides half the stock, decide whether a pull-out, riser or a shallower daily-use zone would solve the problem.

Include the cabinet opening and any hinge projection. The depth that holds the most is not necessarily the depth that lets you retrieve daily food easily.
Try this: Mock up a shelf with real containers before ordering joinery.
2. Plan Walk-In Shelves and the Aisle Together
A walk-in pantry has to support movement as well as storage. Draw the shelves with baskets, drawers or appliances in their open and operating positions.
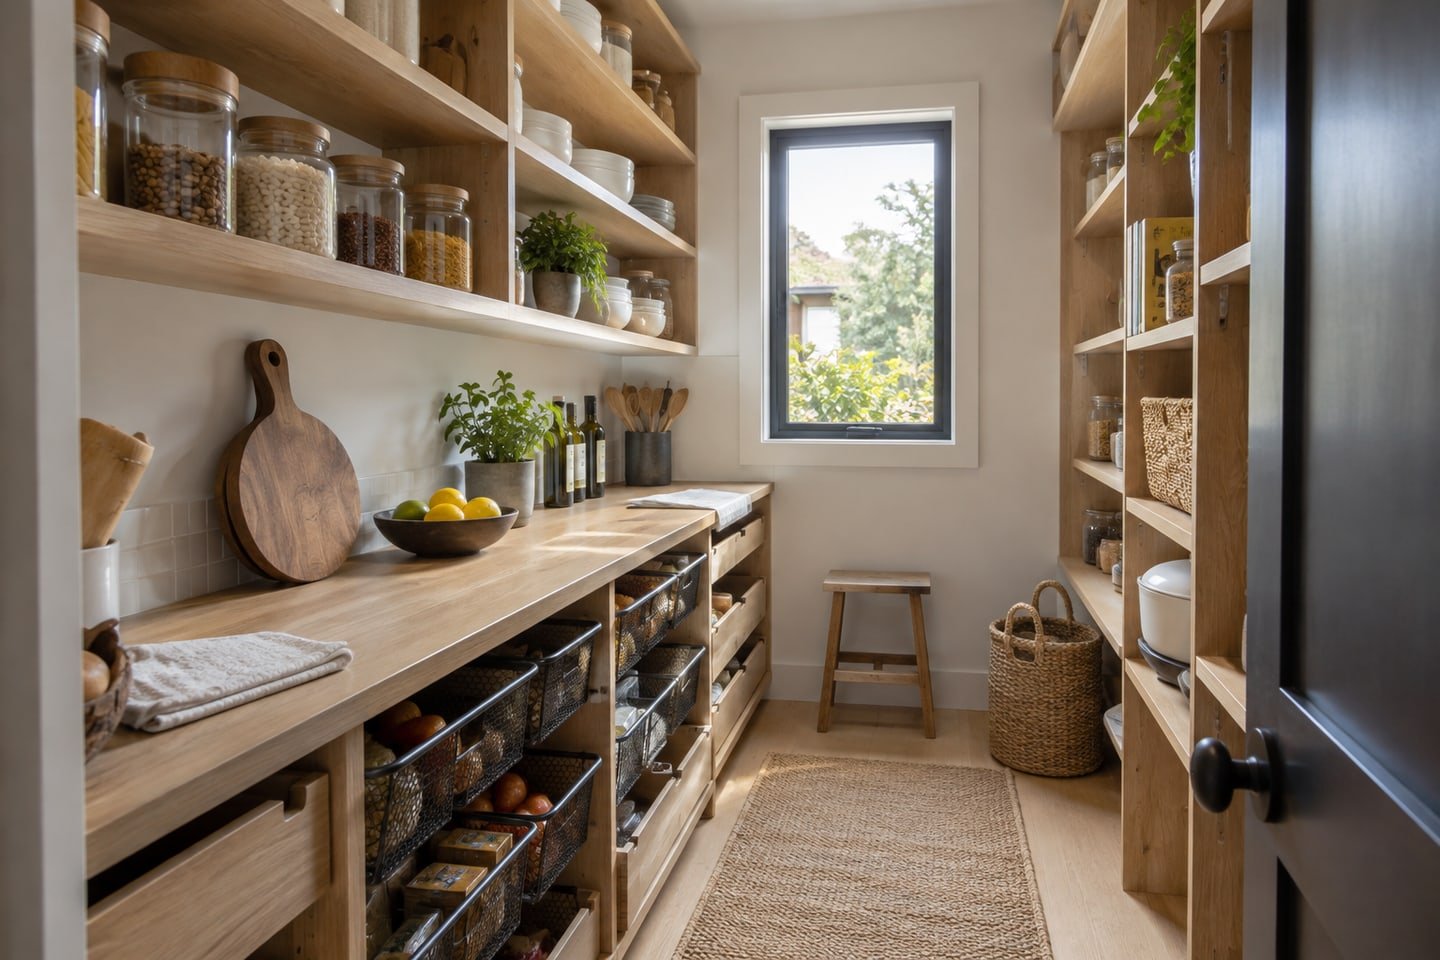
A deeper lower unit may work beside shallower upper shelves. Check the needs of the users and any applicable access requirements rather than assuming all available width should become shelving.
Try this: Measure the route with a loaded basket in your hands.
3. Size Spice Storage for the Actual Jars
A narrow shelf can keep spices in one visible row. Compare the largest jar diameter, label position and space needed to grasp it.
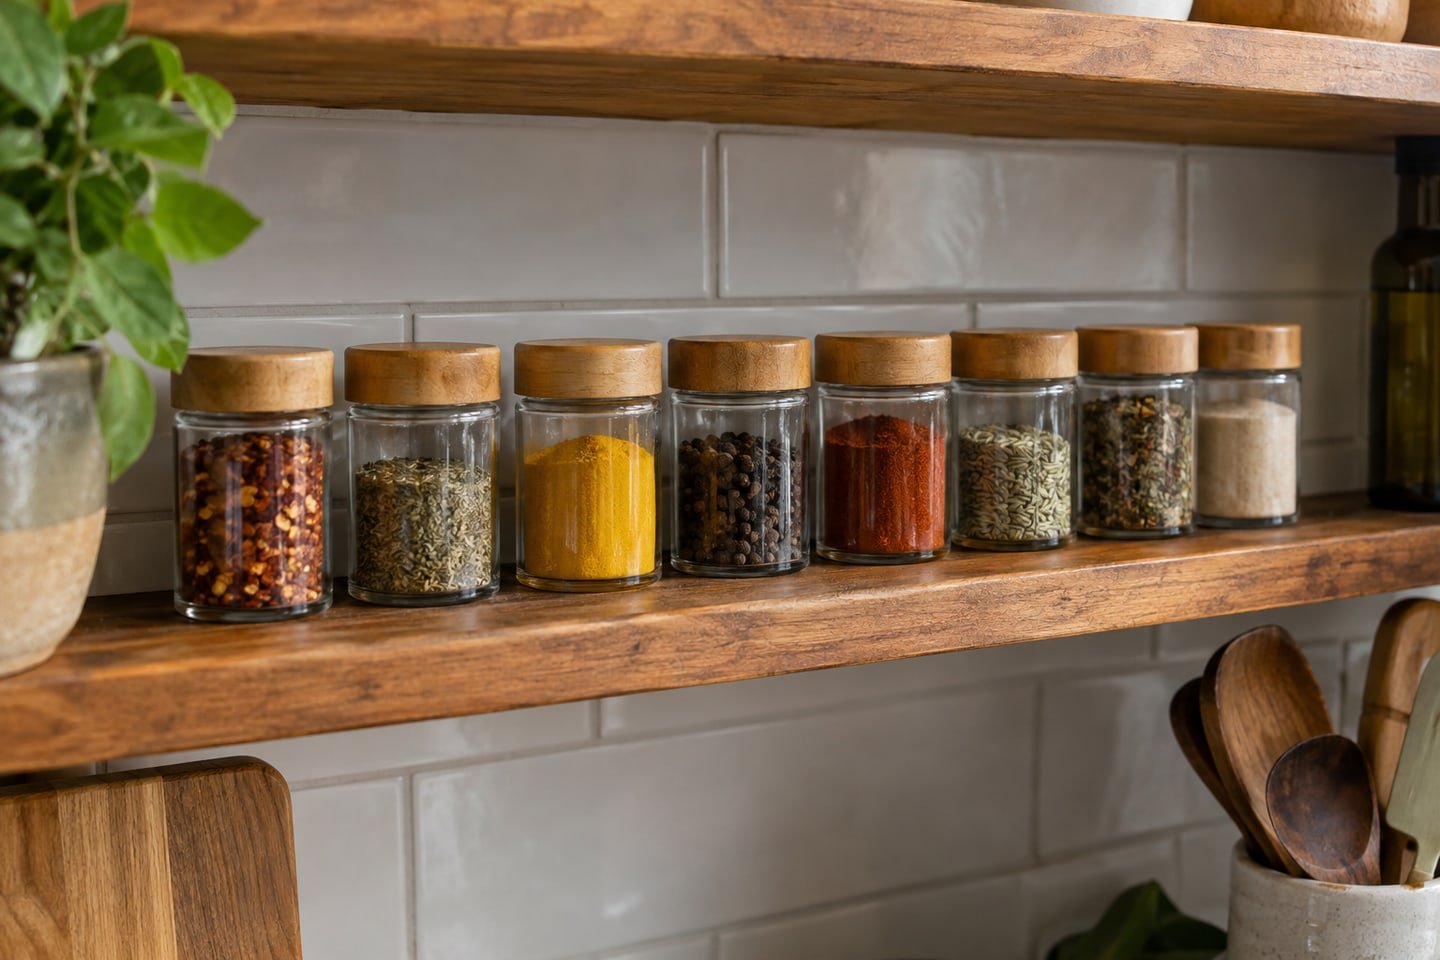
Door racks and wall shelves have different fixing and clearance requirements. Keep the choice away from inappropriate heat or moisture exposure.
Try this: Try your existing jars before buying a uniform new set.
4. Set Shelf Heights by the Tallest Regular Item
Measure the tallest regular container with its actual lid, handle or pump. Then perform the movement used to remove or open it. Write down clear height separately from the distance between shelf surfaces: shelf thickness makes those measurements different, as the worked example below demonstrates.
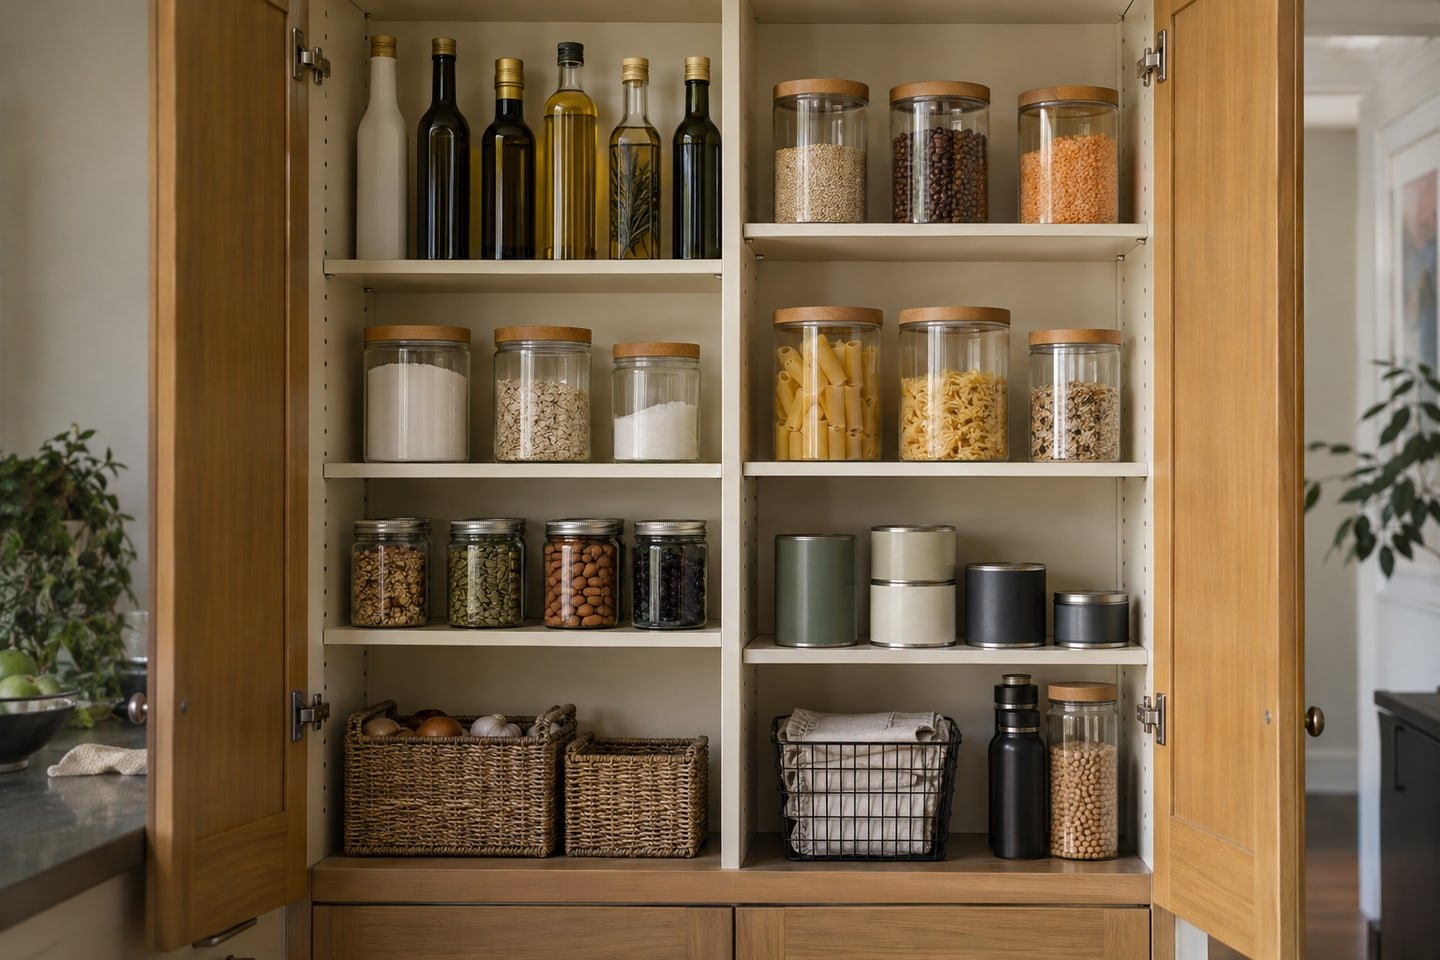
Adjustable shelving can accommodate changing products. A single repeated spacing may waste room above small tins while failing to hold tall bottles.
Try this: Make a simple contents list for each proposed shelf.
5. Put Manageable Bulk Supplies Lower
Divide bulk supplies into a manageable handling arrangement before assigning a low shelf. Check the loaded weight and whether the item can be lifted without an awkward reach. A large sack that fits under a shelf may still be inconvenient; smaller labeled portions can be easier to manage when appropriate for the product.

Check the shelf and fixing load limits, including concentrated loads. More space above a container does not establish that the shelf can support its weight.
Try this: Try lifting the actual package from the planned height.
6. Give the Base Zone a Clear Job
The lowest area may suit removable baskets, a suitable step stool or occasional bulky items. Keep it easy to inspect and clean.

There is no universal starting height for the first shelf. Consider door movement, floor condition, reach and the belongings that need that space.
Try this: Avoid creating a deep floor-level area where items disappear from view.
7. Keep Upper Storage Light and Occasional
Upper shelves can hold lighter items that are not needed during every meal. Use manageable containers that can be identified from below.

Plan a suitable safe way to reach them and follow shelving restraint and installation instructions. Keep frequently used and heavy contents within an easier range.
Try this: Do not rely on standing on a chair or pantry shelf.
8. Test the Central Route With Storage in Use
Open the drawers and door organizers before evaluating a pantry aisle. Consider turning, carrying supplies and whether another person will use the area at the same time.

Where accessibility is required, use the applicable design guidance and appropriate assessment. A clear-looking aisle in a photograph does not prove compliance.
Try this: Mock up the narrowest turning point before adding deeper shelves.
9. Give Deep Pantry Shelf Depth an Access Strategy
Give every deep shelf a retrieval method. Put an occasional item at the back only if moving the front group remains reasonable, or use a compatible pull-out with a visible list of contents. Deep space becomes wasteful when its stock is forgotten and bought again.
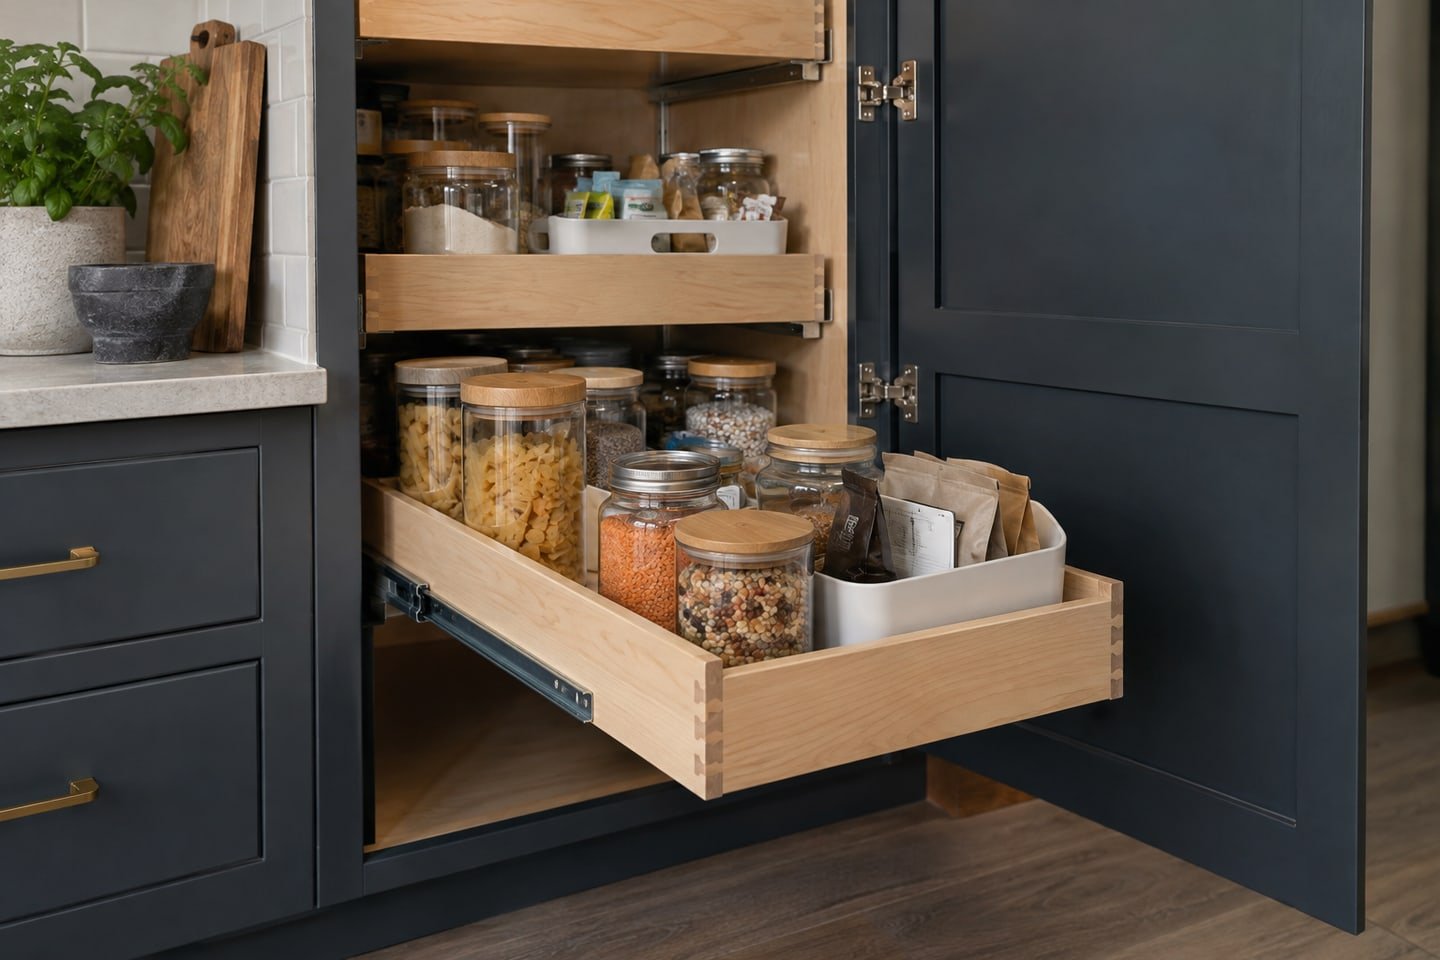
Compare the organizer’s own footprint and the space needed to lift it out. Do not add more containers if they simply hide another back row.
Try this: Keep one category per removable tray where practical.
10. Choose a Turntable for Compatible Containers
A turntable can make a corner easier to use when jars fit securely and remain visible. Check the diameter, usable edge and door opening.
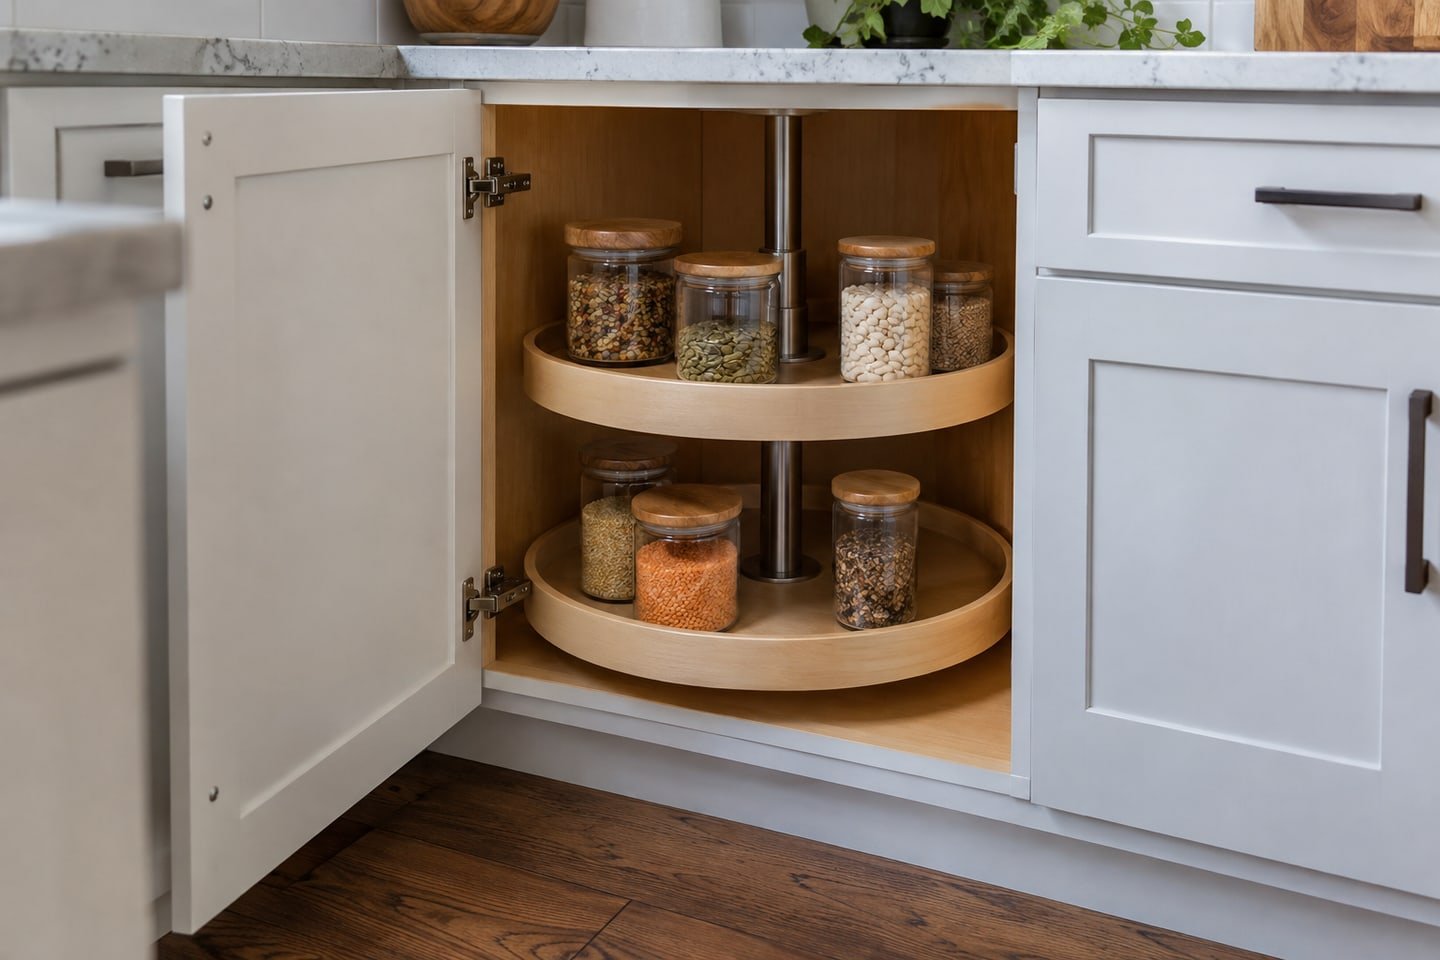
Tall bottles and crowded tiers may be awkward even when the tray rotates. Follow the load information and keep frequently used items at the most reachable level.
Try this: Load a sample arrangement before buying several trays.
11. Compare Pull-Outs With Fixed Shelves
Compare a fixed shelf and a pull-out using the same actual contents. Include the tray’s side walls, runners, load rating and opening requirements in the comparison. Test the open pull-out against the aisle and opposite storage, rather than treating its internal depth as the only useful measurement.
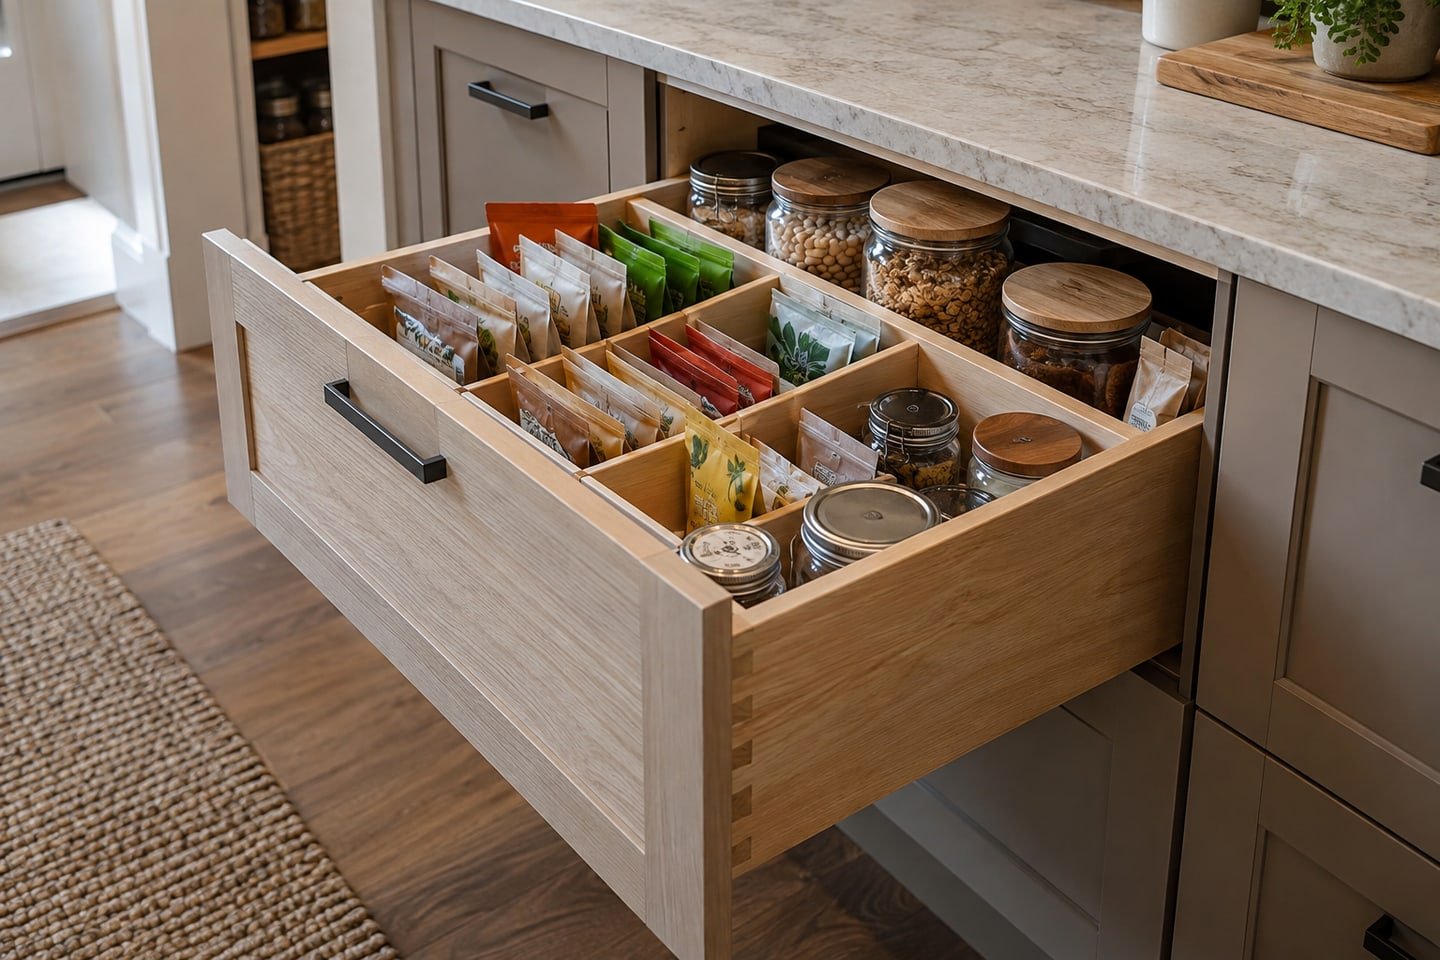
Check the rated load and whether a retrofit is appropriate for the cabinet. A deep fixed shelf with a simple removable basket may be sufficient for occasional contents.
Try this: Choose the mechanism after identifying the access problem.
12. Check Door Storage Against Shelf Clearance
A slim organizer can use a pantry door for spices or small packets. Include the organizer’s full depth and its contents when testing the door closed.
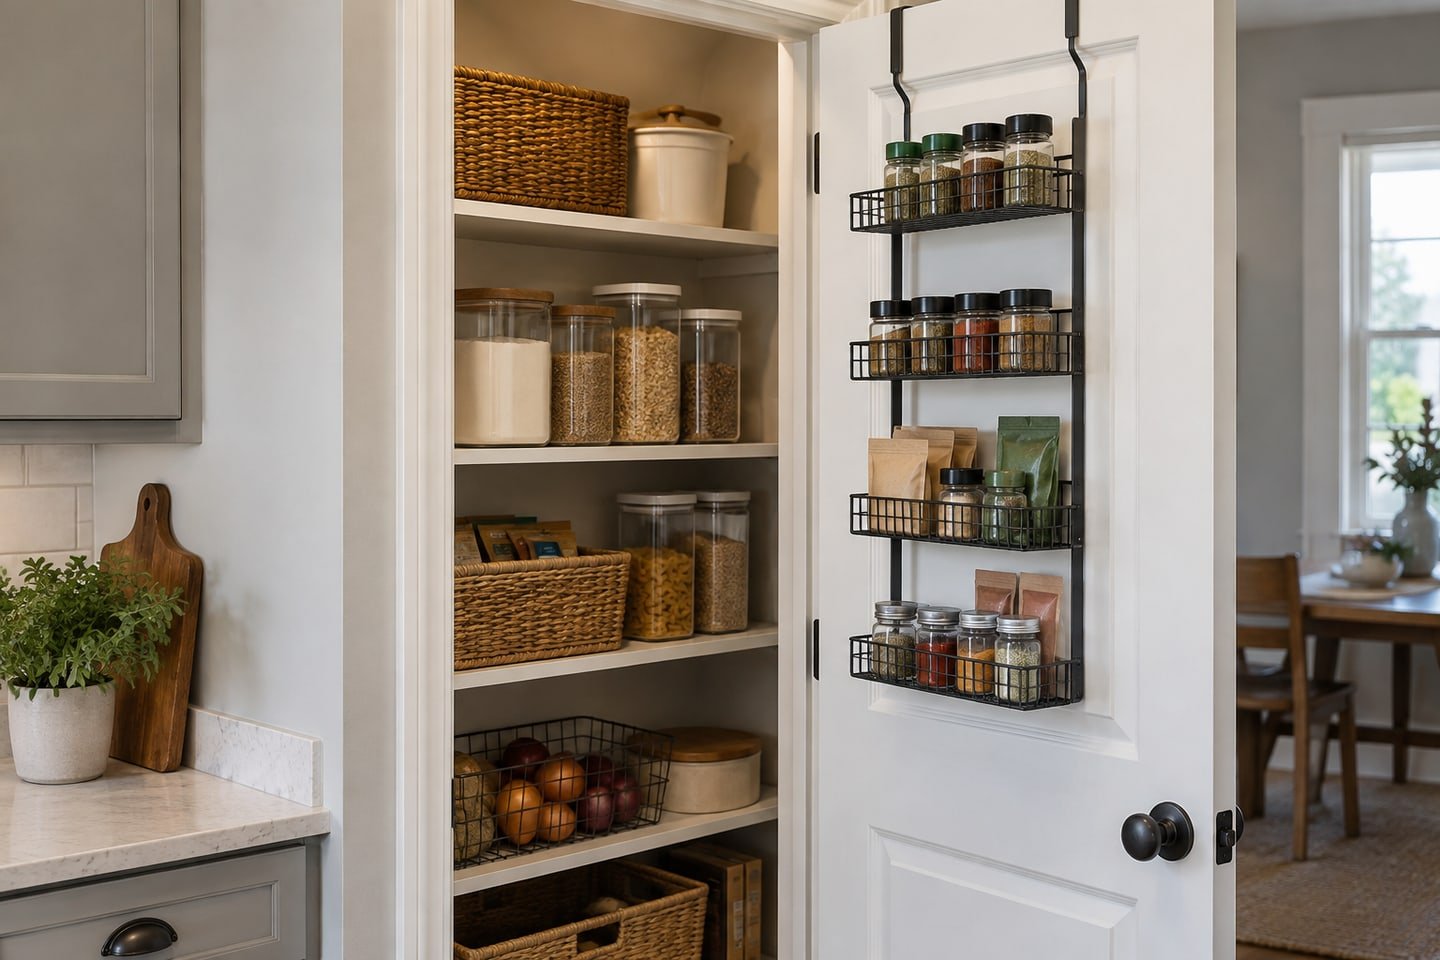
Follow attachment and load instructions and check hinges, handles and neighboring shelves. Do not assume an empty rack fits once bottles are added.
Try this: Test one loaded section before filling the entire door.
13. Review Pantry Shelf Depth During Daily Use
After a normal shopping cycle, check what accumulated at the front and what was never seen at the back. Adjust the locations before adding another organizer. Keep food labels and storage instructions available; a matching decanted container should not remove the information needed to use the product properly.

Review expiry dates and follow food storage instructions. A tidy appearance should not hide forgotten food behind a uniform wall of containers.
Try this: Adjust one difficult shelf before rebuilding the whole pantry.
Pantry depth and spacing: a worked measurement worksheet
Depth example: assume a daily food container measures 8 in from front to back. If your mock-up uses a 1 in margin behind it and a 1 in handling margin at the front, one visible row needs 8 + 1 + 1 = 10 in of usable depth. Two 8 in rows would need 18 in with those same outer margins and no gap between rows, but the rear row would be hidden. These margins are chosen example inputs, not prescribed tolerances.
Spacing example: if the tallest container is 11 in high and your actual removal test uses 2 in above it, the clear opening is 13 in. With an assumed 0.75 in shelf above, repeating that arrangement requires a 13.75 in vertical module. Clear opening and shelf-to-shelf module are different measurements. Change the handling allowance if a pump, lid or hand movement needs more space.
Width example: four 4 in-wide jars occupy 16 in before gaps or an organizer’s side walls. A cabinet described as 18 in wide may have less than 18 in of clear space inside. Measure that opening, then load a cardboard tray at the proposed size and try taking it out. Check the rated load and fixing requirements separately from these fit calculations.
Copy these worksheet fields for each shelf: contents; largest object size; number of rows; usable depth; clear height; shelf thickness; clear opening; loaded weight; and retrieval-test result. Begin with one troublesome shelf, not a complete joinery order. If permanent shelving is not an option, compare the pantry organization ideas without drilling using the same measurements.
Choose the Depth Through Contents and Retrieval
Begin with the containers and the user’s reach, then decide on depth and spacing. A pantry is successful when food is easy to see, retrieve and return, with suitable support and a clear route through the space.
A pantry restocking routine that keeps the measurements useful
Choose one shelf for a first trial and give it a specific group, such as everyday breakfast ingredients. Record the items and their usual quantities before purchasing containers. Leave a visible place for an opened pack and a separate place for any backup, rather than stacking every duplicate into the same daily-use row.
When putting shopping away, bring existing stock forward, check packages and review the storage directions. Keep household cleaners separate from food, as the FDA’s food-storage guidance advises. Follow the product label when opening a package changes its storage requirements; a pantry design cannot make a refrigerated product shelf-stable.
After two ordinary restocks, revise the shelf’s job if the contents consistently outgrow it. Measure any new container with the same depth-and-retrieval worksheet above. This turns the drawing into a repeatable decision rather than a one-time fit based on a tidy empty pantry.
Does a deeper pantry always provide better storage?
It increases potential capacity but can reduce visibility and access. Compare the usable stock you can see and retrieve, with and without an organizer, instead of comparing depth alone.
Should every pantry shelf have equal spacing?
Different groups can need different clear heights. Plan around regular contents and allow for the shelf thickness and the removal movement; adjustable shelves can help when the product and mounting system permit them.
For supplies stored outside the pantry, use the wall-storage selection checklist to assign a system to the task.
References: FDA: food-storage directions and keeping food away from chemicals.
Related Guides
- 20 Small Pantry Organization Ideas Without Drilling
- 14 Stunning Pantry Organization Ideas for a Beautiful Kitchen
- 12 Kitchen Layout Ideas for Better Everyday Workflow
Pantry Food Information Reference
Retain food labels and storage information when arranging jars and containers, and follow the directions for the actual supplies. FDA: storing food safely.
Optional digital guide for this topic
If you prefer a structured workbook, explore this related paid guide.