A useful closet measurement starts with the clothing and accessories that need a home. Record the usable wardrobe dimensions and the space required for doors, drawers and ordinary standing access.
These references illustrate possible arrangements rather than universal rail heights or shelf capacities. Follow the actual storage-product guidance and obtain appropriate advice for support and installation.
Images are illustrative design concepts, including AI-generated replacement images. They are not installation drawings.
Keep a Closet Measurement Sheet by Clothing Category
Record the longest hanging garment, largest folded group and most awkward shoe pair before choosing a repeated storage module. Next, test one proposed bay with the belongings and the person who will retrieve them. For example, a double rail may serve short garments while another full-height section remains necessary for a coat. Keep loaded support information alongside the dimensions so a successful fit is not mistaken for a verified load capacity.
Work Through One Long-Garment Bay
Suppose a retained coat measures 46 in from the top of its hanger hook to the hem. Choosing an illustrative 2 in margin below it gives a 48 in rail-to-shelf allowance. That is a fit example, not a prescribed rail height: test lifting the hanger off the rail separately, account for the shelf above it, and choose a position the actual user can reach. Record support and load limits independently from the garment measurement.
1. Compare One Hanging Rail With Two
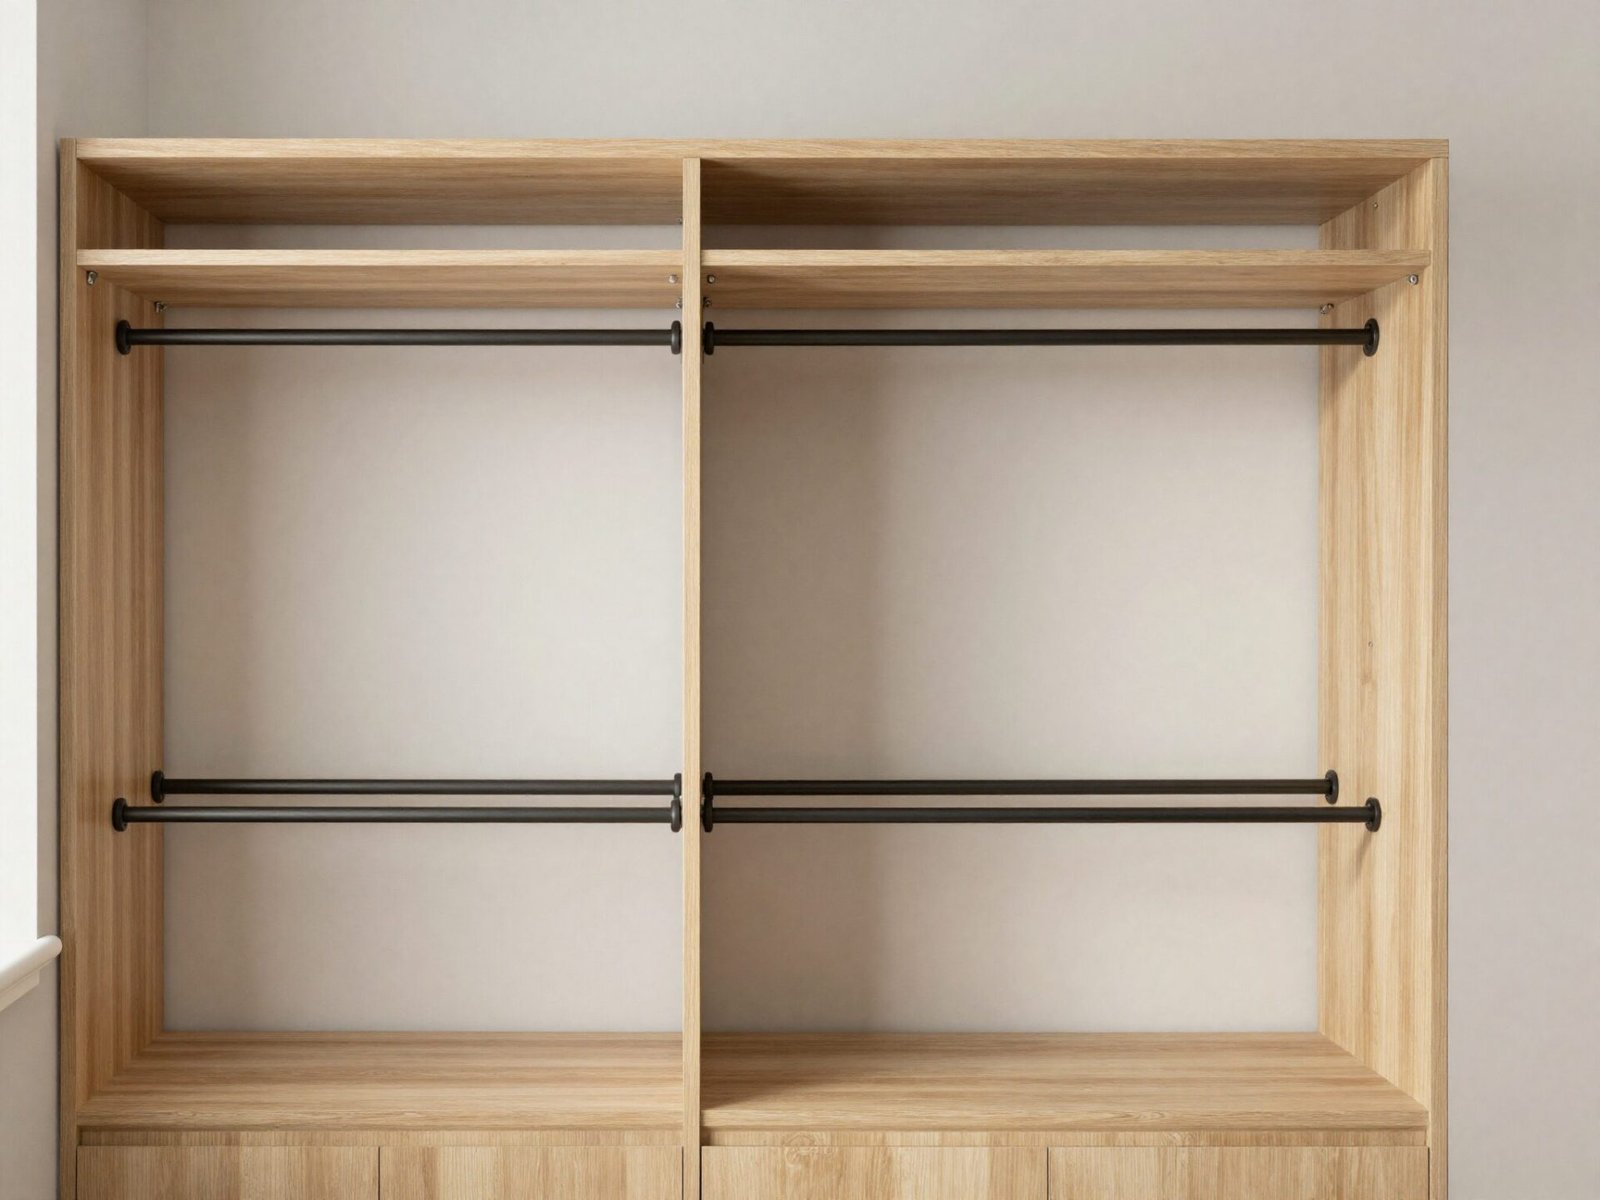
A double-rail arrangement can separate shorter garments where its dimensions and support fit. Keep a single full-height section where longer clothing needs it. Compare the actual garments instead of dividing every wardrobe into equal compartments.
Try this: Sort by garment length before choosing the arrangement.
2. Measure the Single-Rail Bay
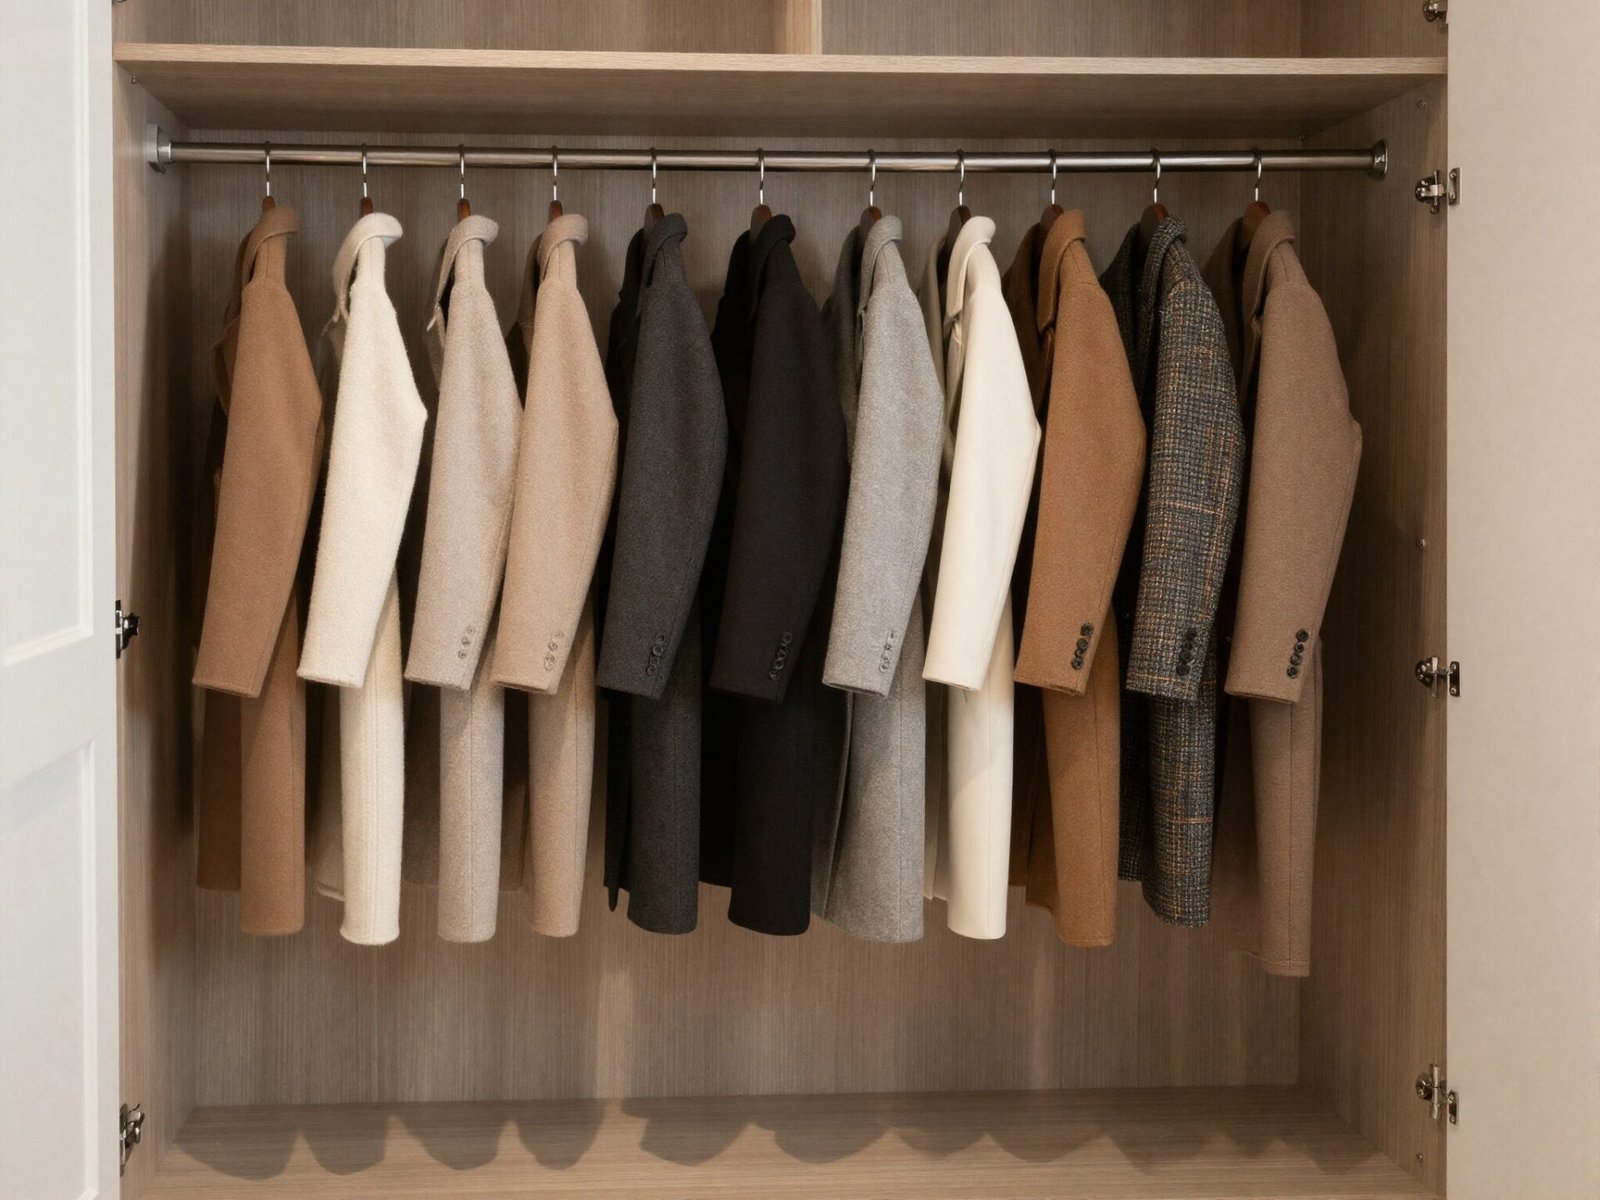
Measure the actual hanging garments and how they are removed and returned. Include the hanger and the space above the rail rather than applying one standard height to every wardrobe. Check that the intended users can reach the storage practically.
Try this: Test a few ordinary garments in the proposed position.
3. Test Both Levels of a Double-Rail System
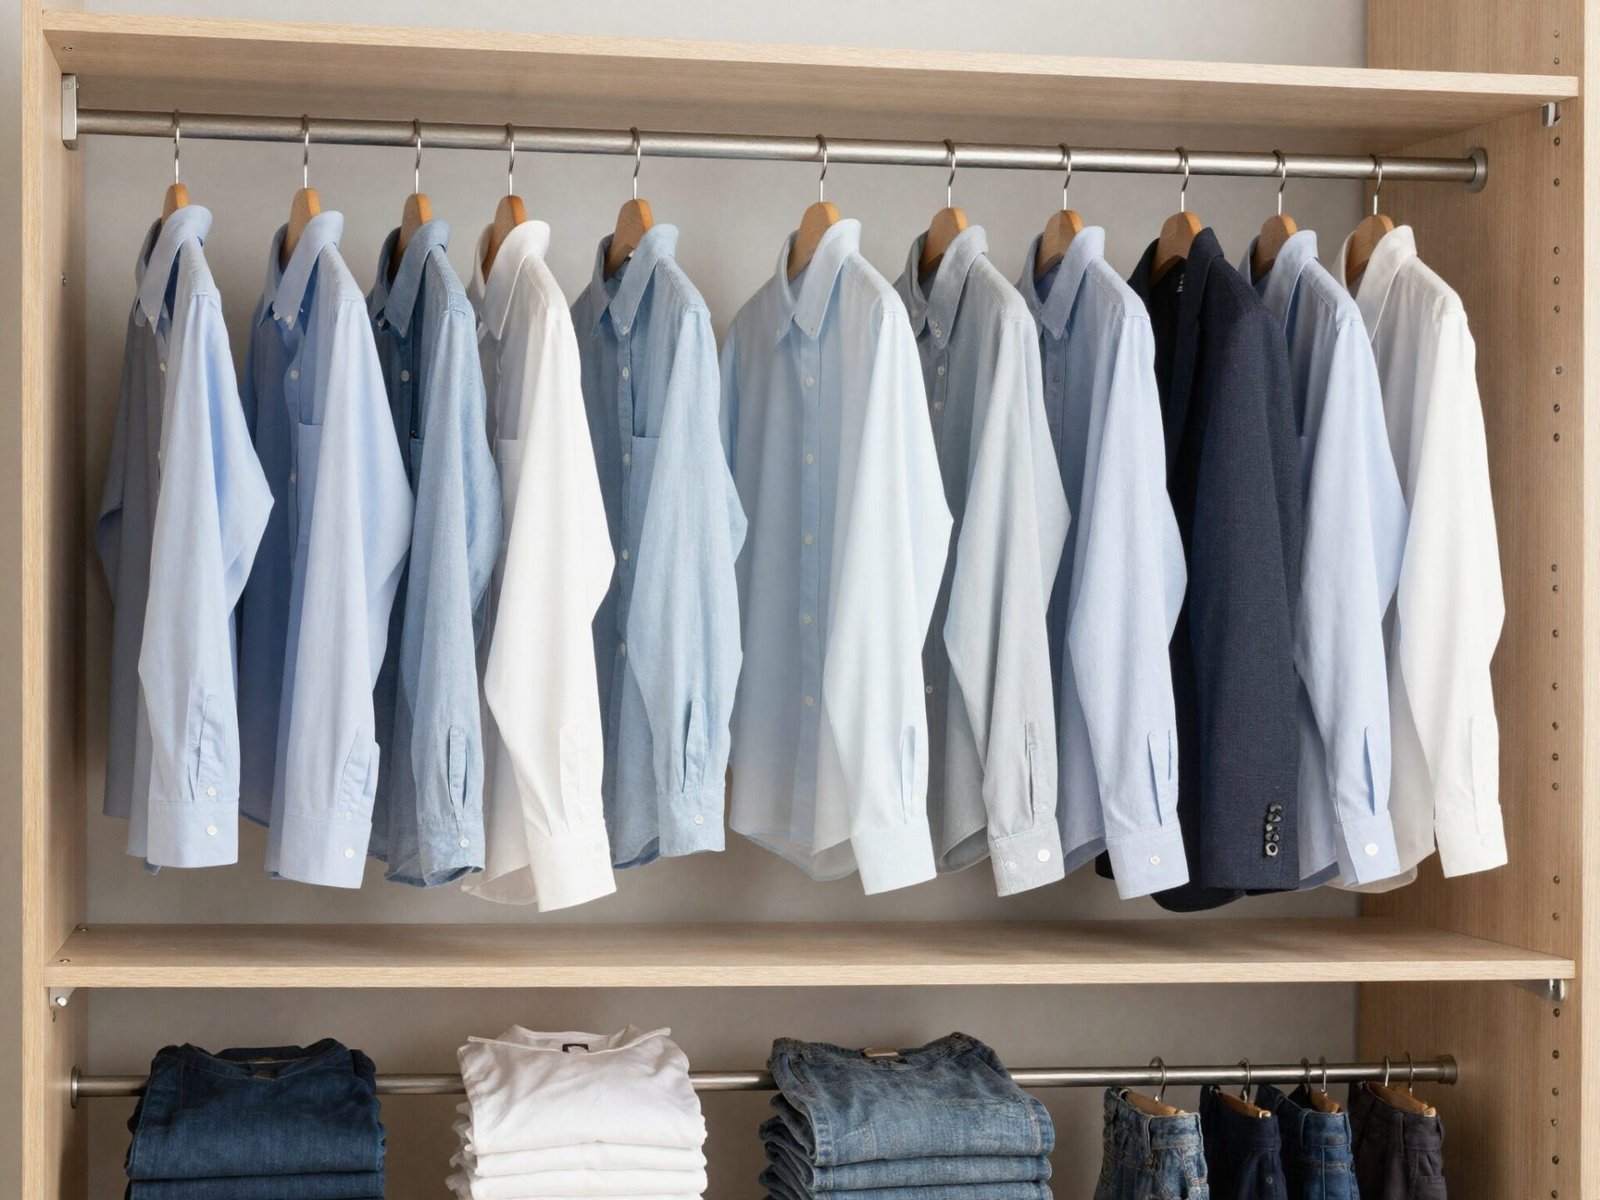
Compare the usable space above and below each rail with the actual clothes. Leave room to lift hangers off without catching another shelf or clothing group. Follow the actual system support and load guidance.
Try this: Use the shorter garments to test the lower section.
4. Leave Room to Remove the Hangers
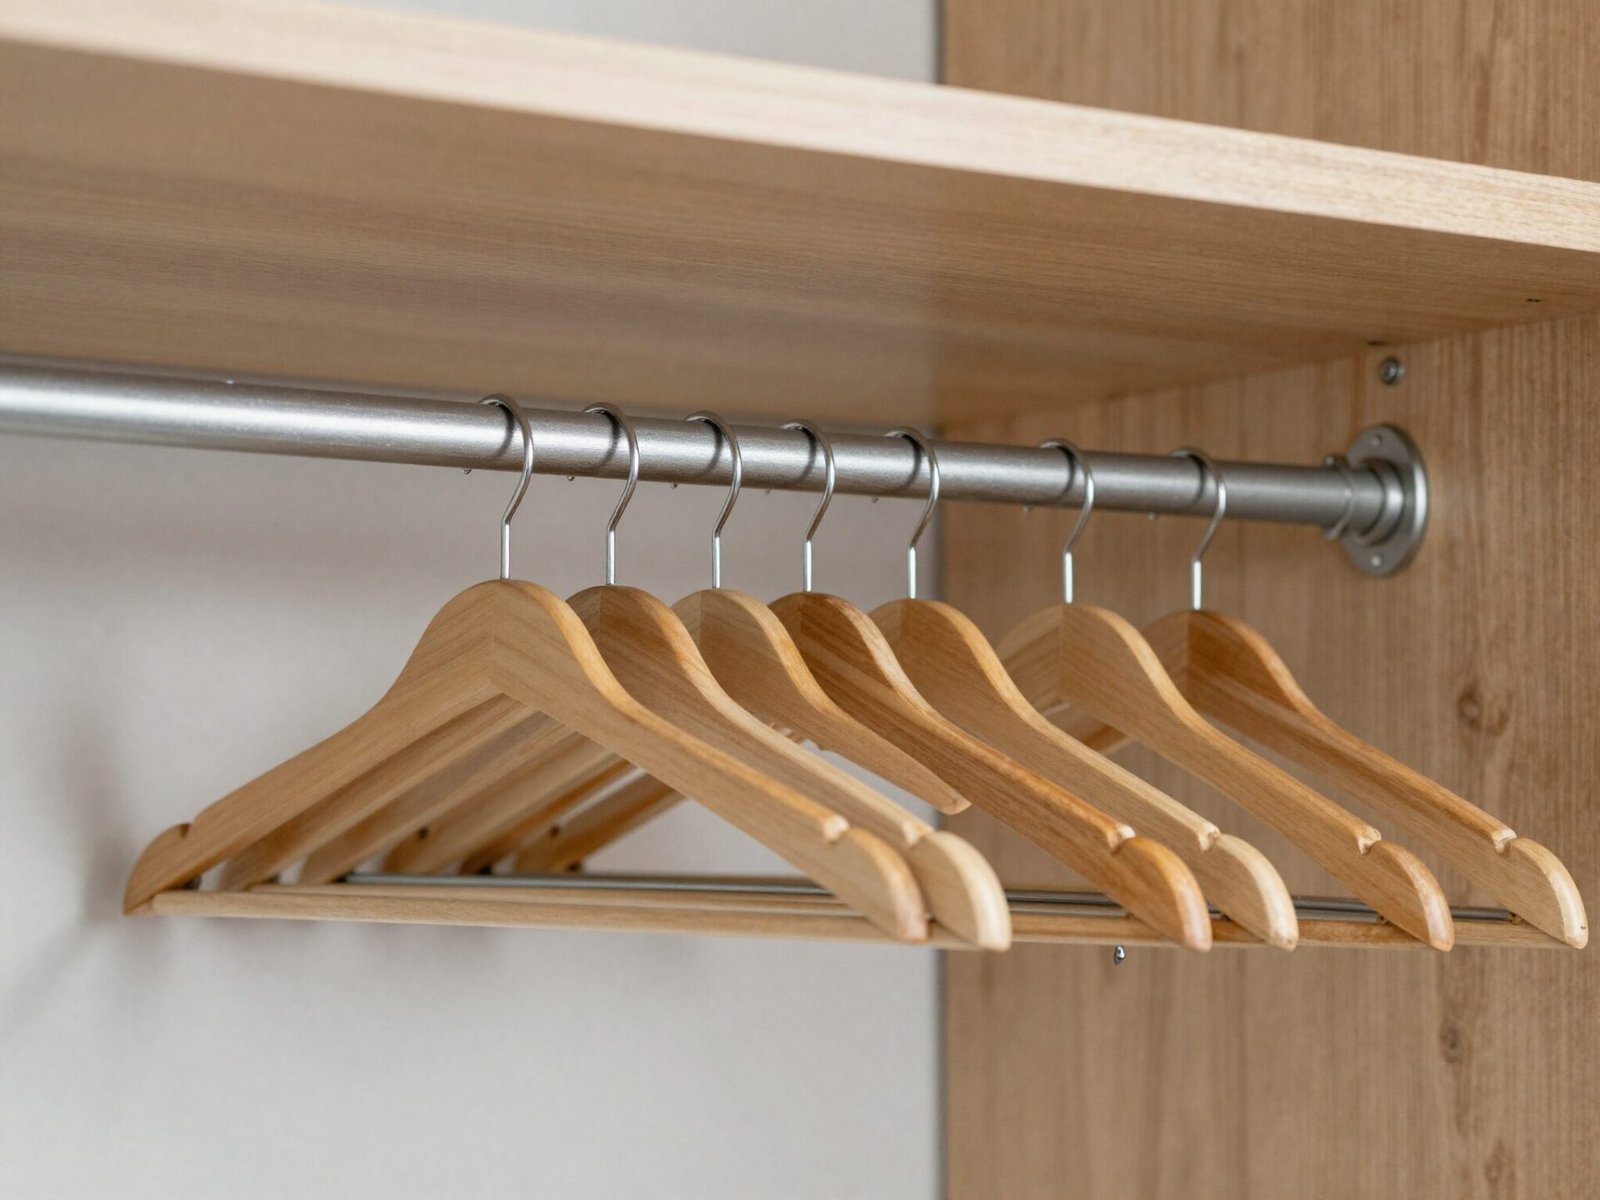
A shelf above a rail affects how the hanger is lifted and turned. Compare the actual hanger shape, rail and shelf rather than relying on a universal gap. Keep the full motion practical for the user.
Try this: Test the movement before fixing the final shelf position.
5. Measure Folded Clothing Groups
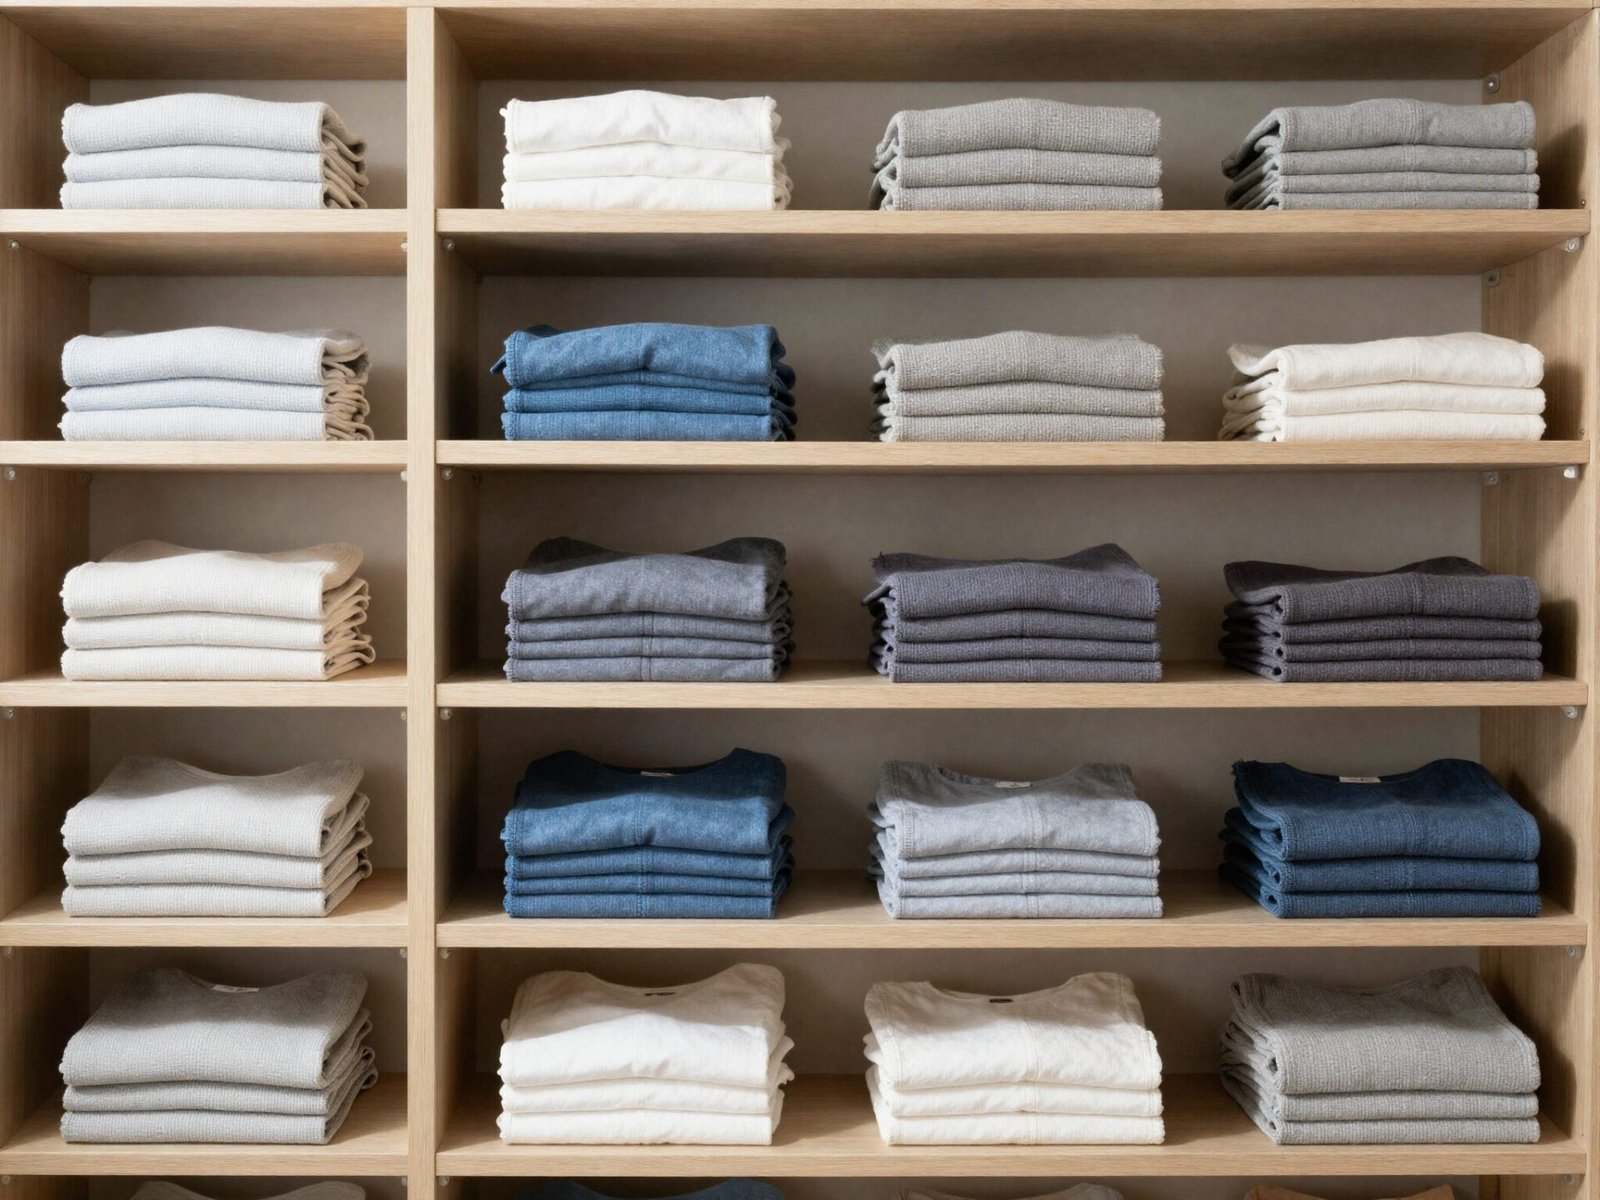
Measure the folded clothing and leave enough room to lift out one item. Shorter manageable stacks can be easier to use than filling the full height. Choose shelf spacing from the actual categories and support guidance.
Try this: Try one shelf group before repeating the arrangement.
6. Choose Shoe Shelves for the Actual Pairs
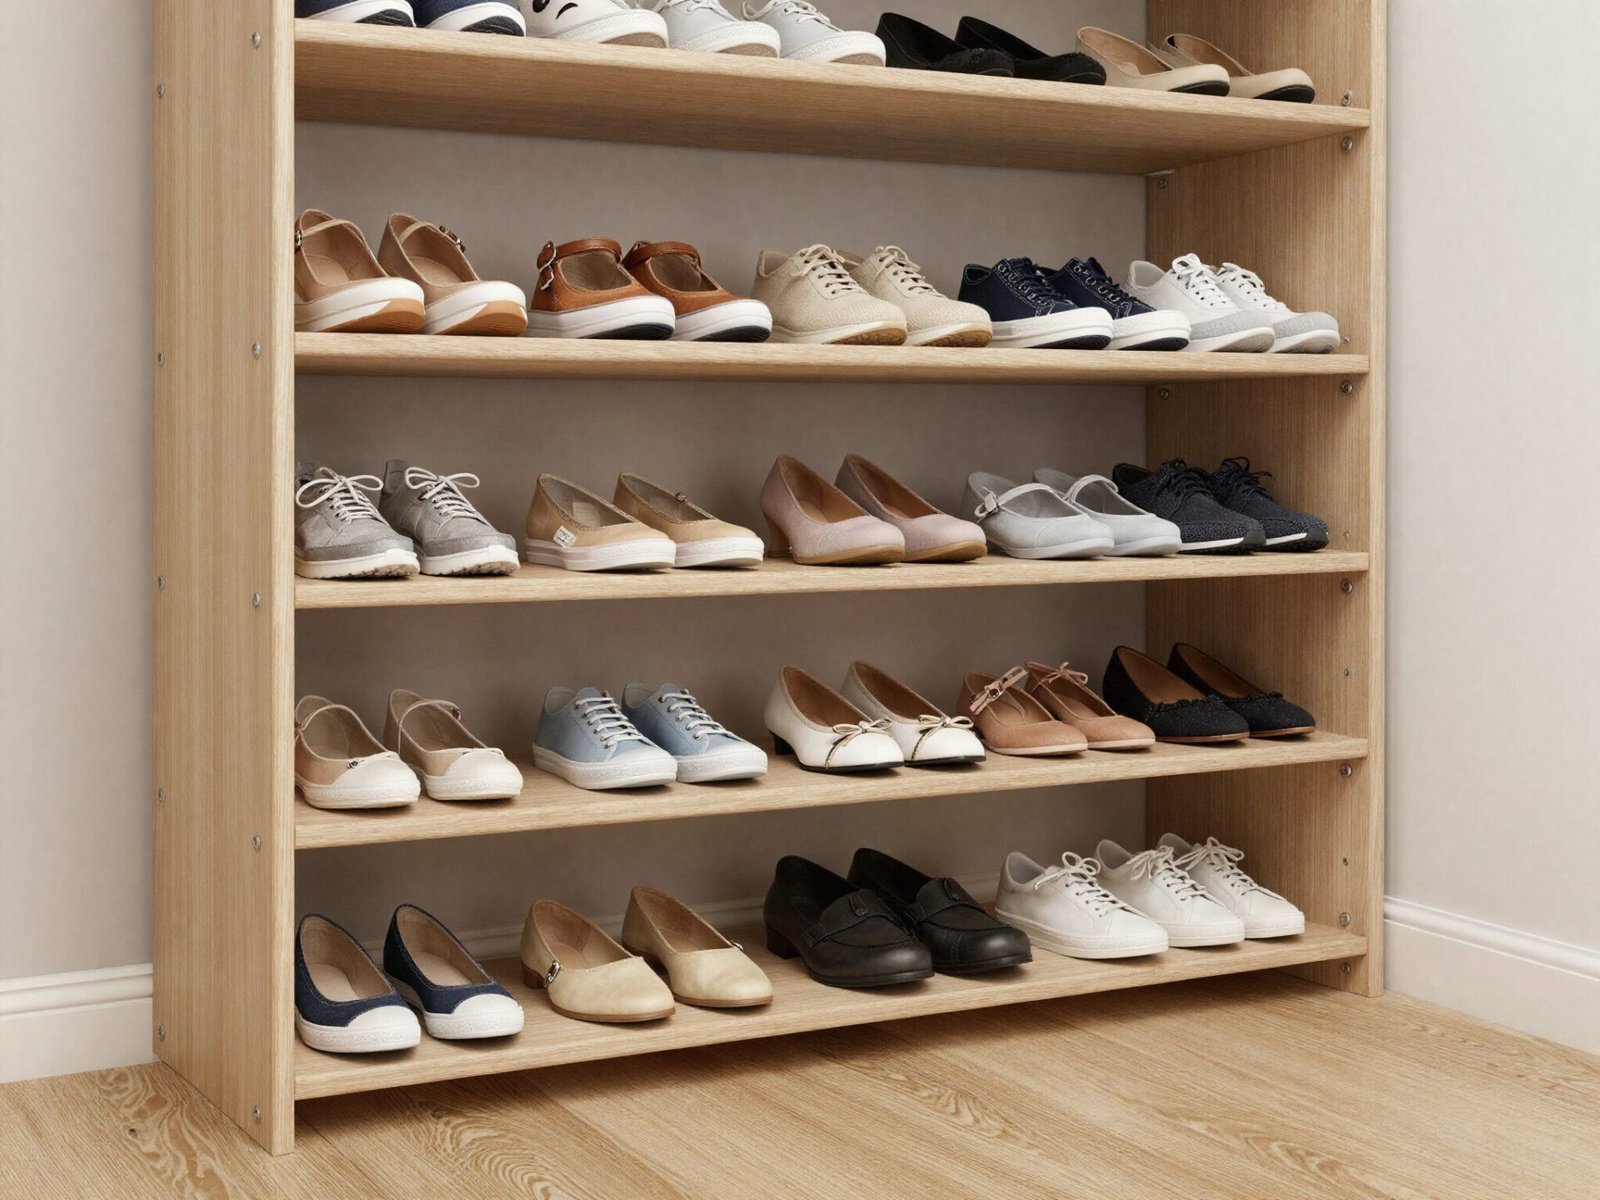
Compare shoe length, height and the space needed to remove a pair. Different categories can need different storage positions. Test the tallest retained pair and the movement needed to grasp and return it before repeating a shelf interval.
Try this: Plan the frequently worn pairs first.
7. Check Hanging Depth With the Door Closed
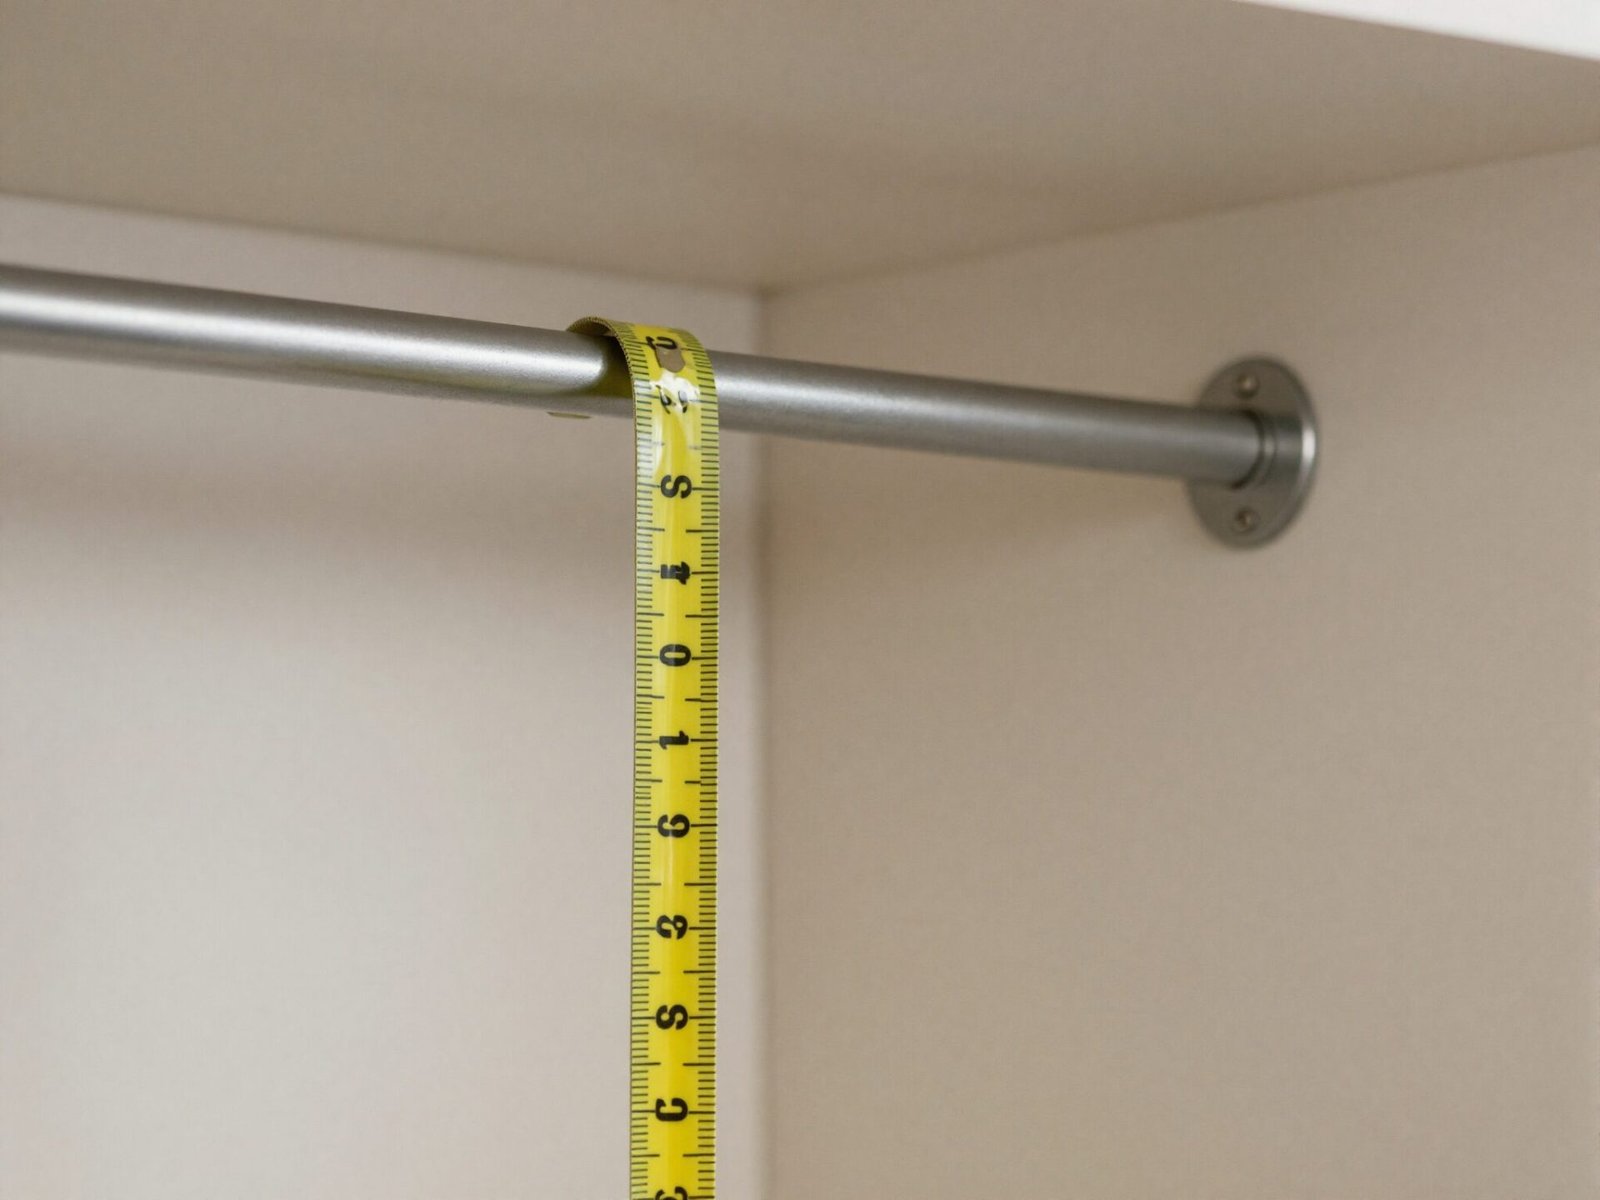
Measure the actual hangers, garment shoulders and door movement. A rail position that looks appropriate in a photo can still leave clothing brushing against the back or front. Use the system and wardrobe dimensions together.
Try this: Test the doors with a normal garment hanging inside.
8. Measure Long Garments on Their Hangers
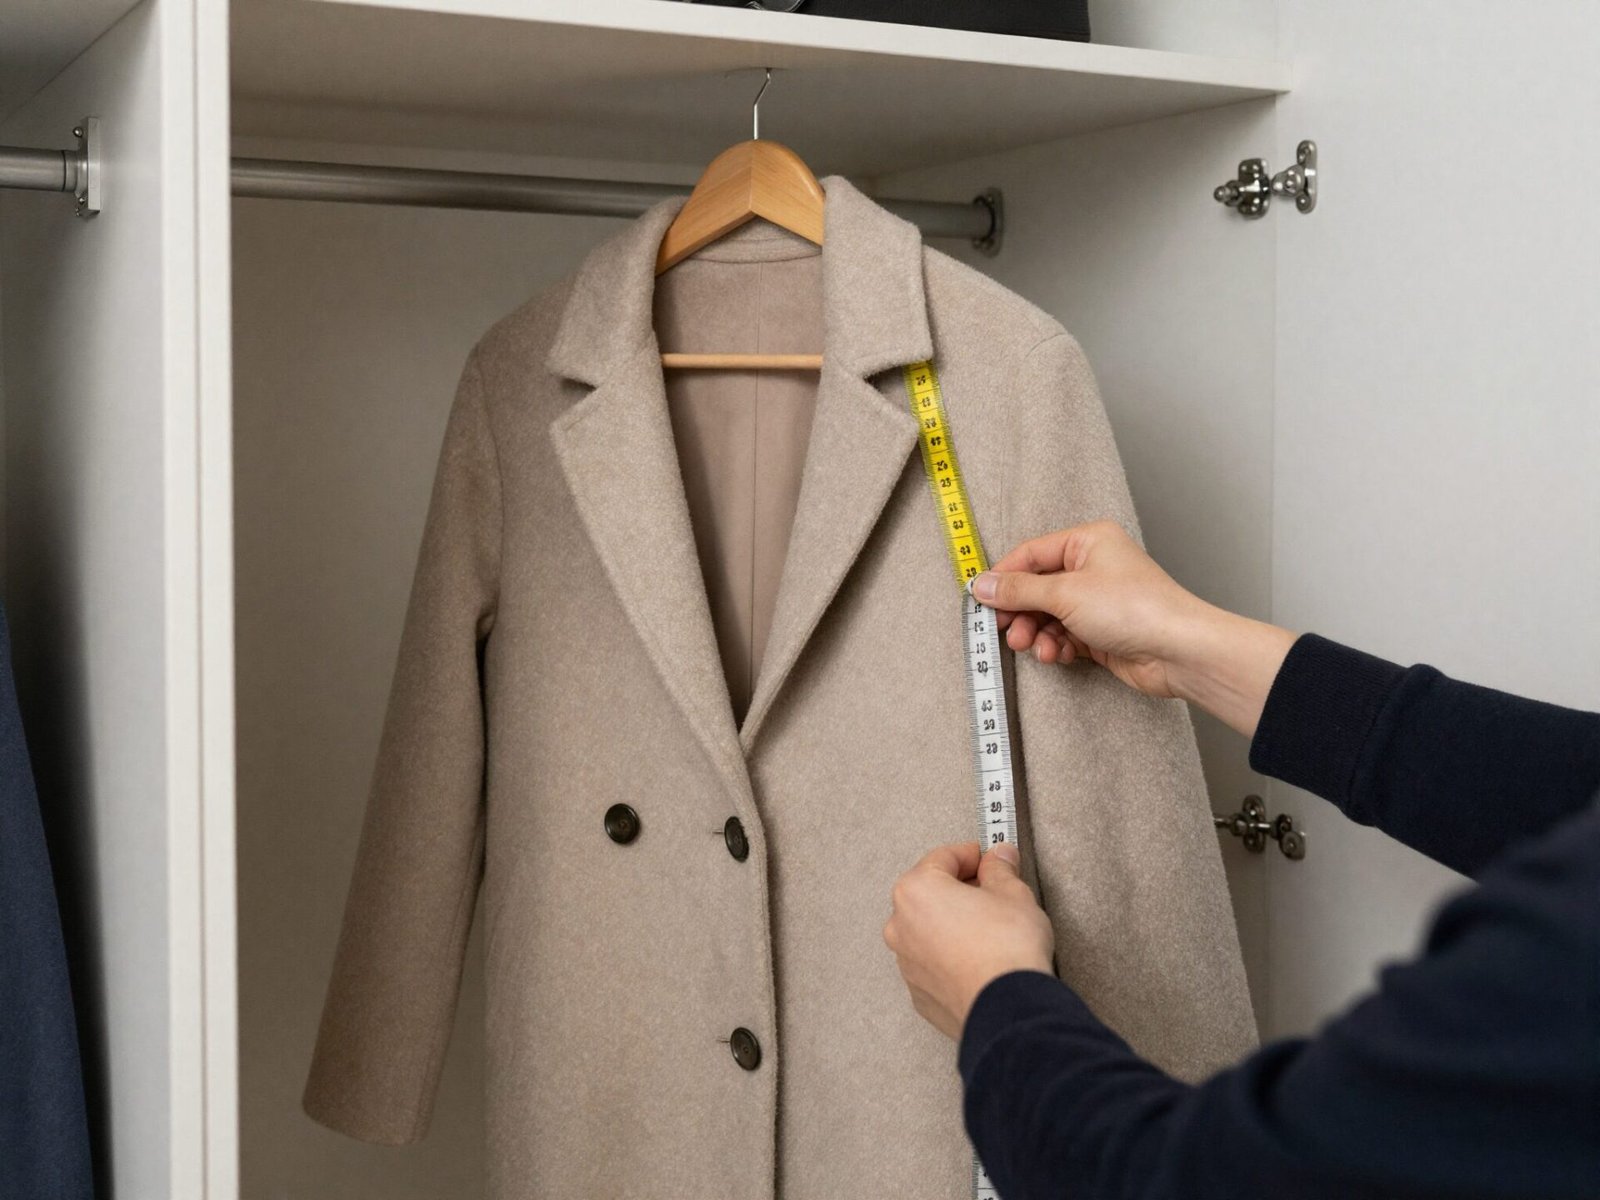
Use the longest retained clothing as one reference for the full-height section. Include the actual hanger and any shelf or drawer below. Keep access practical rather than allocating space solely from a generic clothing category.
Try this: Check the garment in its normal hanging position.
9. Use Upper Storage for Manageable Occasional Items
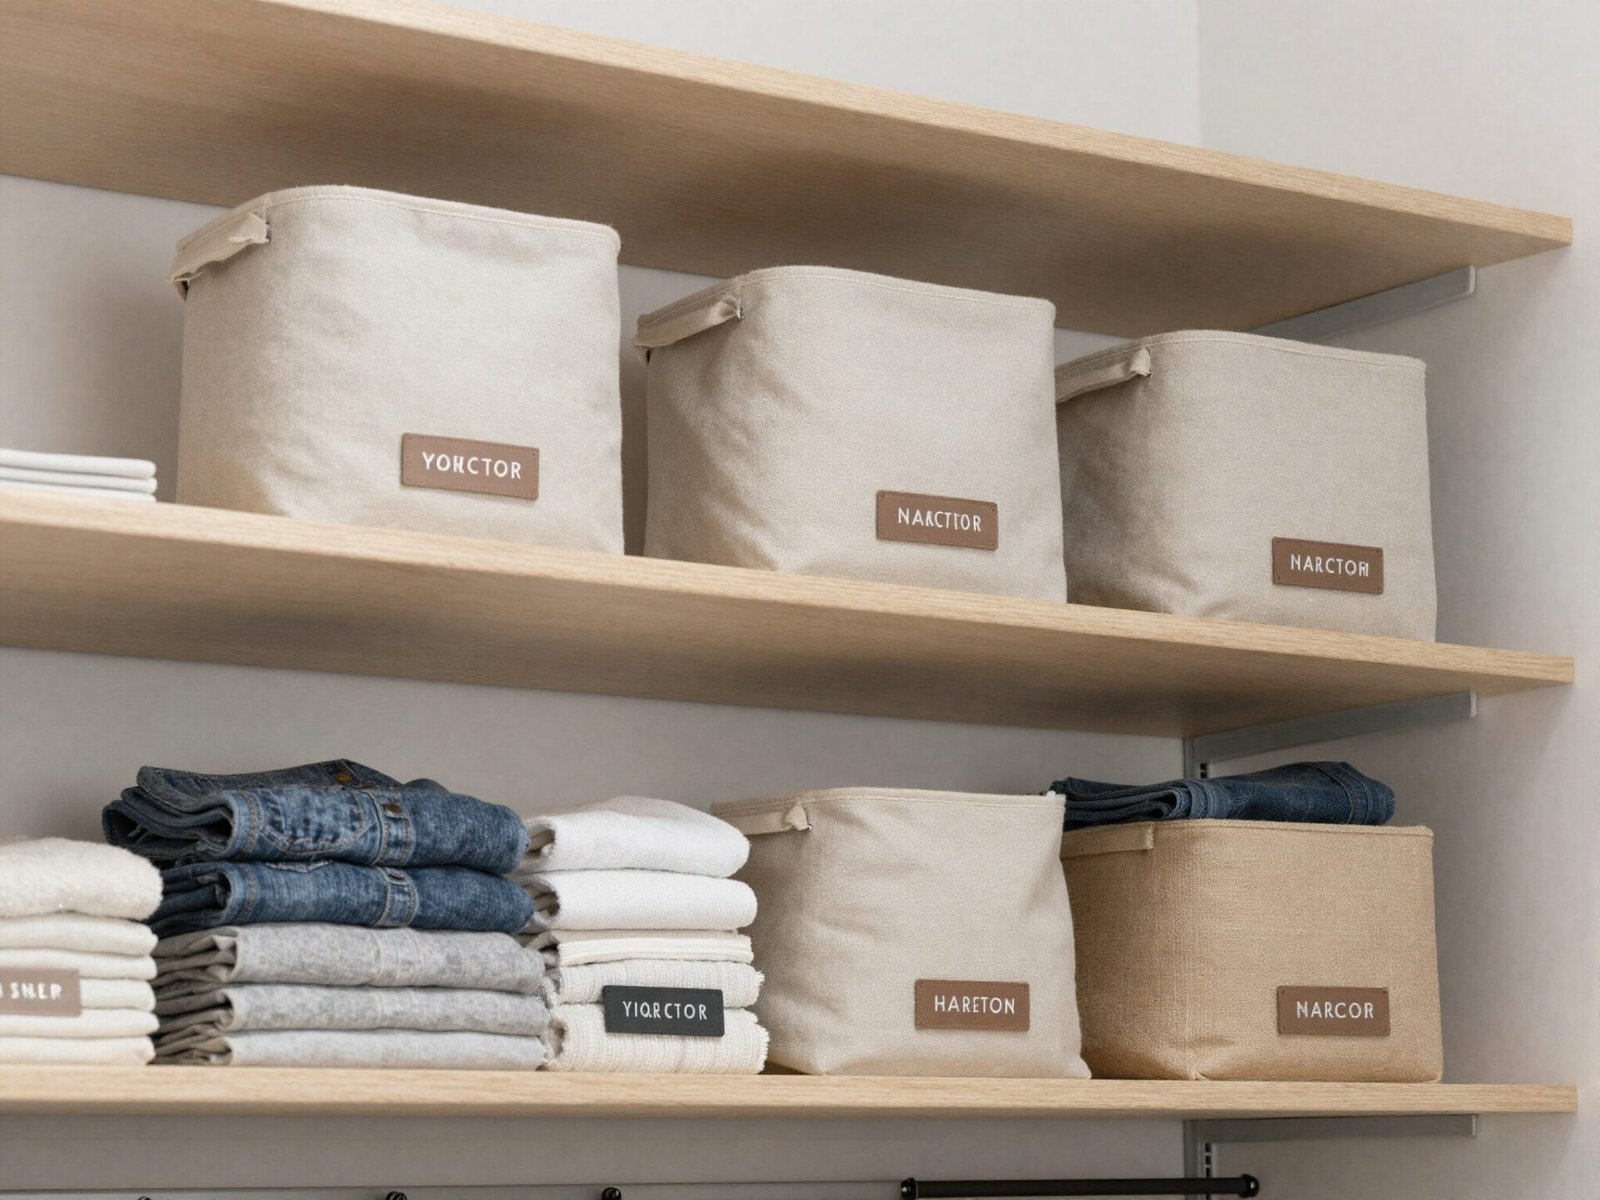
Choose upper storage around the actual users, retrieval method and product load guidance. A high shelf should not become an inaccessible place for heavy miscellaneous objects. Use a different suitable position where ordinary retrieval is awkward.
Try this: Decide how each box will be lifted before placing it.
10. Divide the Wardrobe by Real Clothing Categories
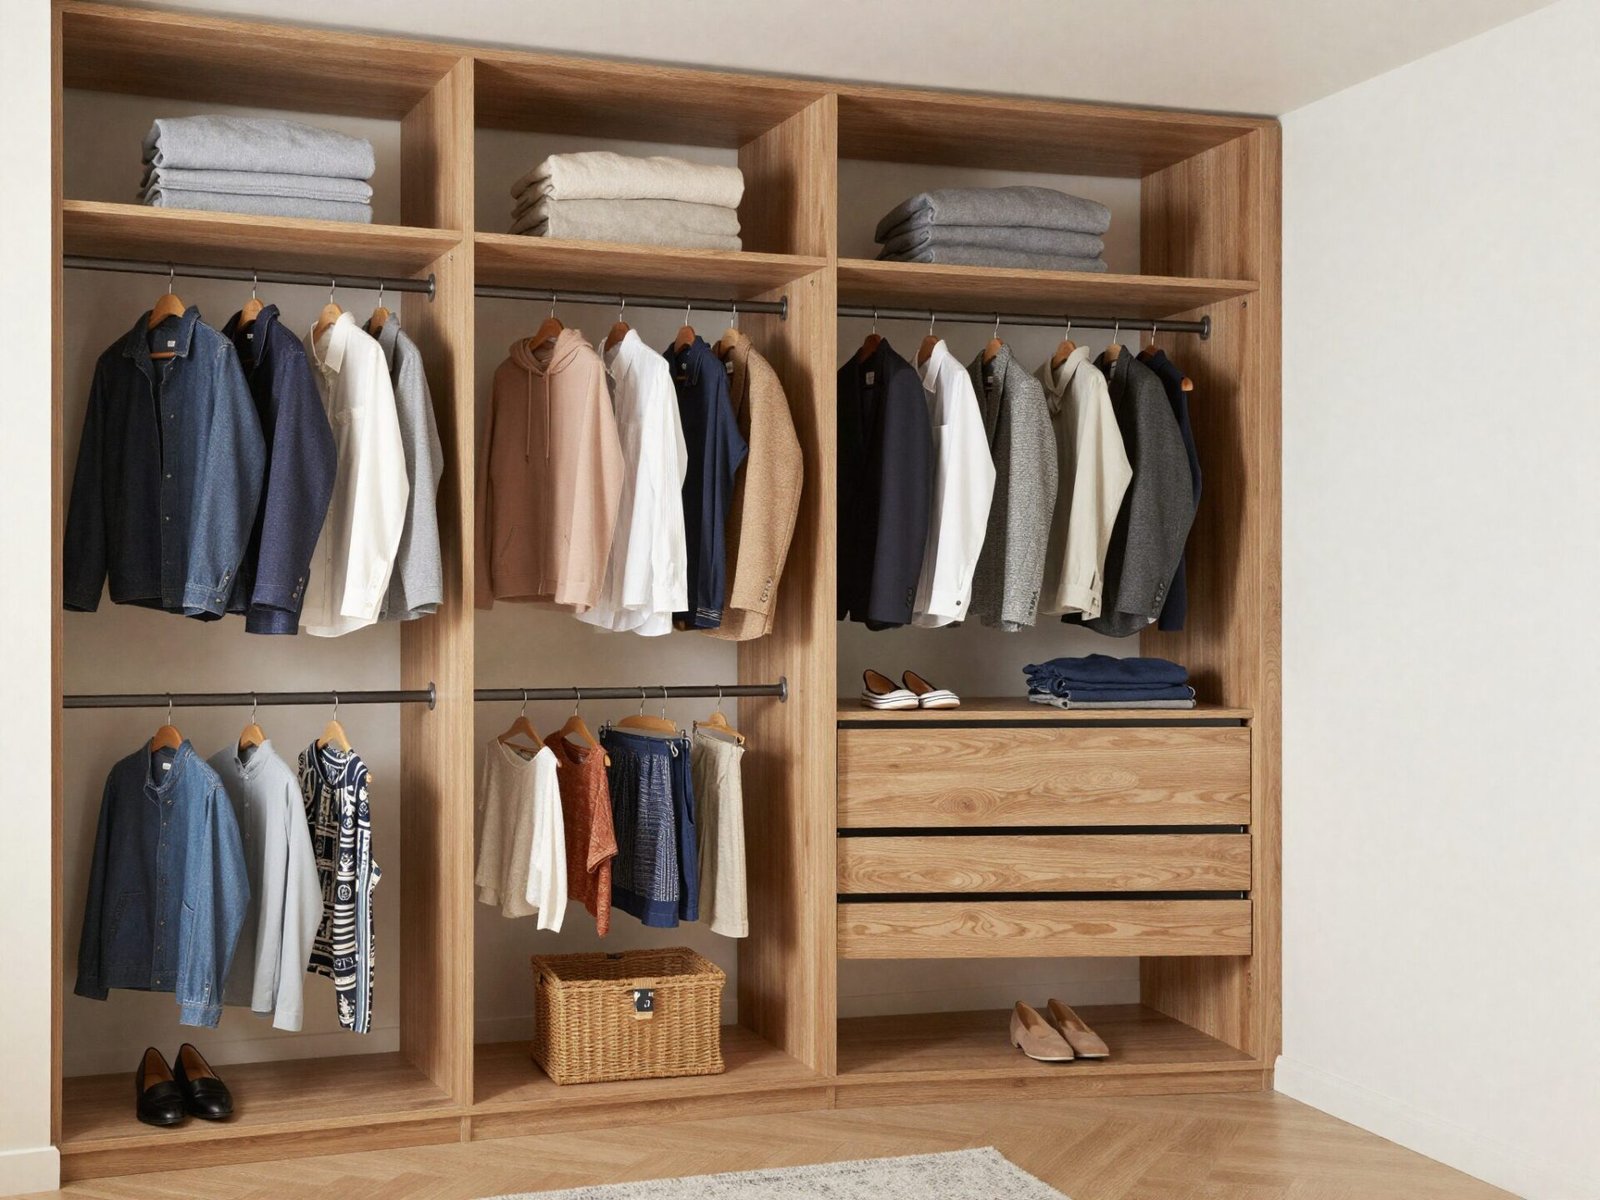
A few clear categories can relate the hanging rails, shelves and drawers. Compare the amount stored in each group before repeating a modular pattern. Leave room for normal removal and return rather than filling every compartment.
Try this: Start with the category used most frequently.
11. Choose Shelves Using Actual Support Information
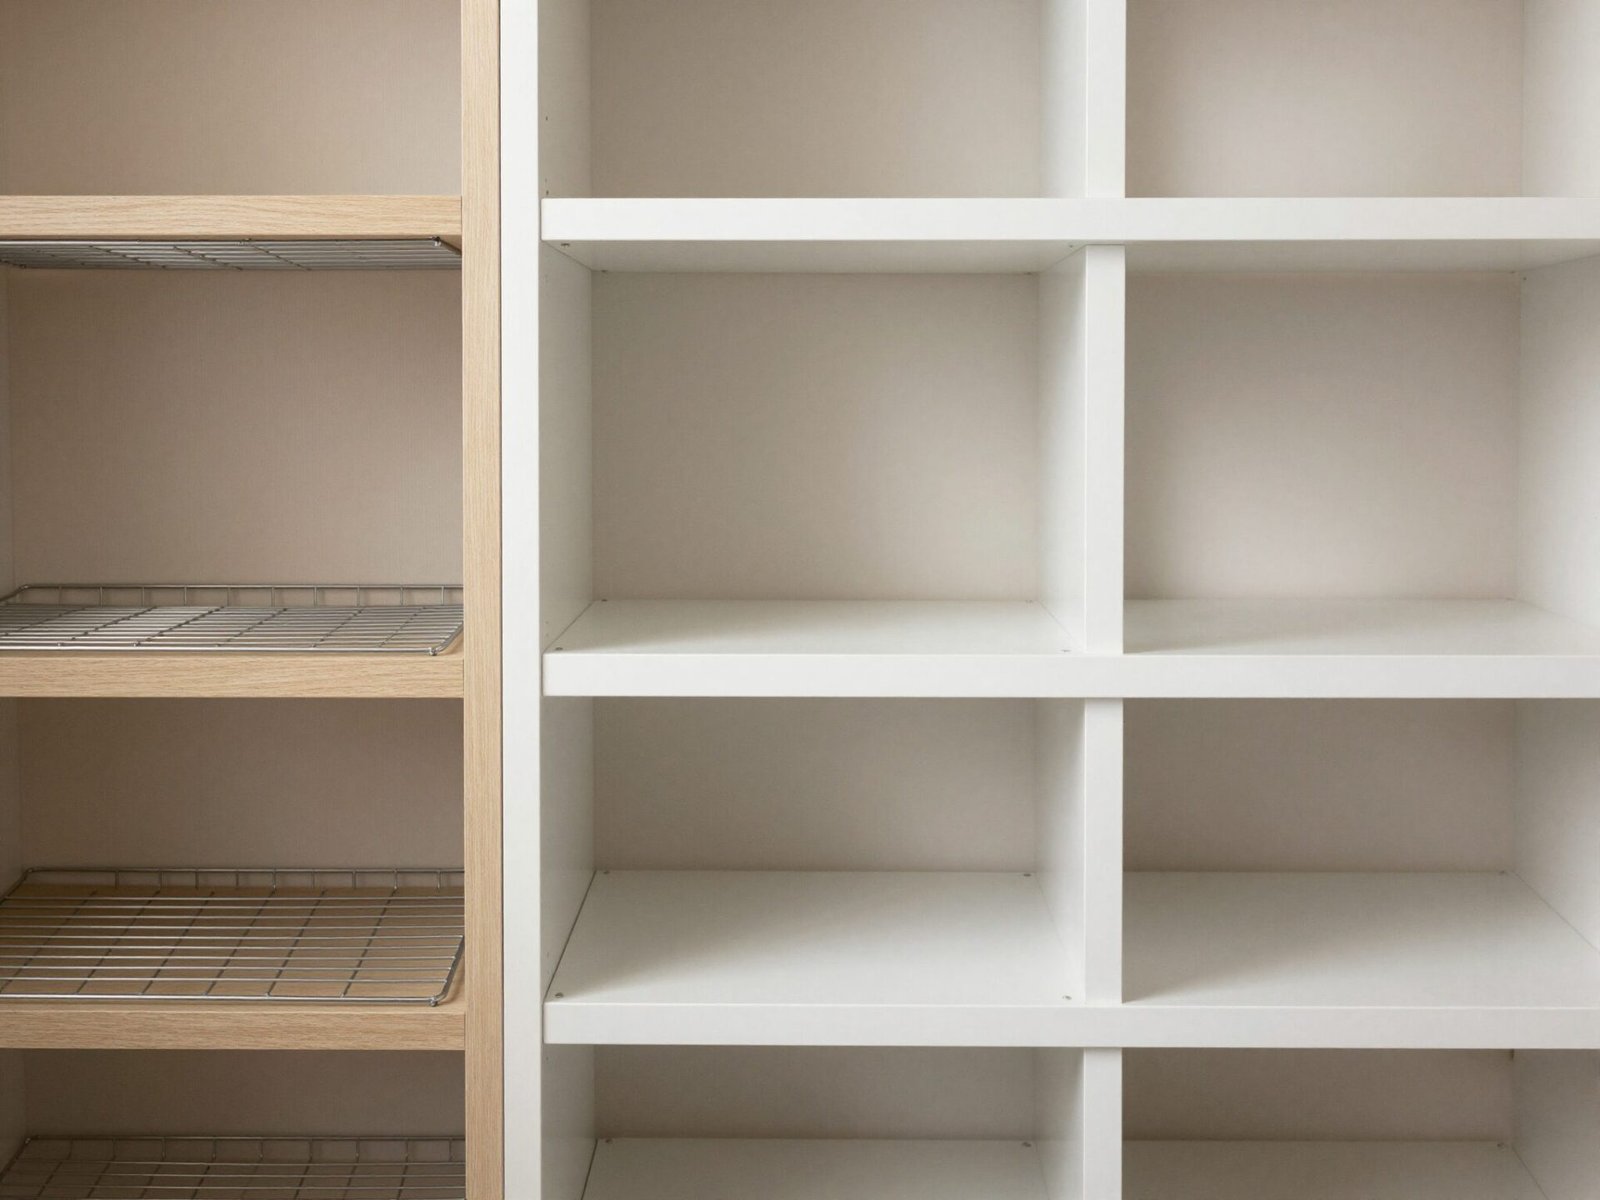
A shelf appearance cannot establish its material strength or load capacity. Follow the actual product, span, support and installation guidance for the proposed contents. Obtain appropriate qualified advice where the construction or wall support is uncertain.
Try this: Keep support information with the final storage plan.
12. Match Fixings to the Actual Construction
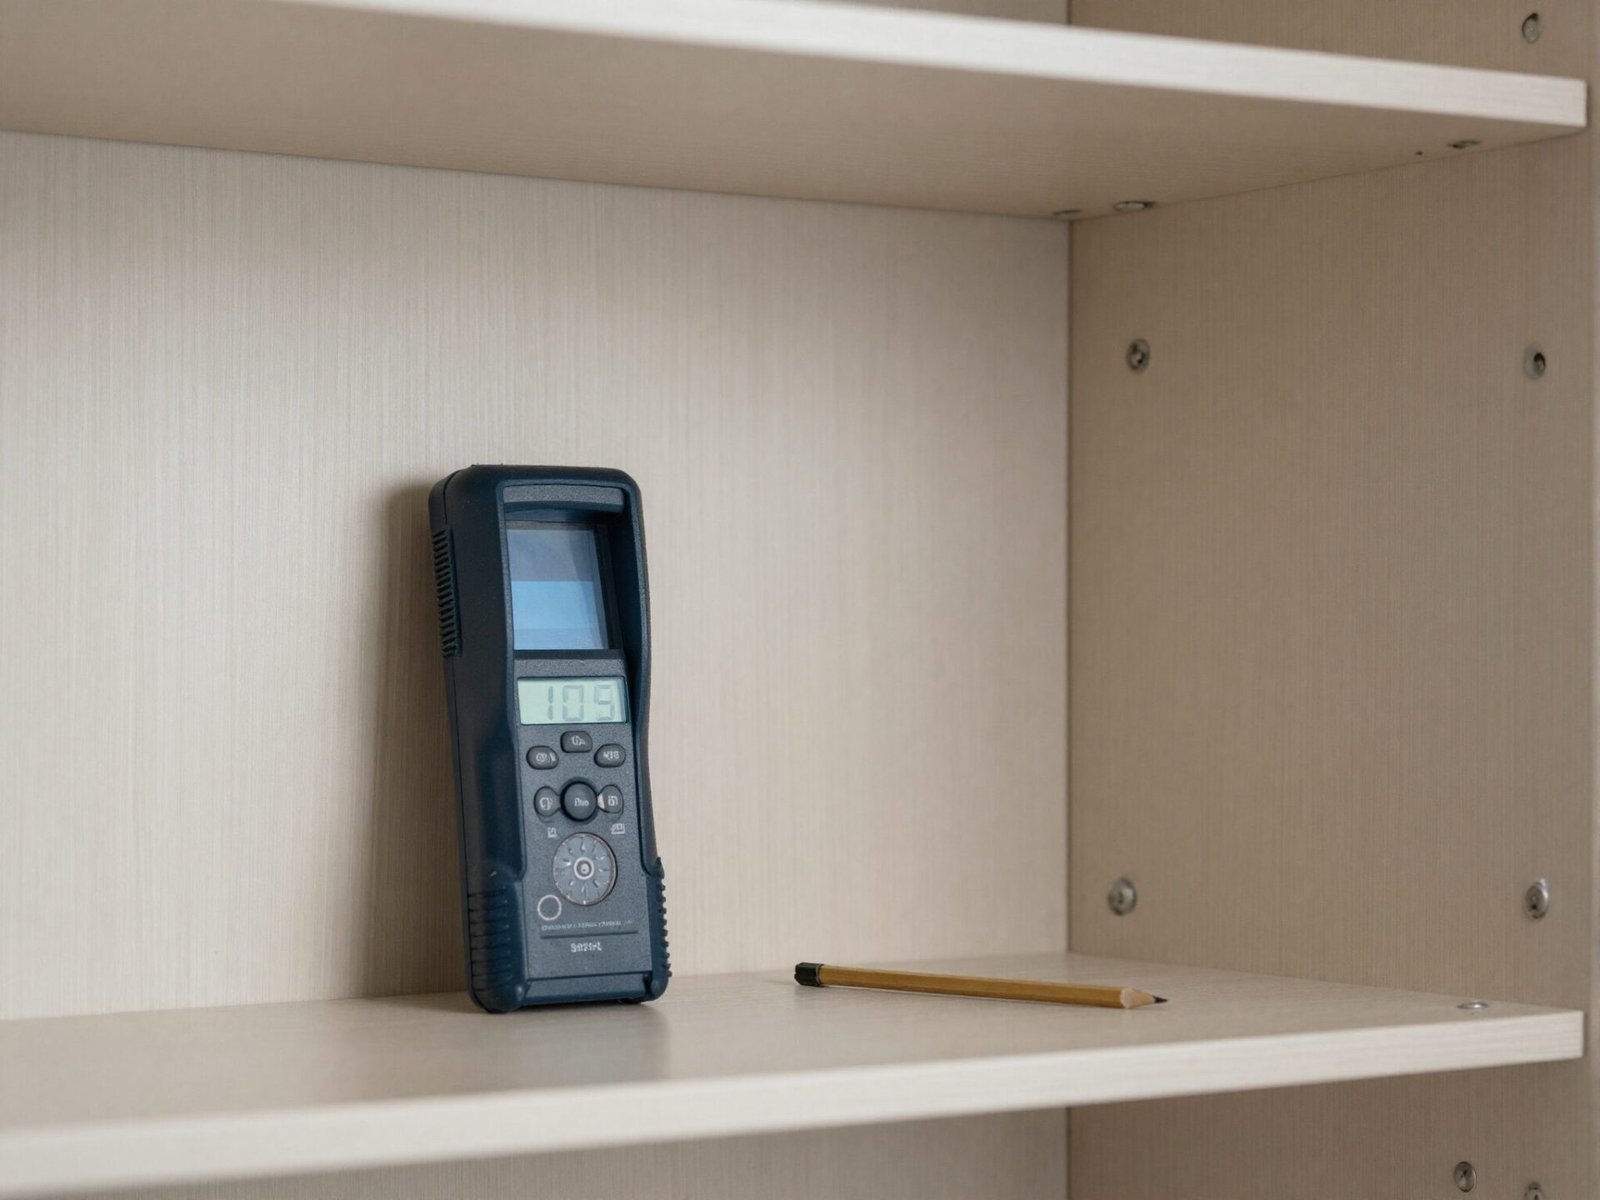
Establish the wall or panel construction before selecting the storage fixings. Assess the actual wall and storage system using appropriate product guidance and qualified help. Do not assume one mounting method suits every location.
Try this: Resolve the support before loading the storage.
13. Choose Reachable Storage for the Intended Users
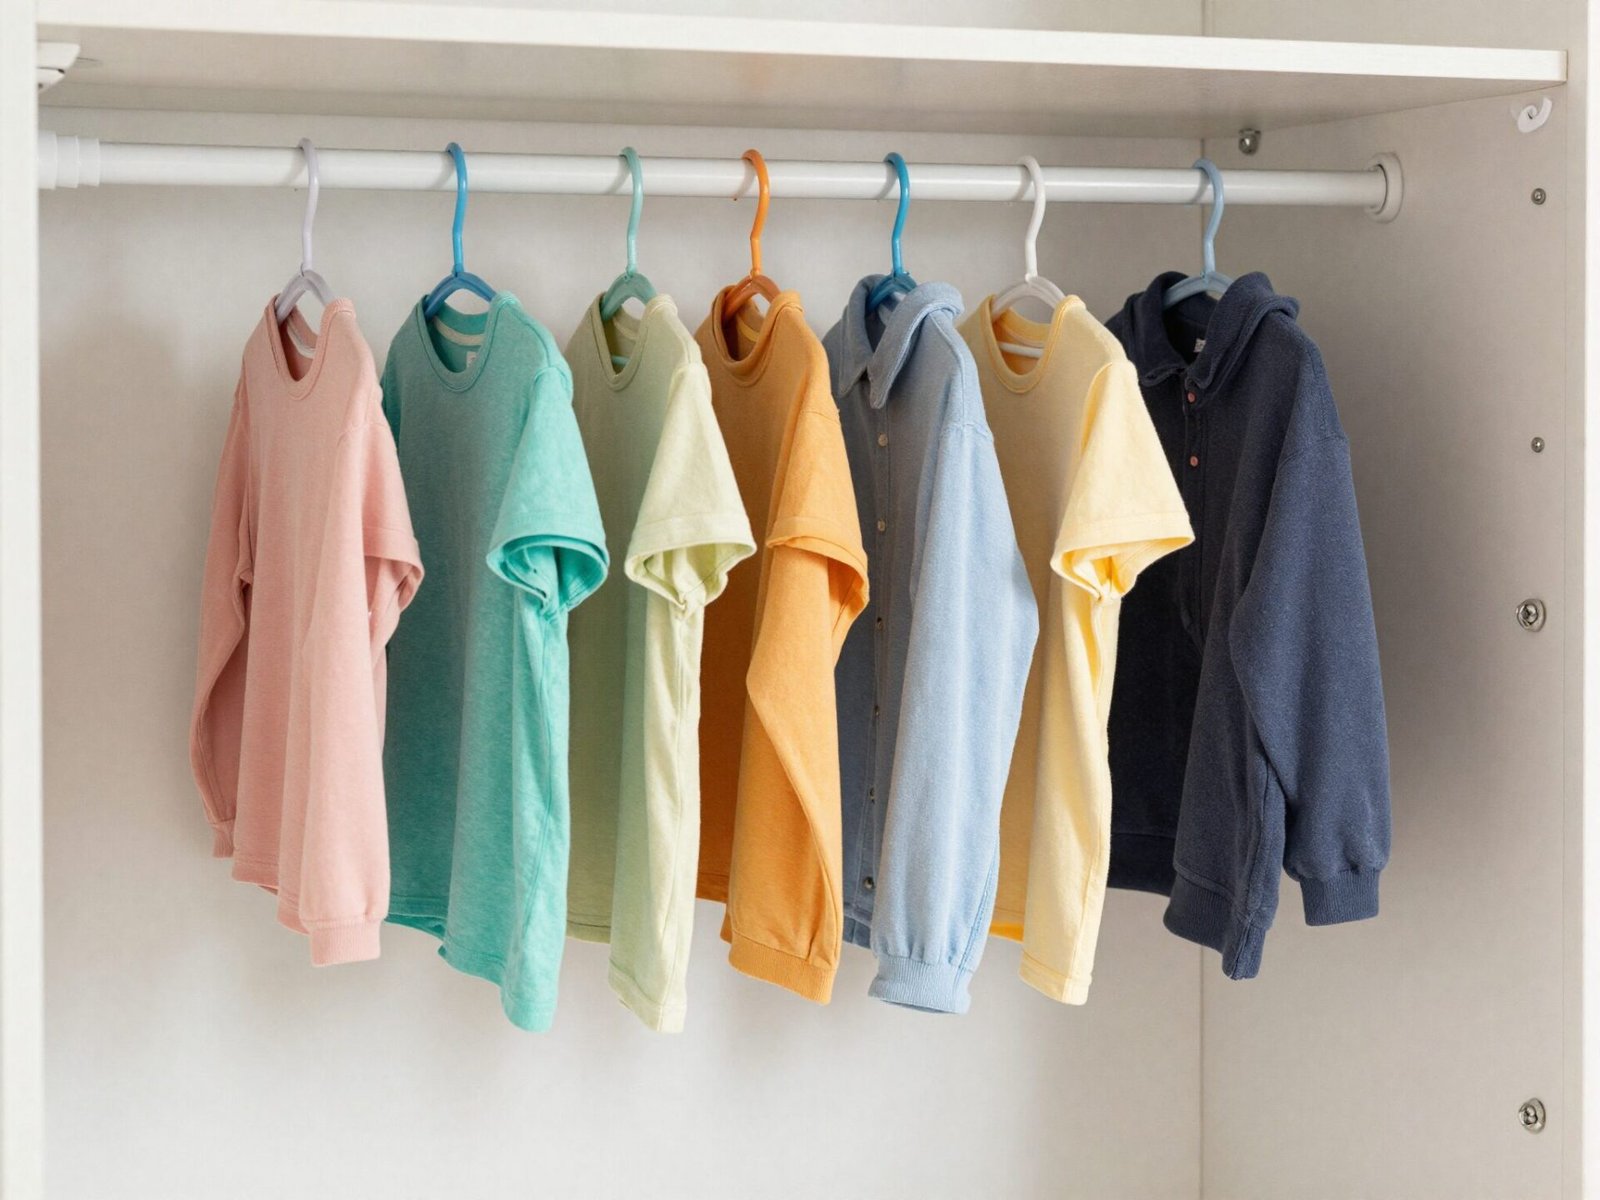
A lower rail can change access where its position and support suit the household. Compare the actual clothing, user reach and normal return routine. Adjust the arrangement as needs change rather than assigning one fixed height to a broad age group.
Try this: Test the position with the person who will use it.
14. Review the Wardrobe in Normal Use
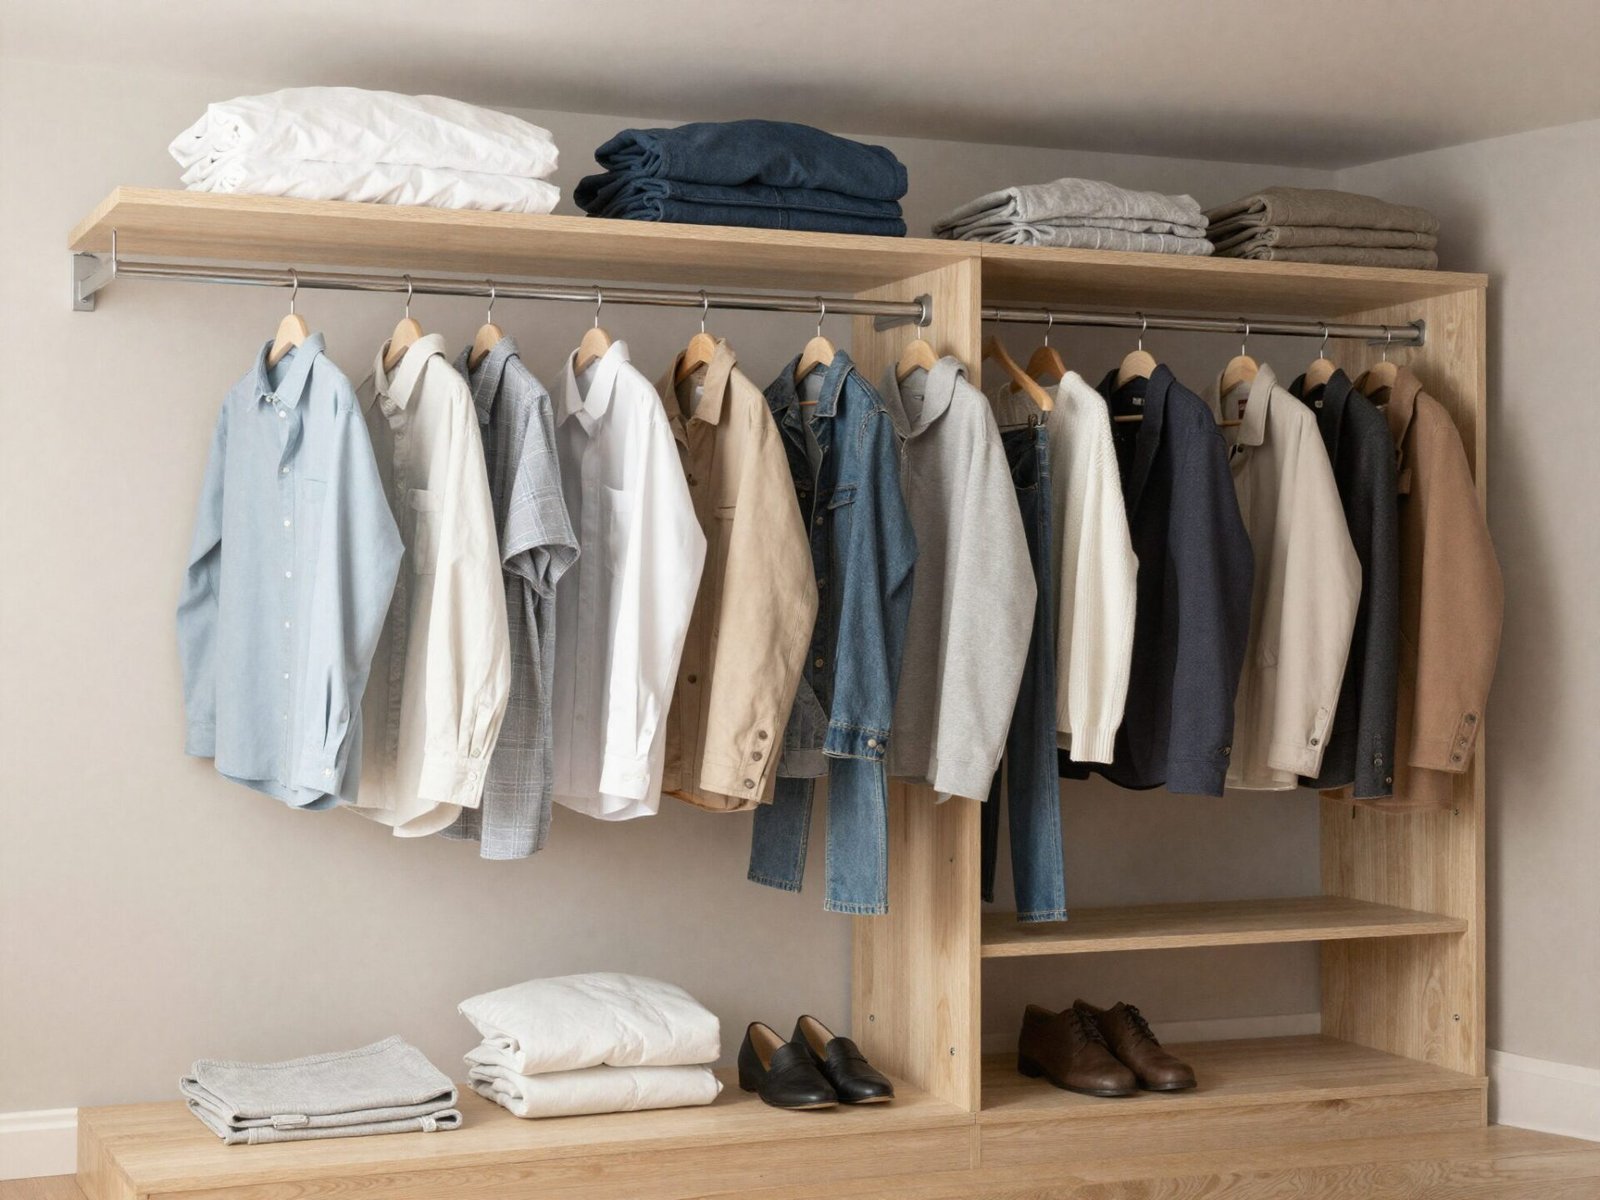
Open the storage, remove and return ordinary items, and check the floor route. Keep the arrangement that supports the retained contents and actual users. A well-filled photograph is not the goal if the real wardrobe becomes awkward.
Try this: Recheck the categories before buying more organizers.
Measure One Clothing Category and Test Its Return Routine
Measure the contents and the actual wardrobe together, then test one useful category. Keep the support and retrieval needs clear as the arrangement develops.
Related Guides
- 19 Closet Organization Ideas for Everyday Clothing
- 20 Walk-in Closet Ideas for Organized Stylish Storage
- 21 Home Organization Ideas for Everyday Rooms
Storage Furniture Stability Reference
For wardrobes and storage furniture with doors, drawers or shelves, follow appropriate restraint and installation instructions for the product and wall. CPSC Anchor It!: furniture stability guidance.
Optional digital guide for this topic
If you prefer a structured workbook, explore this related paid guide.