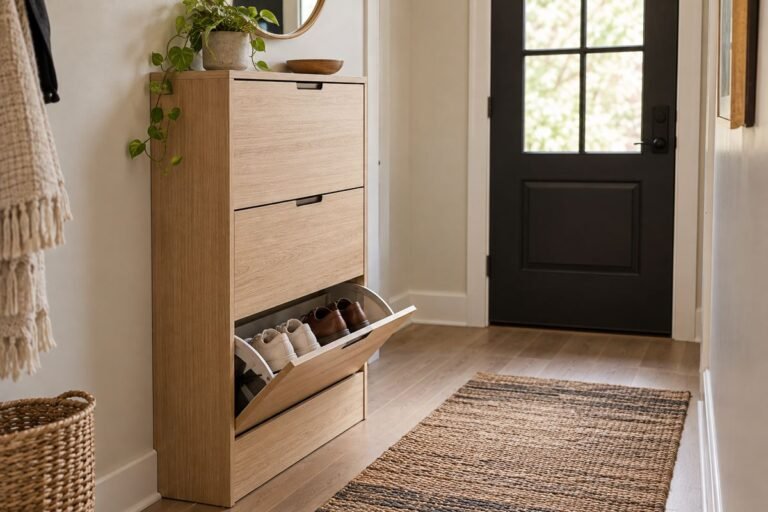
Useful mudroom locker ideas give outerwear and bags a place that fits the arrival routine. A tall row of attractive compartments can still become frustrating if a long coat covers the seat, a backpack blocks the shoes or an open door occupies the only walking route.
Begin with the contents and the room layout together. Compare the largest regular bag, the longest coat and the footwear used at that entrance. Then decide which items benefit from an open view and which belong behind a door. The number of identical bays should follow the household rather than a photograph.
These 27 concepts focus on full-height locker arrangements and their relationship with seating, doors and room boundaries. They complement a general mudroom-organization guide without treating every storage basket as a separate design. Use the images to compare configurations, not as construction or installation plans.
The images are original AI-generated decor concepts, not installation diagrams or photographs of completed client projects.
Browse These 27 Mudroom Locker Ideas
Jump to an idea
- Start with a single wall of open hanging bays
- Choose full-height doors for a quieter room view
- Mix open middle bays with closed end cabinets
- Use two compact bays for a smaller household
- Choose one wider shared hanging bay
- Turn an L-shaped arrangement into two clear zones
- Give a short return one useful full-height bay
- Split the locker wall around an existing window
- Define the locker zone in a room shared with laundry
- Contain the locker arrangement in an existing alcove
- Put closed upper storage above open daily bays
- Keep a simple top shelf instead of a second cabinet row
- Separate standing lockers from a proper seat
- Use a continuous designed bench beneath related bays
- Give long outerwear its own uninterrupted bay
- Keep hanging bags away from the usable seat
- Provide different reachable positions within a shared bay
- Fit a real work bag on a dedicated shelf
- Make one compartment wide enough for regular activity gear
- Assign a small bay to the dog-walking routine
- Reserve a modest guest compartment near the arrival point
- Separate a suitable boot tray from closed locker interiors
- Use lower drawers for small clean accessories
- Keep everyday shoe compartments simple and fully usable
- Check a shallow locker with its contents projecting outward
- Let the back panel unify different locker interiors
- Choose interiors that can follow a changing weekly routine
Plan mudroom locker ideas from the arrival sequence
Sketch the entry door, inner doorway, windows and ordinary route. Add the storage footprint with its doors open, then the space used by someone sitting or taking off a bag. List the contents of each proposed bay and compare their actual dimensions. Follow the exact furniture and wall-fastening requirements, using a suitable professional plan for fitted cabinetry or building alterations.
| What the entrance needs | Configuration to compare | Useful check |
|---|---|---|
| Fast access to coats and bags | Open hanging bays | How the contents project beyond the furniture |
| A quieter view from another room | Closed full-height doors | Door swing with the route in use |
| A place to put on shoes | Purpose-designed seating beside or within the system | A person seated while another bay is accessed |
| Long outerwear | A full-height hanging compartment | Coat hem clear of lower storage |
| Different household routines | Bays with different usable interiors | Actual contents rather than equal outside widths |
| A room shared with laundry | A clearly defined locker zone | Access to the existing appliances and room route |
Decide what belongs at this entrance
Pottery Barn’s entryway-storage guide distinguishes everyday items from occasional storage and discusses mixed storage types. Use that distinction to limit the locker contents. A full-height system works better when it has clear jobs than when every spare shelf becomes a home for unrelated household overflow.
Choose the location before the furniture style
Lowe’s mudroom-planning guide considers location, reachable storage and seating as connected decisions. Review the door actually used by the household. An elaborate locker wall beside the wrong entrance may leave the daily bag pile unchanged.
Specify usable compartments rather than an outside silhouette
Measure inside the proposed bay, including hooks, shelves and the way a bag hangs. A deep-looking photograph does not establish that the longest coat or bulkiest backpack will fit. Ask a supplier for the real usable dimensions and permitted configurations before ordering.
Keep installation, seating and care requirements explicit
Use furniture as intended and follow its required anchoring and fixing instructions. Sit only on a component designed and rated for seating. Resolve fitted cabinetry with an appropriate plan, and follow material and garment care instructions. Decorative ventilation openings do not turn a closed locker into a drying appliance.
1. Start with a single wall of open hanging bays

A single storage wall can keep the arrival sequence easy to understand. Open hanging bays let the household see where coats and bags belong without operating a door. Keep the compartments related to the available wall rather than filling every inch with an identical repeated unit.
Review the actual projection of the hanging contents. A bulky bag can extend beyond the cabinet face even when the furniture itself looks shallow. Keep the walking route clear with the bays in ordinary use, and follow the complete system’s installation requirements.
Practical tip: Measure the contents as they hang, not only the cabinet depth.
2. Choose full-height doors for a quieter room view

Closed full-height lockers can make the storage wall visually restrained when the mudroom is visible from another room. The fronts become part of the room’s furniture composition. Keep handles and door divisions simple enough that the repeated bays read as one considered arrangement.
Check the interior with the actual contents and the doors fully operated. A closed appearance does not correct a crowded bay or insufficient coat length. Include the open door footprint in the route assessment before choosing the front style.
Practical tip: Review the cabinet open as carefully as closed.
3. Mix open middle bays with closed end cabinets

Open middle bays can serve daily arrivals while closed end cabinets contain items that need a quieter position. The different storage types can create a clear hierarchy on one wall. Keep their outside proportions related so the arrangement feels designed as a whole.
Give the closed and open sections specific contents before choosing the final widths. Otherwise the distinction may be decorative only, with overflow migrating between them. Review the doors and hanging bags together to confirm that neither obstructs the usable seat or room route.
Practical tip: Assign a clear job to each type of bay.
4. Use two compact bays for a smaller household
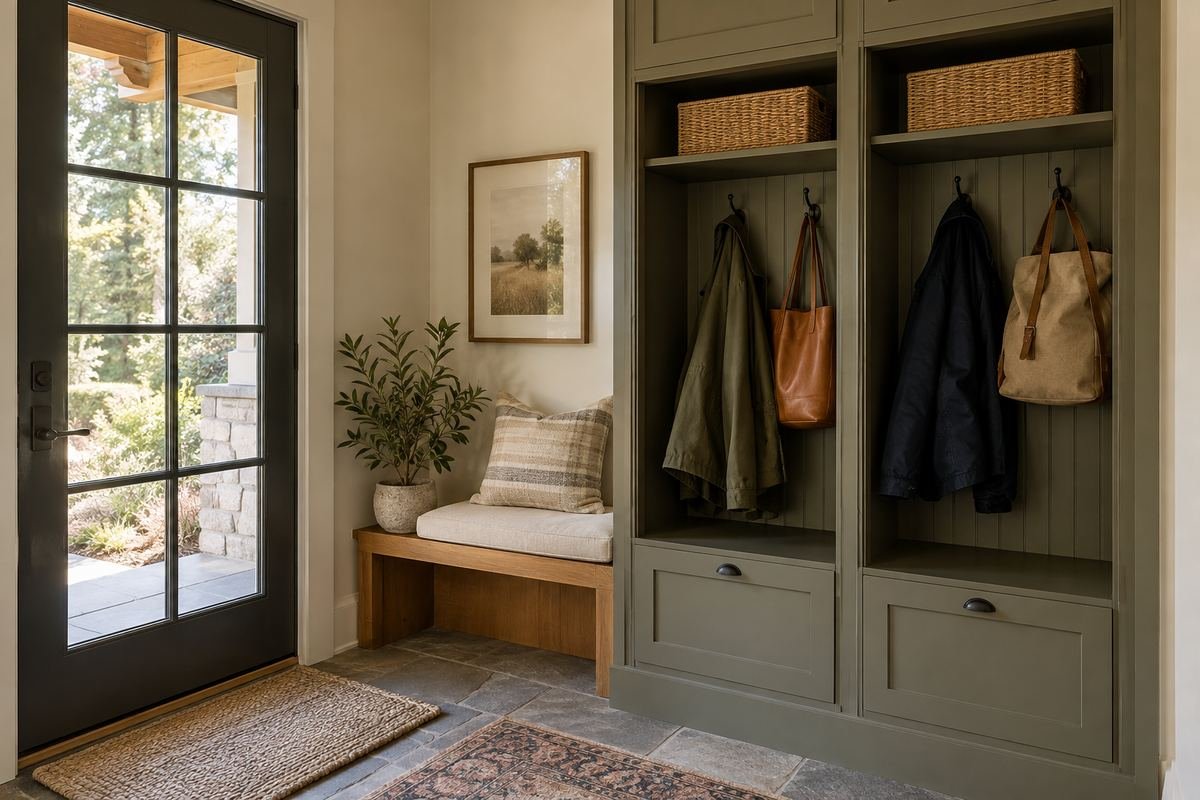
A pair of compact lockers can provide a clear shared arrangement without requiring a large wall. Keep each bay focused on the outerwear and bag that regularly use that entrance. A smaller system can feel complete when it fits the household’s actual routine.
Compare the usable interior with the larger of the two sets of belongings. Equal outside widths do not guarantee equal storage needs. If one bay requires a different shelf or hook arrangement, plan that deliberately rather than forcing perfect visual symmetry inside.
Practical tip: Size the pair from its actual users and contents.
5. Choose one wider shared hanging bay

A wider shared bay can suit a household that prefers one straightforward hanging area. Its open view can accommodate changing coat widths more easily than a row of very narrow divisions. Keep the number of items modest so the shared space remains legible.
Test whether the routine stays clear without individual partitions. Separate hooks or a restrained lower compartment arrangement can help, but they should not crowd the hanging area. Compare a shared bay with divided storage before assuming that more vertical panels always improve organization.
Practical tip: Use partitions only when they clarify the routine.
6. Turn an L-shaped arrangement into two clear zones

An L-shaped locker arrangement can use adjoining walls when the corner is resolved deliberately. Let one side hold the main hanging bays and give the other a supporting role. This avoids making the corner a congested meeting point for several doors and bags.
Review access to the actual corner compartments and the seat. A continuous furniture outline can hide a difficult interior junction. Have fitted cabinetry planned appropriately and check the full opening movements before deciding how much storage belongs on each wall.
Practical tip: Resolve the corner access before adding more bays.
7. Give a short return one useful full-height bay

A short wall return can hold a single locker that would be awkward in a long repeated run. Use it for a specific coat-and-bag routine and keep the main wall simpler. Its isolated position should feel intentional within the entrance sequence.
Check the nearby door movement and how the hanging contents project into the corner. A small wall area is not automatically suitable for tall storage. Confirm the exact furniture footprint and installation before treating the return as available space.
Practical tip: Check the short return with nearby doors in use.
8. Split the locker wall around an existing window

An existing window can divide the storage into two related sections. Keep the window operation and daylight role clear while giving each side a useful bay. A lower suitable seat beneath the opening can connect the arrangement when the room allows it.
Review the actual sill, window treatment and operating space. Do not choose tall storage or a seat merely to imitate a symmetrical image. The furniture should respect the opening and the route, with installation and access requirements resolved for the real room.
Practical tip: Let the window remain usable in the finished arrangement.
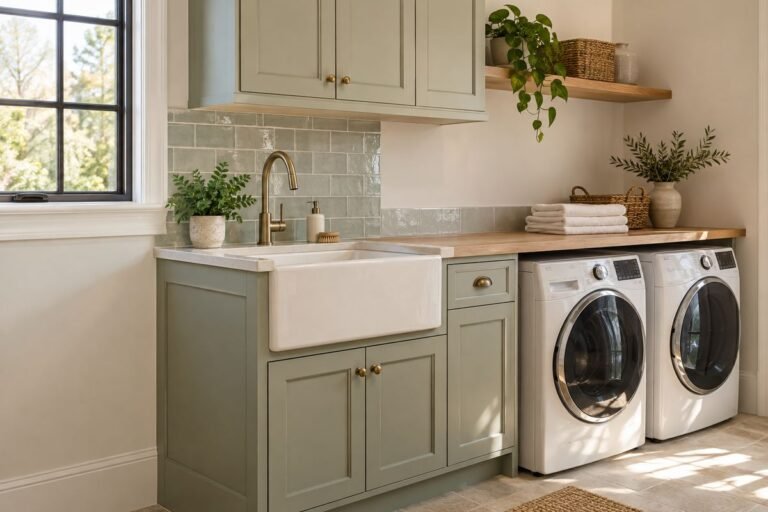
9. Define the locker zone in a room shared with laundry

A combined room can work when the locker area has a clear boundary from laundry tasks. Keep coats and bags in their own furniture zone rather than allowing them to migrate across appliance fronts or working surfaces. The room should still read as a usable sequence.
Check appliance access, doors and the ordinary route with the storage in use. The concept does not establish installation clearances or permission to relocate equipment. Follow the actual appliance requirements and resolve any building work through an appropriate plan.
Practical tip: Preserve the existing laundry functions before adding storage.
10. Contain the locker arrangement in an existing alcove

An existing alcove can give the locker system a defined architectural home. Keep the furniture outline related to the recess while preserving workable access. The surrounding wall can remain quiet, allowing the storage to feel integrated without adding several decorative layers.
Check usable depth, door movement and required fastening access. A tight-looking fit in a concept image does not establish that a real unit can be installed or maintained there. Compare the supplier’s drawings with the alcove before planning surrounding trim.
Practical tip: Verify installation and access within the actual recess.
11. Put closed upper storage above open daily bays
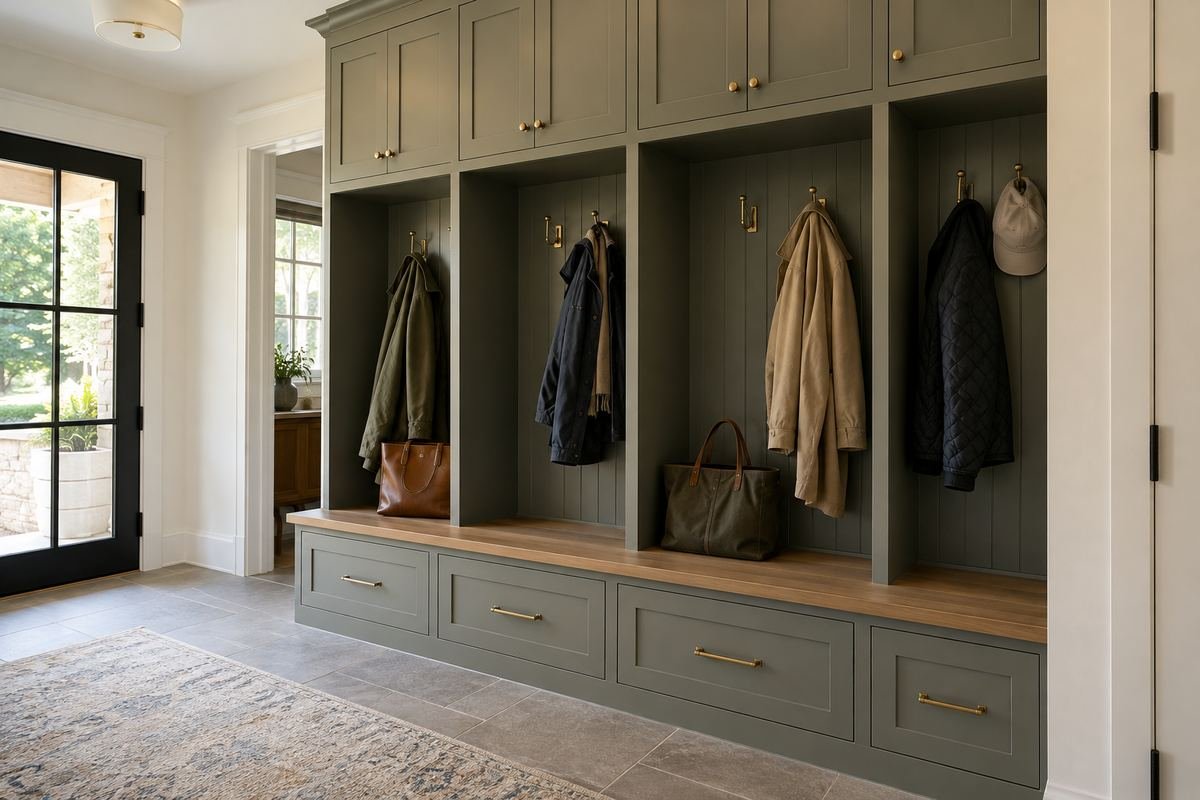
Closed upper cabinets can hold occasional items while the open area below remains focused on daily coats and bags. Keep the upper line visually related to the rest of the system. The distinction gives each level a different role instead of filling every shelf with mixed contents.
Compare reach and what will be stored above. Daily items should not depend on awkward access to high cupboards. Follow the exact fitted or freestanding system requirements, including installation and permitted loading, rather than inferring them from the photograph.
Practical tip: Reserve harder-to-reach storage for genuinely occasional contents.
12. Keep a simple top shelf instead of a second cabinet row
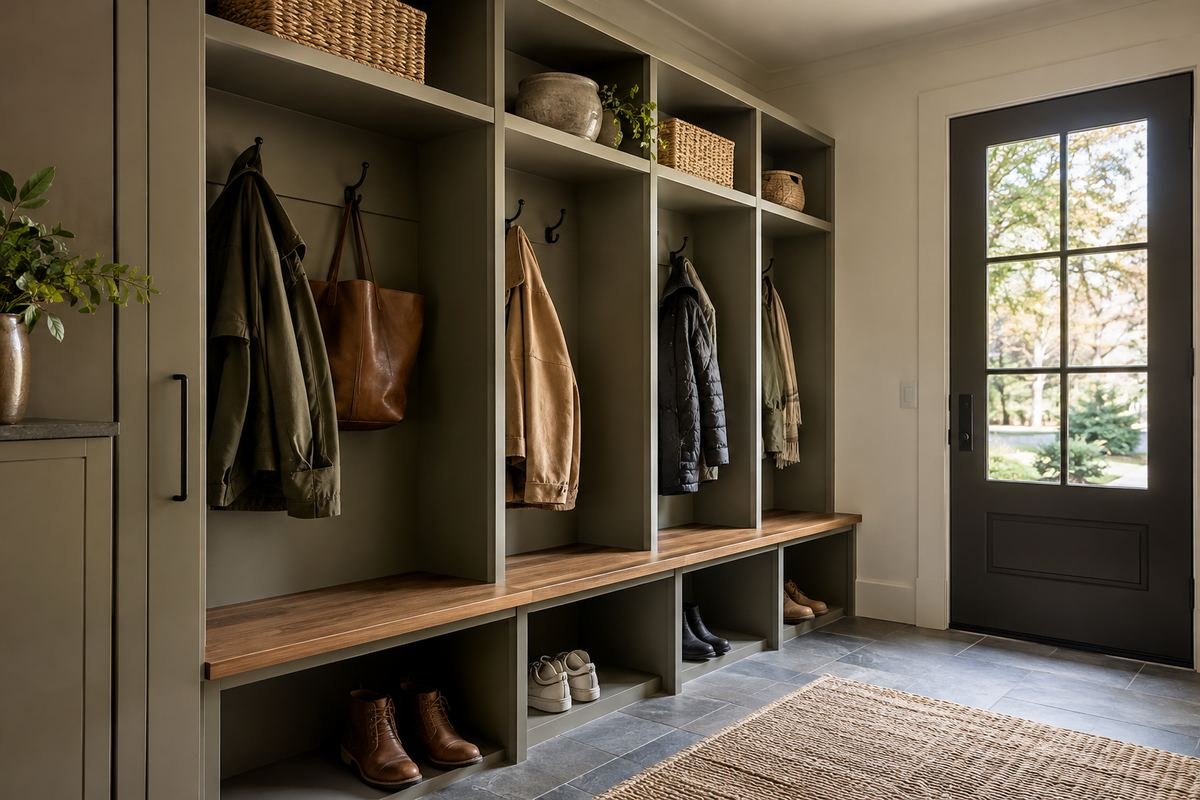
A suitable top shelf can give a smaller locker wall a quieter outline than a full row of upper doors. Use it for a limited number of clearly assigned containers. Keep the shelf’s role modest so it does not become an elevated overflow zone.
Check reach, installation and loading requirements for the exact system. Decorative baskets do not establish safe capacity or easy access. Compare the view with the normal contents and avoid storing daily essentials where retrieving them makes the routine awkward.
Practical tip: Choose the top shelf from its usable role and requirements.
13. Separate standing lockers from a proper seat
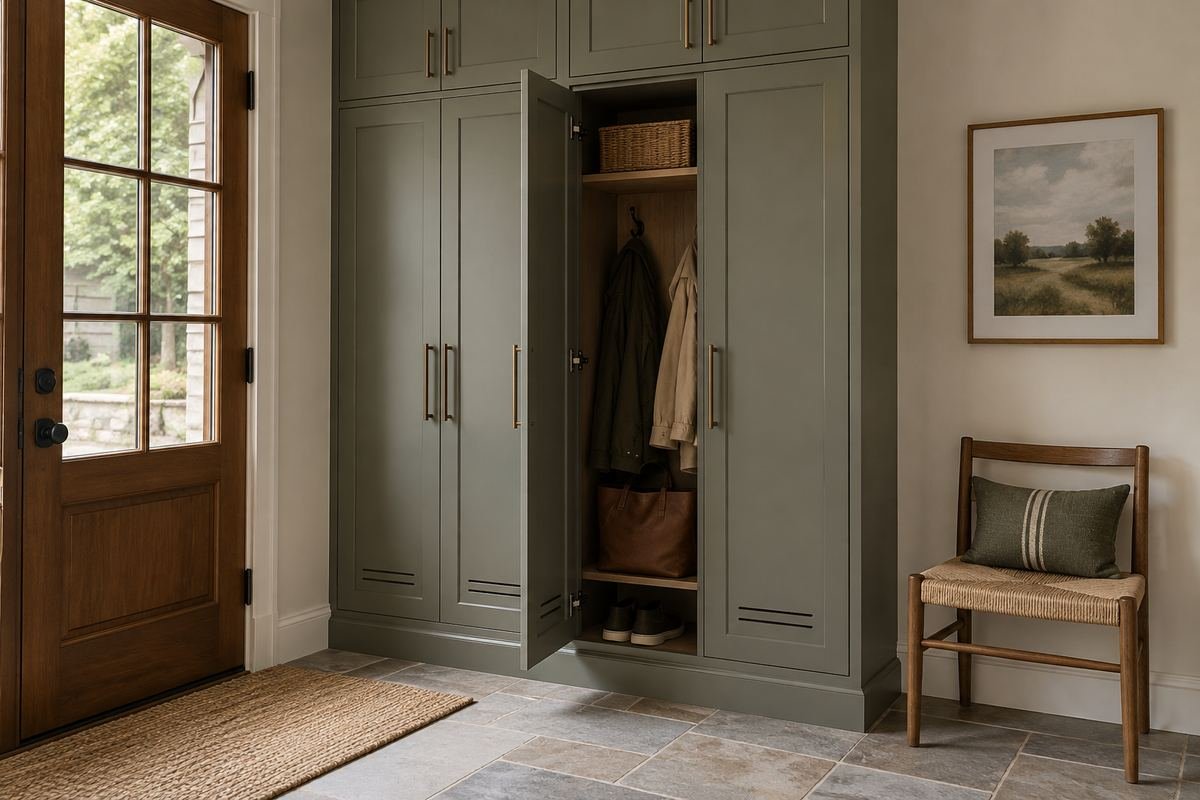
A full-height locker can serve coats and bags while a separate suitable chair provides the sitting position. This can be useful when the furniture wall is too short for a continuous bench. The two pieces should work as a sequence rather than competing for the same floor space.
Test the room with someone seated and a locker door open. Keep enough usable area for taking off a bag and handling shoes. A separate seat only helps when it has an intentional place outside the main walking route.
Practical tip: Review the seated and standing tasks together.
14. Use a continuous designed bench beneath related bays
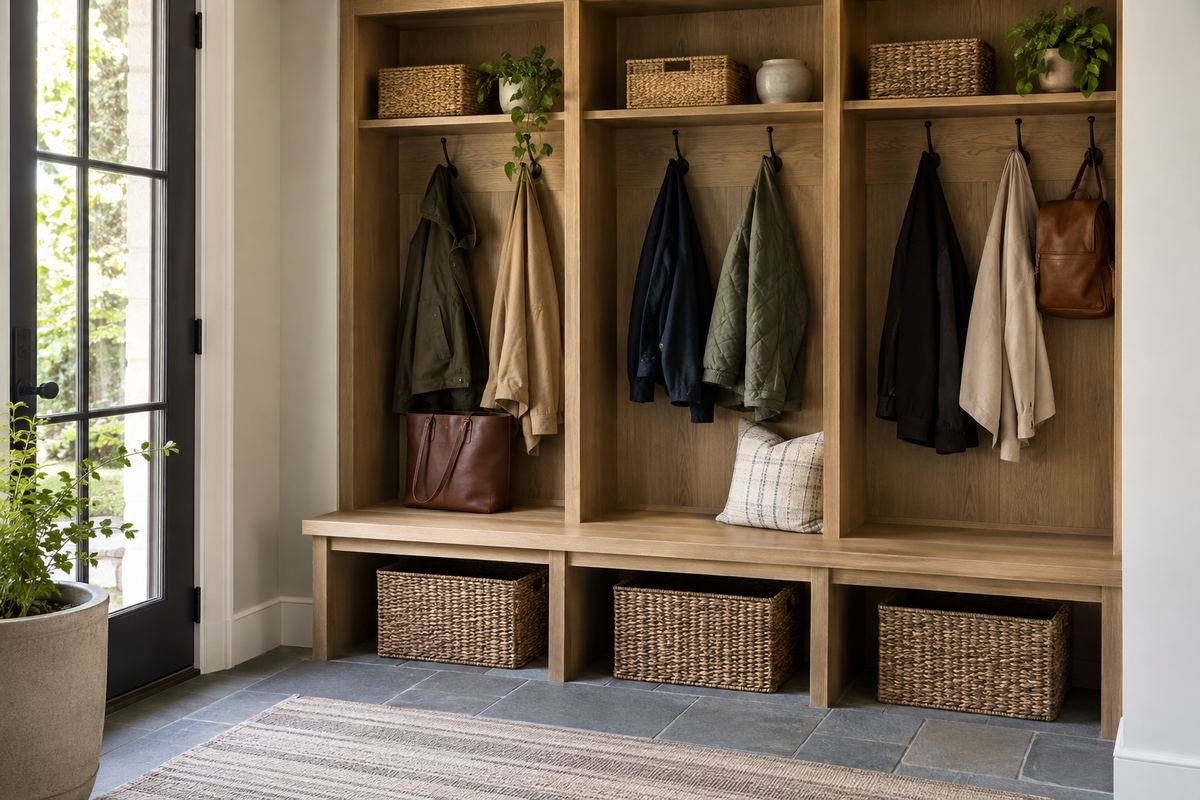
A continuous bench can connect several locker bays into one furniture composition when seating is part of the intended system. Keep the seat surface useful rather than treating it as a shelf for bags. The hanging and sitting areas need to coexist during ordinary arrivals.
Compare the longest coats with the seat and the seated person’s space. A photograph of an empty bench may conceal that conflict. Confirm the seating suitability and installation of the actual system before deciding its finish or cushion detail.
Practical tip: Test the bench with coats and bags in their normal positions.
15. Give long outerwear its own uninterrupted bay

A full-height hanging compartment can accommodate longer outerwear without placing a bench directly below it. This is useful when the household regularly uses coats that would cover a seat. Let the neighboring bays provide the shorter hanging or seated tasks.
Compare the real coat length from its intended hanging point, including any shelf or hook fitting. A continuous furniture line can still contain different interior heights. Keep the lower area appropriate for the contents rather than inserting a decorative shelf that removes the useful hanging length.
Practical tip: Compare the coat hem with the complete usable compartment.
16. Keep hanging bags away from the usable seat
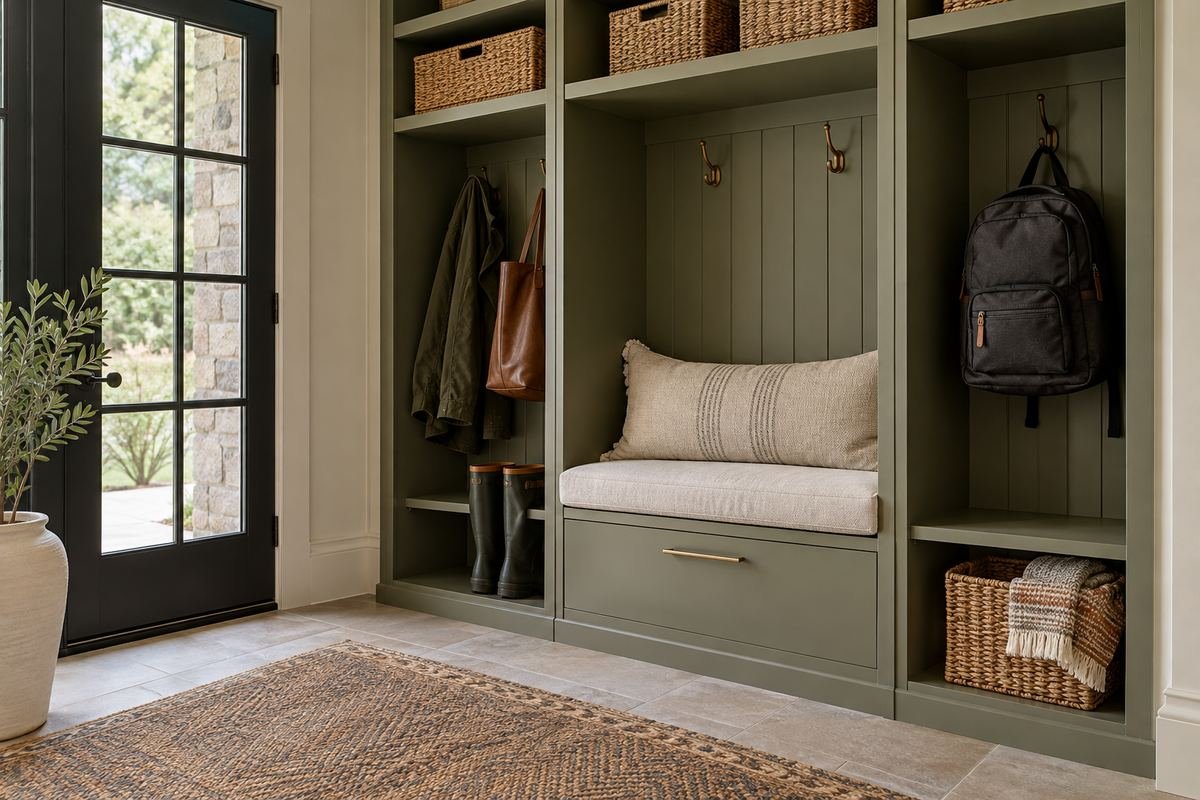
A bag can fit inside a locker yet make the seat beneath it uncomfortable or inaccessible. Give its hanging position a deliberate place within the bay. A separate hook zone or neighboring compartment can keep the bag from occupying the area intended for sitting.
Test the largest regularly used bag with its straps in their ordinary position. Compare the complete hanging shape with the bench and the shoes below. The goal is a workable relationship between tasks, rather than a wall filled with hooks at matching heights.
Practical tip: Assess the bag as it hangs during an ordinary arrival.
17. Provide different reachable positions within a shared bay

A shared bay can include more than one reachable storage position when household routines differ. Keep the lower position genuinely usable without making the upper contents hang across it. The arrangement should clarify who uses which part of the compartment.
Choose positions from the actual people and belongings rather than a universal hook-height rule. Review whether each user can put an item away and retrieve it comfortably. Keep the furniture installed as required and avoid arrangements that encourage climbing on shelves or seating.
Practical tip: Choose reachable positions from actual users and contents.
18. Fit a real work bag on a dedicated shelf

A work bag may be easier to place on a suitable shelf than to suspend from its handles. Give it a compartment that supports the base and permits straightforward removal. Keep the shelf related to the bag actually carried through the entrance.
Compare the opening, usable depth and any door hardware with the full bag. Follow the exact system’s shelf and loading requirements, particularly if an adjustable configuration is proposed. A large outside cabinet outline does not establish a usable interior opening.
Practical tip: Check the complete bag against the usable shelf opening.
19. Make one compartment wide enough for regular activity gear

A wider activity compartment can be more useful than several narrow divisions when the household carries a bulky reusable kit bag. Keep the shape and frequency of that gear in the plan. The compartment can remain visually related to the smaller coat bays alongside it.
Check the bag fully packed rather than measuring it flattened. Separate occasional overflow from equipment used at this entrance every week. Store any specialized or hazardous items according to their own requirements, rather than assuming a general household locker is suitable.
Practical tip: Size the compartment from the regularly packed kit.
20. Assign a small bay to the dog-walking routine
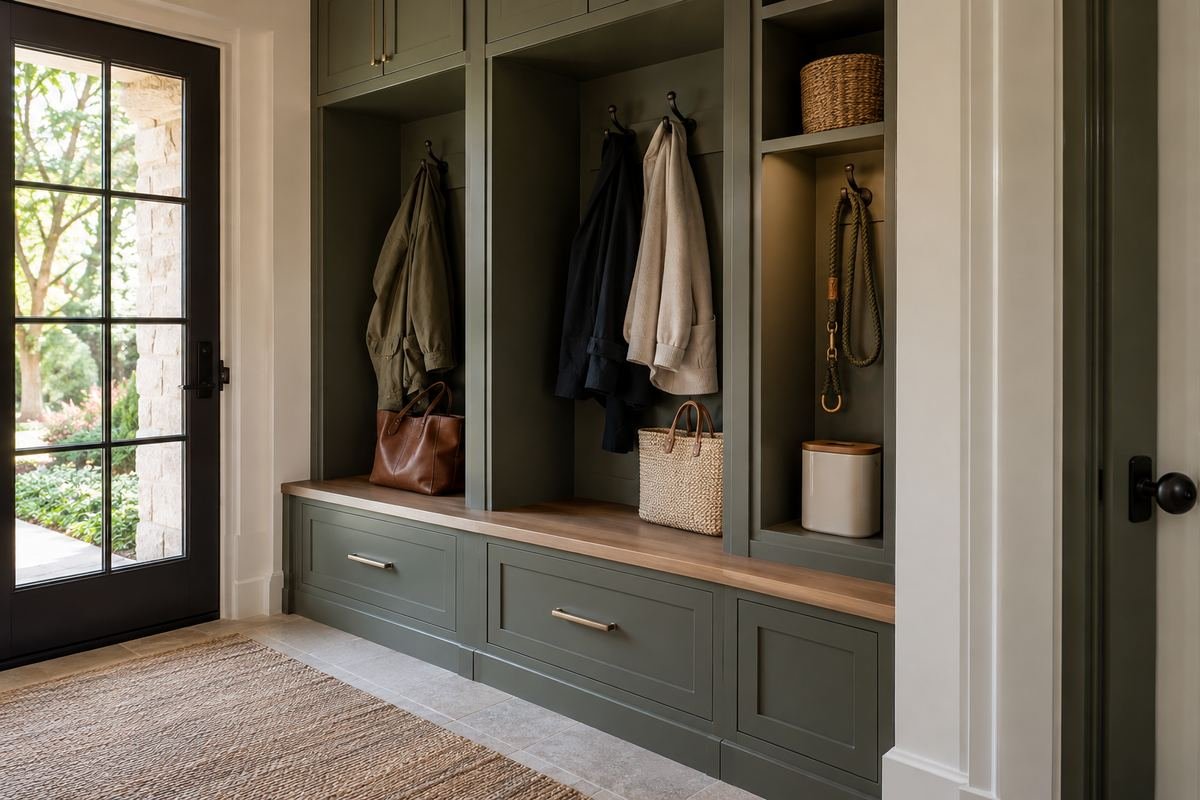
A compact section can collect a leash and a few ordinary walking accessories when those items use the same entrance every day. Give the routine a defined location within the locker wall. Keep it separate from the coat hooks so retrieving a leash does not disturb several garments.
Limit the compartment to appropriate accessories and follow the care instructions for each item. It is a storage position, not an animal enclosure or a place for chemicals and medicines. Review the actual opening and reach before choosing containers or extra fittings.
Practical tip: Keep this bay focused on ordinary walking accessories.
21. Reserve a modest guest compartment near the arrival point

A guest compartment can make visits easier when it has a clear position near the entrance. Keep the space proportionate to the household’s usual visitors rather than adding a full wall of unused bays. A simple open hanging area can explain its purpose without signage.
Compare the arrangement with the household’s daily contents. The guest area should remain available when needed instead of becoming permanent overflow storage. Review any door swing and the route so visitors can use it without moving bags from another compartment.
Practical tip: Keep the guest position available and easy to recognize.
22. Separate a suitable boot tray from closed locker interiors

A separate suitable tray area can give recently used footwear a defined landing position before it returns to ordinary storage. Keep it outside the closed hanging compartment and away from a usable seat. Its location should be easy to reach during arrivals.
Choose the tray and surrounding materials for the real care requirements, and follow footwear guidance. An open position does not guarantee drying or moisture control. Review the tray with the entry door and walking route in use so it does not become an obstacle.
Practical tip: Plan the footwear landing position as a separate task.
23. Use lower drawers for small clean accessories
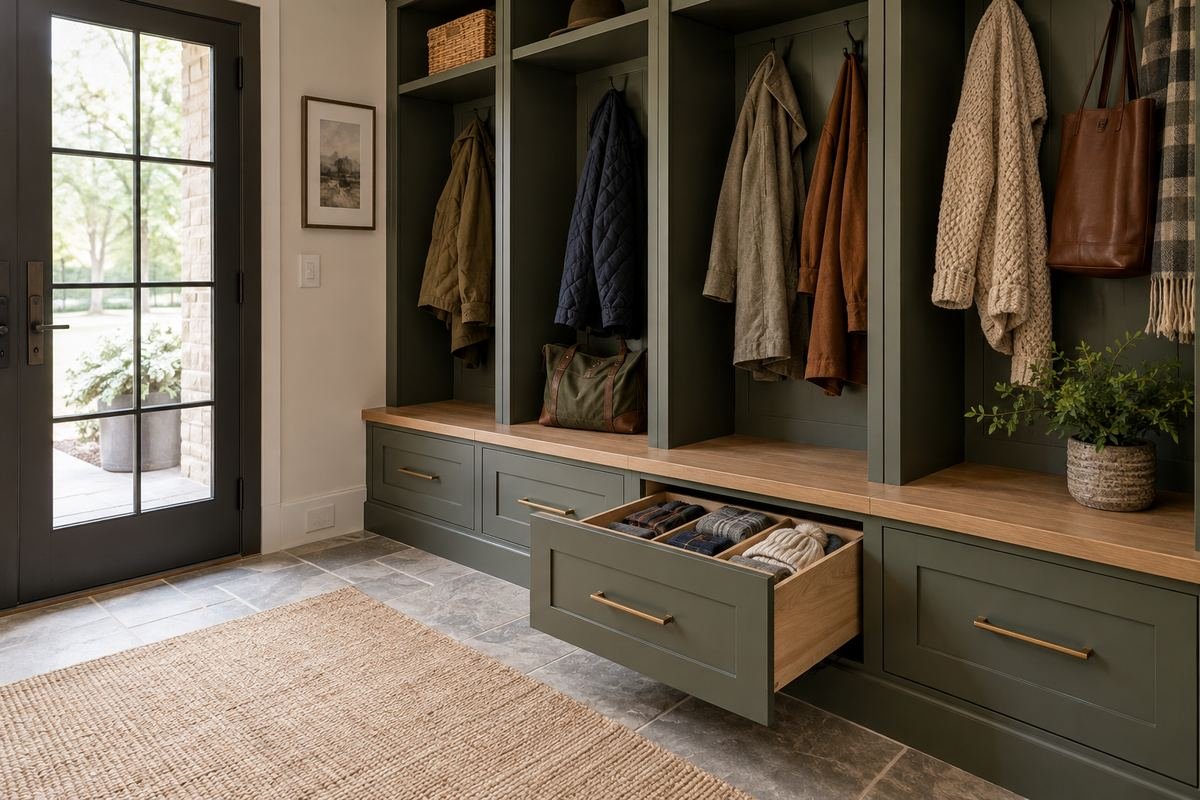
Lower drawers can give hats, scarves and other suitable small items a contained position beneath a locker bay. Keep their contents narrow enough that the drawer has a clear daily job. The front can remain part of the larger furniture composition.
Check the drawer open with someone using the bench or passing through the room. A drawer that fits the cabinet can still conflict with the route. Follow the exact furniture requirements and avoid treating an open drawer or a low storage front as a step or seat.
Practical tip: Compare the drawer extension with nearby seated and walking tasks.
24. Keep everyday shoe compartments simple and fully usable

Open lower shoe compartments can work when each opening supports the whole shoe and allows easy removal. Keep the divisions related to the footwear regularly used at that entrance. A few suitable openings may serve better than many narrow decorative cubbies.
Compare the largest everyday pair with the usable height and depth. Keep hanging coats and bags from covering the openings. Shoes requiring separate cleaning or care should follow that routine before being returned to ordinary storage.
Practical tip: Check a complete pair in the real opening.
25. Check a shallow locker with its contents projecting outward

A shallow storage system can suit a constrained entrance only when the hanging contents also fit the room. Review coats and bags in their ordinary positions rather than judging the empty cabinet alone. Their projection can determine whether the arrangement works.
Compare the full occupied footprint with doors, the seat and the walking route. If the contents remain in the way, consider a different bay orientation or another suitable storage location. A shallower furniture shell does not automatically produce a clearer entrance.
Practical tip: Assess the occupied footprint rather than the empty front line.
26. Let the back panel unify different locker interiors
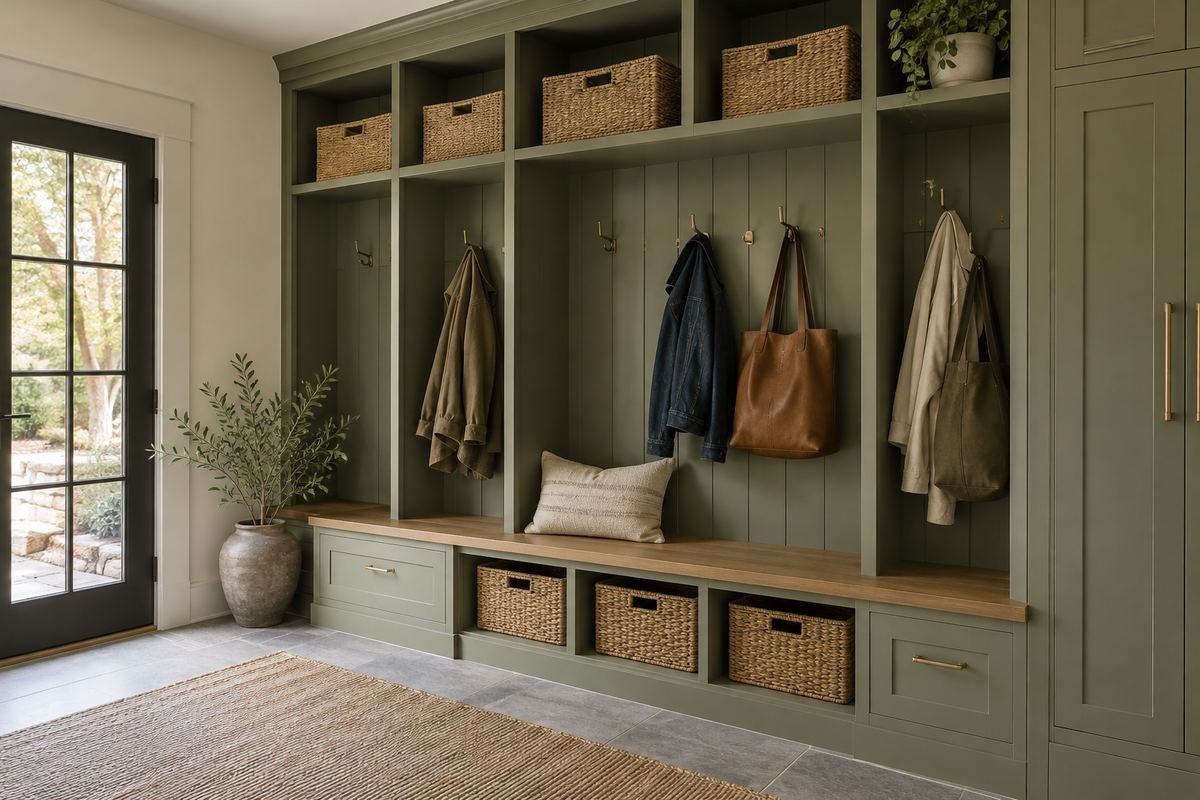
A consistent back panel can connect bays that serve different contents. A restrained painted or timber surface can provide visual continuity behind coats, bags and shelves. Keep the detail subordinate to the usable interior so the wall does not depend on several competing finishes.
Treat the image as a furniture-design concept rather than a fixing or construction detail. Confirm the appropriate materials, fittings and installation with the actual system. The back panel’s appearance does not establish its capacity to support hooks or loads.
Practical tip: Use the panel to relate the bays while specifying fittings properly.
27. Choose interiors that can follow a changing weekly routine

A locker system can include permitted adjustable interiors when the household’s bags and outerwear change through the week. Begin with the most regular contents, then compare the occasional larger item. Keep adjustments simple enough that the system remains understandable in everyday use.
Use only configurations allowed by the exact furniture instructions, and review the usable space after fittings are included. Record which belongings repeatedly end up outside the bays. That evidence can guide a better interior arrangement without automatically adding more cabinetry.
Practical tip: Review the contents of an ordinary week before expanding the system.
Frequently Asked Questions
What is the best mudroom locker layout?
Choose it from the entrance route, household contents and need for seating. Open bays, closed doors and mixed arrangements serve different routines. Test the actual bags and coats as well as the furniture footprint before deciding how many bays to include.
How wide should each mudroom locker be?
There is no single useful width for every household. Compare the actual bag, outerwear and interior fittings with the usable compartment dimensions. Outside cabinet width does not establish the hanging space available after side panels and hardware are included.
Are open or closed mudroom lockers better?
Open bays provide an immediate view of everyday items, while closed doors can give the room a quieter appearance. Both need a workable interior. Compare access, projection and the room view rather than assuming one arrangement always stays tidier.
Can a locker wall include a bench?
Yes, when the seating component is designed for sitting and works with the storage arrangement. Compare the space with a person seated and nearby doors or drawers open. A low storage surface should not be treated as a seat without appropriate product suitability.
Can long coats fit above a mudroom bench?
Compare the longest coat hanging from the intended hook with the actual seat and lower storage. If the coat covers the usable seating area, consider a separate full-height bay. Do not force every compartment into the same bench-and-hook format.
Do mudroom lockers need wall fastening?
Follow the instructions for the exact furniture and the appropriate plan for fitted cabinetry. A tall unit’s appearance in a photograph does not establish stability. Confirm the required installation and suitable wall fixings before using the storage.
Choose the Details That Work in Your Home
Choose mudroom locker ideas that make the arrival routine easy to follow. Once coats, bags, seating and the room route fit together, refine the door fronts and finish. A modest number of useful bays can serve the household better than an impressive wall of compartments without clear daily roles.
For related ideas, explore mudroom organization ideas, entryway bench ideas, entryway shoe cabinet ideas.
Planning References
Pottery Barn: daily and occasional entryway storage; Lowe’s: planning a mudroom around location and storage. Follow the instructions for the exact products you choose.
Optional digital guide for this topic
If you prefer a structured workbook, explore this related paid guide.