Good dish drying rack ideas make room for the dishes you actually wash while leaving the kitchen comfortable to use. A rack can be attractive and still block the preparation area, miss the sink with its drainage outlet or make a large plate awkward to remove. Start with those small daily movements before choosing a finish.
This guide covers compact countertop racks, expandable layouts and suitable removable sink accessories. Each idea explains the compromise behind the arrangement. Use the footprint example and loading worksheet to judge the actual model and your own dishes; the images are styling concepts rather than proof of a particular product’s capacity.
The images are original AI-generated decor concepts, not installation diagrams or photographs of completed client projects.
Browse These 26 Dish Drying Rack Ideas
Jump to an idea
- Start with a compact rack for the ordinary load
- Use a narrow rack along a suitable counter strip
- Plan both footprints of an expandable rack
- Choose a foldable rack with a real put-away place
- Try a purpose-designed rack across a compatible basin
- Use a suitable in-basin rack for a small load
- Keep a double-sink layout focused on one drying side
- Use two tiers only with enough loaded headroom
- Consider a wall rack only as a properly planned installation
- Align a designed drainage spout with the sink
- Choose an accessible collection tray when direct draining is awkward
- Keep an occasional drying mat separate from the main rack
- Make the utensil cup easy to remove
- Give a cutting board a designed support lane
- Leave an open bay for the pan washed most often
- Separate glasses from heavy dishes
- Turn mug handles toward a clear removal side
- Use a suitable bottle rack for long narrow pieces
- Leave the window’s movement clear above the rack
- Respect the sink ledge as a support limit
- Use a dark rack as one controlled accent
- Let a pale rack blend into a light kitchen
- Repeat stainless finishes beside a stainless sink
- Add warmth with a suitable folding wood rack
- Keep a small breakfast load in a clear unloading order
- Finish with an empty-rack reset
Dish Drying Rack Ideas Begin with a Landing and Water Route
Set out the items from one ordinary hand-washing session before shopping for a rack. Include the largest plate, a typical pan and the longest utensil. Then identify a fully supported position near the sink with a clear drainage route or accessible collection tray. Keep normal faucet movement and preparation space available. The size of an empty rack is only the first measurement; dishes and removable accessories can project beyond its base.
| Main constraint | Layout to test | Deciding detail |
|---|---|---|
| Short counter run | Compact upright plate rack | Loaded plate height and removal space |
| Shallow clear strip | Narrow rack in a suitable orientation | Drain alignment and full base support |
| Occasional larger loads | Expandable rack | Both closed and fully extended footprints |
| Counter needed between meals | Foldable rack with suitable dry storage | Drying and folded-storage routine |
| Limited counter but suitable sink | Purpose-designed removable sink rack | Actual support span and basin access |
A Worked Footprint Check for an Expandable Rack
Imagine a clear counter rectangle 35 centimeters wide and 45 centimeters deep. Joseph Joseph lists the Extend Slim Steel model at 23 centimeters wide and 31 centimeters deep when closed, extending to 52 centimeters deep. In that orientation, its closed footprint fits the simple rectangle on paper; fully extended, it exceeds the available depth by 7 centimeters. The example does not test its spout, loaded dishes or your sink edge. Draw both outlines and check those details separately before deciding it fits.
Copy This Dish Drying Rack Loading Worksheet
Record the clear support width and depth; the rack’s closed and open footprints; the tallest loaded plate; the widest pan or board; the position of the utensil cup; the water outlet or tray-removal direction; and the place where the rack goes when put away. For comparison, OXO’s Aluminum Dish Rack page lists a 17.9-by-14.9-by-6.6-inch overall size with an adjustable drain board and removable utensil cup. Those features illustrate what to measure, rather than establishing that any rack will hold the same household load.
1. Start with a compact rack for the ordinary load
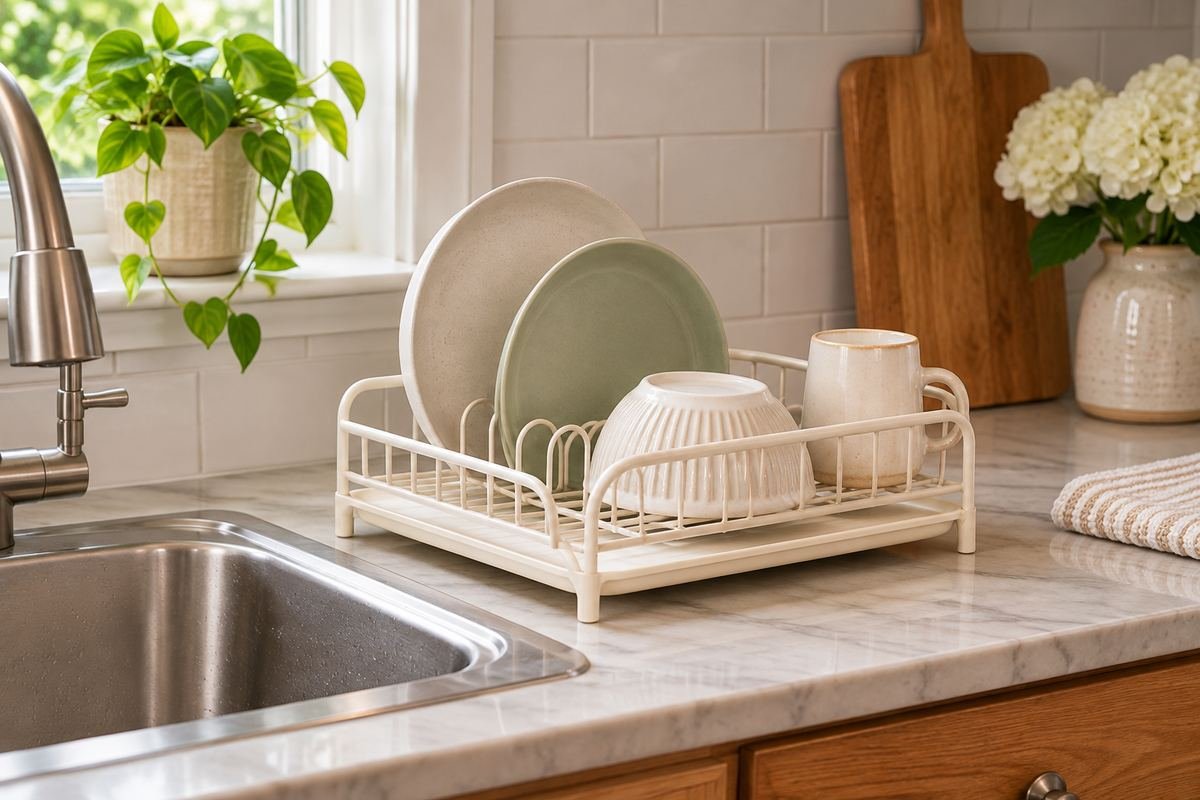
A compact rack can be enough when it is sized around an ordinary meal rather than an occasional large gathering. Give the regular plates defined slots and leave a small open area for a bowl or cup. The arrangement should remain easy to unload without lifting several unrelated pieces first.
Set out a typical load before choosing the footprint. A tiny rack that forces dishes into an unstable pile is not an efficient use of space. It may be more manageable to wash and clear a normal batch than to keep a large rack permanently occupying the preparation counter.
Practical tip: Use an ordinary meal as the capacity test.
2. Use a narrow rack along a suitable counter strip

A long narrow rack can fit a useful strip beside the sink when the base is fully supported. Turn it only into an orientation allowed by its design. The drainage board or outlet must still work, and handles should not project into the place where you stand.
Include the loaded outline in the measurement. Plates may lean beyond the frame, while a removable utensil cup can add width at one end. A narrow base is useful only when the complete arrangement preserves comfortable sink access.
Practical tip: Measure accessories at their working positions.
3. Plan both footprints of an expandable rack

An expandable rack suits a kitchen with a small everyday load and occasional extra washing. Mark both its closed and fully open positions before choosing it. The extra area needs support when used, even if the rack spends most of the week closed.
Keep the expansion route free of fixed objects. A mixer or soap station in that space can turn a flexible feature into an awkward rearrangement. Check the model’s loading guidance and water route in both positions rather than treating the sliding base as unrestricted overflow space.
Practical tip: Draw the fully extended outline before buying.
4. Choose a foldable rack with a real put-away place
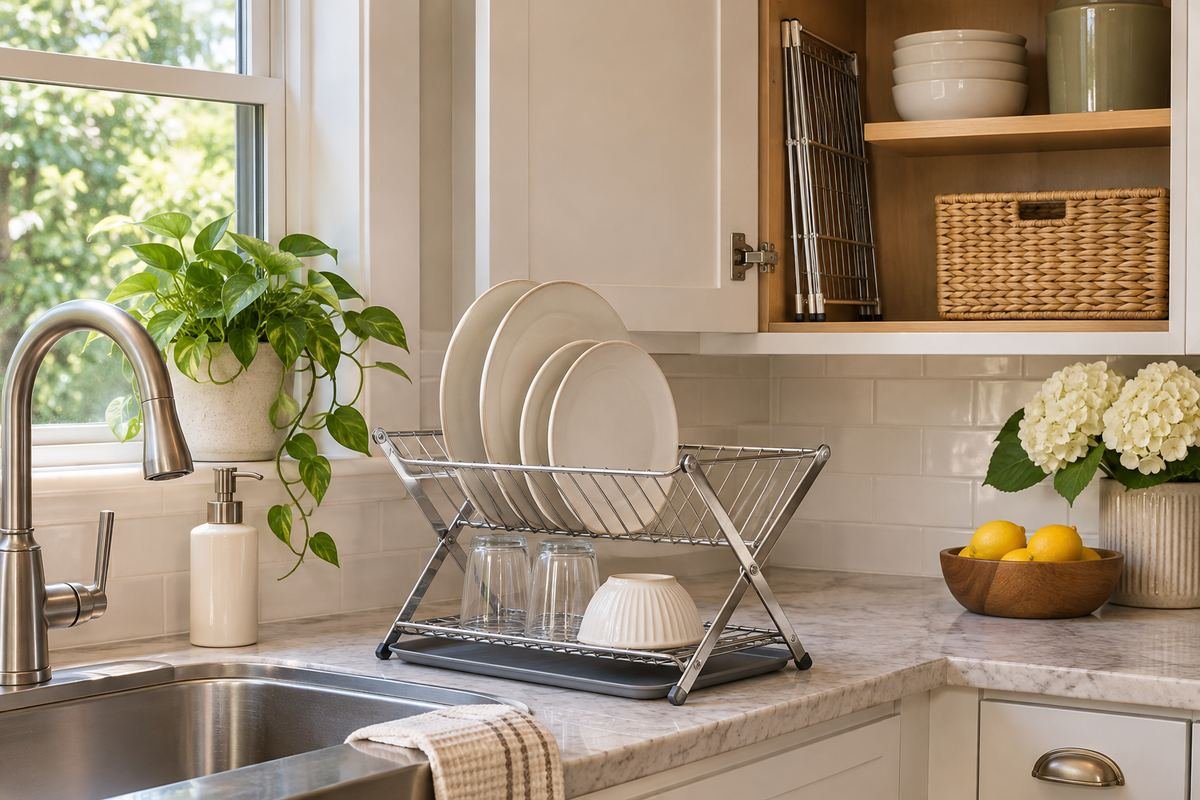
A folding rack can reclaim counter space between uses when it has a sensible storage position. Choose a model intended to fold and follow its drying and care instructions before putting it away. Measure the folded shape as well as its open working footprint.
An inaccessible cabinet behind heavy cookware can make daily storage inconvenient. Give the dry folded rack a clear bay or shelf position that matches how often it is used. If it will remain out most of the time, choose its open layout as carefully as any permanent countertop rack.
Practical tip: Test the put-away movement as part of the purchase decision.
5. Try a purpose-designed rack across a compatible basin

A removable rack intended to bridge a sink can free counter space for preparation. It needs the support span, edge shape and loading guidance specified for that model. Keep the faucet controls usable and leave a practical way to reach the basin below.
Measure the actual support surfaces rather than only the visible opening. Do not balance an ordinary counter rack across a basin or add makeshift supports. When the sink or rack geometry does not match, a different arrangement will be easier to use reliably.
Practical tip: Check the exact support span and loaded clearances.
6. Use a suitable in-basin rack for a small load

An in-basin rack can keep the counter clear when the sink has enough usable space for it. Choose a design intended for the basin’s shape and follow its support and loading instructions. Keep the daily load modest so the rack remains straightforward to lift out.
Try the basin with your largest regular pan before deciding on the position. If every wash requires moving the rack and its contents, a countertop option may fit the routine better. The basin’s main job should remain comfortable rather than becoming secondary to storage.
Practical tip: Test basin access before judging the saved counter space.
7. Keep a double-sink layout focused on one drying side
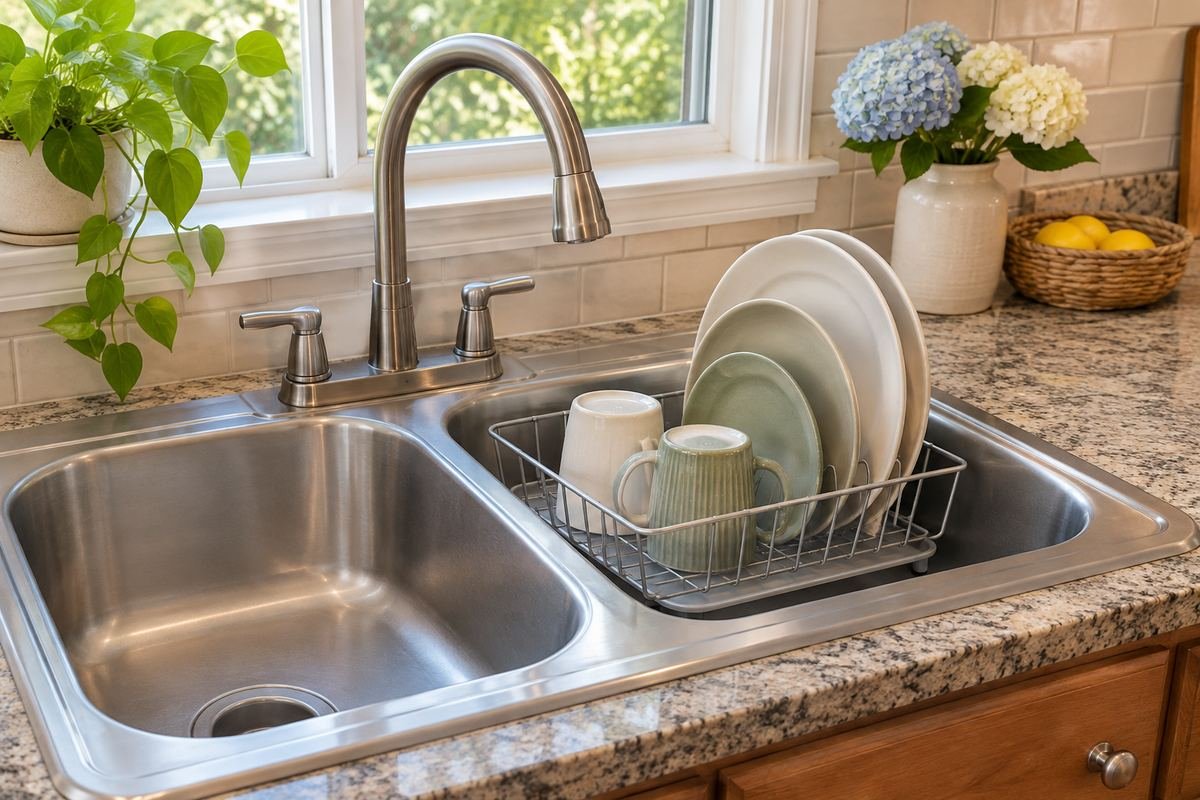
A double sink can support a clear division between washing and drying when that matches your routine. Place one suitable rack on the chosen side and keep its return position consistent. Avoid creating a second collection of half-dry items around the opposite basin.
Check which basin is needed for large cookware, food preparation or other ordinary tasks. A rack should not permanently remove the more useful bowl from service. Choose a removable layout if the sink’s jobs change during the day.
Practical tip: Decide which basin needs to stay available first.
8. Use two tiers only with enough loaded headroom
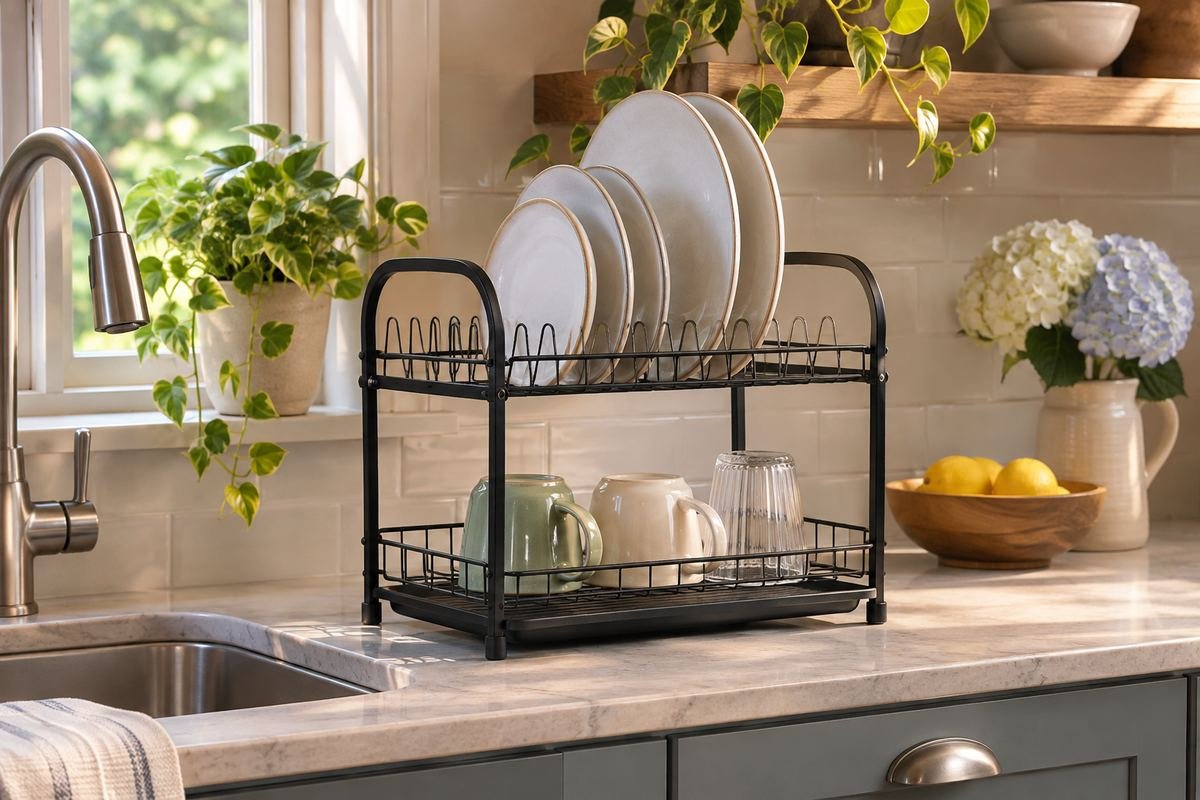
A two-tier rack can make a compact footprint work harder, but its useful height includes the dishes on the upper level. Measure that complete outline beneath windows, shelves or cabinets. Choose a stable purpose-designed model and stay within its stated loading guidance.
Think about the removal sequence. An upper plate should come out without hitting a cabinet or forcing your hand through glasses on the lower tier. If the upper level is difficult to reach, a lower broader rack may be the more comfortable choice.
Practical tip: Measure with the tallest plate in its actual slot.
9. Consider a wall rack only as a properly planned installation

A purpose-designed wall rack can clear a counter where the wall and installation method are suitable. Treat it as a fitted accessory with actual fastening, load and drip-management requirements. A decorative shelf or unrelated rail is not a substitute for a rack intended to hold wet dishes.
Choose a reachable position that does not obstruct the faucet or place dishes where they are difficult to lift safely. Follow the model’s installation instructions and use appropriate help for the wall construction. The styling image illustrates placement rather than a mounting specification.
Practical tip: Confirm the wall system and product instructions before installation.
10. Align a designed drainage spout with the sink

A rack with a directed outlet needs a position where water reaches the basin as intended. Check the spout’s range, the counter edge and the sink rim together. Keep the rack level and fully supported according to its instructions rather than tilting it to force a drain route.
A long-looking spout does not prove compatibility with every sink edge. Look at where the outlet ends, whether the route remains clear and how the piece comes off for cleaning. If the geometry does not work, choose a suitable collection-tray model instead.
Practical tip: Judge drainage in the final working position.
11. Choose an accessible collection tray when direct draining is awkward

A collection tray can suit a position where a direct outlet does not line up with the basin. Make sure the tray is designed for the rack and can be removed or emptied as instructed. Keep its access route clear instead of trapping it behind another appliance.
Practice the emptying movement with the rack in place. A tray that can be reached only by unloading every dish may be inconvenient for the daily routine. Choose the combination of rack and tray as a system, with both fitting the available counter.
Practical tip: Check the tray-removal direction before choosing the rack position.
12. Keep an occasional drying mat separate from the main rack

A suitable drying mat can provide temporary space for an occasional item when used according to its care instructions. Put it on an appropriate surface and keep it clear of the main preparation route. It should complement a manageable rack rather than hide a permanently excessive load.
Plan where the mat dries and goes afterward. Leaving another layer permanently beneath a crowded rack can make the counter harder to maintain. Follow the actual mat’s washing and drying guidance, and put the extra area away when it is no longer needed.
Practical tip: Include the mat’s after-use routine in the layout.
13. Make the utensil cup easy to remove

A removable utensil cup can simplify unloading when it has an accessible grip and enough room around it. Place it on the rack only in positions intended by the design. The tallest handles should stay clear of cabinets and the faucet’s movement.
Keep the cup’s base and drainage details reachable for cleaning. A crowded bundle of handles can make it difficult to remove a single item without knocking others out. Use the model’s designated arrangements for sharp tools rather than improvising them into an ordinary open cup.
Practical tip: Test one long-handled utensil before loading the cup.
14. Give a cutting board a designed support lane

Some racks provide a dedicated support area for a board or broad item. Use that feature only as intended, with a board whose size and weight fit the model’s guidance. Keep the board from leaning against fragile glasses or blocking the entire rack.
Try the removal movement before loading the remaining dishes. If taking out the board requires lifting several plates first, change the loading sequence or choose another suitable drying position. A visibly open lane is useful only when the support holds the item appropriately.
Practical tip: Measure the board’s complete height in the supported position.
15. Leave an open bay for the pan washed most often

A rack with an open bay can be useful for a regularly hand-washed pan when that use fits its instructions. Check the pan’s handle and rim as well as its base. Keep the complete piece within a stable loading arrangement instead of balancing it across plate slots.
A large pan can dominate the available space even when it technically fits. Try it with the ordinary plate load and decide whether a separate suitable temporary drying area is more practical. Avoid stacking cookware onto delicate dishes merely to keep everything inside one outline.
Practical tip: Include the handle in the footprint measurement.
16. Separate glasses from heavy dishes

A clear zone for glasses helps keep the unloading sequence simple. Use the rack’s intended glass supports or open area and avoid placing heavy cookware above or against fragile pieces. Each glass should sit in a supported position suited to the design.
Leave enough room to grip a glass without reaching through plate edges. A rack that looks spacious when empty may feel crowded once broad bowls and handles are added. Judge the arrangement with the glass sizes you actually use, including the widest everyday tumbler.
Practical tip: Try removing a glass while the plate section is occupied.
17. Turn mug handles toward a clear removal side

Mug handles add width that is easy to miss when measuring a rack. Place the mugs in supported positions with handles facing a clear side, if the design allows. This makes the loaded outline more predictable and avoids handles meeting the nearby wall or another dish.
Use the largest regular mug during the test. A broad handle may require more room than several smaller cups. If your rack includes hanging cup supports, follow their intended use and loading guidance rather than adding unrelated hooks.
Practical tip: Measure the handle projection beyond the rack frame.
18. Use a suitable bottle rack for long narrow pieces

Tall bottles may need a purpose-designed support rather than an ordinary plate slot. A small bottle-drying accessory can keep those pieces separate when it suits the actual bottle and product instructions. Choose a stable location and a manageable number of items.
Keep bottle parts in the designated area so they do not disappear beneath larger dishes. Do not assume a decorative peg holder is compatible with every bottle or its care requirements. If bottles are only occasional, plan a temporary arrangement that can be cleaned and stored afterward.
Practical tip: Check the support against the bottle’s actual opening and height.
19. Leave the window’s movement clear above the rack

A rack beneath a window needs room for both the loaded dishes and the window hardware. Try the usual latch, blind and opening movement before settling on the position. A low frame may still become too tall once a dinner plate stands in it.
Keep access to the sill and surrounding surface practical for cleaning. If the available headroom is limited, use a lower rack or another suitable counter position. The window should not have to stay closed simply to preserve the drying arrangement.
Practical tip: Check clearance with the tallest plate loaded.
20. Respect the sink ledge as a support limit

A broad sink-side ledge can hold a rack only when it supports the entire intended base. Measure the usable area, including rounded edges and changes in level. Small feet at the edge of a surface can make a seemingly adequate footprint misleading.
Do not bridge an unsupported gap with an ordinary countertop rack or rely on neighboring objects to steady it. Choose a smaller suitable model or another position if the full support area is unavailable. The rack’s ordinary loading should remain comfortable within the actual surface.
Practical tip: Measure where the feet sit, not only the frame’s outer outline.
21. Use a dark rack as one controlled accent

A dark rack can connect with cabinet handles or a faucet while defining the drying area against a pale counter. Choose a simple shape and keep the surrounding accessories restrained. One useful dark object can provide enough contrast without filling the sink zone with competing details.
Check the care guidance for the actual coated finish. Similar-looking black racks can have different materials and removable components. Keep the base accessible so the visual accent does not become a tightly packed collection that is difficult to maintain.
Practical tip: Match the finish after confirming footprint and drainage.
22. Let a pale rack blend into a light kitchen

A pale rack can visually recede beside light cabinetry and a white sink. Its shape and loaded outline still matter more than the quiet color. Use a modest group of everyday dishes so the arrangement remains easy to read and unload.
Look at the drainage system and removable parts before choosing by appearance. A smooth solid base may need a different emptying routine from an open rack with a separate tray. Keep enough counter around it to reach the whole assembly.
Practical tip: Judge the rack with dishes inside, not only in an empty product image.
23. Repeat stainless finishes beside a stainless sink

A restrained metallic rack can sit comfortably beside a stainless sink without introducing another strong color. Keep the frame proportional to the available counter. A simple finish lets the practical arrangement remain visible while connecting it to existing fixtures.
Do not assume similar-looking metals have the same care requirements. Check the actual rack’s material and finish guidance, especially when it combines metal, plastic and coated parts. Choose the complete design for access and water management first.
Practical tip: Compare finishes in the kitchen’s ordinary light.
24. Add warmth with a suitable folding wood rack

A purpose-designed wooden drying rack can bring texture to a quiet kitchen when its working and care requirements fit your routine. Choose a stable model with an appropriate water-management arrangement. Keep its maintenance instructions rather than assuming every wood accessory tolerates the same treatment.
Measure its open footprint and decide where it dries and is stored. The appeal of a warm natural finish should support a manageable daily system. If the care routine is inconvenient, choose another material rather than treating the rack as a purely decorative object.
Practical tip: Consider maintenance before matching the wood tone.
25. Keep a small breakfast load in a clear unloading order

A small load becomes easier to manage when cups, bowls and plates have distinct positions. Place them so the first pieces you normally put away are easy to reach. This can make even a modest rack feel useful without adding another tier or attachment.
Try the sequence after a regular breakfast. If removing a bowl requires moving a mug and lifting a plate, adjust the loading pattern. The goal is a simple routine that works with your dishes rather than an elaborate arrangement copied from a styled photograph.
Practical tip: Load once in the order that makes unloading easy.
26. Finish with an empty-rack reset

An empty rack gives you a chance to reach the tray, supports and counter beneath it. Follow the actual model’s care instructions for its parts, then return the rack to the position that worked during the daily test. Keep unrelated objects out of its working area.
If the rack repeatedly overflows, review the typical load and available surface before adding more accessories. A better footprint or washing sequence may help more than another container. Preserve the preparation counter and the basin’s normal use as part of the final arrangement.
Practical tip: Evaluate the full routine after a normal week of meals.
Frequently Asked Questions
How do I choose a dish rack for a small kitchen?
Measure a usable support area and test the loaded outline with your largest regular plate and pan. A compact base may still need extra space for handles, a utensil cup or the drainage spout. Choose the smallest arrangement that handles an ordinary load without obstructing the sink or preparation area.
Is an over-sink rack suitable for every sink?
No. A purpose-designed rack must match the actual sink span, support surfaces, load guidance and faucet arrangement. Check the exact model’s instructions and dimensions. If the supports do not sit securely as intended, use a suitable counter or basin arrangement instead.
Can every dish rack go in a dishwasher?
Follow the exact rack’s care instructions. Materials and removable components differ. For example, Joseph Joseph specifies hand washing and drying for the Extend Slim Steel model used in the measuring example; that does not establish a care method for other racks.
Choose the Details That Work in Your Home
Choose a rack position around the ordinary load, then test the largest item, the water route and the unloading movement. Keep the preparation area useful and make the base easy to reach for cleaning. A successful rack is one you can load, empty and maintain without rearranging half the kitchen.
For related ideas, explore kitchen sink ideas, kitchen sink caddy ideas, kitchen counter decor ideas.
Planning References
OXO: Aluminum Dish Rack dimensions and removable accessories; Joseph Joseph: Extend Slim Steel dimensions, drainage and care. Follow the instructions for the exact products you choose.
Optional digital guide for this topic
If you prefer a structured workbook, explore this related paid guide.