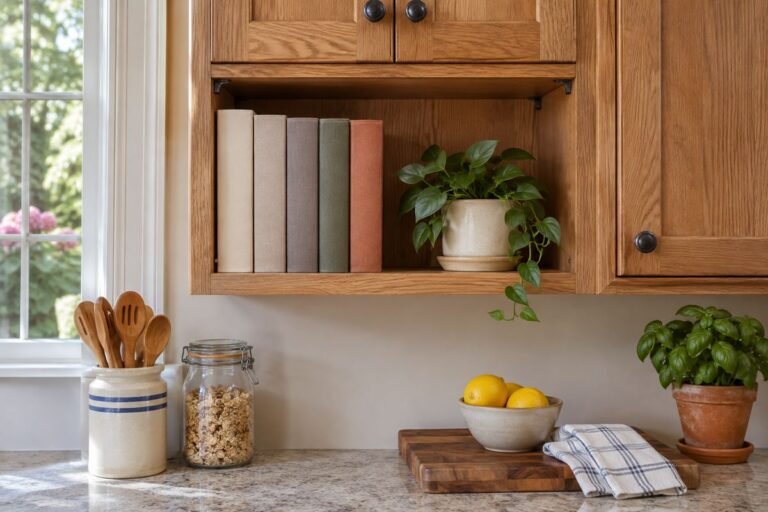
The best kitchen trash cabinet ideas make an ordinary task easy to finish: open the cabinet, use the bin, remove the liner and return everything without moving nearby furniture. A concealed front can make a kitchen look calmer, but the inside arrangement deserves as much attention as the cabinetry.
This guide covers single-bin pullouts, divided layouts and suitable freestanding alternatives. Choose around the real cabinet opening and the way your household handles waste. The measuring card and worked example help distinguish an attractive concept from a system that actually fits; the images do not replace product installation drawings.
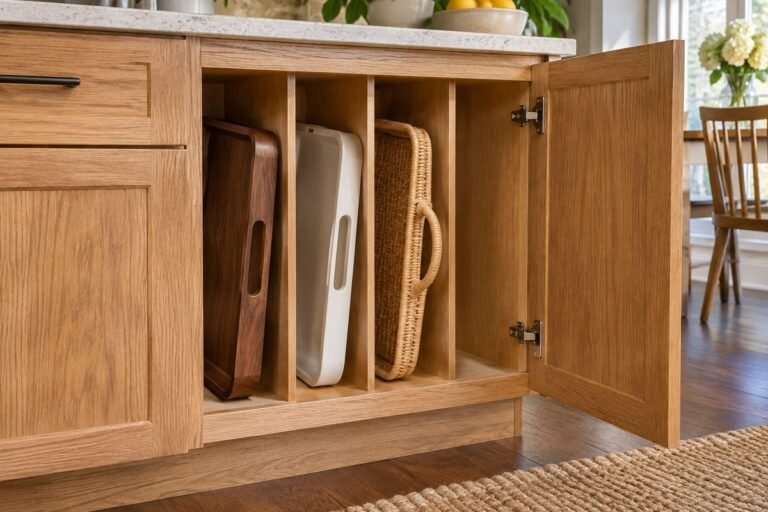
The images are original AI-generated decor concepts, not installation diagrams or photographs of completed client projects.
Browse These 24 Kitchen Trash Cabinet Ideas
Jump to an idea
- Use a single-bin pullout in a dedicated cabinet
- Place two bins front to back when the system suits it
- Use side-by-side bins in a suitably wide opening
- Reserve a full-height front for a taller system
- Retain a drawer above a shorter compatible bin
- Locate the bin beside the main preparation area
- Use a dedicated cabinet beside the sink
- Choose an under-sink system around the actual plumbing
- Give a slim opening to one well-matched bin
- Compare reduced-depth systems for a shallow cabinet
- Use a door-attached front only with compatible hardware
- Retain a hinged door with an independent handled pullout
- Use a removable bin when a fitted slide is unnecessary
- Keep compatible liners in a separate dry drawer
- Use only storage positions built into the system
- Choose an accessible removable base tray
- Keep handles clear of neighboring fronts
- Leave enough headroom to remove the bin
- Use a dark interior for a quiet visual group
- Let a concealed front blend into a pale kitchen
- Repeat warm wood inside a coordinated cabinet
- Give recycling a clearly assigned position
- Use a purpose-designed freestanding cabinet when fitting is unsuitable
- Choose capacity around the real removal routine
Kitchen Trash Cabinet Ideas Begin with the Clear Opening
Measure the usable opening from side to side, front to back and top to bottom, then mark hinges, pipes, a disposal unit and any projecting frame. Rev-A-Shelf’s official RV Series guidance distinguishes cabinet construction and asks users to account for obstructions when checking minimum openings. Use the exact selected model’s current requirements and installation instructions. The outside cabinet width and the capacity printed on a bin do not establish whether its complete sliding system will fit.
| Your priority | A useful arrangement to compare | The detail that decides fit |
|---|---|---|
| Limited clear width | Single-bin pullout | Complete frame and hinge clearance |
| Two household waste streams | Suitable double-bin system | Access to each bin and correct local sorting |
| Drawer retained above | Shorter compatible pullout | Clear height beneath the drawer |
| Existing hinged door retained | Independent pullout with handle | Door swing and full track extension |
| No suitable fitted cabinet | Purpose-designed freestanding waste cabinet | Stability, open-door clearance and removable bins |
A Clear-Opening Example That Prevents the Wrong Purchase
Imagine a cabinet described as 18 inches wide on the outside, with a measured clear opening of 15½ inches. Suppose the particular pullout you are considering requires a 16-inch minimum opening. The system fails that width check by ½ inch even though the nominal cabinet sounds larger. This is an arithmetic example using hypothetical dimensions, not a specification for a branded product. Do not solve the mismatch by removing a hinge or cutting the frame without an appropriate cabinet plan; choose a compatible system or seek qualified advice.
Copy This Kitchen Trash Cabinet Fit Card
Record seven items: clear opening width; usable internal depth; clear height beneath any drawer; the position of every obstruction; the full extension into the room; the lift-out path of each empty bin; and the selected model’s mounting and door-attachment requirements. Photograph the empty cabinet for your own reference before shopping. Simplehuman’s current 30L pullout page illustrates an independently handled full-extension system; other models can use different frames and door attachments. Verify the exact version rather than mixing specifications from similarly named products.
1. Use a single-bin pullout in a dedicated cabinet

A single-bin system can make a narrow base cabinet useful without turning it into a crowded sorting station. Give the bin the complete frame and track space required by the selected model. Keep the area around it available for its normal movement instead of filling every gap with unrelated supplies.
Try the liner-removal step as carefully as the opening step. A bin that slides out comfortably may still be awkward to lift past a drawer or door. Choose a capacity that fits both the cabinet and your actual removal routine.
Practical tip: Test the empty bin’s full lift-out path.
2. Place two bins front to back when the system suits it

A front-to-back double system can use cabinet depth while keeping the width restrained. The front bin is usually the first one reached, so assign the two positions around your own tasks. Use a complete system designed for both containers rather than balancing a second bin on an unrelated track.
Check how the rear bin lifts out and how far the frame extends. It should remain practical when the front bin is in place. Keep the two streams consistent and use your local collection guidance to decide what goes in each.
Practical tip: Try reaching the rear bin before judging the combined capacity.
3. Use side-by-side bins in a suitably wide opening

Side-by-side bins can make two streams equally visible when a cabinet has enough clear width. Each container needs an independent gripping and removal route. A balanced pair may look tidy, but the household’s actual needs can call for different capacities when the selected system allows them.
Measure the complete frame and the opening around the hinges. Two bins that fit inside the cabinet box may still fail to pass through its front. Keep any dividers and supplied supports as specified for the exact model.
Practical tip: Measure the opening before comparing bin capacities.
4. Reserve a full-height front for a taller system

A full-height door can provide room for a taller compatible bin system when the cabinet layout is designed around it. Treat the height as part of the complete installation, including frame, lid if supplied and removal clearance. A tall container should not be chosen from capacity alone.
Look at the relationship with neighboring fronts and handles. The cabinet can blend into the kitchen while still having an obvious usable grip. Keep the system’s door attachment and load requirements specific to the product rather than borrowing hardware details from another pullout.
Practical tip: Check clear height and removal height separately.
5. Retain a drawer above a shorter compatible bin

A shallow drawer above a bin cabinet can keep small dry supplies accessible when the layout leaves enough clear height below. Choose a pullout specifically compatible with that available space. The drawer box, not just its front, determines how much room remains for the bin.
Open both components separately during the layout test. Handles and extended fronts should not interfere with each other. Keep the upper drawer’s purpose modest so the area does not become a tightly packed collection that complicates changing the liner.
Practical tip: Measure beneath the actual drawer box.
6. Locate the bin beside the main preparation area

A bin close to the preparation zone can reduce the distance of an ordinary cleanup. Choose a position that preserves the counter’s main working area and allows the front to open without blocking another essential task. The best location depends on the actual kitchen routine.
Try the movement with a cutting board on the counter and the bin extended. Include a second person’s usual route if the kitchen is shared. Convenience at the counter should not come at the expense of a narrow or obstructed walkway.
Practical tip: Observe one ordinary preparation task before choosing the cabinet.
7. Use a dedicated cabinet beside the sink

A separate bin cabinet next to the sink can keep the mechanism away from plumbing while retaining convenient access. This is useful when the under-sink space is occupied or irregular. Keep the bin’s movement independent from the sink cabinet door.
Look at the dishwasher and nearby drawers before finalizing the position. A convenient-looking cabinet can become inaccessible while another appliance is open. Test the arrangement around the tasks that commonly happen together.
Practical tip: Include the dishwasher door in the access test.
8. Choose an under-sink system around the actual plumbing

An under-sink arrangement needs a system intended for the available unobstructed area. Mark the pipes and disposal equipment first, including the space needed to access them. Choose a compatible frame and bin shape rather than planning to push the plumbing aside.
Measure through the whole pullout movement. An offset pipe can interfere with a bin, handle or liner even when the cabinet floor appears clear. Keep the arrangement removable as specified and preserve maintenance access instead of filling every remaining space.
Practical tip: Record the obstruction positions before shopping.
9. Give a slim opening to one well-matched bin
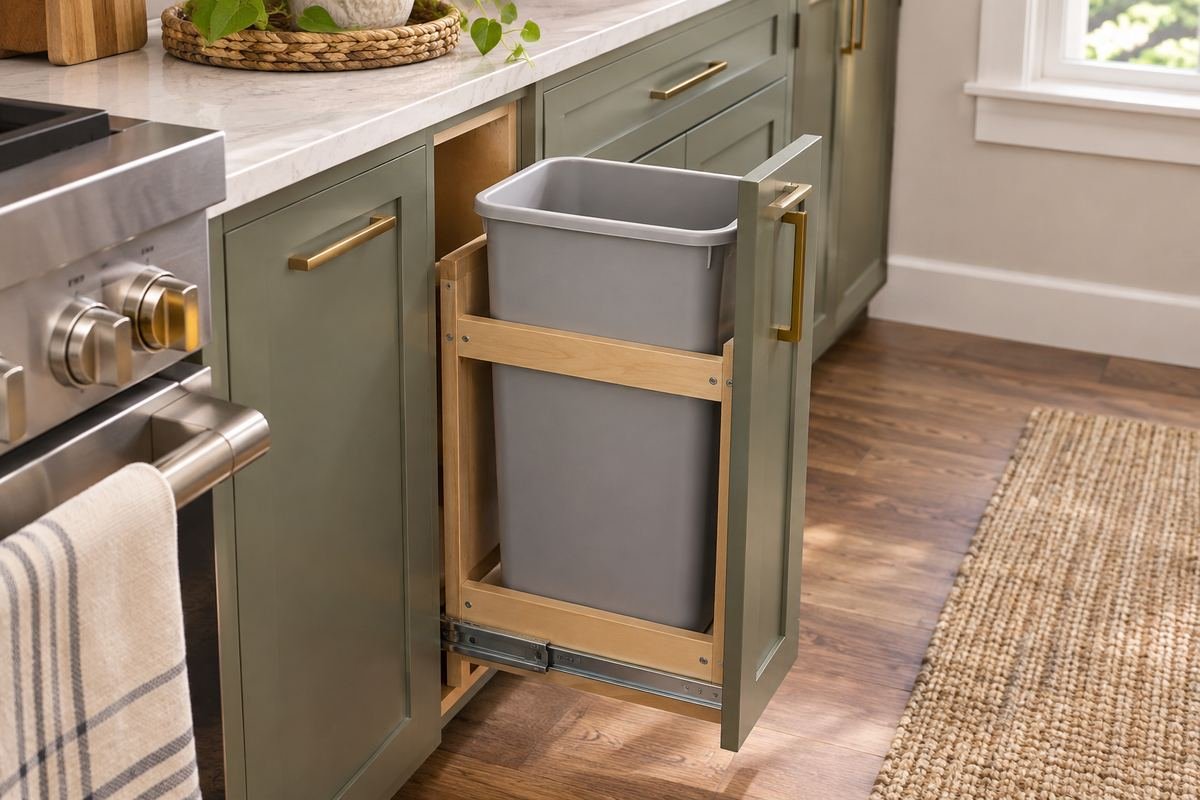
A slim cabinet opening can suit a single compatible bin better than an oversized system squeezed into the frame. Choose by the measured opening and the model’s minimum requirements. The visible door width does not establish the usable space behind it.
Keep expectations aligned with the actual capacity. A small bin may work well with a regular removal routine, but it will not provide the volume of a wider cabinet. Preserve easy lifting and track access instead of packing extra supplies around it.
Practical tip: Check the narrowest point around hinges and frame.
10. Compare reduced-depth systems for a shallow cabinet

A shallow cabinet needs a frame and track arrangement designed for its usable depth. The bin’s dimensions alone are not enough because the mechanism occupies space too. Check the cabinet back, door closure and any internal projections.
Keep the front-to-back movement clear without improvising shortened tracks. A purpose-designed reduced-depth option or a suitable removable bin can be more manageable than altering a system intended for a deeper cabinet. Use the exact installation guidance for the chosen version.
Practical tip: Measure to the nearest actual obstruction at the back.
11. Use a door-attached front only with compatible hardware

A door-attached pullout can give the bin cabinet the same clean front as neighboring storage. The door, frame and attachment hardware need to work as a complete system. Confirm that the chosen product supports that arrangement rather than assuming every pullout can carry a door.
Plan handle placement around a comfortable opening movement and the product’s requirements. Avoid using an unrelated basket or independent frame as a door-mounted assembly. A well-matched system can look simple outside because the inside details have been properly resolved.
Practical tip: Confirm door-attachment compatibility before choosing the front.
12. Retain a hinged door with an independent handled pullout

An independent pullout behind a hinged door can suit an existing cabinet when the selected model and opening are compatible. Open the door fully, then use the frame’s intended handle. Keep that two-step routine in mind when comparing it with a door-attached system.
Check the hinge projection and the door’s open position throughout the frame movement. The bin and handle should pass without rubbing the door. A cabinet that looks wide enough with the door removed may not provide the same clearance in everyday use.
Practical tip: Test with the hinged door in its normal fully open position.
13. Use a removable bin when a fitted slide is unnecessary

A small removable bin can suit a simple cabinet arrangement when easy access matters more than a sliding mechanism. Choose a stable container that fits the opening and can be lifted without snagging. Keep the cabinet floor and the bin’s care requirements in mind.
Try the routine with the door open and the intended liner fitted. If reaching the bin requires kneeling or dragging it past stored objects, a different position may work better. Simplicity is useful only when the everyday movement remains comfortable.
Practical tip: Lift the complete empty bin through the opening once.
14. Keep compatible liners in a separate dry drawer

A small supply of compatible liners near the bin can make changing it straightforward. A separate dry drawer above or beside the cabinet often provides clearer access than a loose pile around the tracks. Keep the liner size and shape suited to the actual container.
Avoid packing the drawer with supplies that are unrelated to the waste routine. A compact roll or neatly folded supply can be enough. Keep packaging information available where it is useful without turning it into clutter on the counter.
Practical tip: Choose the liner supply after confirming the actual bin.
15. Use only storage positions built into the system

Some complete pullout systems include a basket or dedicated accessory area. Use those positions according to the exact model’s instructions and keep them clear of moving parts. An apparent gap behind a bin is not automatically an additional shelf.
Choose a small supply that does not obstruct removal, the door or the tracks. If the system has no intended accessory storage, use a separate drawer instead of adding an improvised hanging container. Keeping the mechanism accessible can matter more than using every inch.
Practical tip: Treat unused mechanism space as clearance unless the product says otherwise.
16. Choose an accessible removable base tray
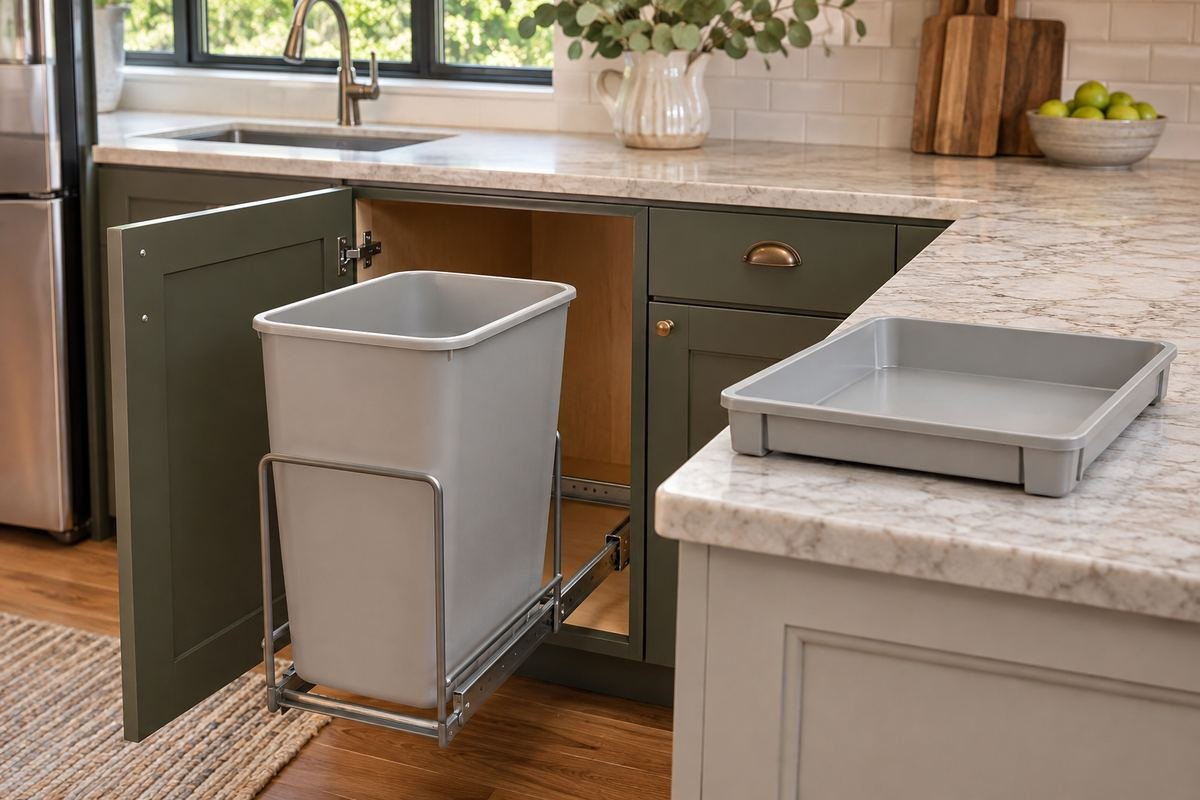
A removable base tray can make the cabinet arrangement easier to maintain when it is part of the designed system. Check how it comes out and which parts must be removed first. The tray should not be trapped behind a fixed frame or unrelated supplies.
Follow the care instructions for the tray, bin and cabinet finish. Different materials may need different treatment. Plan a clear temporary landing area for the empty components so maintenance does not require balancing them on other stored items.
Practical tip: Practice the empty-component removal sequence.
17. Keep handles clear of neighboring fronts

A bin cabinet handle needs room when the front moves past adjacent doors and drawers. Check the whole path, especially near a corner. A visually aligned row of handles can still interfere when the fronts are open at the same time.
Try the common combinations in your own kitchen. Opening the bin should not require closing every nearby storage position first. If a conflict appears, resolve the layout or compatible hardware choice before finalizing the front.
Practical tip: Test the corner and neighboring drawer together.
18. Leave enough headroom to remove the bin

Opening a frame is only part of access. The bin needs to lift out in the way intended by the model, including any handle movement and clearance beneath a counter or drawer. Check that path with an empty container before relying on the arrangement.
Avoid storing accessories above the bin where they block its removal. A lid or rail supplied with the system can change the movement too, so use the complete model’s instructions. Comfortable access makes routine liner changes less awkward.
Practical tip: Include the rim and carrying handle in the height test.
19. Use a dark interior for a quiet visual group

Dark bins and a restrained frame can make the open cabinet look visually calm beside darker cabinetry or hardware. Choose the design for fit and access first, then use the finish to connect it with the kitchen. Keep the interior free of unrelated loose objects.
Appearance does not establish durability or care requirements. Check the actual materials and instructions for the bin and frame. A matching dark palette can be attractive while remaining easy to inspect and maintain when the cabinet is open.
Practical tip: Match the finish after confirming the complete system fits.
20. Let a concealed front blend into a pale kitchen
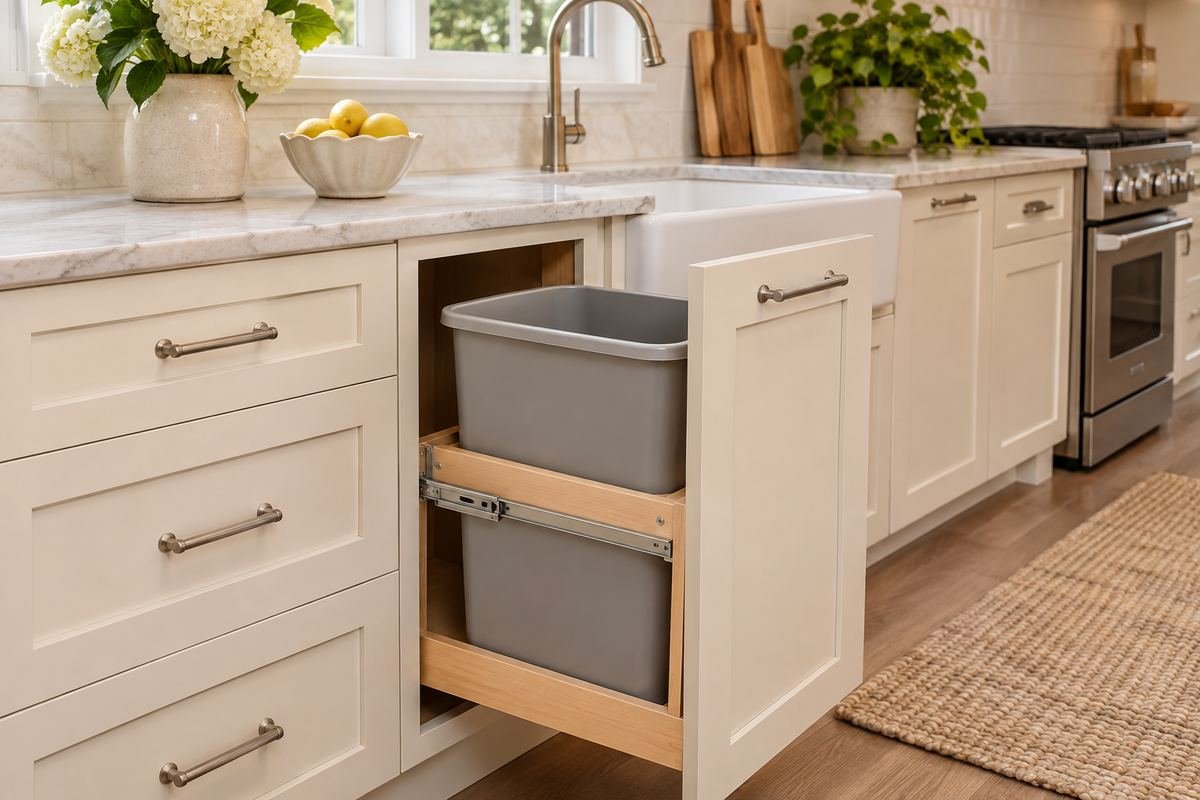
A pale cabinet front can keep the waste area visually integrated with a light kitchen. Repeat the neighboring door style and handle scale when the chosen system supports that front. The bin’s location can remain clear through a consistent daily routine.
Keep access more important than perfect visual repetition. A decorative handle placed awkwardly for the pullout can make a simple task uncomfortable. Work within the frame and door requirements rather than choosing the exterior detail independently.
Practical tip: Test the grip at the intended handle position.
21. Repeat warm wood inside a coordinated cabinet

A wood-look or wooden frame can connect an open bin cabinet to other warm kitchen finishes when it is part of a purpose-designed system. Keep the bin removable and the moving mechanism accessible. Choose the complete construction for its intended job.
Follow the actual frame’s care and installation instructions. A decorative wood tray is not interchangeable with a fitted pullout assembly. Leave the wood detail visible through a simple arrangement instead of filling the cabinet with extra baskets.
Practical tip: Judge the whole system, including the frame and supports.
22. Give recycling a clearly assigned position

A second bin or dedicated cabinet can make a household’s sorting routine easier to follow. Choose the position around the materials your local collection accepts and the amount you actually handle. Use a simple consistent distinction rather than assuming a universal color code.
Keep emptying and removal comfortable for each container. A rear bin that no one reaches may become ineffective despite a tidy front. Adjust the arrangement to your local rules and household routine instead of treating the storage layout as proof of recycling eligibility.
Practical tip: Check local collection guidance before assigning the streams.
23. Use a purpose-designed freestanding cabinet when fitting is unsuitable

A freestanding waste cabinet can provide a concealed front where an existing fitted cabinet cannot accept a suitable system. Choose a product designed for the purpose with appropriate stability and removable-bin access. Keep its door and bin movement clear of the kitchen route.
Do not disguise a loose bin in an unstable decorative cabinet or assume a mobile unit is suitable for every load. Follow the actual furniture’s assembly, placement and restraint guidance where applicable. The alternative should simplify access rather than create another obstacle.
Practical tip: Check stability and open-door clearance before choosing its location.
24. Choose capacity around the real removal routine
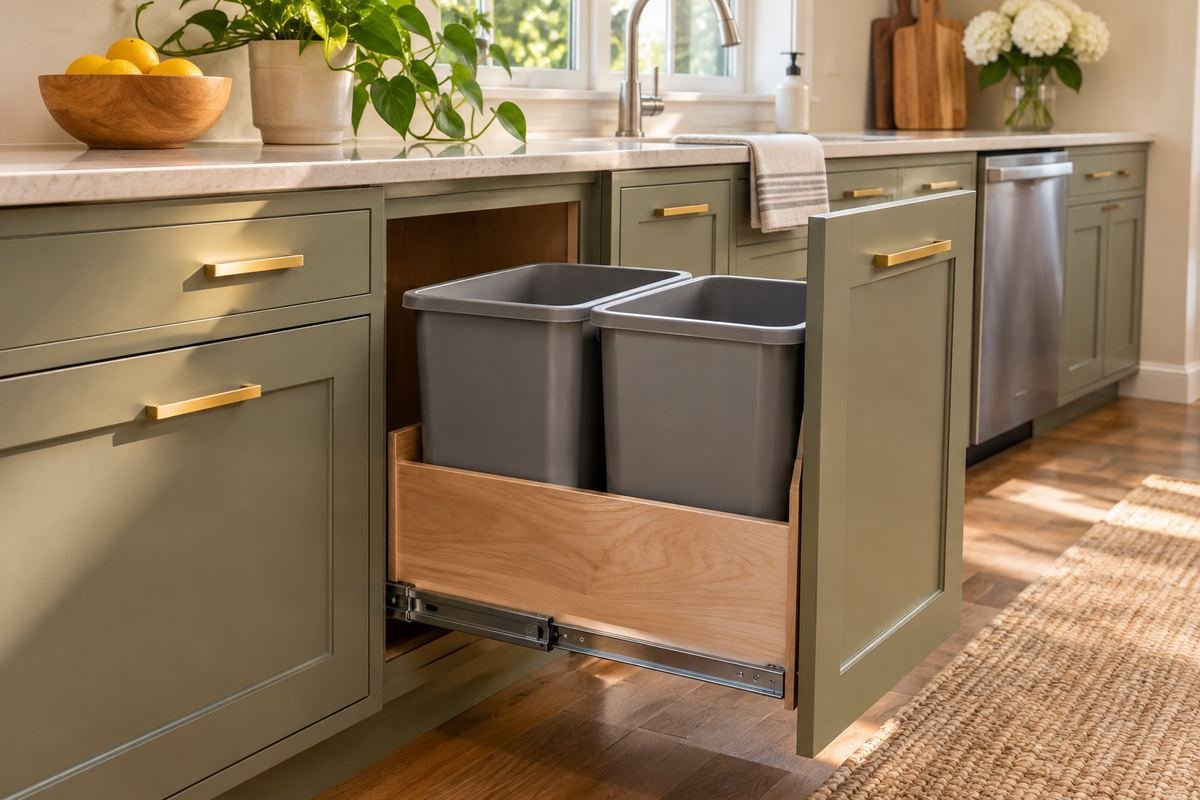
The final system should match how frequently your household can remove its contents and replace liners. A larger capacity is useful only if the bin remains comfortable to use and lift as intended. Keep the fitted system’s stated load guidance separate from the volume printed on the container.
After a normal week, notice whether the front, liner or access path causes a repeated problem. Adjust the routine or choose a compatible arrangement that better fits the space. A calm cabinet exterior is most valuable when the inside continues to work during ordinary life.
Practical tip: Review one repeated inconvenience before adding another accessory.
Frequently Asked Questions
Can a pullout bin fit under every kitchen sink?
No. Plumbing, disposal equipment, hinges and the cabinet frame can occupy the space needed by the bins or tracks. Measure the full unobstructed area and compare it with a system intended for that application. Keep access to the plumbing and follow the exact product’s requirements.
Should I choose one bin or two?
Choose around your household’s waste handling and the space available. A double system can separate two streams, but it must let you use and remove both bins comfortably. Check your local collection rules rather than assuming the color or position of a bin determines what belongs in it.
Does a concealed cabinet prevent odors?
A cabinet front is a storage and appearance feature, not a guarantee against odors. Follow the bin and cabinet care instructions, use compatible liners and maintain a removal routine suited to the contents and your household. Avoid making prevention claims based only on a closed-door appearance.
Choose the Details That Work in Your Home
Choose the bin system after measuring the actual opening, then test the full sequence from door movement to liner replacement. Preserve access to nearby drawers and any plumbing. A calm cabinet front works best when the inside arrangement is equally straightforward to use, remove and maintain.
For related ideas, explore kitchen under-sink organization ideas, kitchen drawer organization ideas, small pantry organization without drilling.
Planning References
Rev-A-Shelf: RV Series cabinet measuring and minimum-opening guidance; Simplehuman: 30L Under Counter Pull-Out Can, frame and access design. Follow the instructions for the exact products you choose.
Optional digital guide for this topic
If you prefer a structured workbook, explore this related paid guide.