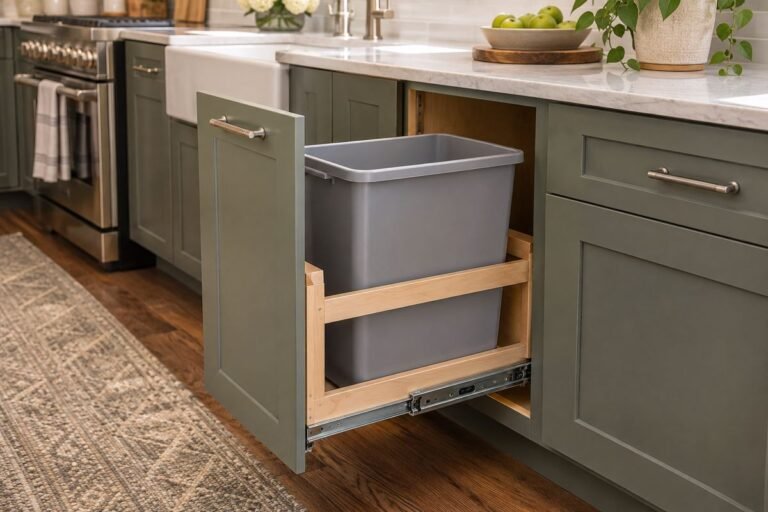
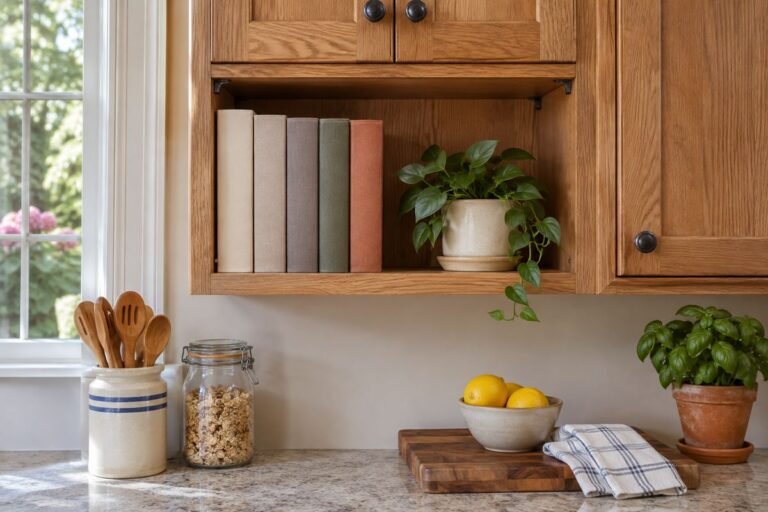
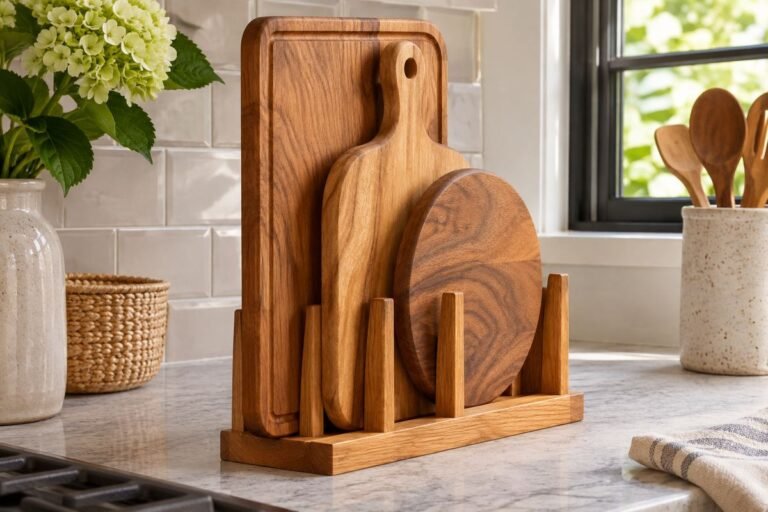
A serving tray can be wider than the cabinet that seems made for it, especially once you count raised handles. It can also disappear under a pile of platters even when the pile looks neat. Useful serving tray storage ideas give each piece a clear way in and out, with enough support for its shape and finish.
These serving tray storage ideas focus on carrying trays and occasional entertaining pieces. Choose from vertical slots, shallow shelves and dining-room storage, then use the fit worksheet to test the trays you own. A practical arrangement should let you take out one tray without rebuilding the rest of the cupboard.
The images are original AI-generated decor concepts, not installation diagrams or photographs of completed client projects.
Browse These 22 Serving Tray Storage Ideas
Jump to an idea
- Give everyday trays their own vertical slots
- Use a wide shallow drawer for low-rim trays
- Store oversize trays in a dining sideboard
- Separate round trays with a supported bay
- Keep a delicate tray on a shelf by itself
- Nest only trays that genuinely fit together
- Give raised handles extra headroom
- Use an island-end compartment for frequent serving
- Keep a folding breakfast tray in a closed-leg bay
- Put small trays in a separate compact section
- Use a removable freestanding organizer in a rental
- Choose a pullout only when the whole system fits
- Assign a tray shelf beside serving dishes
- Make a daily coffee tray easy to lift
- Use a narrow open shelf for one display tray
- Keep metal trays separate from easily marked finishes
- Reserve a long bay for rectangular entertaining trays
- Separate outdoor serving trays from garden supplies
- Keep a tray clear on the lower shelf of a serving cart
- Give seasonal trays a clearly defined upper compartment
- Keep one empty landing space beside tray storage
- Edit the collection around actual serving routines
Plan Serving Tray Storage Ideas Around the Full Outside Size
Measure the complete outside length and width, then the deepest rim or handle projection. Note whether the tray can stand securely on its edge, whether it has folding legs and how often you carry it between rooms. Measure a cabinet’s clear entrance as well as its interior, including hinges, shelf lips and adjacent objects. Rev-A-Shelf’s cabinet-fit guidance similarly calls for width, depth and height measurements with obstructions included. A fit on paper still needs a real removal test before you commit to an organizer.
| Tray or routine | Useful starting point | What to test |
|---|---|---|
| Large rectangular carrying tray | Wide vertical cabinet slot | Handles through the entrance |
| Delicate decorated tray | Own supported shelf | Contact with adjacent pieces |
| Round tray used daily | Accessible divider bay | Rolling and sideways movement |
| Folding breakfast tray | Dedicated closed-leg compartment | Actual folded thickness |
| Occasional entertaining set | Dining sideboard shelf | Unloading without moving dinnerware |
A Worked Example: Outside Size Beats the Flat Base
Suppose a tray has an 18-by-12-inch flat base, but its handles extend the outside length to 20 inches. A 19-inch clear cabinet opening will not accept it in that orientation, even if the cabinet is deeper behind the door. Turning the tray may help only if the other dimension and the removal path fit too. Make a paper outline of the full outside profile, then try the route with the actual empty tray. Do not plan around the base dimensions alone.
Serving Tray Storage Ideas: A Fit and Return Card
For each tray record: full outside length; full outside width; tallest rim or handle; stored orientation; clear opening; shelf or slot location. Add a seventh line for the thing that moves when you remove it. The target is “nothing else” for your everyday tray. For a folding tray, measure it after closing the legs according to its instructions. IKEA lists the KLIPSK example at 22 by 14¼ inches in use and describes folding legs, but those published figures do not establish your tray’s folded thickness or fit.
1. Give everyday trays their own vertical slots

A short set of vertical compartments makes each tray visible from the front. It is especially useful when several rigid trays have similar sizes and would otherwise form a stack. Position the everyday tray where its handles clear the cabinet entrance without rubbing a hinge.
The slot needs to support the tray in the position you choose. Leave enough space for fingers at its rim rather than sizing each gap to the thinnest part alone. Put an empty tray in and take it out several times before deciding how closely to place the neighboring divider.
Practical tip: Keep the most-used tray in the easiest slot to approach.
2. Use a wide shallow drawer for low-rim trays

A wide drawer can hold a low-rim tray flat without hiding it behind another object. This arrangement suits a piece you use frequently and prefer to lift straight up. Keep the space above its handles clear when the drawer closes.
Measure the usable drawer interior and the opening above it, not the width of the drawer front. A tray might sit inside the box but catch under the cabinet rail during movement. If two trays share the drawer, make sure the top one can be lifted without fingertips scraping the frame.
Practical tip: Close the empty loaded drawer slowly once before establishing the layout.
3. Store oversize trays in a dining sideboard

A dining sideboard often has a broader shelf than a narrow kitchen cupboard. Moving occasional trays there can free a more convenient kitchen position for pieces used every day. Keep the tray near the table where you actually unload it.
Choose a shelf you can reach while holding the empty tray with both hands. Avoid placing it behind fragile glasses that have to come out first. The sideboard should shorten the entertaining routine rather than become a distant place where an important serving piece is forgotten.
Practical tip: Put the largest empty tray through the open door before rearranging the dishes.
4. Separate round trays with a supported bay

Round trays can slide sideways when leaned loosely against the back of a cupboard. A fitted bay or suitable organizer gives the edge a predictable position. Keep the tray upright only when its shape and the support make that stable.
Allow for the diameter and any attached handles. A round tray’s center can fit inside a cabinet while its outer edge still catches the entrance. Test the complete circle, and avoid filling the narrow space in front with bottles that force you to tilt the tray sharply to remove it.
Practical tip: Trace the full outside circle when testing a tight compartment.
5. Keep a delicate tray on a shelf by itself

A decorated or delicate tray may deserve a flat shelf rather than a crowded vertical rack. Giving it its own supported surface reduces the need to rub it past other pieces. This is useful for a tray whose finish makes repeated stacking unattractive.
Follow the care guidance for the particular material and finish. Avoid assuming that every liner, polish or wrapping material is suitable. If the tray has feet or an uneven underside, look at its actual contact points and make sure it sits steadily without a second tray resting on its handles.
Practical tip: Reserve the shelf for the tray rather than treating its surface as extra storage.
6. Nest only trays that genuinely fit together

A small nested set can save space when the rims and handles are designed to sit comfortably together. Place the largest piece underneath and verify that the smaller tray rests on an appropriate surface. A set should separate without pulling or twisting.
Trays that merely share a rectangular shape may still have incompatible feet or handles. Do not force a smaller piece into a larger rim or let its corners scrape a finished surface. Keep the pieces you use most often at the top of a modest group, with another location for awkward outliers.
Practical tip: Separate a pair that catches whenever you lift the upper tray.
7. Give raised handles extra headroom
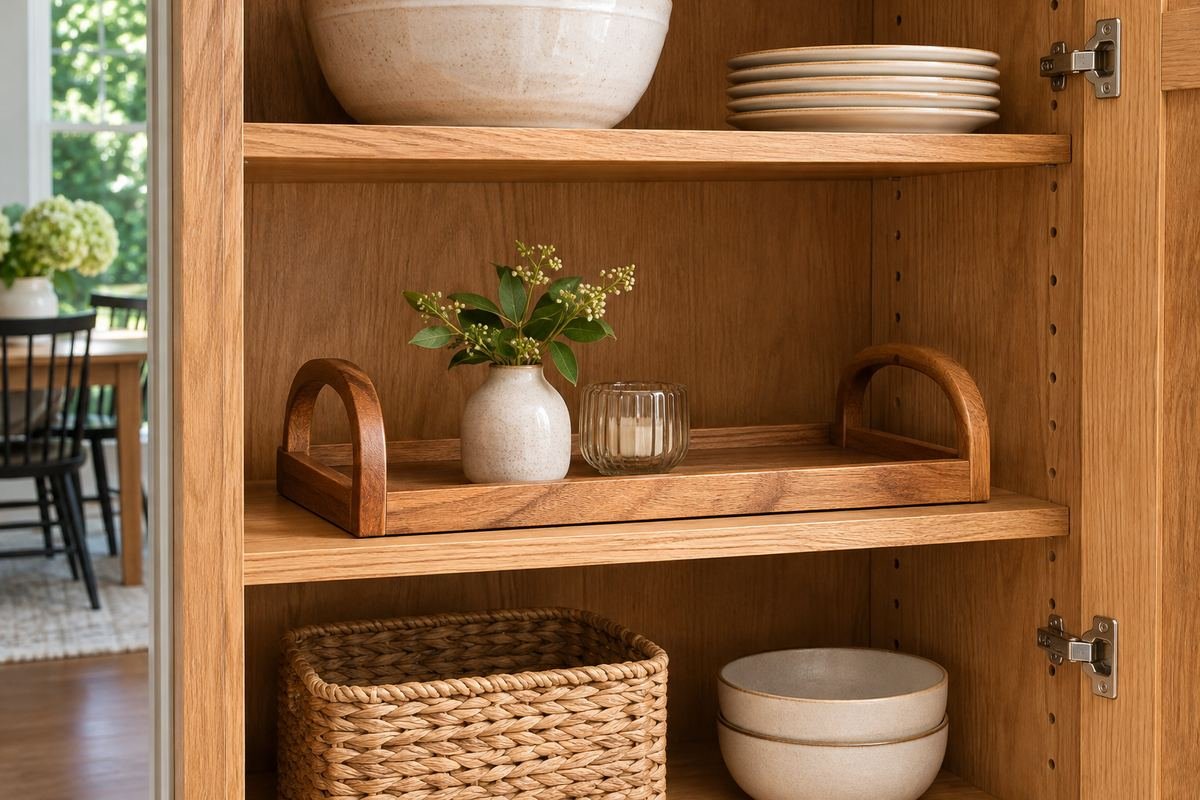
High handles often determine a tray’s storage needs more than its flat base. An adjustable shelf can create useful clearance above them while keeping the tray horizontal. Leave enough room to lift with a natural grip instead of sliding fingers into a narrow gap.
Measure from the support surface to the highest point of the stored tray. Then consider the movement needed to clear the shelf edge. A tray that fits in a motionless position may still require more vertical space to get out. Test that lift before setting the neighboring shelf height.
Practical tip: Measure to the top of the handle, not only the tray rim.
8. Use an island-end compartment for frequent serving

An island-end bay can keep a carrying tray close to breakfast or snack preparation. It works best on an accessible side where opening the compartment does not block another person using the kitchen. A single tray in its own bay is easy to put away.
Keep the tray’s path clear of stools, knees and projecting hardware. If the opening is exposed, choose a position that does not invite a tray to slide into the walkway. The storage should fit the island’s existing function instead of adding an obstacle to the busiest route through the room.
Practical tip: Try removing the tray with the nearby stool in its normal position.
9. Keep a folding breakfast tray in a closed-leg bay
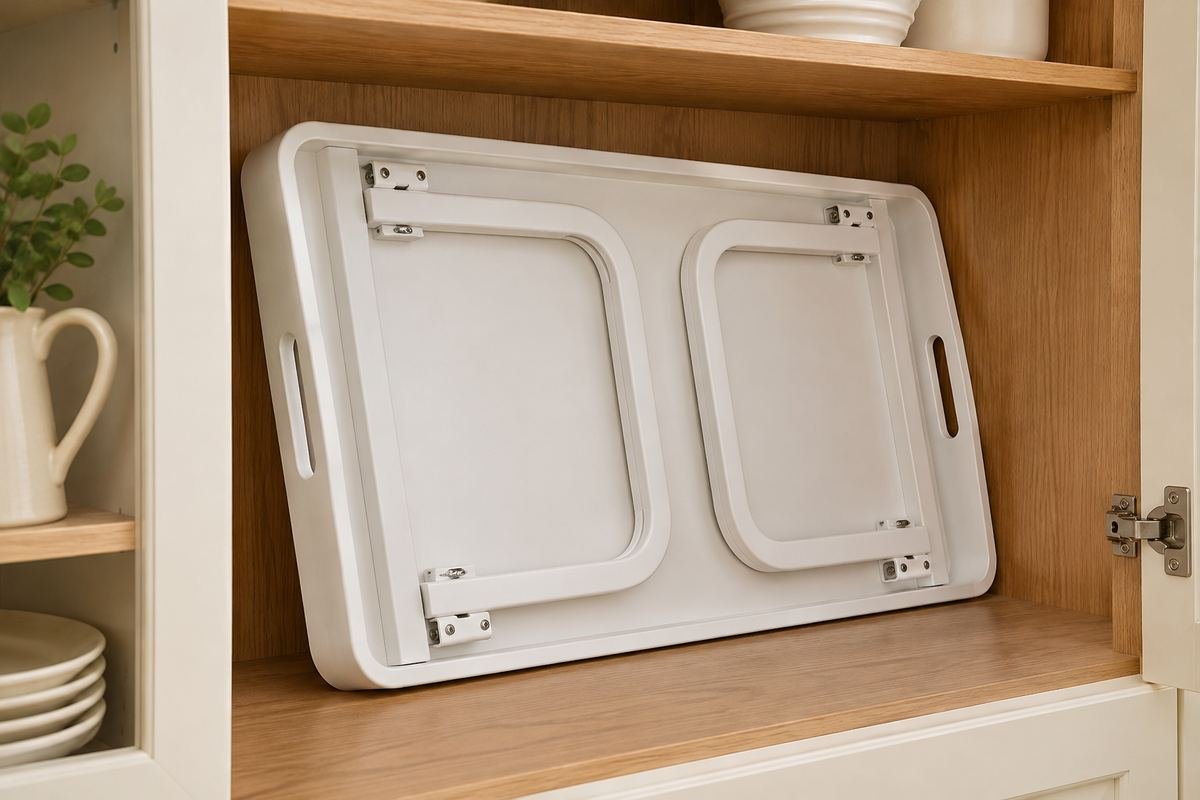
A tray with folding legs needs a compartment based on its stored form. Close the legs as instructed and measure the complete thickness, including hinges and catches. A dedicated bay keeps those moving parts from tangling with neighboring handles.
Make the return routine simple: empty the tray, clean and dry it as directed, close it and return it to the same position. Do not use storage pressure to hold a damaged or reluctant hinge shut. A comfortable bay is better than forcing the tray into the last remaining cabinet gap.
Practical tip: Measure the folded tray itself rather than relying on the package size.
10. Put small trays in a separate compact section

Small carrying trays tend to disappear between larger platters. A short dedicated section keeps them visible without using a full-size shelf. Group pieces by the way you reach for them, such as a small tray for one mug and another for snacks.
Keep the group modest enough that you can see its contents at a glance. A deep basket full of small trays may simply recreate the hidden stack in a different container. If the pieces stand upright, the container and the trays need a stable fit rather than a top-heavy bundle.
Practical tip: Keep small trays beside each other when a tall stack hides the lower pieces.
11. Use a removable freestanding organizer in a rental
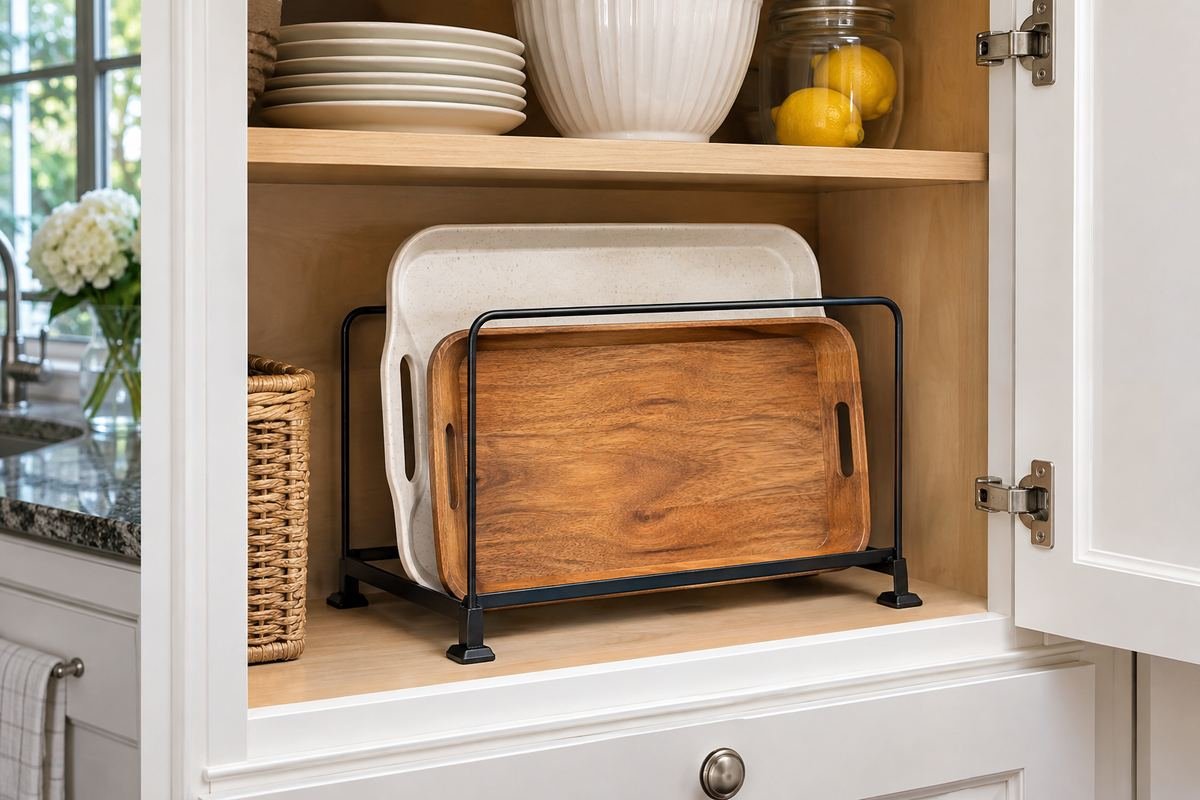
A suitable freestanding organizer can divide an existing shelf without changing the cabinet. Start with the cabinet’s clear opening and the organizer’s complete footprint. The tray should fit in its intended slot while the organizer remains stable on the shelf.
Do not assume that an unfastened rack can safely hold every heavy or tall tray. Follow the particular organizer’s instructions and keep its feet fully supported. A removable arrangement is valuable when it solves a real access problem without making the cabinet harder to close or clean.
Practical tip: Test the rack with your lightest empty tray before arranging the group.
12. Choose a pullout only when the whole system fits

A purpose-designed pullout can bring trays forward from a deep cabinet. Its value comes from access to the rear, especially when a fixed shelf makes you reach around other objects. Select the entire system for the actual cabinet and tray dimensions.
Allow for slides, the clear opening and the pullout’s own movement. A wide interior does not prove that hardware will pass a face frame or hinge. Use the manufacturer’s fit and installation instructions; a picture of a tidy pullout cannot establish how it mounts in your cabinet.
Practical tip: Include the hardware footprint in the plan instead of counting only tray space.
13. Assign a tray shelf beside serving dishes

Occasional trays can share a sideboard with the dishes used for the same meal. Give them a separate shelf or compartment so each group can be removed independently. This keeps the serving sequence together without piling everything into a single tower.
Put the heaviest or most awkward pieces where you can lift them comfortably. Avoid storing a tray under a dish stack that must be carried away before entertaining begins. The goal is a clear order of retrieval: tray, dishes and linens can each come out without temporarily occupying the whole table.
Practical tip: Place a tray and the matching dishes in neighboring compartments rather than on top of one another.
14. Make a daily coffee tray easy to lift
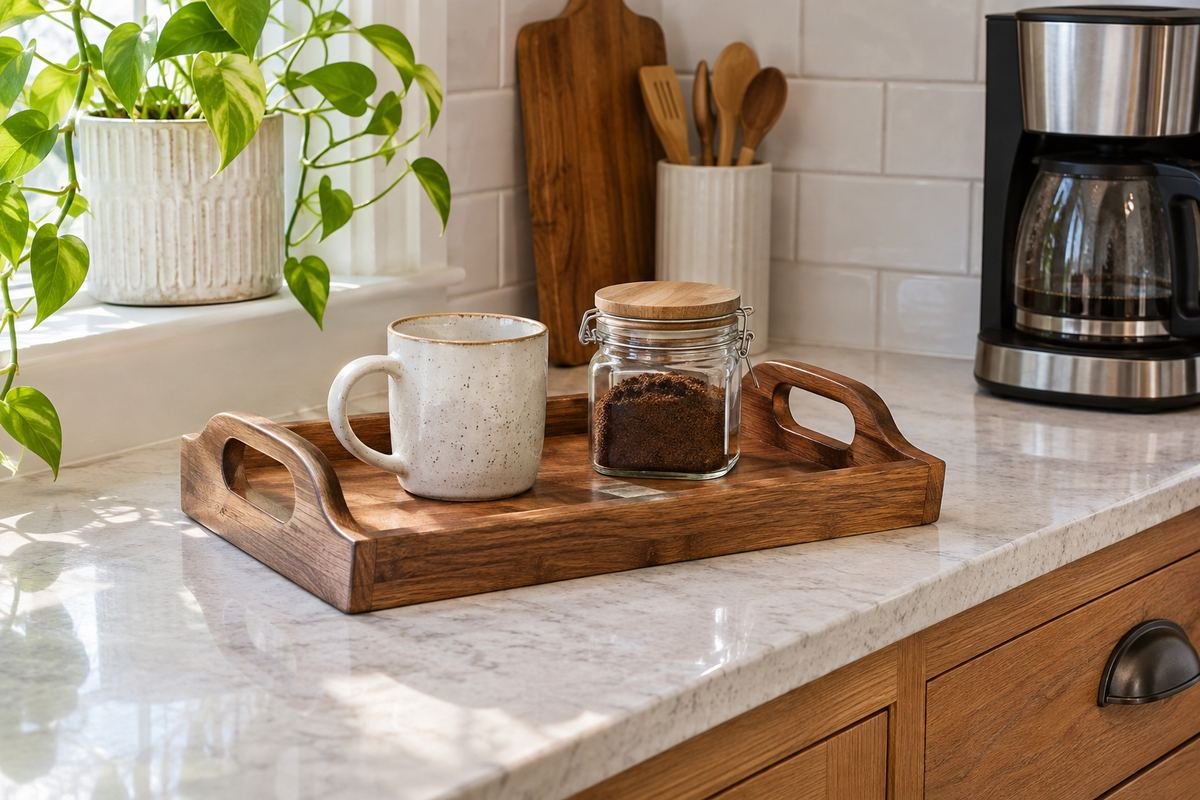
A tray used every morning can stay on a counter if it has a defined role and leaves useful worktop space. Keep the load modest enough that the tray can actually be carried. Both handles should remain accessible without moving a coffee machine.
Distinguish between a tray that collects supplies and one that carries drinks. A tray permanently packed with jars is not ready for the second job. If you like the grouped display, keep a separate empty carrying tray nearby or edit the contents so the working tray remains manageable.
Practical tip: Lift the empty tray in its intended location before deciding where the jars belong.
15. Use a narrow open shelf for one display tray

A single decorative tray can add color to an open shelf while the carrying collection stays elsewhere. Choose a shelf or display support intended for that tray’s size and weight. The piece should be securely supported without balancing against an unrelated object.
Keep display storage out of a place where the tray could be knocked during everyday kitchen work. If you plan to use it for serving, the route to lift it down should be comfortable. A visually appealing arrangement loses its value when retrieving the tray requires climbing or rearranging delicate decorations.
Practical tip: Display one tray at a reachable height instead of lining the whole wall with them.
16. Keep metal trays separate from easily marked finishes

A tray’s finish matters when several pieces share a compartment. Metal edges, feet or raised details can contact neighboring wood or painted surfaces. Give pieces enough separation that removing one does not drag its hardware across another tray.
Use care instructions for the actual finishes rather than adding an arbitrary material between everything. A dedicated divider may be a simpler solution than wrapping every tray after each use. If a tray is already marked, change the contact pattern before refining the appearance of the storage.
Practical tip: Watch which edges touch as you remove a tray from the middle.
17. Reserve a long bay for rectangular entertaining trays

Long rectangular trays often need more clear width or depth than a standard plate compartment provides. A purpose-sized sideboard bay can store one horizontally without an awkward diagonal. Use the full outer length, including any projecting grips.
Keep the entrance unobstructed so the tray can travel straight out. A fitting shelf behind a small door may be less useful than a broader opening elsewhere. If the tray only comes out after every adjacent item is removed, move occasional small pieces instead of accepting the tray as a permanent obstacle.
Practical tip: Test the entrance with the long tray held in its normal carrying orientation.
18. Separate outdoor serving trays from garden supplies

A tray used on the patio can live near the route to the garden while remaining in a clean, dry indoor cabinet. Give it a separate compartment from garden tools and outdoor maintenance supplies. That makes the tray easier to bring into service for an ordinary meal.
Store the piece according to its material and care guidance; being used outdoors does not mean it belongs outside permanently. Return it clean and dry after use. If the nearest cabinet contains unrelated supplies, choose a small dedicated shelf elsewhere rather than squeezing the tray into a dirty mixed collection.
Practical tip: Choose storage based on the tray’s material, not only the place where you serve.
19. Keep a tray clear on the lower shelf of a serving cart

A serving cart can provide an accessible home for a tray when it is used near the dining area. Give the tray a defined shelf position with full support and enough room for its handles. Keep the cart’s stated storage and load instructions in mind.
Avoid treating the tray as a hidden shelf underneath loose decorations. It should come out without shifting glassware on the level above. Keep the cart parked where removing the tray does not block a doorway, and use its brakes or other features as directed by the manufacturer.
Practical tip: Leave the tray’s front edge visible instead of covering it with folded linens.
20. Give seasonal trays a clearly defined upper compartment

An occasional holiday or party tray can live farther from the daily serving zone. A defined compartment keeps it findable without letting seasonal pieces take over the most convenient shelf. Keep the stored tray supported in an orientation suited to its shape.
Choose a height you can access using a suitable household step stool when needed. Avoid storing a heavy awkward tray overhead simply because a gap exists. If reaching it feels difficult while it is empty, give that piece a lower location and move a lighter occasional item instead.
Practical tip: Place the awkward heavy tray lower, even when you use it less often.
21. Keep one empty landing space beside tray storage

A clear surface beside the cupboard helps you put away trays after cleaning. It gives you somewhere to set a tray down while opening the door, then return it without balancing it against the cabinet. Even a small landing area can improve the whole routine.
Keep the landing space temporary and purposeful. It should not become a second permanent stack that blocks the stored collection. When more than one person uses the kitchen, an obvious return location is easier to follow than a finely arranged cabinet that only its organizer understands.
Practical tip: Empty the landing space as part of the evening reset.
22. Edit the collection around actual serving routines
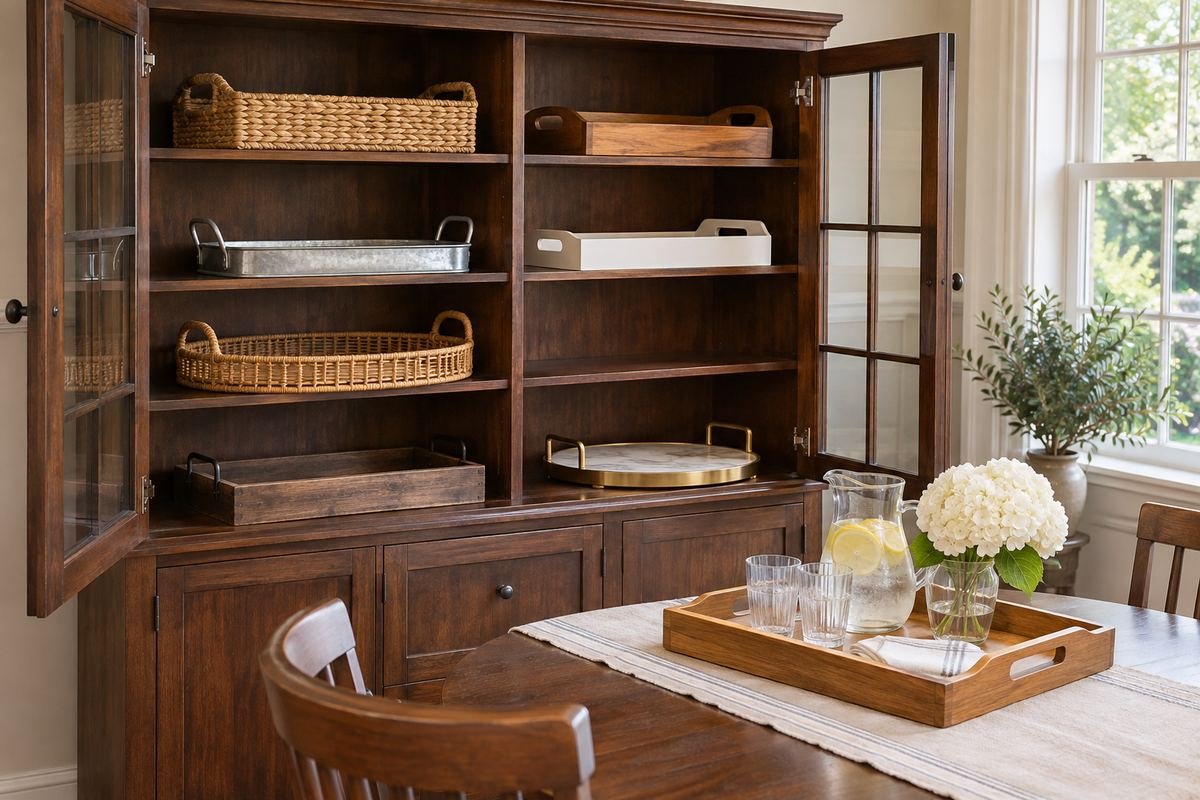
A tray collection is easier to organize when each piece has a recognizable use. Start with everyday carrying, occasional entertaining and decorative pieces. A tray that does none of those jobs does not automatically need a new organizer.
After a few meals, notice which trays were easy to retrieve and which remained buried. Adjust one compartment at a time. Keeping a little unfilled room makes it easier to return a tray comfortably, and prevents every borrowed or newly received piece from displacing the arrangement onto the counter.
Practical tip: Review the unused pieces before buying another storage accessory.
Frequently Asked Questions
Is it better to store serving trays vertically or flat?
Use the orientation that supports the particular tray and gives it an easy removal path. Vertical slots often separate rigid trays well. A fragile, unusually shaped or unstable tray may suit its own flat shelf. Test the empty tray first rather than assuming all trays can stand on an edge.
How do I store a large tray in a small kitchen?
Measure the full handle-to-handle size and the cabinet entrance. Try one accessible slot or a flat shelf before adding an organizer. If no kitchen location fits without obstruction, a nearby sideboard can be more useful than squeezing the tray behind everyday cookware.
Can a decorative tray stay out on a counter?
Yes, when it has a real role and leaves useful working space. Keep a carrying tray easy to lift by both handles, and avoid covering it with so many objects that it cannot do its job. A display tray and a tray used to carry meals may need separate routines.
Choose the Details That Work in Your Home
Start with the tray you reach for most often. Give its handles room, support its shape and make its return position obvious. Once that tray has a workable home, organize the occasional pieces around their actual sizes and use. A cupboard that lets one tray come out cleanly is more successful than a tightly packed arrangement that only looks orderly.
For related ideas, explore kitchen drawer organization ideas, dining room storage ideas, cutting board storage ideas.
Planning References
Rev-A-Shelf: tray dividers and cabinet measurement guidance; IKEA: KLIPSK bed tray dimensions and folding design. Follow the instructions for the exact products you choose.
Optional digital guide for this topic
If you prefer a structured workbook, explore this related paid guide.