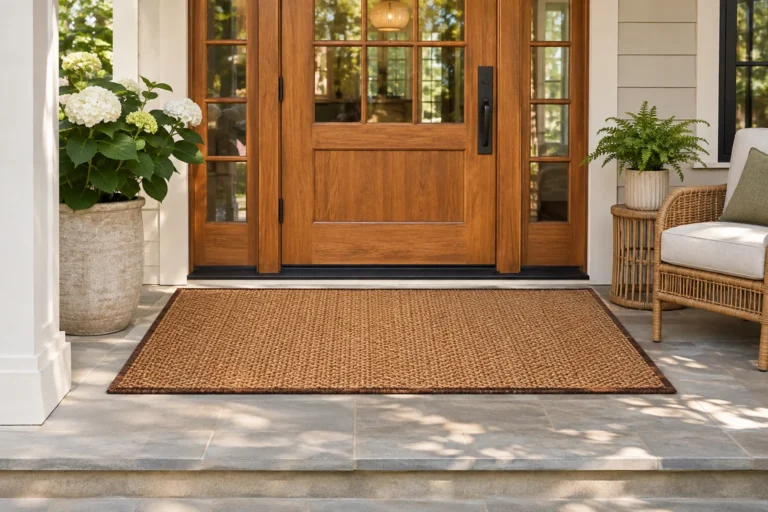
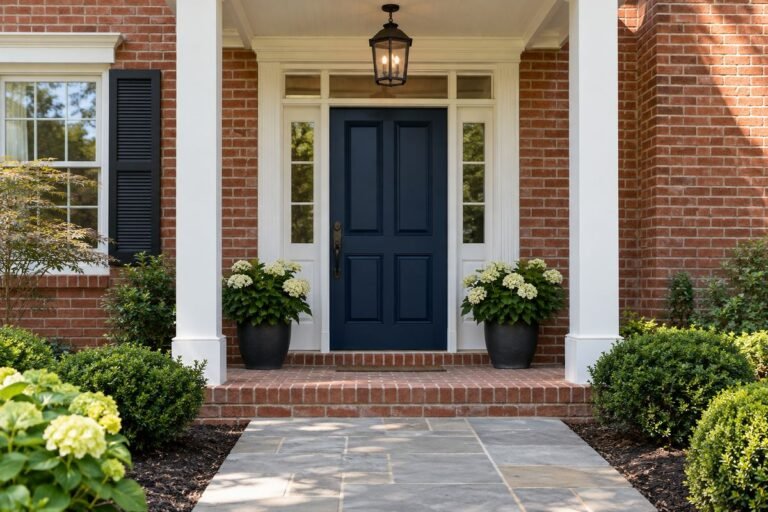
Front porch ceiling ideas should begin with the overhead surface you actually have, its exposure and the entrance beneath it. A shaded ceiling can look different from the same finish on a sunny wall. Compare it with the door, columns, masonry and lighting before choosing another decorative layer.
These 23 original illustrated options help separate color, board rhythm, existing roof shape and equipment coordination. They are design comparisons for a finished porch, not roofing instructions or proof that a pictured material is suitable outdoors. Use the exterior finish brief to turn the preferred appearance into a clear discussion with the appropriate supplier or project professional.
Contents
- 1. Keep front porch ceiling ideas quiet with a plain white field
- 2. Sample a pale blue ceiling beside white trim
- 3. Connect a muted green ceiling with warm brick
- 4. Compare a warm off-white ceiling with pale stone
- 5. Let a wood appearance warm a dark facade
- 6. Use a fine beaded profile in a modest entrance bay
- 7. Use wider planks above a broader porch
- 8. Run board lines along a long porch
- 9. Compare crosswise boards in a short entry bay
- 10. Keep an existing gabled ceiling shape readable
- 11. Follow the line of an existing shed-roof porch
- 12. Frame a central ceiling field with a restrained border
- 13. Let retained beams share the ceiling color
- 14. Contrast existing beams with a plain ceiling field
- 15. Keep a small covered stoop visually simple
- 16. Resolve the turn in a wraparound porch
- 17. Distinguish an arrival bay from a sitting bay quietly
- 18. Connect a recessed entrance to the outer porch
- 19. Compare a flush light with the actual ceiling depth
- 20. Center a pendant from the entrance's real geometry
- 21. Coordinate a fan as equipment before a decorative pattern
- 22. Keep necessary access points part of the finish plan
- 23. Review front porch ceiling ideas through the whole arrival
Build an exterior finish brief before choosing the ceiling
Record the porch's existing ceiling shape, known substrate, surface condition, exposure, perimeter details and any required vents or access points. Mark retained lights, fans and other equipment with their actual requirements. Decide whether the proposed work changes only the finish or introduces another supported system. Compare physical samples from the path, threshold and sitting position in daytime and under the ordinary evening lights. Keep material selection, permitted joints, preparation and future care in the same brief rather than approving the color first and leaving the rest unspecified.
An exterior ceiling brief to take to the supplier
- Existing assembly: Identify the actual surface, condition, slopes and retained features before selecting a finish.
- Exposure: Describe the real location and weather exposure; confirm the exact product's intended use.
- Visible field: Draw board direction or panel divisions, perimeter edges and fixture positions together.
- Equipment and access: Retain required ventilation and service access; resolve light and fan support separately.
- Physical sample: Compare actual color, profile and sheen with door, masonry, trim and evening light.
- Complete proposal: Separate preparation, finish system, support where needed, service work and ordinary care.
1. Keep front porch ceiling ideas quiet with a plain white field
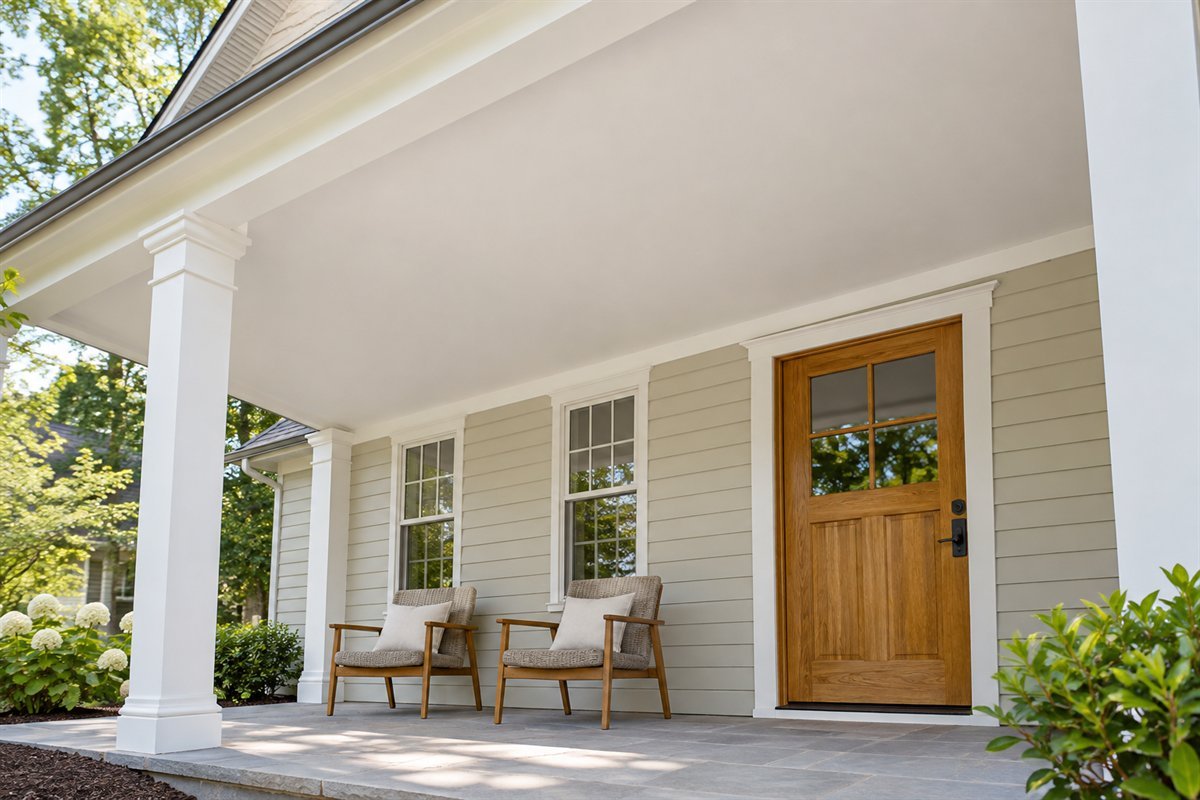
A plain white ceiling can let the entrance door, columns or masonry remain the strongest features. Compare its actual tone with the existing trim; two whites that look similar on a screen may form an unexpected contrast outdoors.
Start with the condition of the existing surface before specifying a coating. A simple color proposal can still require preparation, and a new white finish should not be used to disguise unresolved staining or damage.
2. Sample a pale blue ceiling beside white trim

A pale blue ceiling offers a color option above a restrained entrance. Compare the sample with the actual door, columns and sky light instead of selecting from a traditional color name alone. Benjamin Moore's porch-color reference shows blue ceilings as one combination with white trim.
Keep the choice decorative. A blue appearance does not establish pest control, weather resistance or a required architectural style. Select the actual exterior finish for the identified surface and exposure.
3. Connect a muted green ceiling with warm brick

A restrained green can provide an overhead color relationship beside warm brick and a simple painted door. Compare a physical sample with the brick's varied tones and mortar rather than matching one isolated red or brown.
View it from the path and from a porch seat. Keep nearby planters and patterned textiles modest while deciding whether the new ceiling color supports the existing facade. The room does not need a complete green furniture set to make the relationship readable.
4. Compare a warm off-white ceiling with pale stone

A warm off-white overhead field can sit quietly beside cream or pale stonework. Test its undertone in the shade beneath the porch roof, where it may appear different from the same sample beside the sunny front wall.
Leave the stone variation visible in the comparison. A restrained ceiling can connect the entrance without repeating every stone tone in paint, trim and furniture. Choose the actual coating and preparation through the surface specification.
5. Let a wood appearance warm a dark facade

A wood-toned ceiling can add a contrasting grain field beside dark siding. Compare the grain, finish and board size as a complete overhead sample rather than choosing only a brown paint chip. Keep the entrance materials in the same view.
Specify the actual wood or wood-look product separately from the desired appearance. Exposure, support, finishing and care come from that product and the project conditions, not from a photograph of a similar porch.
6. Use a fine beaded profile in a modest entrance bay
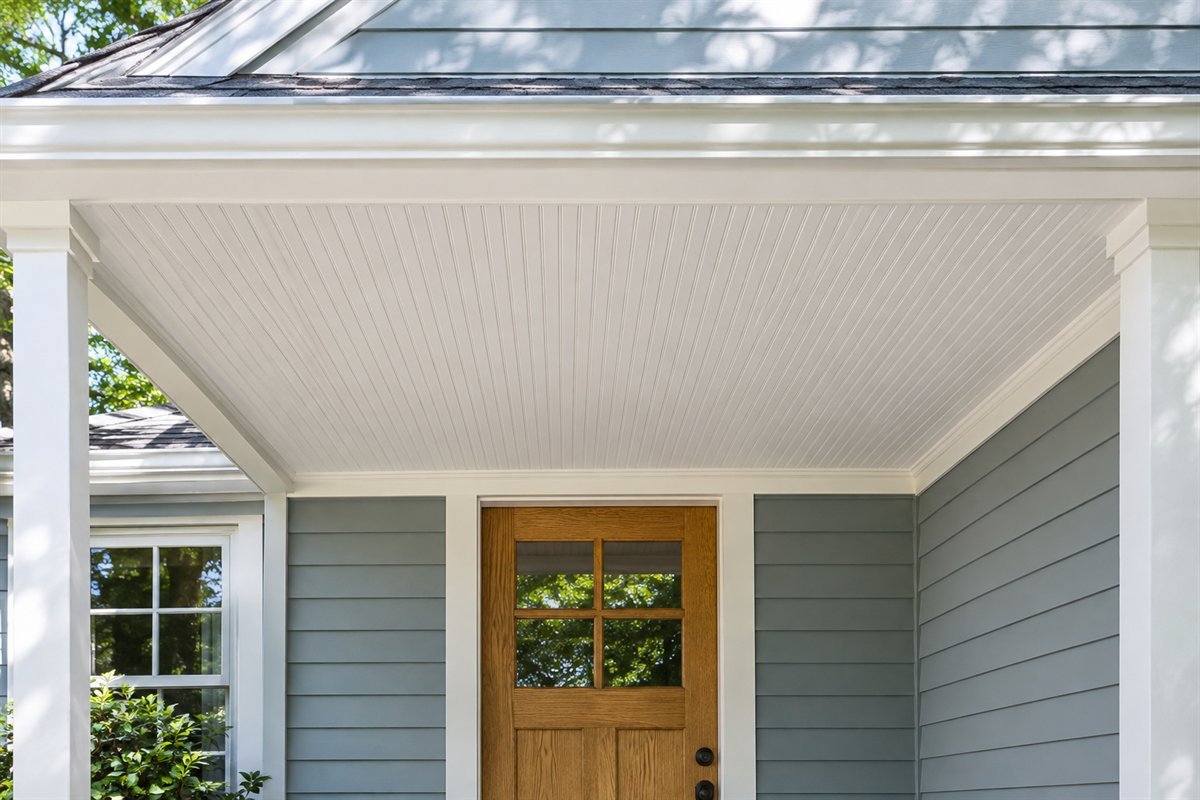
A fine beaded pattern can give a small ceiling a repeated texture while the door and columns remain plain. Compare a full sample large enough to show several repeats, the perimeter detail and the relationship to the existing siding.
Choose an actual product intended for the location. CertainTeed, for example, distinguishes porch-ceiling use for the solid version of its beaded soffit product from soffit-only use for its vented panels. A shared profile does not make every panel interchangeable.
7. Use wider planks above a broader porch

Wider board-like divisions can provide a quieter rhythm across a larger ceiling. Compare the actual visible board face and joints with the column spacing and the view from the approach. A large porch does not automatically need more decorative layers.
Keep the full ceiling layout on the drawing, including where the last boards meet the perimeter. Resolve the product's support and installation requirements separately; a wider-looking plank is not proof that it can span a larger unsupported distance.
8. Run board lines along a long porch

A lengthwise board pattern can connect a long run of porch bays. Draw the direction against the actual roof shape, columns and fixtures, then compare where joints would be visible from the entrance and sitting area.
Treat this as a layout option rather than a claim that the boards physically enlarge the space. Use the selected product's permitted installation and joint arrangement, with support and movement requirements resolved for the real porch.
9. Compare crosswise boards in a short entry bay

Boards running from the house wall toward the outer edge can create a different rhythm in a shallow entrance bay. Compare that option with a lengthwise layout using the same porch drawing before ordering material.
Mark fixtures, edge trims and the final partial board in both versions. The stronger choice is the one that provides a considered complete field within the actual system's instructions, not whichever direction is described as universally correct.
10. Keep an existing gabled ceiling shape readable

An existing gabled porch can let two sloping ceiling planes provide the main architectural detail. Compare a restrained finish across both slopes with the ridge and the entrance beneath it. Another applied grid may add little to a strong existing shape.
This option concerns finishing an existing suitable assembly. Changing the roof shape or exposing previously covered structure is a separate design and building project. Keep those decisions out of a simple paint or panel comparison.
11. Follow the line of an existing shed-roof porch

A single sloping ceiling can give a porch a clear direction without a new overhead feature. Compare a consistent finish along the existing plane with the outer edge and the wall junction. View it from the normal arrival path as well as underneath.
Keep fixtures and their required clearances on the section drawing. A slope that looks visually simple still needs its actual equipment and finish specified for the location; do not copy dimensions from an illustrative image.
12. Frame a central ceiling field with a restrained border

A modest perimeter border can give a plain or board-like ceiling field a deliberate edge. Draw the border width around every corner and opening rather than selecting a trim profile in isolation.
Compare the detail from the street and from a seated position. Keep the junction compatible with the actual ceiling system and leave required ventilation and access functions intact. A decorative border is not a remedy for an unresolved edge or support detail.
13. Let retained beams share the ceiling color

Where existing appropriate beams are already part of the porch, a related finish can let the overhead arrangement read as one quieter composition. Compare the complete visible depth, not just the beam's lower face.
Record whether those elements are structural or decorative before proposing changes. Keep the finish compatible with each identified material and retain the assembly's required functions. Painting different surfaces the same color does not make them one product or justify alterations.
14. Contrast existing beams with a plain ceiling field

Retained darker beam lines can give a pale ceiling a clearer rhythm. Compare that contrast with the door, window trim and columns so the entrance does not collect several unrelated dark outlines.
Keep added details restrained while assessing the existing arrangement. Resolve the material, condition and finishing requirements before choosing a darker treatment, and do not add heavy imitation beams solely because a reference image shows them.
15. Keep a small covered stoop visually simple

A shallow covered entrance may need only a resolved ceiling finish and a suitable light. Compare the ceiling with the door surround and the view from just outside the entrance; elaborate repetition can dominate a small overhead area.
Keep the door's full movement and the actual headroom visible in the project brief. Choose a modest treatment within those conditions rather than importing the overhead depth of a much larger porch.
16. Resolve the turn in a wraparound porch

A wraparound ceiling needs a considered transition where the porch changes direction. Draw both runs and their actual corner before choosing continuous boards, a framed change or another permitted joint arrangement.
Compare the turn from the path and from both porch ends. Keep the product's support, movement and junction guidance part of the proposal. A tidy corner in a concept image is a visual goal, not an installation detail to duplicate blindly.
17. Distinguish an arrival bay from a sitting bay quietly

A wider porch may contain a door arrival and a separate place to sit. An existing beam or modest compatible ceiling division can make those areas legible without changing the porch into a series of unrelated finishes.
Keep the main finish continuous while comparing the division with the occupied seating arrangement. Do not add overhead structures just to mark furniture positions; a suitable existing boundary or a restrained fixture relationship may be enough.
18. Connect a recessed entrance to the outer porch
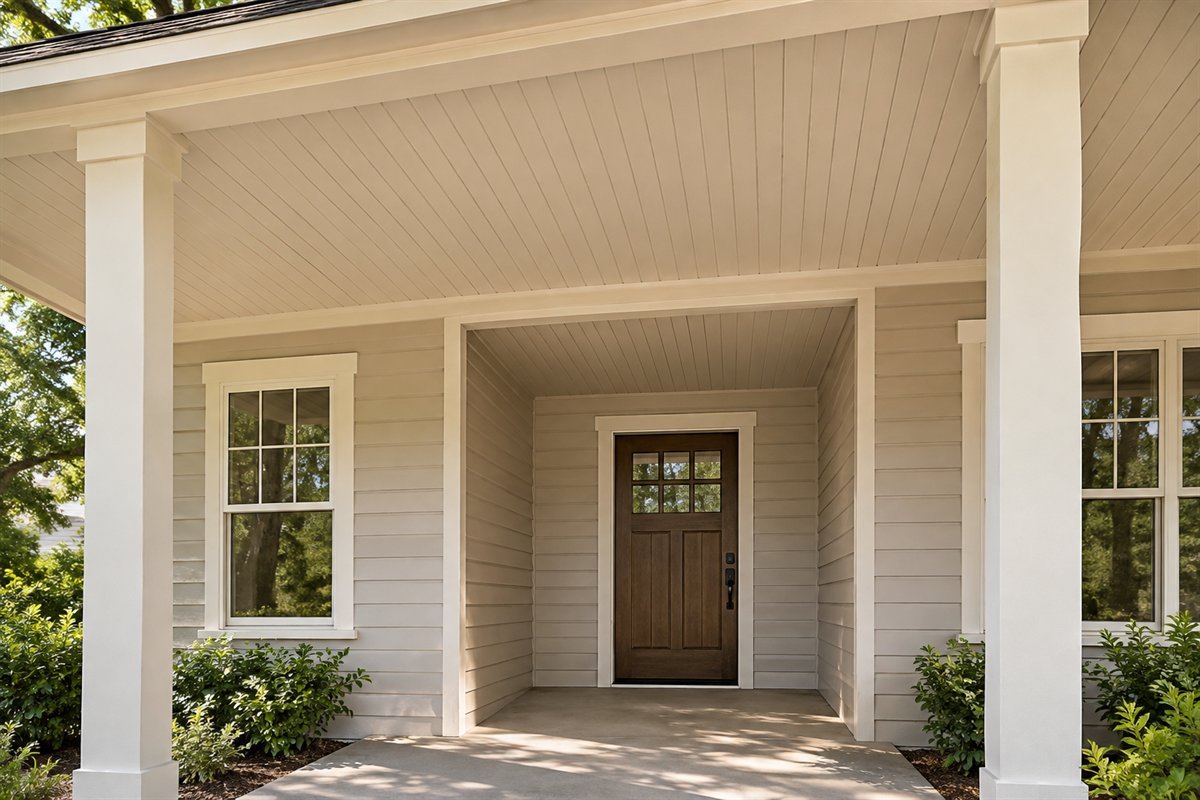
A recessed door can create a second shaded overhead area within the entrance. Compare its finish with the outer porch ceiling so the junction looks deliberate from the approach, even when the two areas receive different light.
Test samples in both positions instead of assuming a color will appear identical. Keep the door surround, light controls and required access clear. A consistent finish can be useful, but it does not require painting every exterior surface the same tone.
19. Compare a flush light with the actual ceiling depth

A compact surface-mounted light can keep the ceiling outline restrained where the selected fixture and installation suit the porch. Compare its full projection and its relationship to the door, ceiling joints and useful arrival lighting.
Choose the actual equipment for its exposure and support requirements. A flush-looking photograph cannot establish a fixture's rating or clearances. Keep the wiring and installation work in the appropriate part of the project proposal.
20. Center a pendant from the entrance's real geometry

A pendant can provide a clear focal point where the actual fixture, mounting and clearances fit. Compare its position with the entry door, ceiling field and approach rather than automatically aligning it with one seating item.
Draw the complete fixture projection and allow for the actual doorway and required access. Keep a suitable existing light where it works; a new hanging shape should add a useful relationship rather than create an avoidable obstacle.
21. Coordinate a fan as equipment before a decorative pattern

If the porch needs a fan, choose the actual appropriate equipment and have its support, exposure and clearance requirements assessed before finalizing the ceiling pattern. Keep the mounting position and maintenance access on the same drawing as the boards and trim.
Use the visible housing and blade outline to compare the finished composition only after those requirements are resolved. A decorative ceiling panel should not be assumed to provide the fan's required support.
22. Keep necessary access points part of the finish plan

Record any existing access panel, vent or other required service feature before developing a ceiling pattern. Arrange the visible divisions around the resolved functional details rather than hiding them behind a permanent decorative layer.
A restrained compatible panel can sit within the finished composition while remaining usable. Do not relocate or cover a feature based on appearance alone; have its actual purpose and requirements established through the project assessment.
23. Review front porch ceiling ideas through the whole arrival

Look at the selected finish from the path, at the threshold and from the normal porch seat. Then review the entrance with its actual evening lighting. Keep the ceiling connected to the door, columns and useful route rather than assessing an overhead close-up alone.
Retain the material names, finish sample, joint decision and care information in the project brief. Choose the final proposal from that complete record; a color name or saved image is not enough to specify the work.
Worked example: a board layout that meets the entrance
Consider this hypothetical porch comparison. The house has warm brick, a dark door and an existing plain porch ceiling. A new board-like finish is being considered, but the porch has a return at one end and a light close to the doorway. The example describes design choices, not a measured site or approved assembly.
Proposal A selects a profile from a small photograph and leaves the board direction, corner transition and perimeter pieces undecided. Proposal B starts with the actual porch drawing. It shows two permitted layout alternatives, the full trim detail, the retained light and an accessible service point. Both samples are compared beside the brick and door before the preferred tone is chosen.
Proposal B is more useful to review because it makes the unresolved decisions visible before ordering. The chosen direction still has to comply with the exact system's support, joint, movement and exposure guidance. The visual preference is part of the decision; it does not establish the product's technical suitability.
Separate a beaded appearance from the product specification
A beaded ceiling image does not identify whether the material is wood, vinyl or another manufactured panel. Read the exact product's intended use and installation information. CertainTeed's current beaded soffit page makes a specific distinction: its solid panel is offered for porch ceilings among other uses, while its vented panels are described for soffit use only.
That is an example of why products with a similar profile need separate checks. It is not approval for a particular porch or for every panel sold with a beadboard appearance. Use the actual product documentation and project assessment before ordering, and retain required ventilation rather than copying a decorative image.
Choose the color in the porch's own light
Benjamin Moore's porch-color reference illustrates a pale blue ceiling beside white trim and recommends comparing color samples in different lighting. Use those examples as a starting point for your own facade rather than treating a named blue as mandatory.
Keep the samples beside the actual door, siding or masonry, then view them beneath the shaded roof. Check them again with the lights used after dark. Color does not establish a pest-repellent effect, suitable coating chemistry, weather performance or the need to replace a sound ceiling.
What material should I use for a front porch ceiling?
Choose from the exact product's intended location, substrate, support, exposure and care requirements. Wood and wood-like panels can share an appearance without sharing their installation or performance. Identify the existing assembly before choosing a replacement finish.
Does a blue porch ceiling keep insects away?
The color is treated here as a design option. This article does not establish an insect-control effect. Choose it from the way the sample works with the house and address any actual pest issue through appropriate evidence and measures.
Which direction should porch ceiling boards run?
Compare permitted directions on the actual ceiling drawing, including corners, final boards and fixtures. There is no universal decorative direction for every porch. The chosen layout must fit the exact product and its support and joint requirements.
Can I use an interior ceiling product on the porch?
Do not infer outdoor suitability from its appearance or an enclosed-looking reference image. Check the exact manufacturer's intended use and exposure limits, along with the actual porch conditions, before selecting it.
A practical next step
Start with the existing assembly, compare one clear finish direction with the house and keep the edges, fixtures and care requirements visible in the brief. A considered ceiling supports the whole arrival without leaving its material or installation decisions to guesswork.
Coordinate front porch railings with the entrance. Plan a screened porch around useful activities. Compare ceiling changes by their project scope.
Images are original AI-generated exterior design illustrations, not measured porches, product photographs or installation details. They cannot establish structural support, exposure ratings, required clearances or compliance. Follow the requirements for the actual project and products.
Sources and care references
- CertainTeed: beaded soffit intended applications
- Benjamin Moore: porch, patio and deck color references
Optional digital guide for this topic
If you prefer a structured workbook, explore this related paid guide.