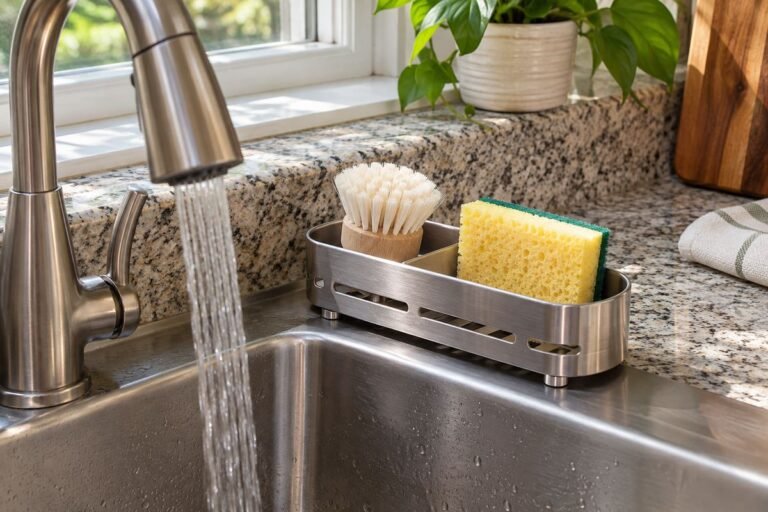
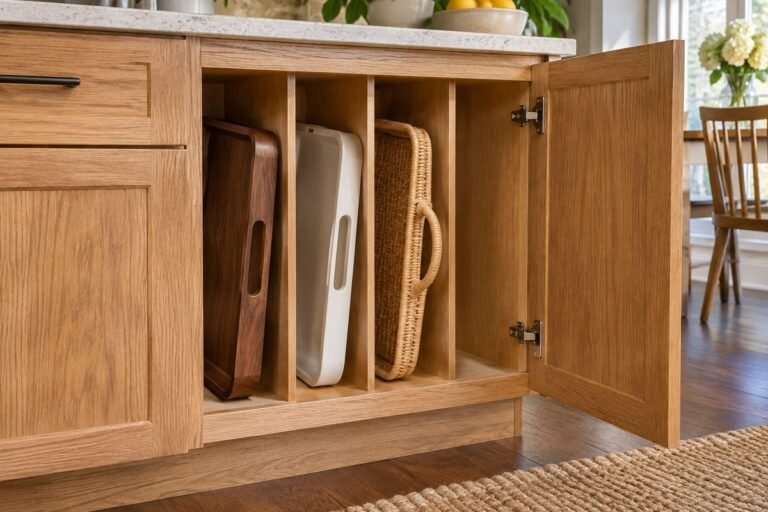
The best kitchen mug storage ideas leave enough room for the handle as well as the cup. A cabinet can look spacious until several broad handles overlap, while a decorative mug tree can occupy the counter needed for making breakfast. Begin with the mugs you reach for each day, then choose a place where one can be lifted and returned comfortably.
These arrangements cover enclosed shelves, suitable drawer compartments and purpose-designed hanging storage. The height example and seven-part fit card help you assess an organizer before buying it. Use the actual mug and hardware instructions; the concept images illustrate layouts rather than installation details.
Contents
- 1. Give everyday mugs a clear upright row
- 2. Turn handles toward a comfortable gripping route
- 3. Use a supported shelf insert for short mugs
- 4. Adjust a shelf around the tallest daily mug
- 5. Choose an under-shelf holder designed for the mugs
- 6. Use a compatible rail at the coffee area
- 7. Give a pegboard a modest compatible mug group
- 8. Keep a stable mug tree small enough for the counter
- 9. Give a kitchen hutch a dedicated mug bay
- 10. Show a restrained set behind glass doors
- 11. Use one short open shelf for a working set
- 12. Define two breakfast mugs on a shallow tray
- 13. Store guest mugs in a dining sideboard
- 14. Use appropriate upright compartments in a drawer
- 15. Keep espresso cups and saucers in a separate group
- 16. Reserve a taller bay for travel mugs
- 17. Leave wide bowl-shaped mugs their own footprint
- 18. Keep a mixed collection orderly by height
- 19. Repeat a quiet color palette without crowding
- 20. Keep a tea pair close to the kettle route
- 21. Give large handles extra space at the row ends
- 22. Keep occasional statement mugs in one defined bay
- 23. Store a small reserve above the daily group
- 24. Keep dry lids and infusers beside their own cups
- 25. Use a shallow cabinet to avoid hidden rear mugs
- 26. Keep a mobile coffee cart restrained and stable
- 27. Finish with a simple return test after breakfast
Kitchen Mug Storage Ideas Start with Handles and Headroom
Measure the widest footprint with the handle included, the overall height and the path your hand takes to remove a mug. Record the clear shelf size rather than the outside cabinet dimensions. A shelf insert also needs its own footprint and overhead clearance. IKEA lists its shallow VARIERA insert at 12⅝ inches wide, 5⅛ inches deep and 6¼ inches high; those are assembled product measurements, distinct from the packaging. Check the current exact version and assembly instructions when comparing products.
Choose mug storage around the actual collection
- Daily ceramic mugs: An accessible upright shelf row — Handle projection and gripping gap
- Short mugs in a tall shelf bay: A suitable supported shelf insert — Loaded height above and usable space below
- Wide-handled mugs: A wider dedicated bay — Full handle-to-handle footprint
- A small coffee-area set: A purpose-designed stable tree or rail — Complete support and comfortable removal
- Tall travel mugs: A taller separate shelf bay — Lid-on height and clear lifting route
1. Give everyday mugs a clear upright row
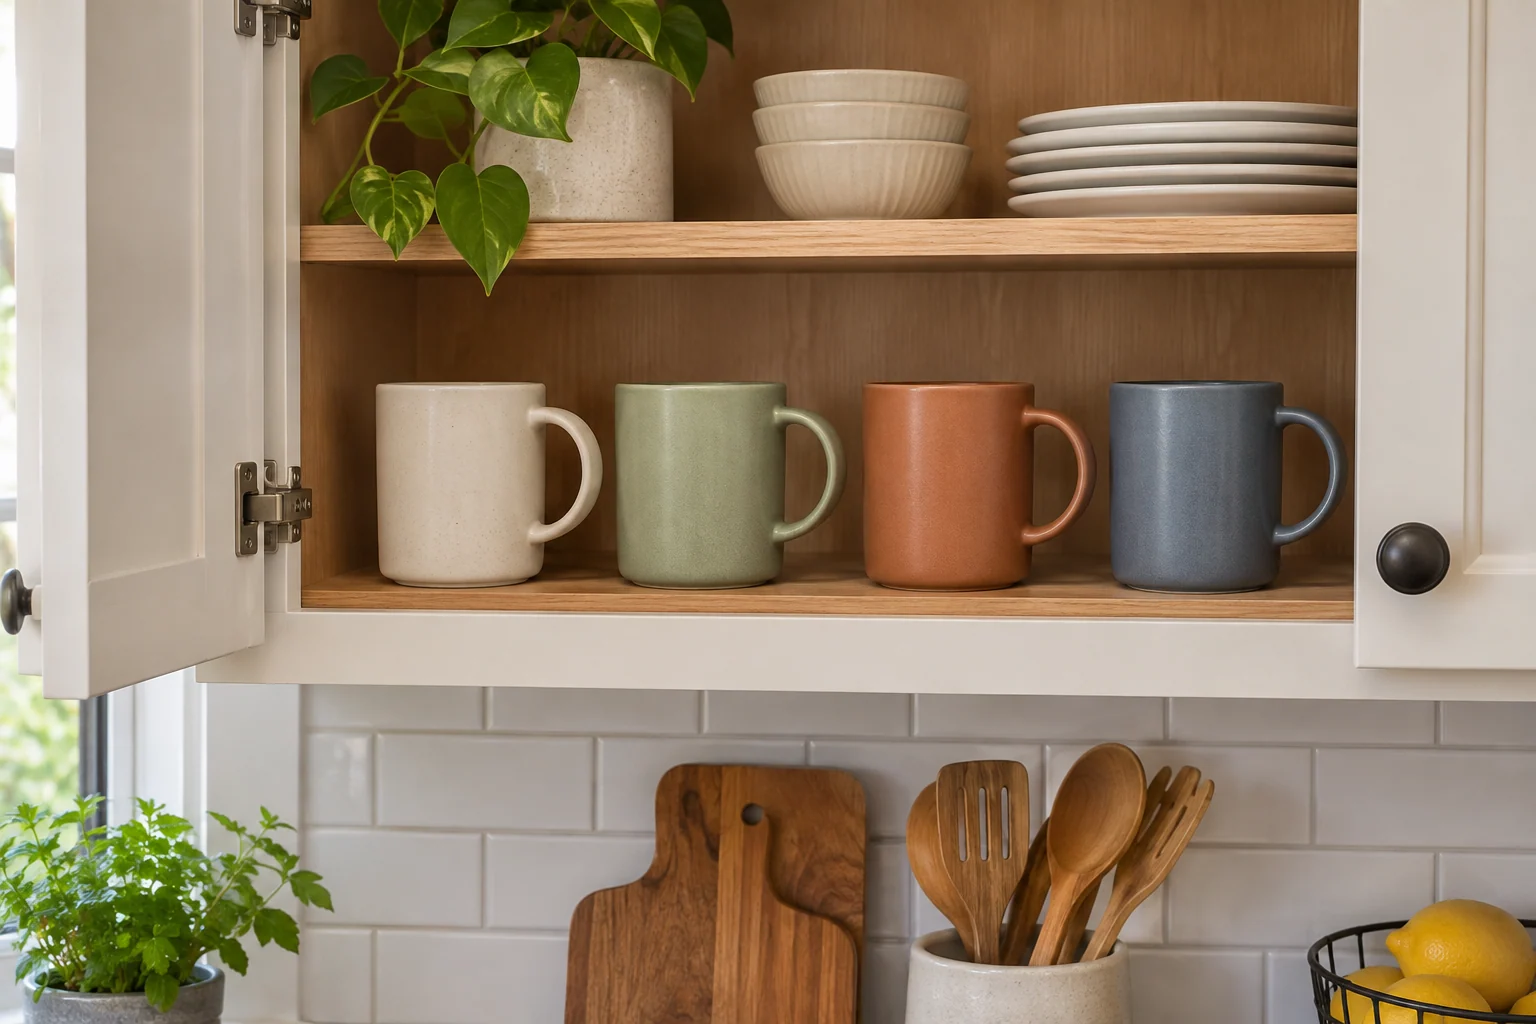
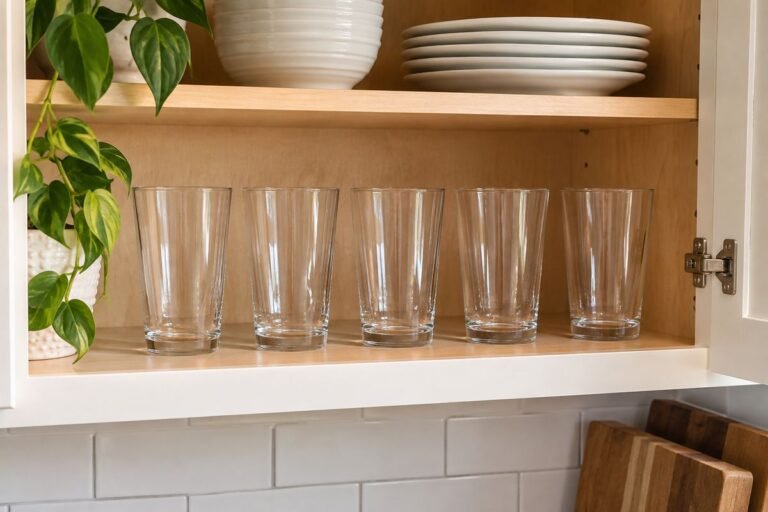
A single accessible row can make the working collection easy to see without reaching over another cup. Keep the bases fully supported and include the handles when deciding how many mugs fit. A smaller useful group can work better than a dense row that requires moving two pieces to retrieve one.
Try lifting the middle mug with its neighbors in place. Your fingers need room around the handle and above the rim. If that movement feels cramped, reduce the row or use another suitable shelf instead of forcing more mugs into the same footprint.
Try this: Test the middle position before filling the row.
2. Turn handles toward a comfortable gripping route
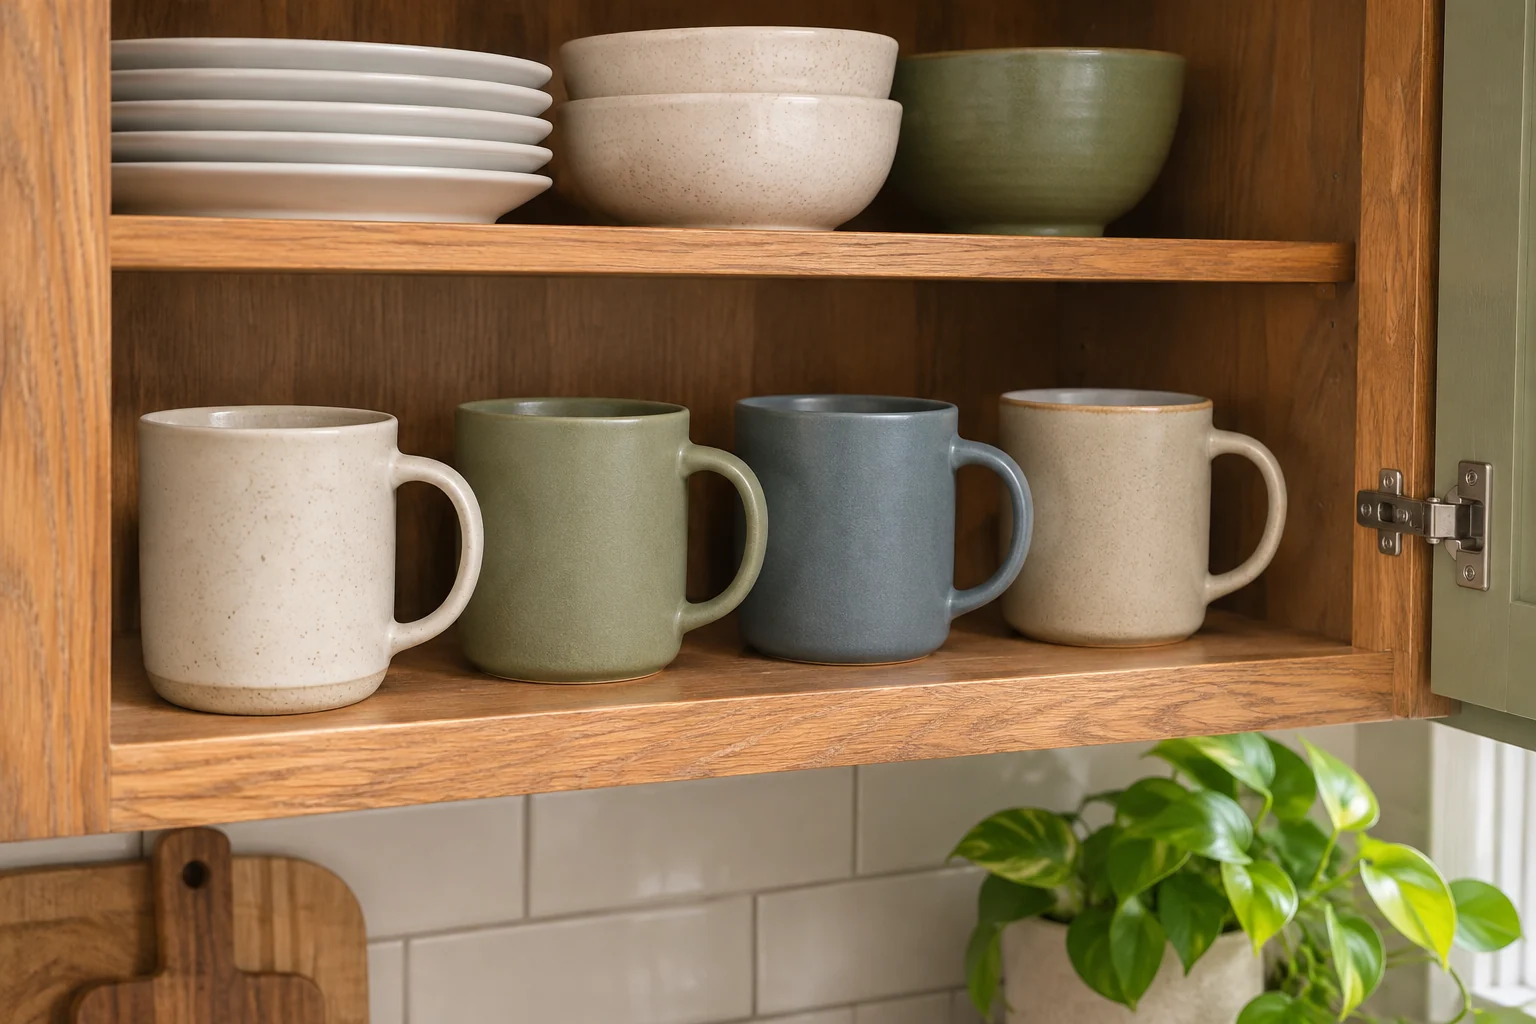
A consistent handle direction can make the return place more obvious, especially in a shallow cabinet. Choose the angle around your natural reach and the available width. The handles should remain clear of neighboring cups, the door and projecting hinge hardware.
Avoid arranging the row by the mug bodies alone. A broad handle can consume more space than the cup suggests. Turn one mug at a time and test the grip before committing the whole group to a closely spaced orientation.
Try this: Include the handle in the footprint measurement.
3. Use a supported shelf insert for short mugs
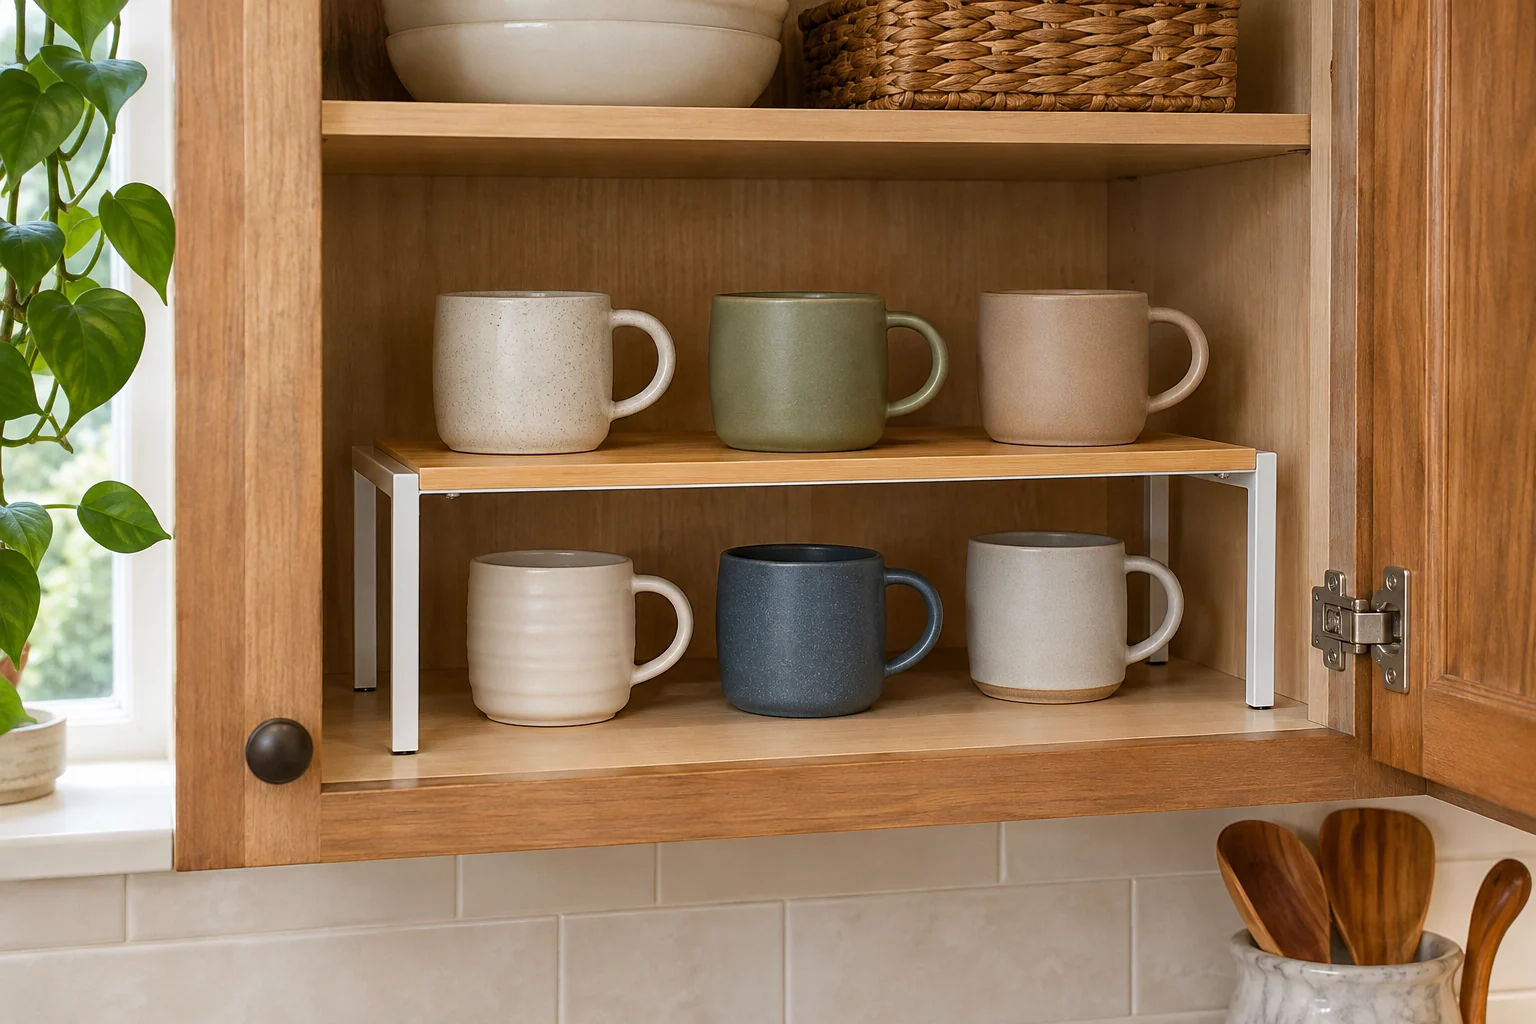
A suitable shelf insert can divide an unusually tall cabinet bay into two useful levels. Choose one whose complete base fits the shelf, then check the loaded height above and the usable opening below. Keep the mugs upright and supported rather than nesting them into an uncertain stack.
Use the insert’s exact assembly and loading instructions. The worked example later in this guide shows why a riser that fits on the shelf can still fail once a mug sits on it. Test the largest mug in both positions before arranging the rest.
Try this: Measure the loaded height before buying the insert.
4. Adjust a shelf around the tallest daily mug
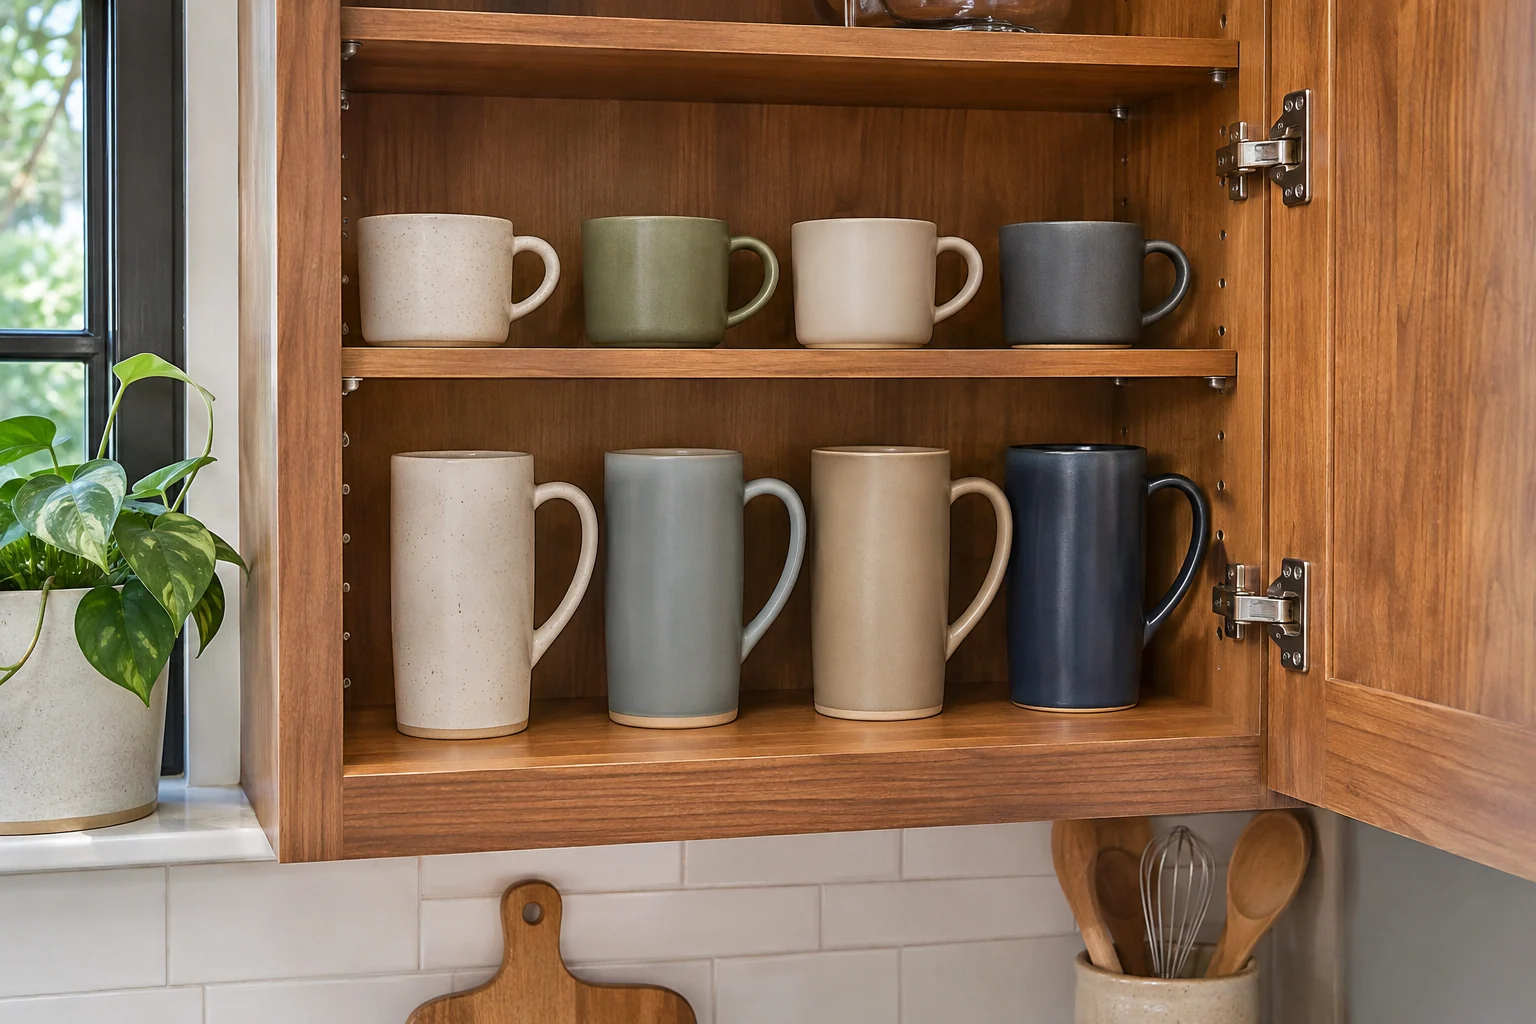
An adjustable cabinet shelf can make the existing storage more useful when its positions suit the collection. Place it using the cabinet system’s supported settings and keep its loading guidance in mind. The tallest everyday mug should lift out comfortably without tilting around the shelf above.
Check what happens to the bay on the other side of the change. Gaining height for one collection should not trap another beneath it. Measure the mugs and neighboring dishes first, then choose the supported shelf position that serves both.
Try this: Check both resulting shelf bays before moving the supports.
5. Choose an under-shelf holder designed for the mugs
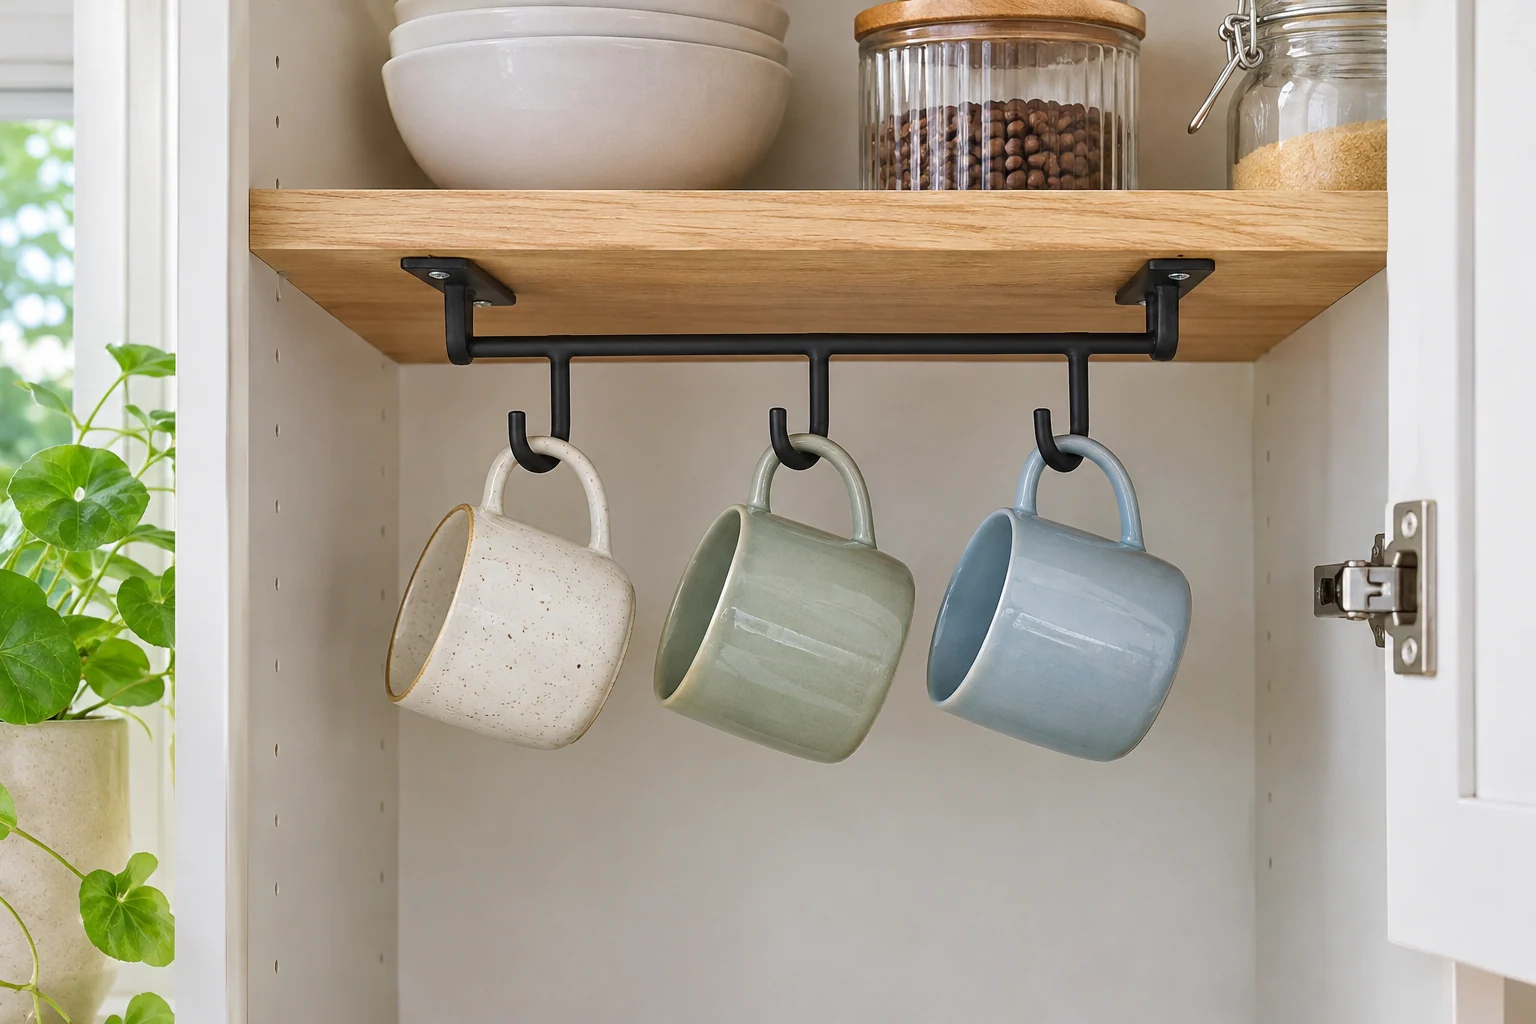
A purpose-designed under-shelf mug holder can use available space when the cabinet and mugs are compatible with it. Check the shelf thickness, the holder’s support method and the actual handle fit. Keep the cups spaced so one can be removed without pulling against another.
The lowered position also needs room below and behind the hanging mugs. Check door closure and the removal route before loading the complete holder. Do not assume a clip-on accessory suits every shelf edge or every ceramic handle.
Try this: Measure the complete hanging height beneath the shelf.
6. Use a compatible rail at the coffee area
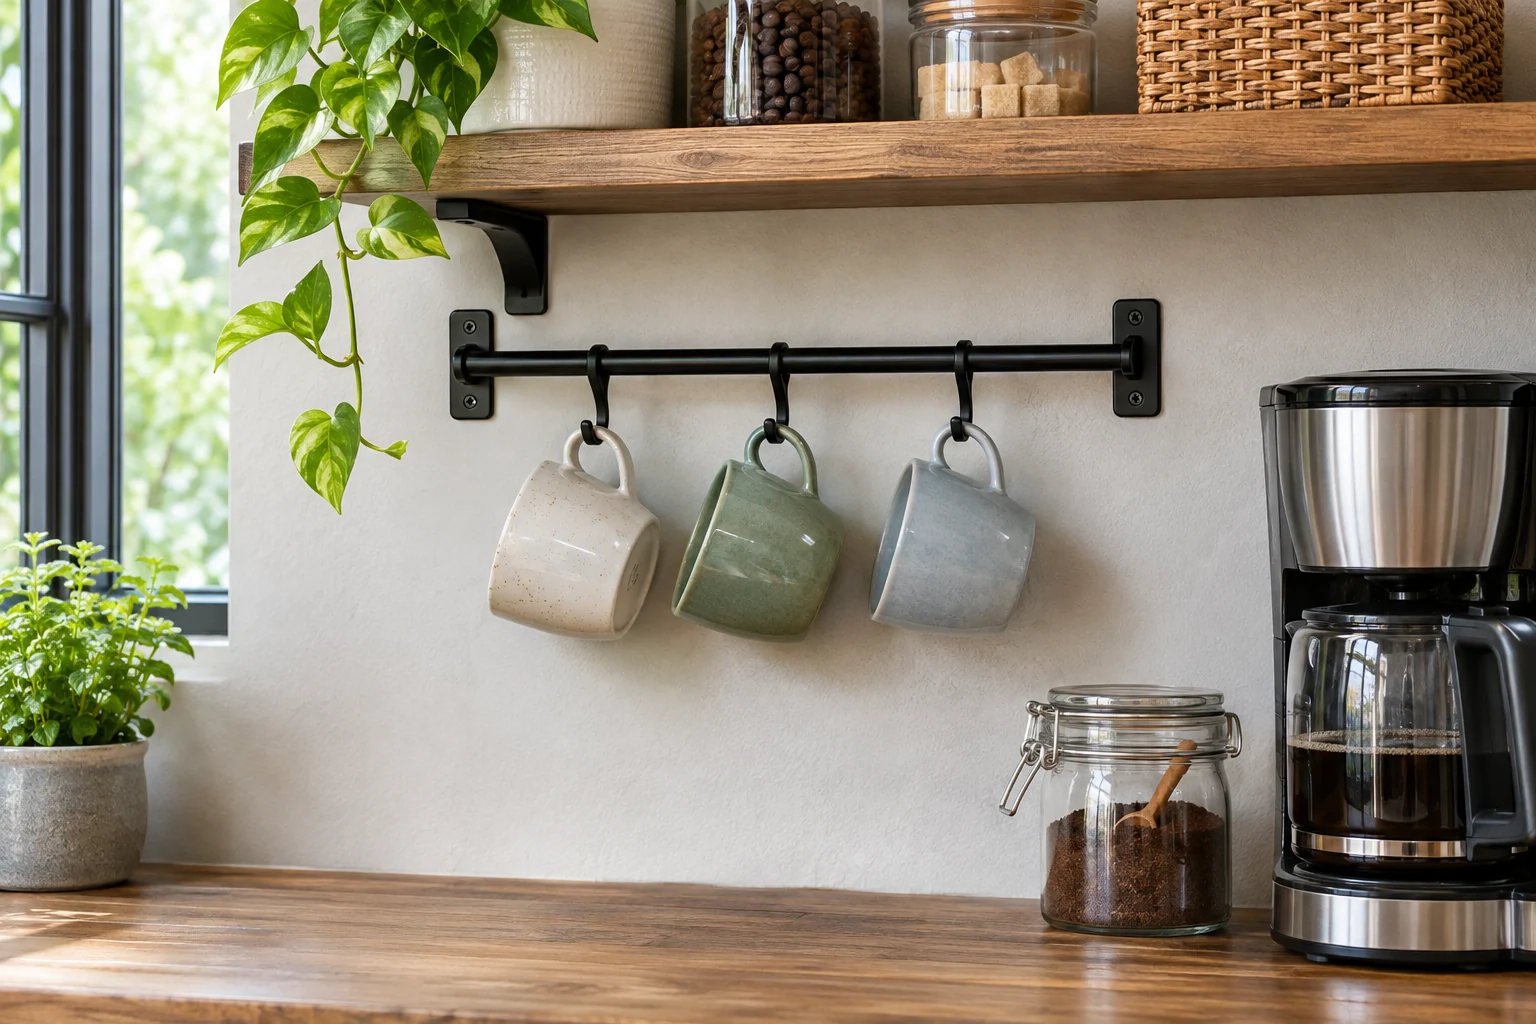
A small rail can keep a practical mug group close to the coffee routine while freeing a little shelf space. Use a complete compatible rail and hook arrangement installed for the wall and loaded as directed. Choose mugs whose handles suit the intended hook shape.
Space the cups around their widest parts, including any outward angle when hung. They should not knock together as one is lifted. Keep the rail away from a position where mugs obstruct the appliance or the main preparation movement.
Try this: Check the wall, rail, hooks and mugs as one system.
7. Give a pegboard a modest compatible mug group
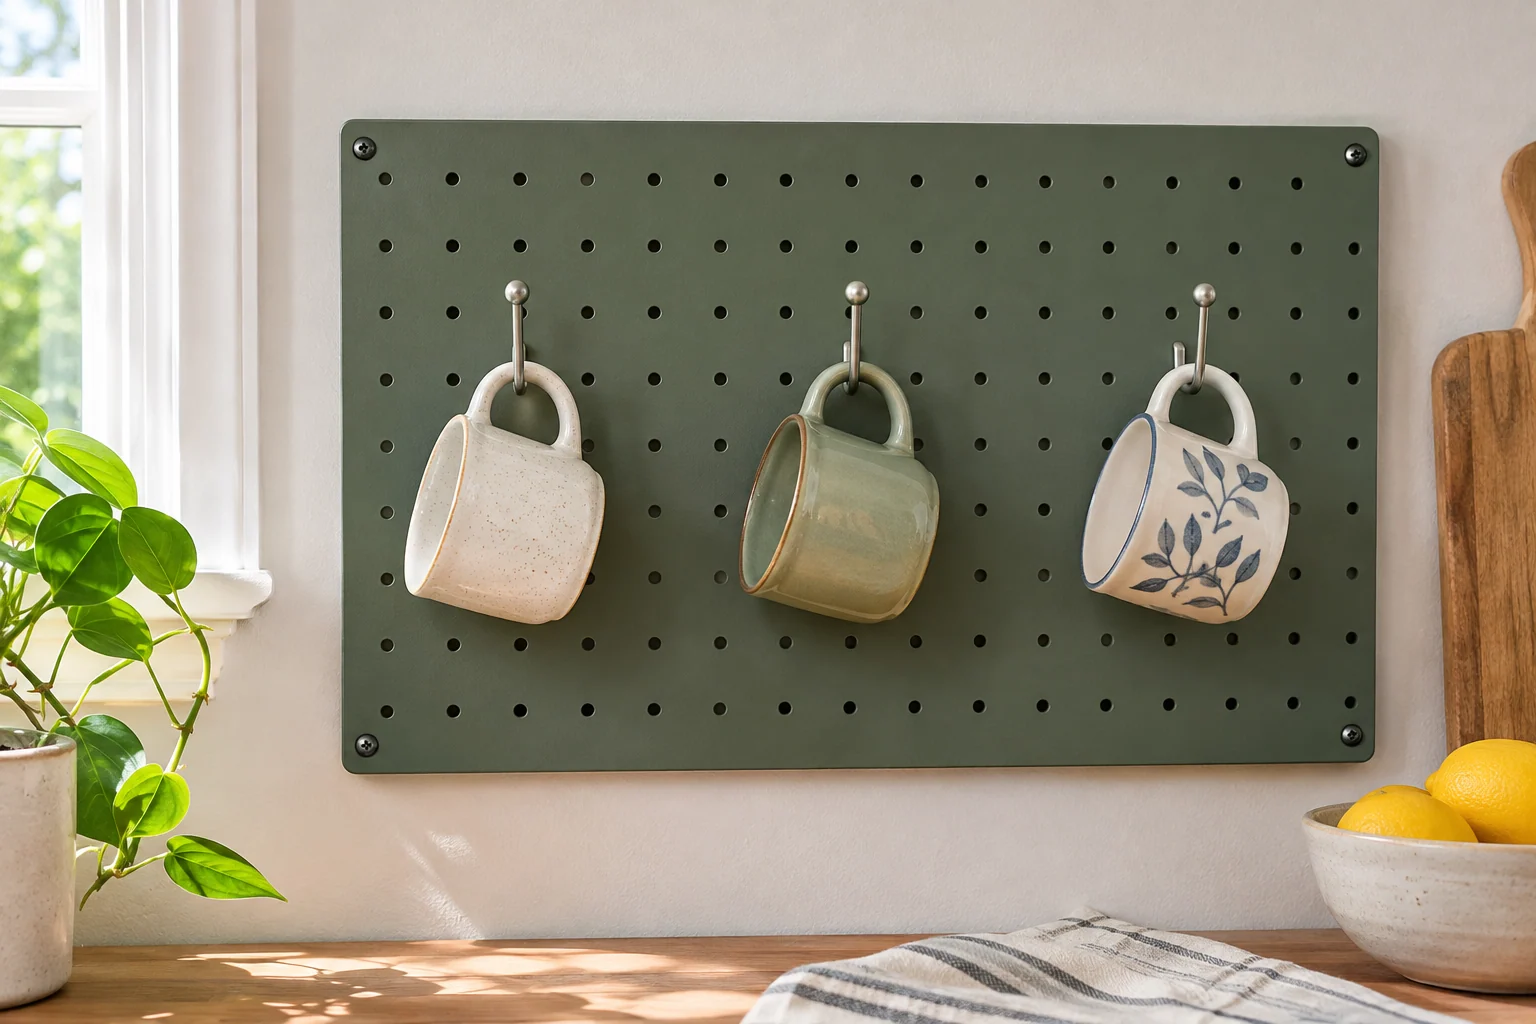
A purpose-designed wall organizer can suit a small mug display when its panel, pegs and mounting are intended for that use. Leave a clear position for each mug instead of filling every available hole. The arrangement should support comfortable lifting without neighboring cups becoming tangled.
Check the exact organizer guidance and handle fit before choosing the display. A decorative board with loose improvised pegs is a different construction. Keep the quantity modest and the location clear of splashes, heat and busy passing movements.
Try this: Use only compatible panel accessories and mounting guidance.
8. Keep a stable mug tree small enough for the counter
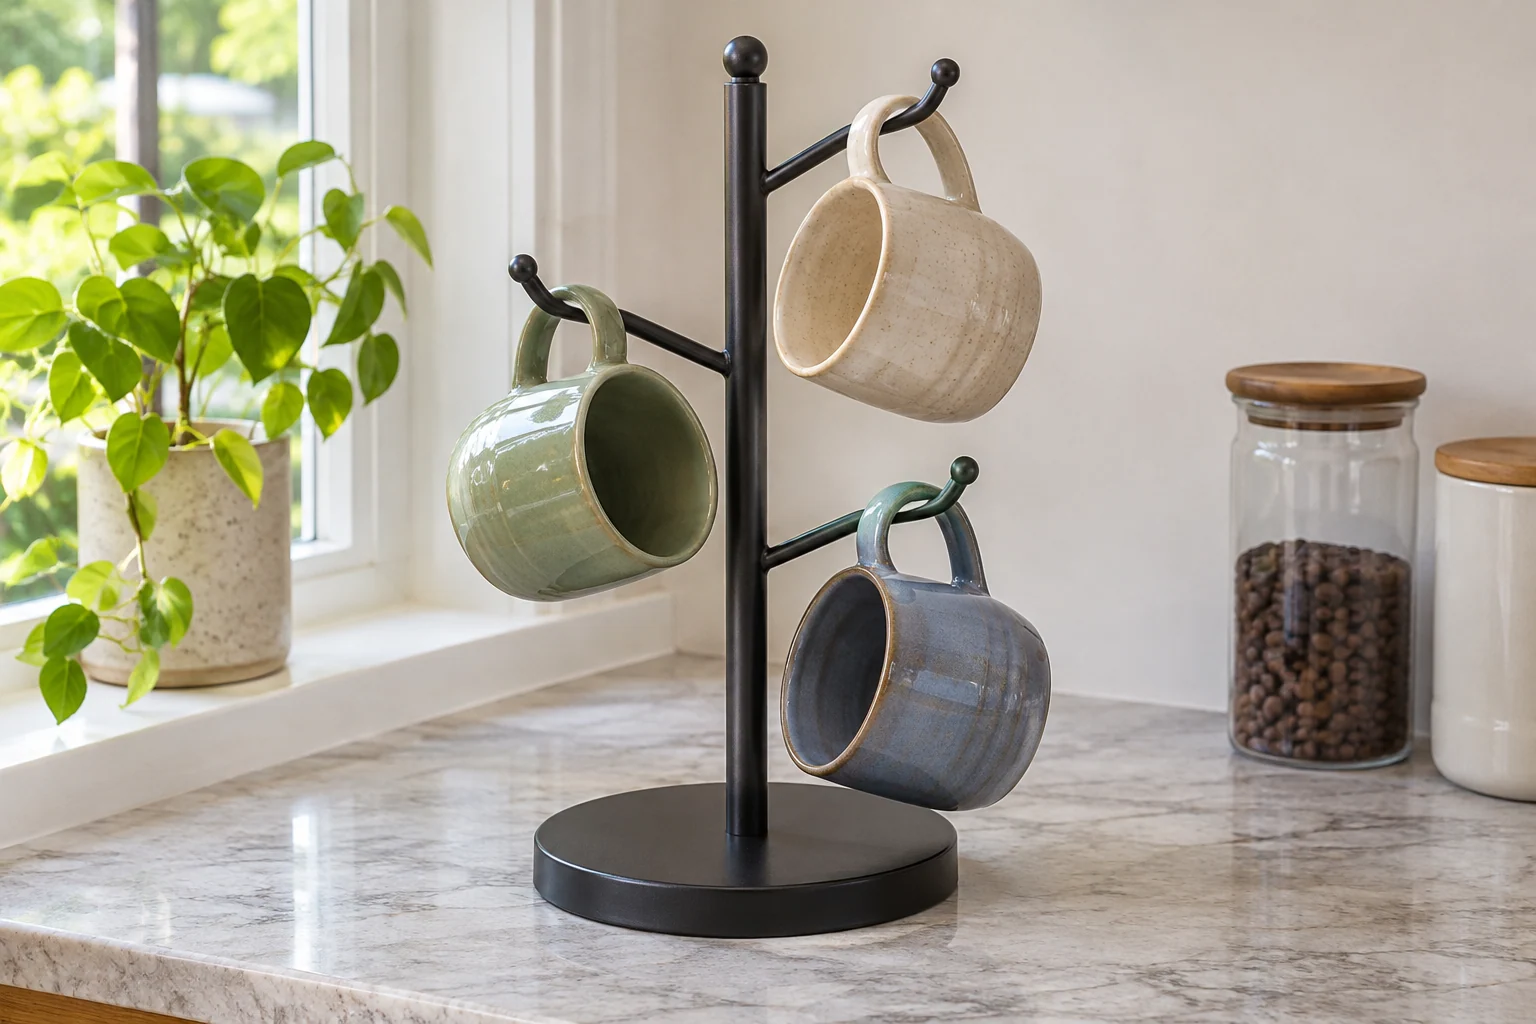
A purpose-designed mug tree can define a small daily group without altering the cabinet. Choose a stable model with enough room between its arms for the actual mugs. Its complete loaded footprint matters more than the narrow shape of the center post.
Place it on a suitable level surface away from the edge, then preserve the counter area needed to prepare drinks. Test removing one mug from the loaded arrangement without tipping or catching another. A tree that crowds the work area may be less useful than a clear shelf.
Try this: Compare the loaded footprint with the counter space available.
9. Give a kitchen hutch a dedicated mug bay
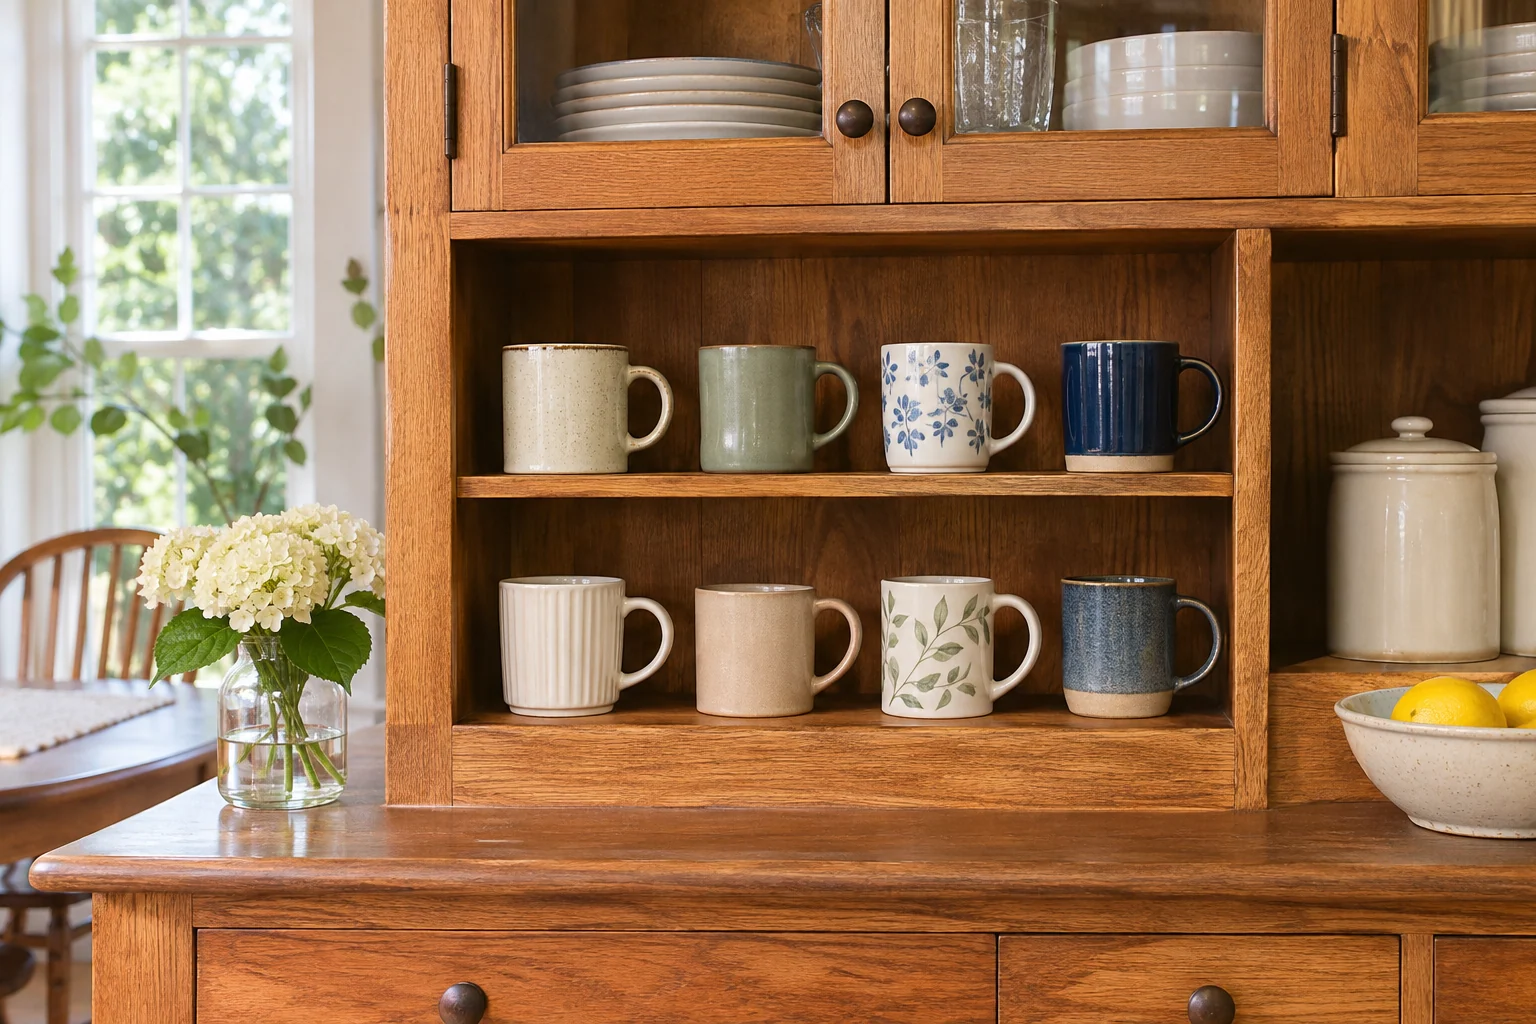
A hutch can hold the regular mug collection in one visible bay while enclosed kitchen cupboards serve other items. Group the cups around their height and handles, keeping the most-used pieces in a comfortably reached position. Leave enough open shelf around the group to make returns simple.
Check the furniture’s support, loading and restraint guidance where applicable. The display should remain practical when the nearby doors and drawers are used. Keep occasional decorative pieces separate from the route used to retrieve a daily cup.
Try this: Choose the everyday bay before styling the remaining shelves.
10. Show a restrained set behind glass doors
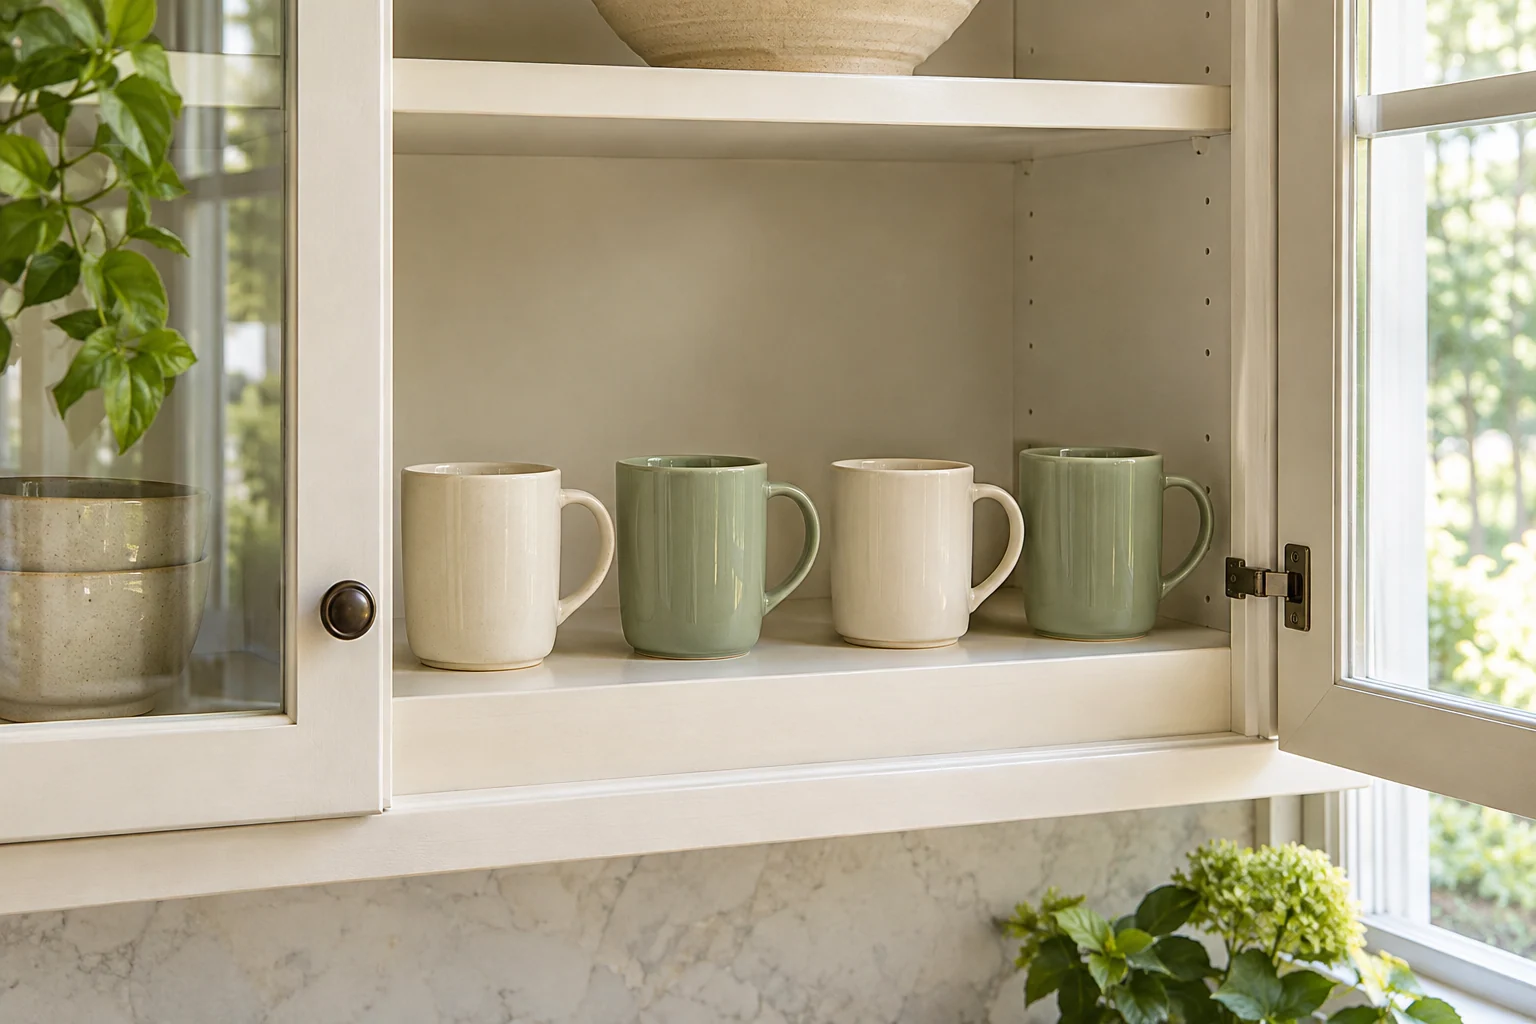
A glass-front cupboard can make an ordinary mug set part of the kitchen’s appearance. Repeat a few shapes or tones while leaving practical gaps between the handles. The collection can look considered without filling the entire visible shelf.
Test the open-door access and the side positions near the hinges. A display that is easy to see may still be awkward to use. Keep frequently chosen mugs toward the comfortable reach zone and reserve the remaining space for a small occasional group if it fits.
Try this: Check access with the glass door fully open.
11. Use one short open shelf for a working set
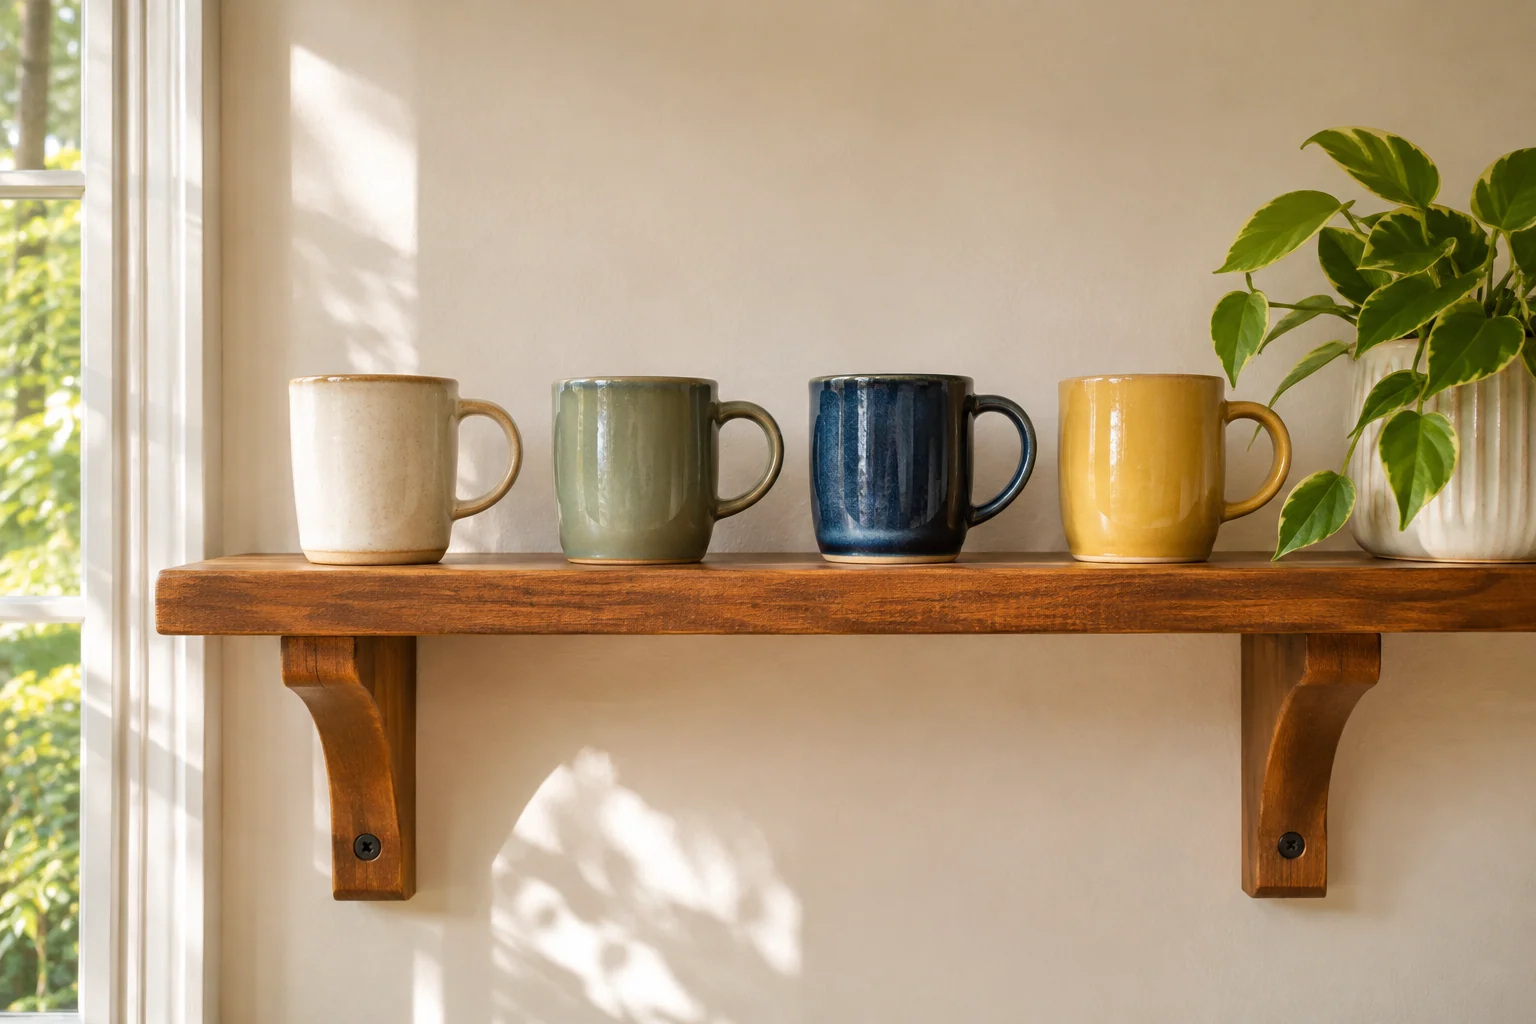
A small open shelf can suit a few frequently used mugs when the shelf and support are appropriate. Keep the bases comfortably inside the front edge, with the handles available to grip. Choose a location clear of a crowded cooking or splashing area.
Open storage adds a regular care step, so make the visible group manageable. Follow the shelf’s installation and load guidance rather than treating every decorative ledge as tableware storage. An enclosed cupboard remains useful for mugs that are used less often.
Try this: Start with the smallest practical open-shelf group.
12. Define two breakfast mugs on a shallow tray
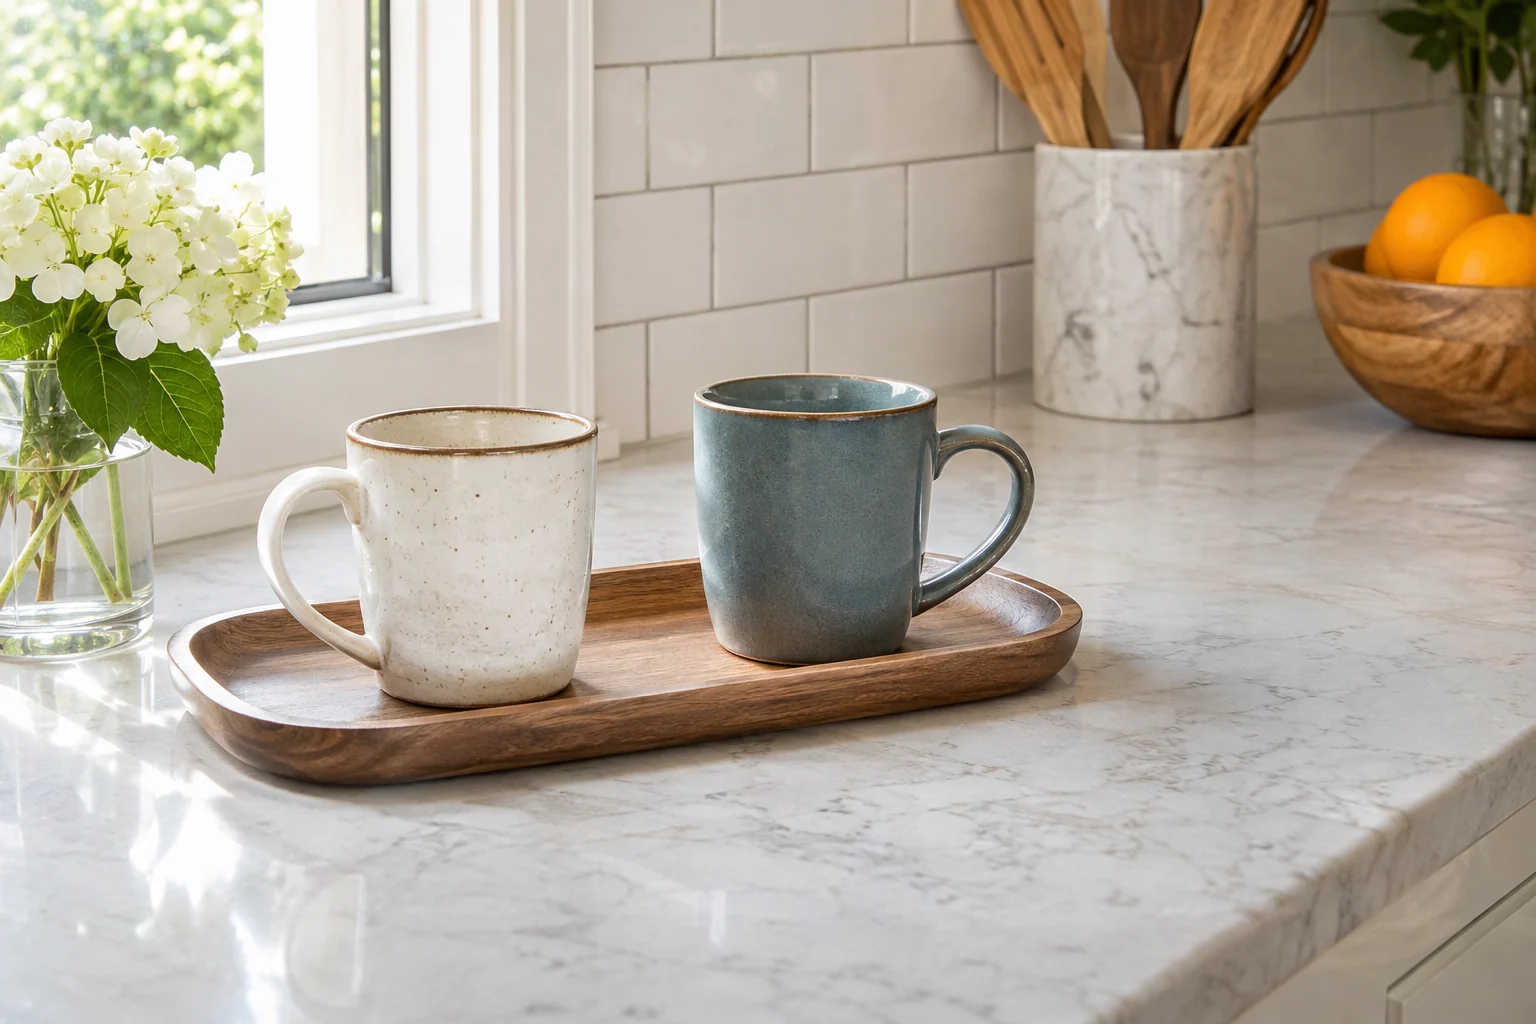
A shallow tray can give a pair of daily mugs a clear return position near the breakfast routine. Choose a stable surface and a tray that supports the complete mug bases. Leave room beside it to prepare drinks without moving the entire arrangement.
Use the tray as a boundary rather than a reason to add more objects. A sugar bowl, spoon pot and several decorative accessories can quickly consume the working space. Keep the small group useful and follow the tray’s intended use if you plan to carry anything.
Try this: Check the complete bases sit level inside the tray.
13. Store guest mugs in a dining sideboard
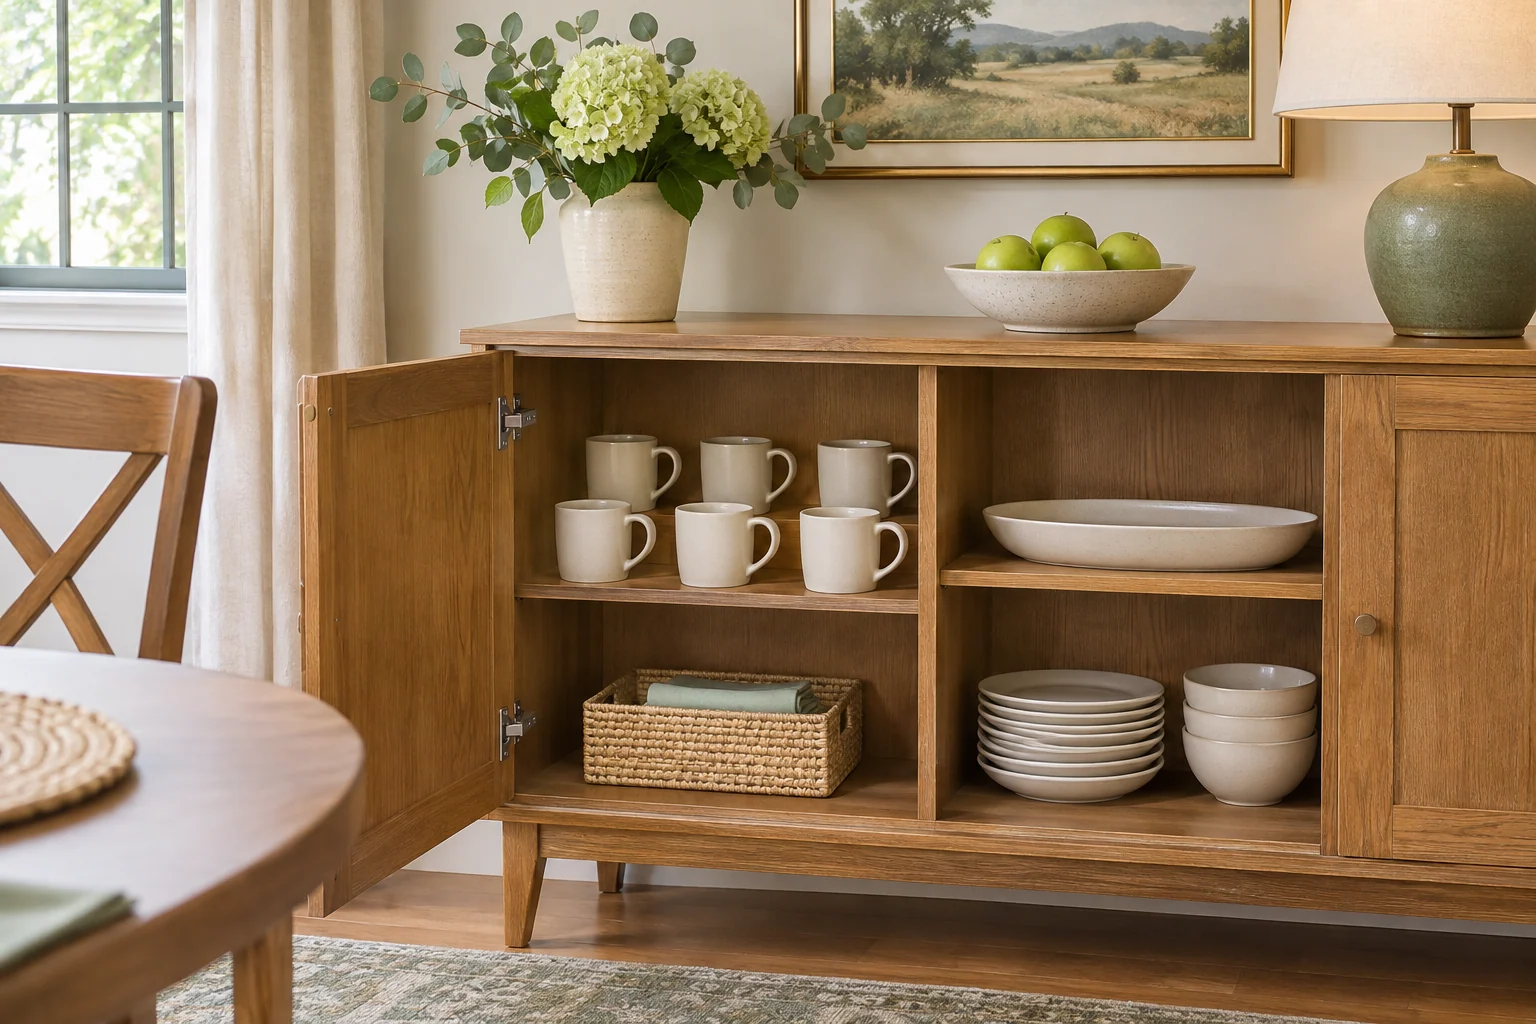
A guest set can live in a suitable dining sideboard while the daily mugs remain in the kitchen. Give the set a defined shelf area and leave enough handle and lifting space. Keep it visible when the door opens rather than burying it behind large serving bowls.
Check the shelf height and hinge projection using the largest mug. Occasional storage should still be comfortable to retrieve. A simple location note can help a shared household keep the complete set together without spreading spare mugs across several cupboards.
Try this: Test the largest guest mug in a side position.
14. Use appropriate upright compartments in a drawer
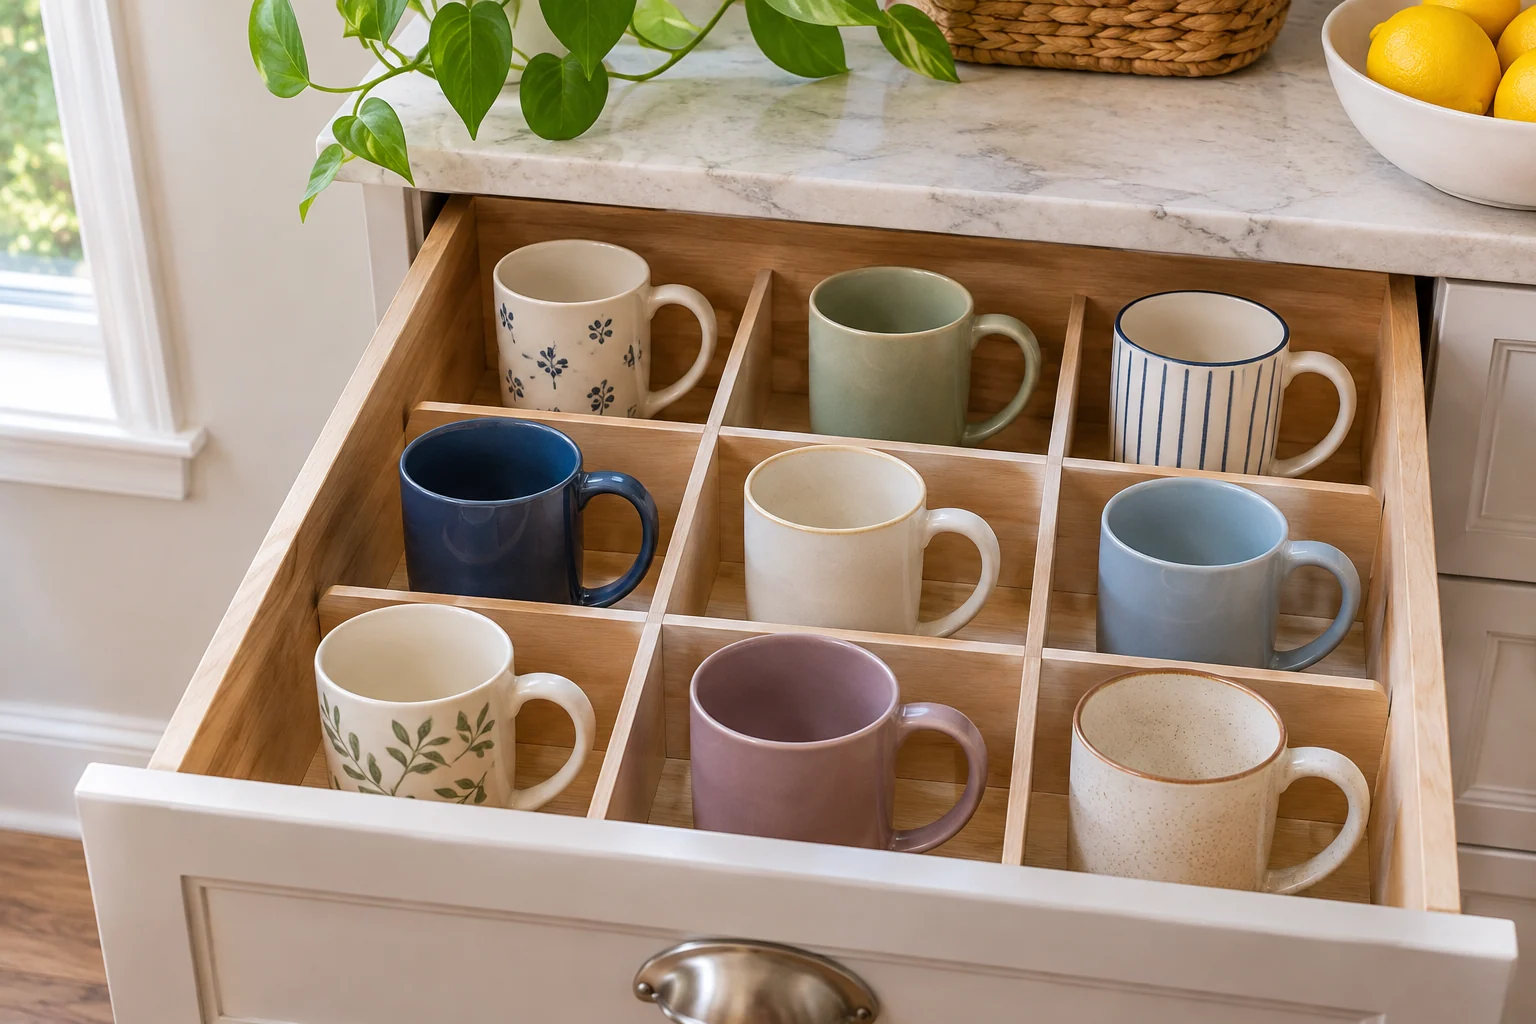
A drawer can make mugs easy to survey when it has enough clear height and a suitable supported arrangement. Choose compartments around the actual body and handle shapes. Avoid narrow cells that squeeze the handles or dividers that shift into the mugs during movement.
Check the clear opening beneath the cabinet frame as well as the height inside the drawer. Each mug should pass through comfortably and remain stable as the drawer moves. If the fit is awkward, a shelf may serve the collection with fewer accessories.
Try this: Include the handle and the frame in the drawer fit test.
15. Keep espresso cups and saucers in a separate group
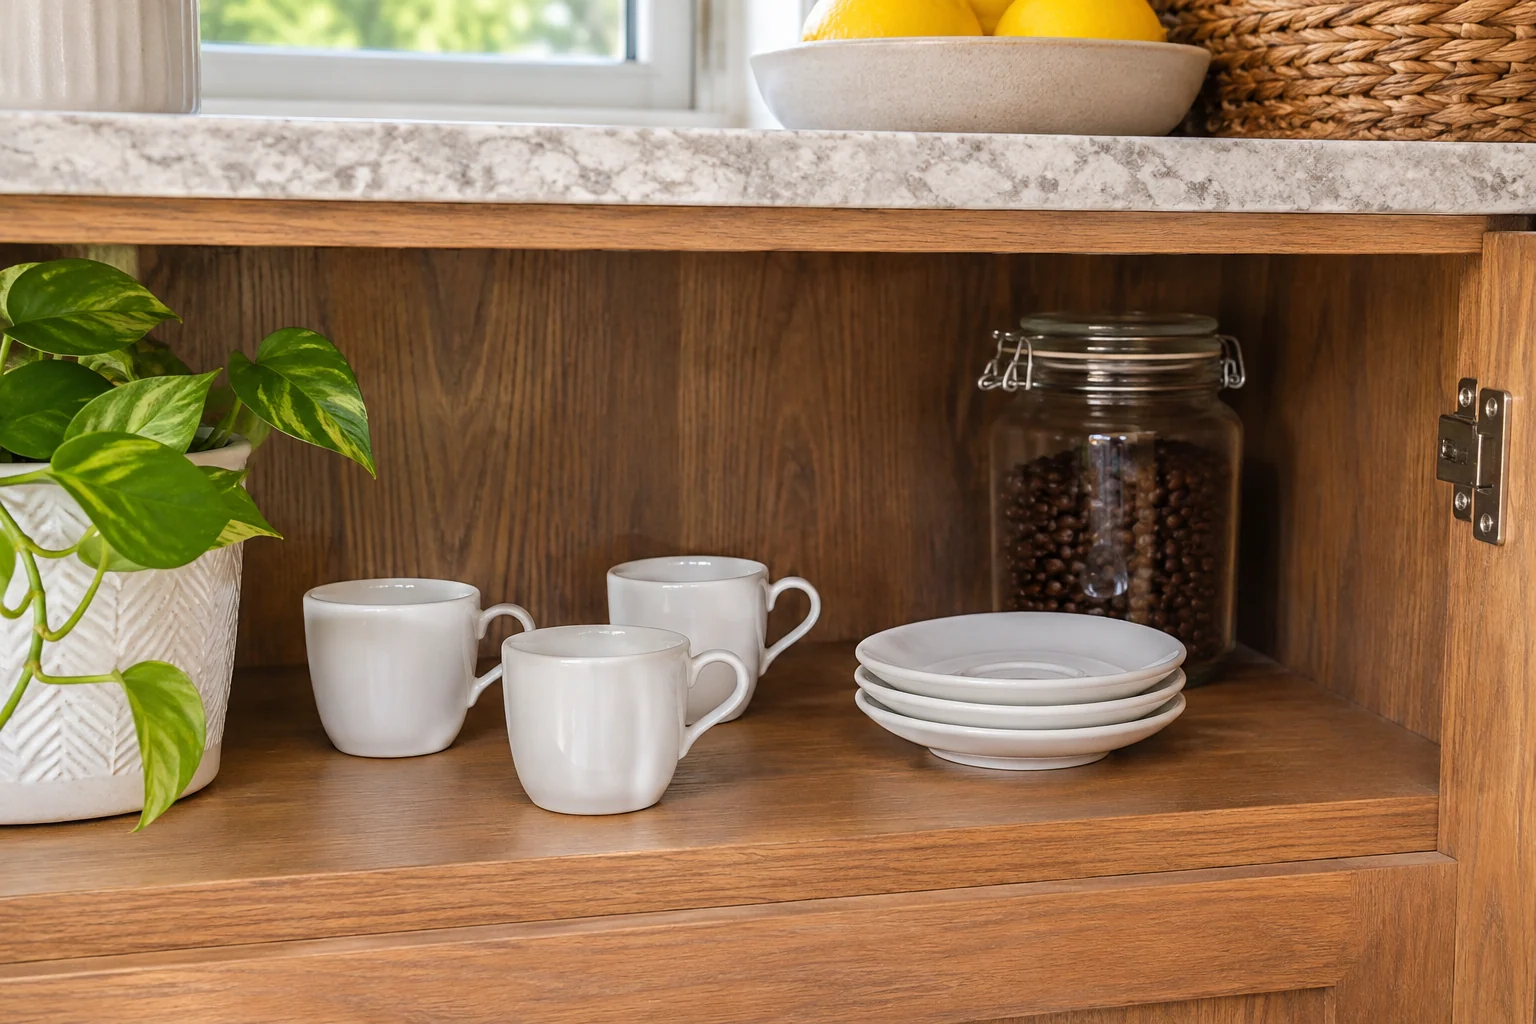
Small espresso cups can become hard to find when mixed into a tall mug row. Give them a defined low shelf bay with saucers in their own stable position. Keep the group small enough that a cup can be lifted by its intended grip without moving larger pieces.
Measure the cup and saucer separately rather than assuming they should be stored together in a tower. Follow any exact product guidance for stacking. A shallow supported arrangement can keep a small set orderly without complicated dividers.
Try this: Give saucers their own supported footprint.
16. Reserve a taller bay for travel mugs
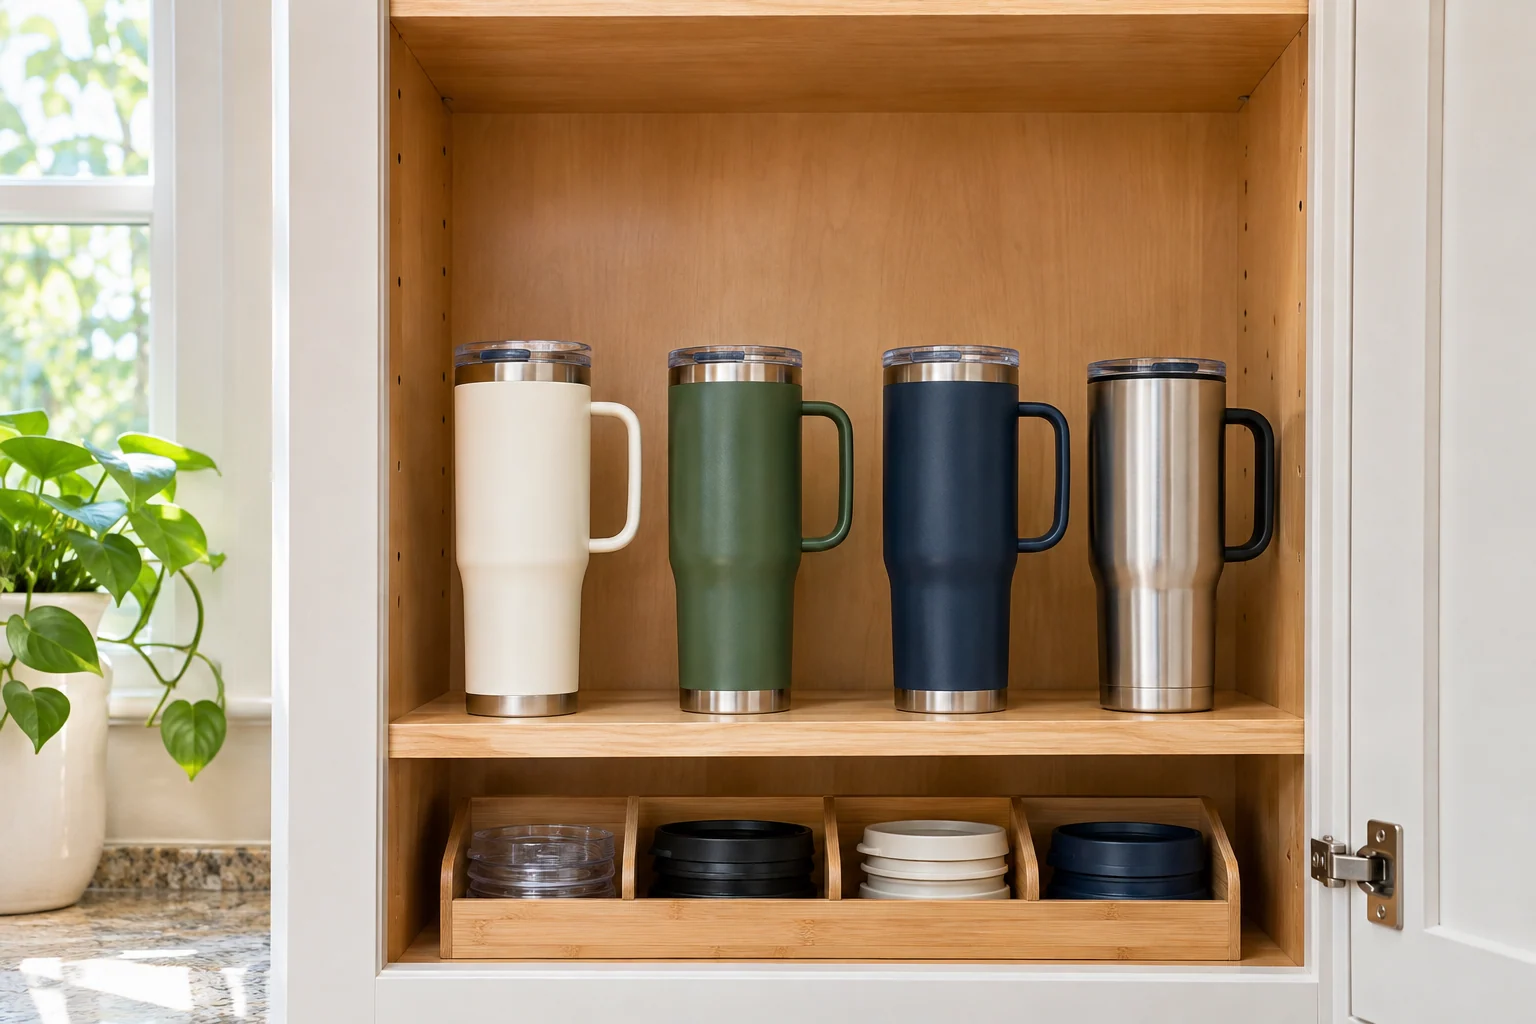
Travel mugs can need more headroom than ordinary cups, particularly with their lids attached. Place them in a suitable taller bay where the complete base is supported and the lifting route is clear. Keep only clean dry components in storage according to their care instructions.
Give detached lids a separate appropriate position when the maker’s guidance and your routine call for it. Avoid creating a loose pile behind the mugs. Check the largest handle or lid projection before choosing a narrow organizer.
Try this: Measure the actual storage configuration, including the lid if fitted.
17. Leave wide bowl-shaped mugs their own footprint
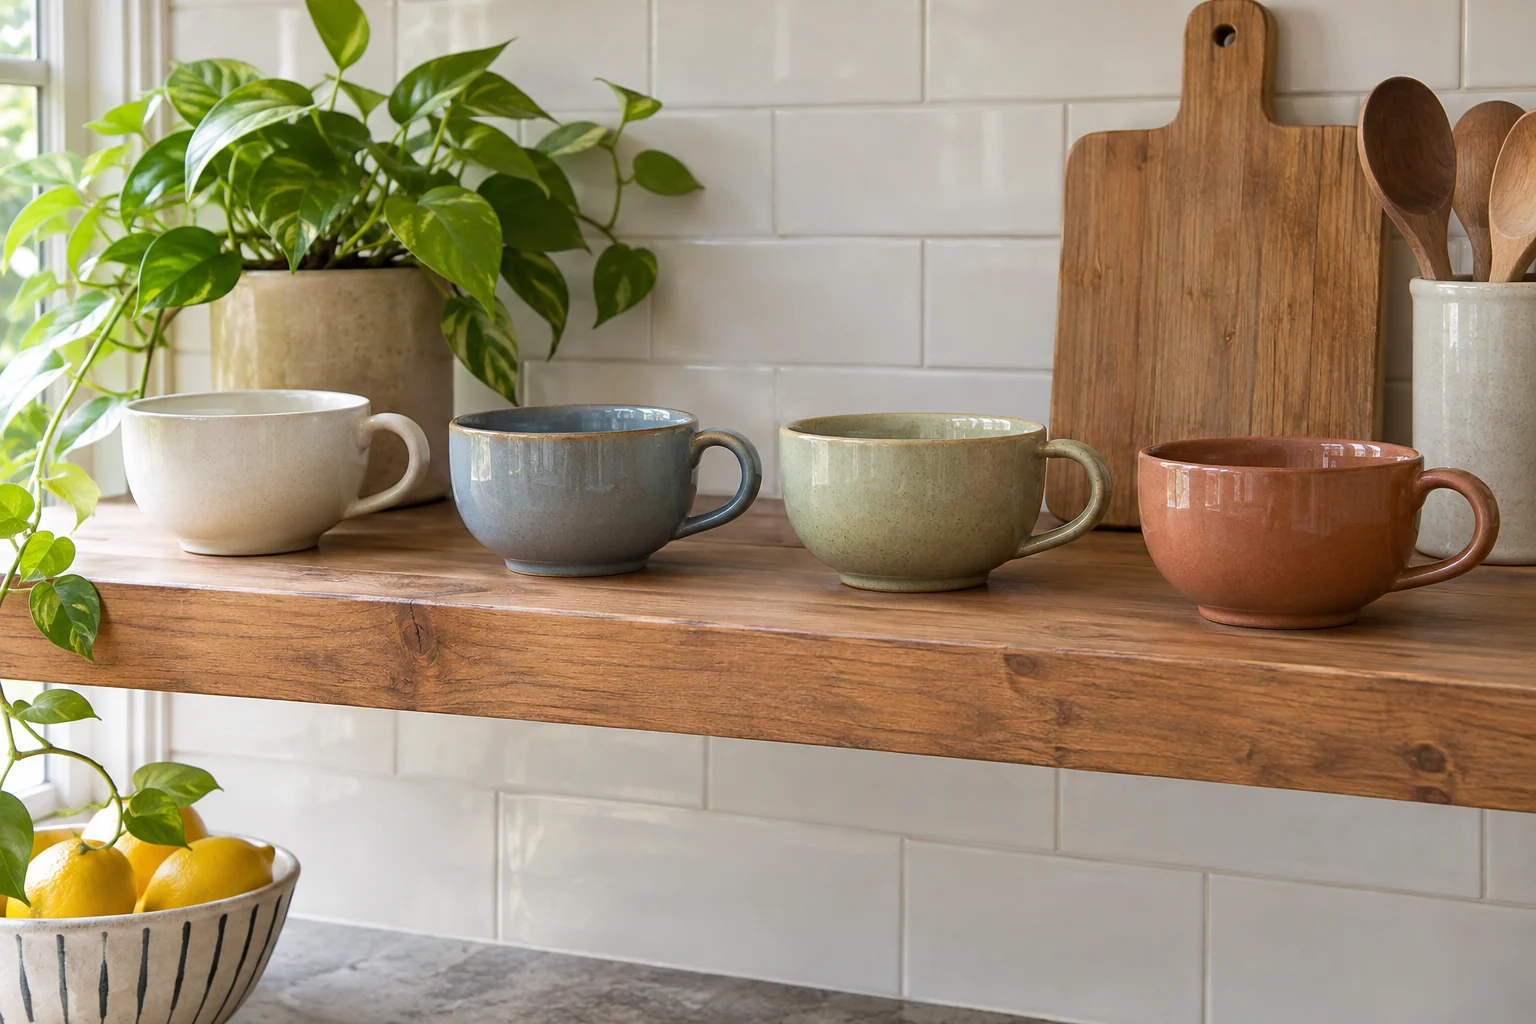
Wide mugs can occupy a surprising amount of shelf width once their handles are included. Give them a clear bay instead of squeezing them among narrow cups. Arrange them so the body and handle of one remain clear of its neighbors during removal.
Try the biggest mug first and keep the shelf’s front edge in view. The position should support the whole base without requiring the mug to overhang. Use another suitable level if the group becomes crowded rather than nesting wide rims without verified guidance.
Try this: Use the widest handle-inclusive measurement when planning the row.
18. Keep a mixed collection orderly by height

A collection of different mugs can feel considered when similar heights share a small group. Let the cabinet or shelf provide the calm background instead of buying a matching set solely for appearance. Keep the favorite daily mugs in the easiest positions.
Height grouping should not override access. A frequently used short cup hidden behind a tall occasional mug still creates an awkward routine. Separate the groups across suitable bays so each is visible and the handles remain available.
Try this: Arrange by daily use first, then by height within the group.
19. Repeat a quiet color palette without crowding
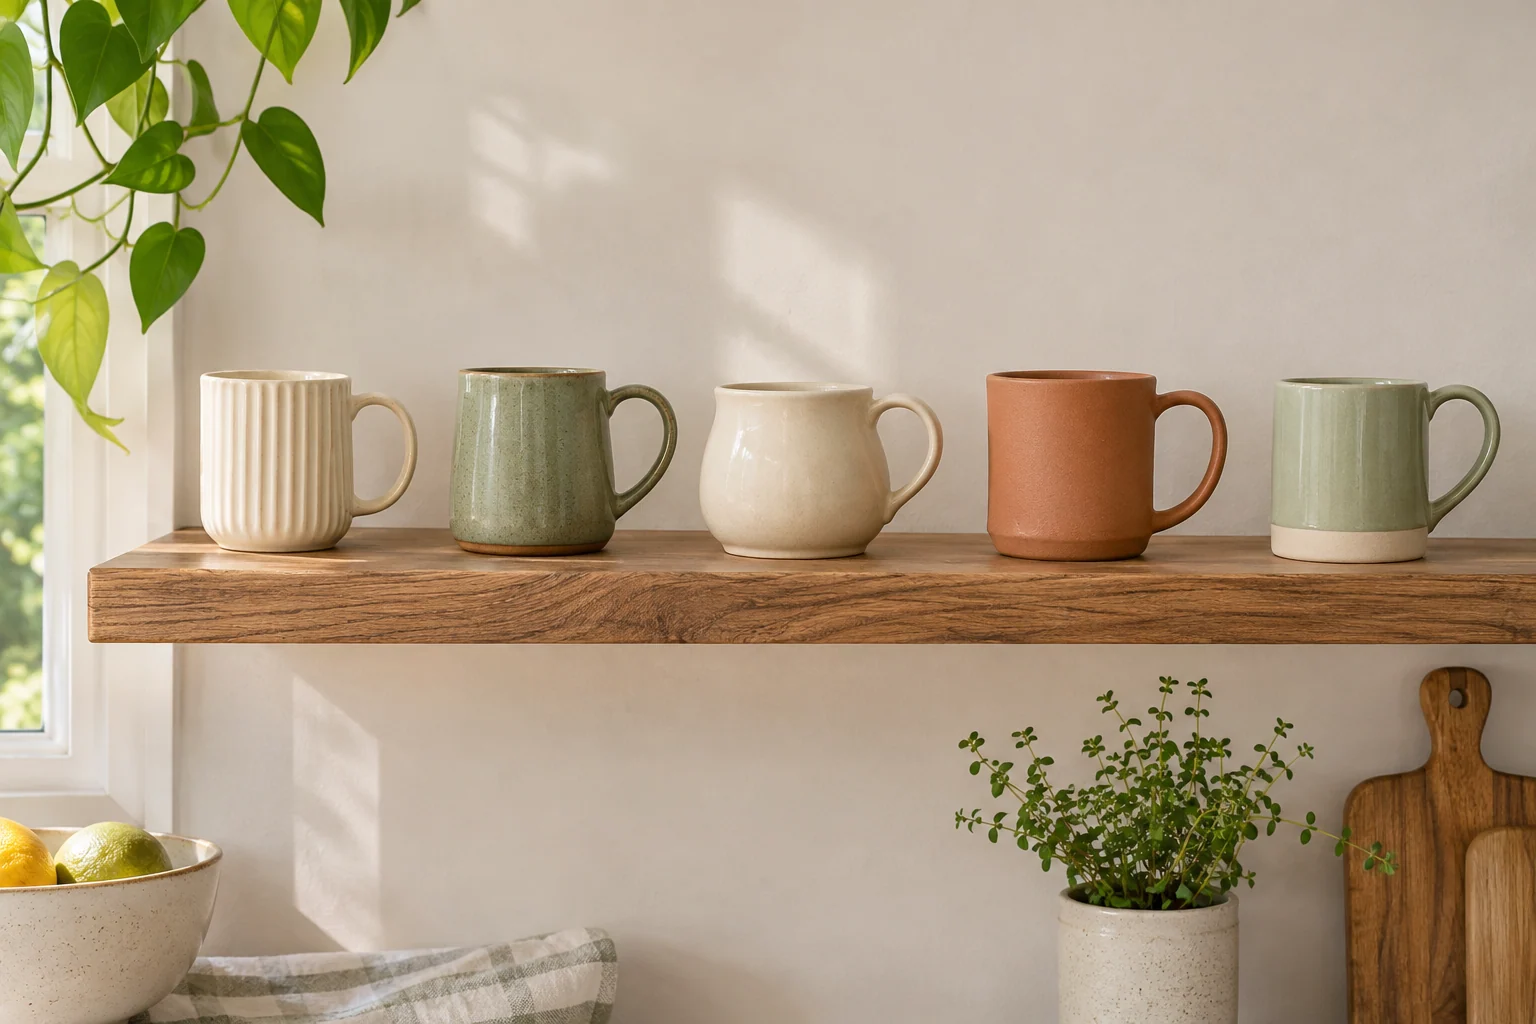
A few related colors can connect different mug shapes in a visible cupboard. Try warm white, soft green and natural clay tones against a simple backdrop. Preserve the same useful handle gaps that an enclosed working shelf would need.
The palette can come from the mugs you already own. Edit the visible group to a practical amount and give the rest another defined position. A display does not need a second row of cups simply to repeat a color.
Try this: Use the existing collection before adding decorative duplicates.
20. Keep a tea pair close to the kettle route
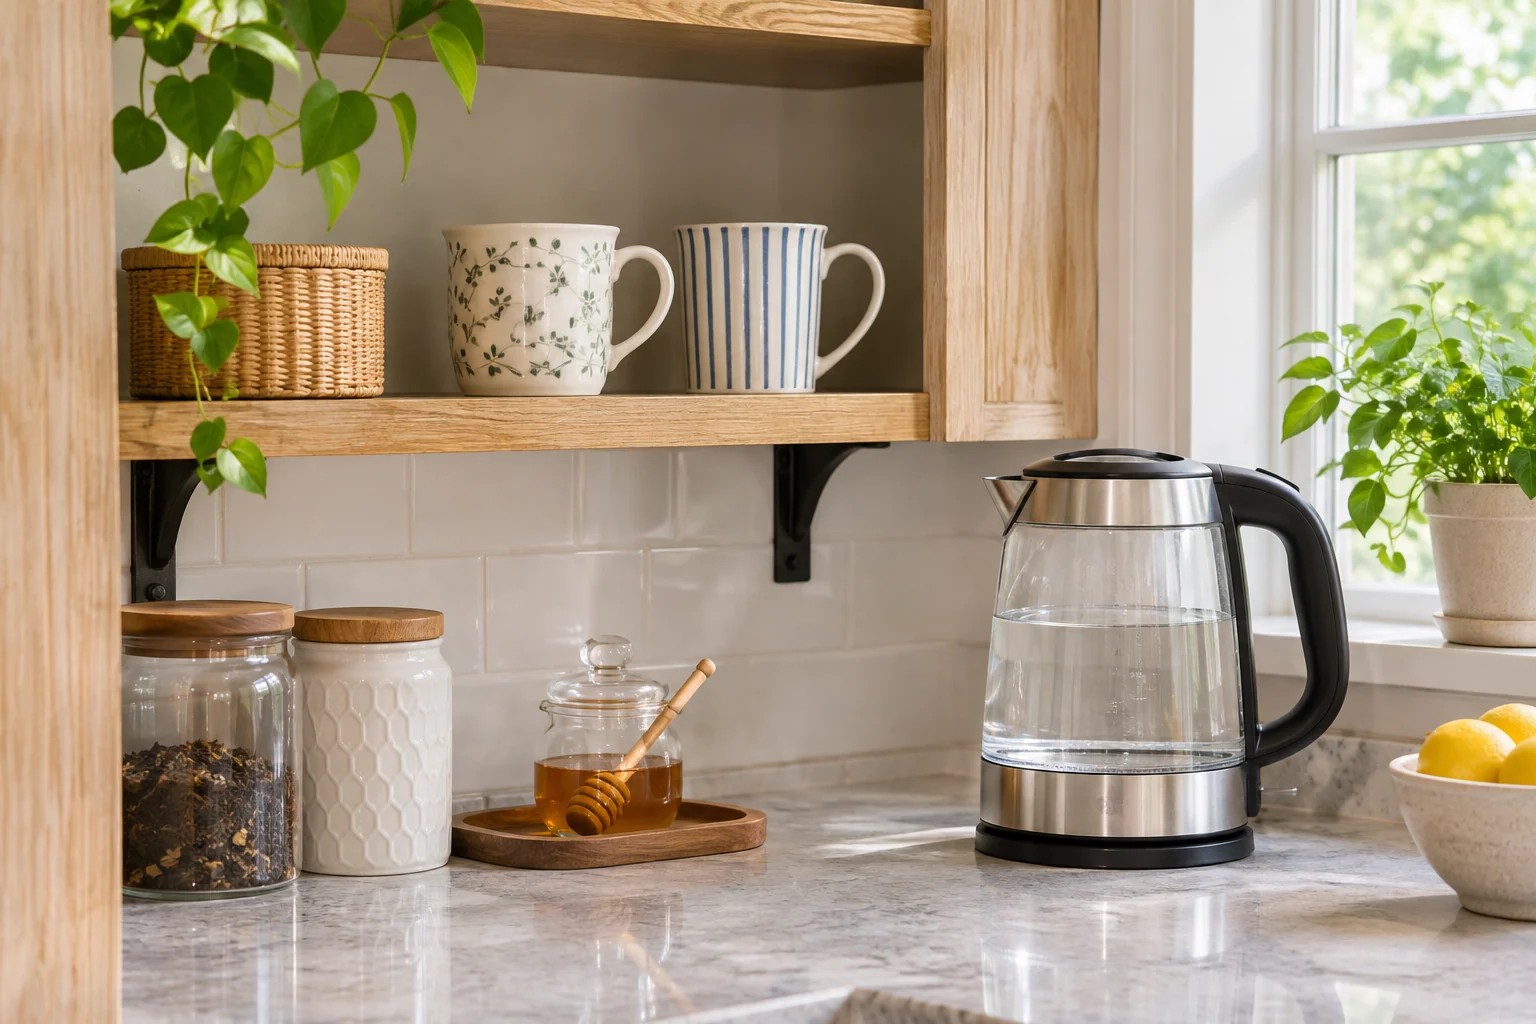
A small pair of tea mugs can sit in suitable storage near the usual preparation position. Choose a shelf or cabinet that can be reached without crossing a crowded counter. Keep the mugs outside the appliance clearances specified by its maker.
Try the movement with the kettle in its ordinary place. The cups should be easy to retrieve without reaching over the appliance or blocking the work area. Use the arrangement to simplify one repeated routine rather than building a large decorative station.
Try this: Trace the ordinary reach before choosing the storage position.
21. Give large handles extra space at the row ends
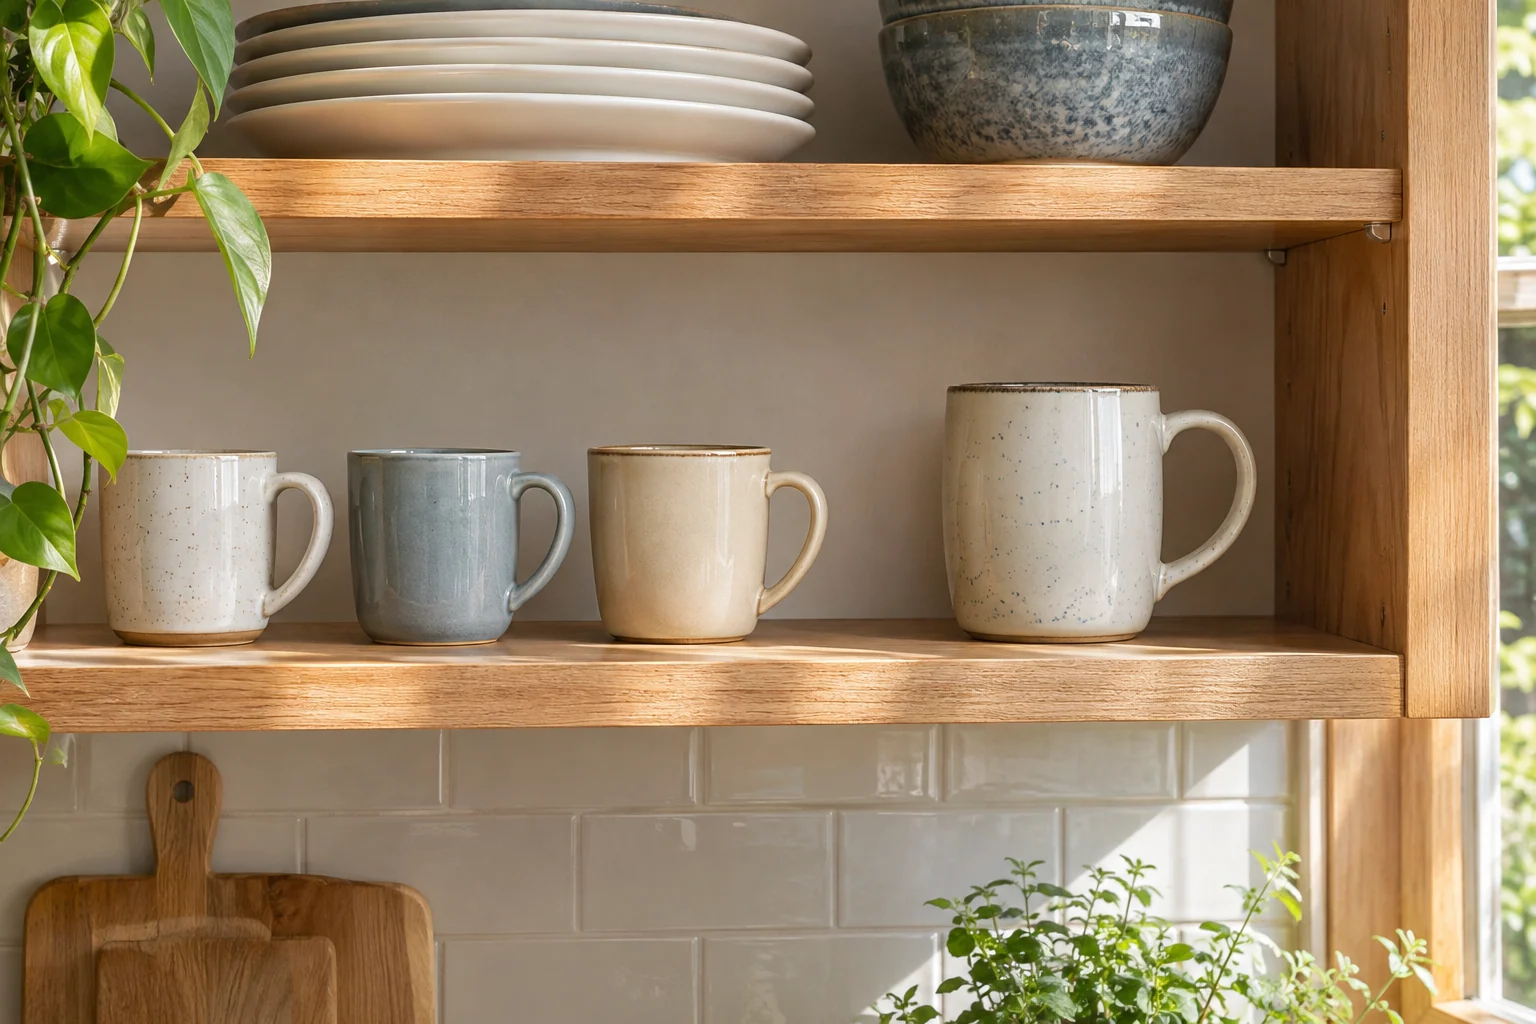
An unusually broad handle can work well at a clear end position when the cabinet side and hinge do not obstruct it. Turn the mug to keep the handle accessible and the base fully supported. Test both end positions before choosing the more comfortable one.
Do not treat the remaining gap as wasted space. It may be what makes the handle easy to grasp. Move the mug to another bay when a side panel forces an awkward angle or the open door reduces the usable opening.
Try this: Check the hinge-side end with the door in normal use.
22. Keep occasional statement mugs in one defined bay
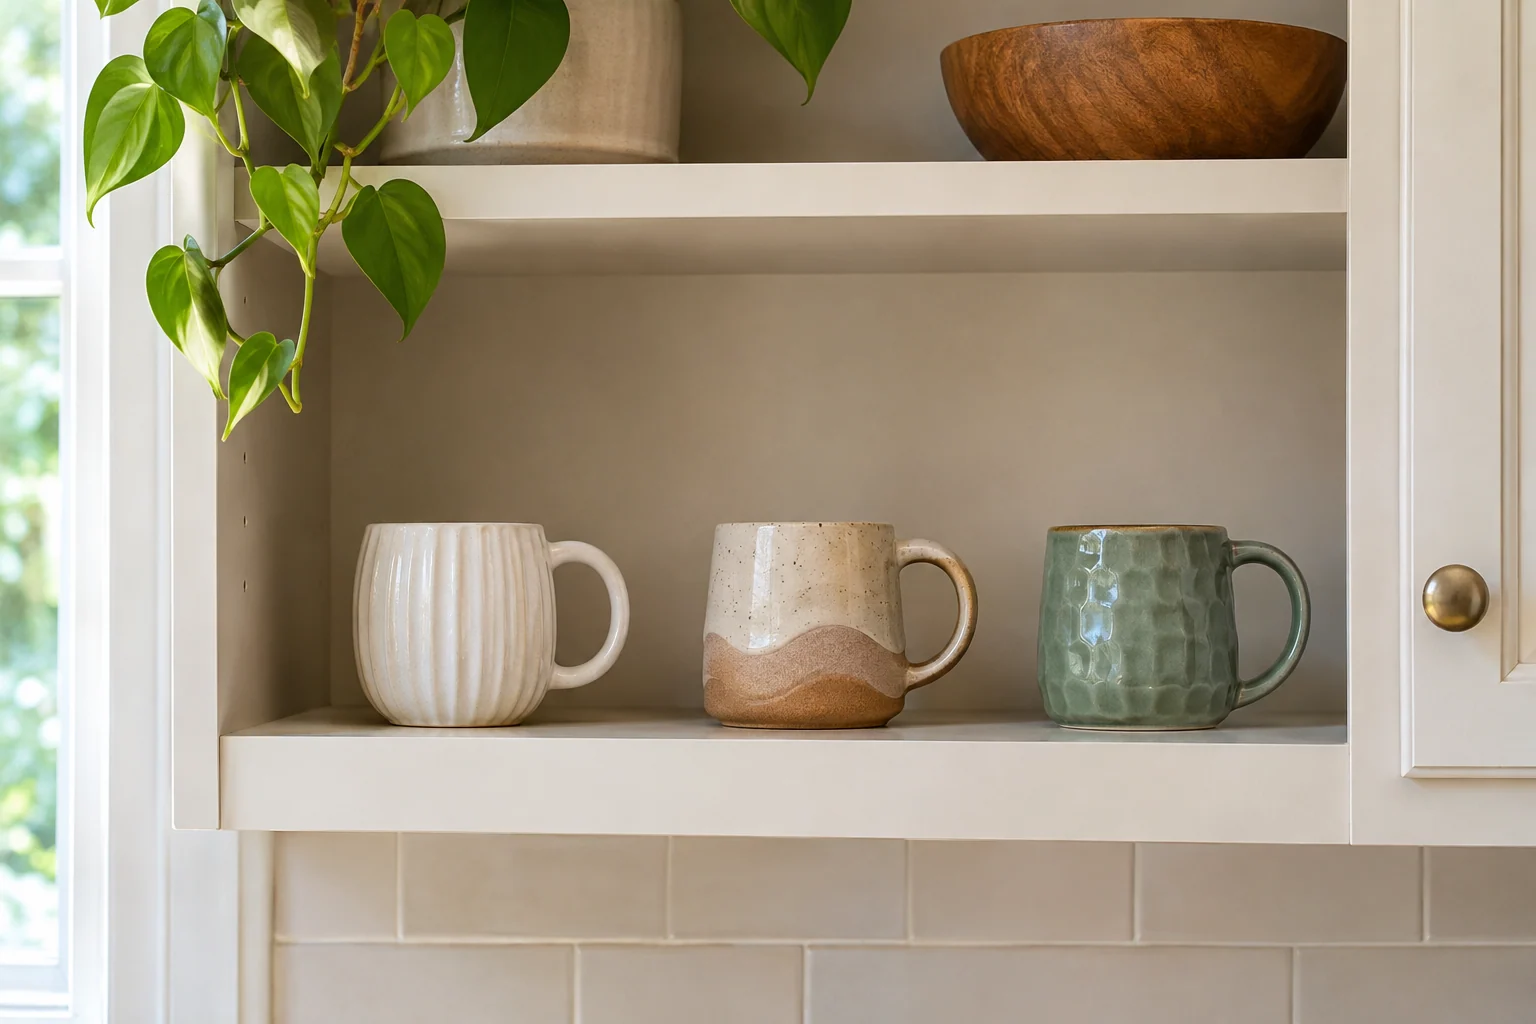
Large sculptural or seasonal mugs can stay together in a separate suitable bay while the working collection remains simple. Give each piece enough room for its unusual shape and any projecting handle. Keep the arrangement accessible without letting it spread into every daily shelf.
Review the group before buying a specialized organizer. Different shapes may work better in separate supported positions than in one uniform rack. Store the pieces clean and dry according to their own guidance, with a clear place for returning them after use.
Try this: Measure the most unusual shape before choosing an organizer.
23. Store a small reserve above the daily group
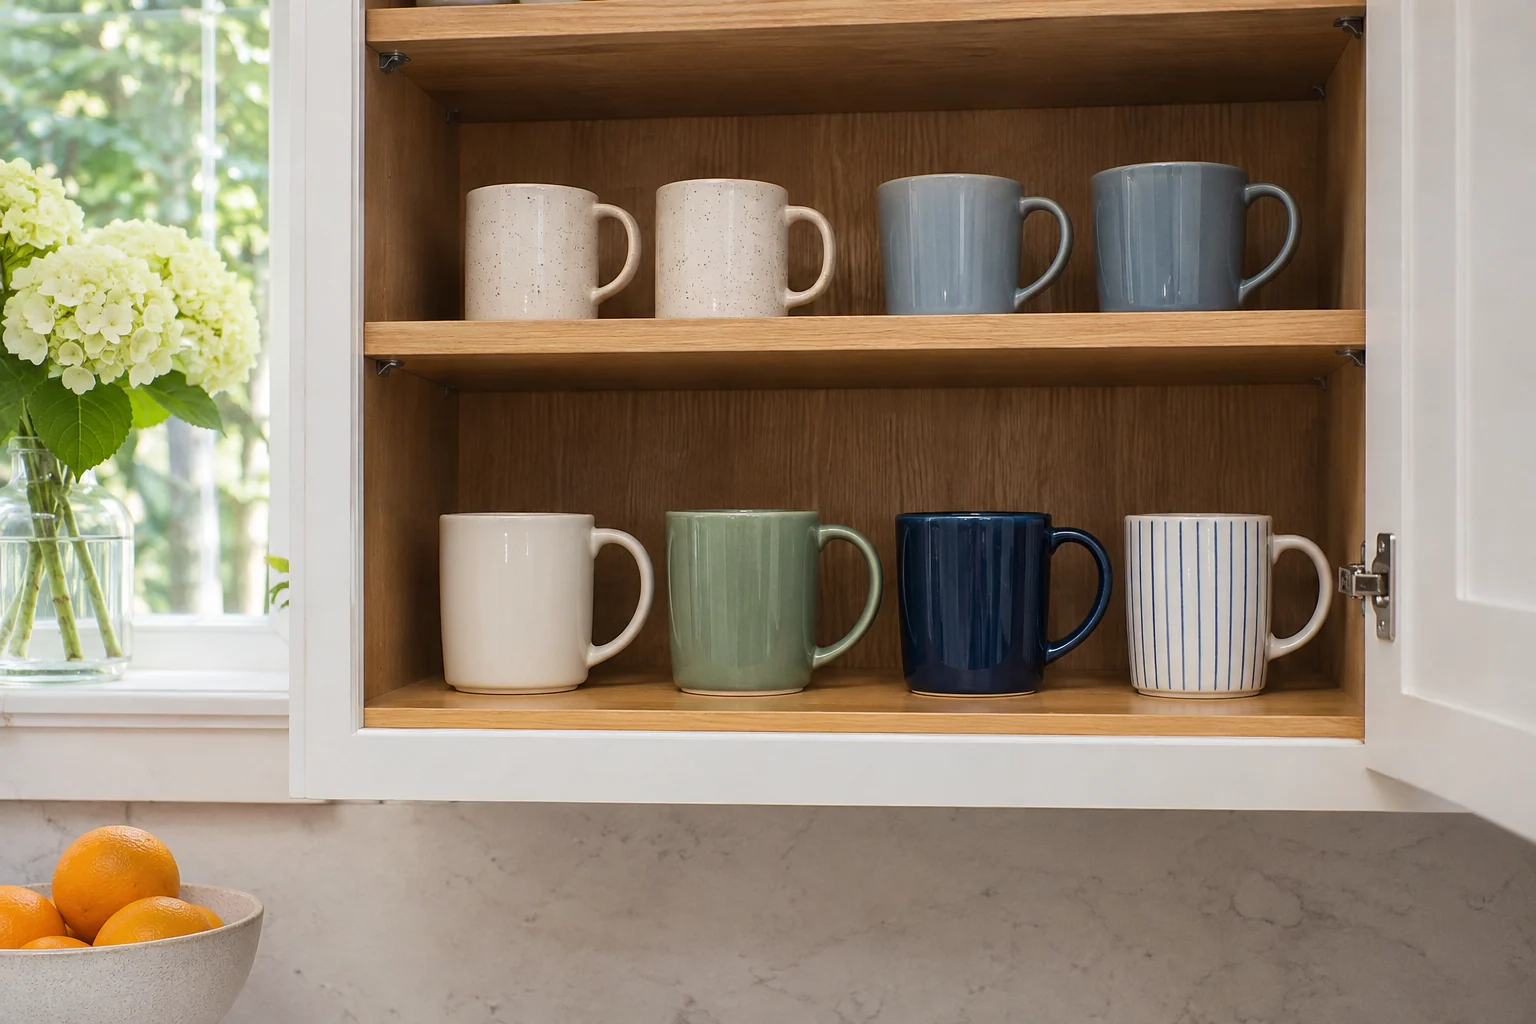
A separate reserve group can free the easiest shelf for the mugs used most often. Choose another suitable accessible level with enough headroom and stable support. Keep the reserve visible so it does not become an unknown collection behind other kitchenware.
Avoid putting heavy or awkward mugs where they require an uncomfortable overhead reach. The useful distinction is frequency of use, with access still suited to the household. If the upper bay is unsuitable, use a lower cupboard or sideboard instead.
Try this: Choose the reserve location around a comfortable reach.
24. Keep dry lids and infusers beside their own cups
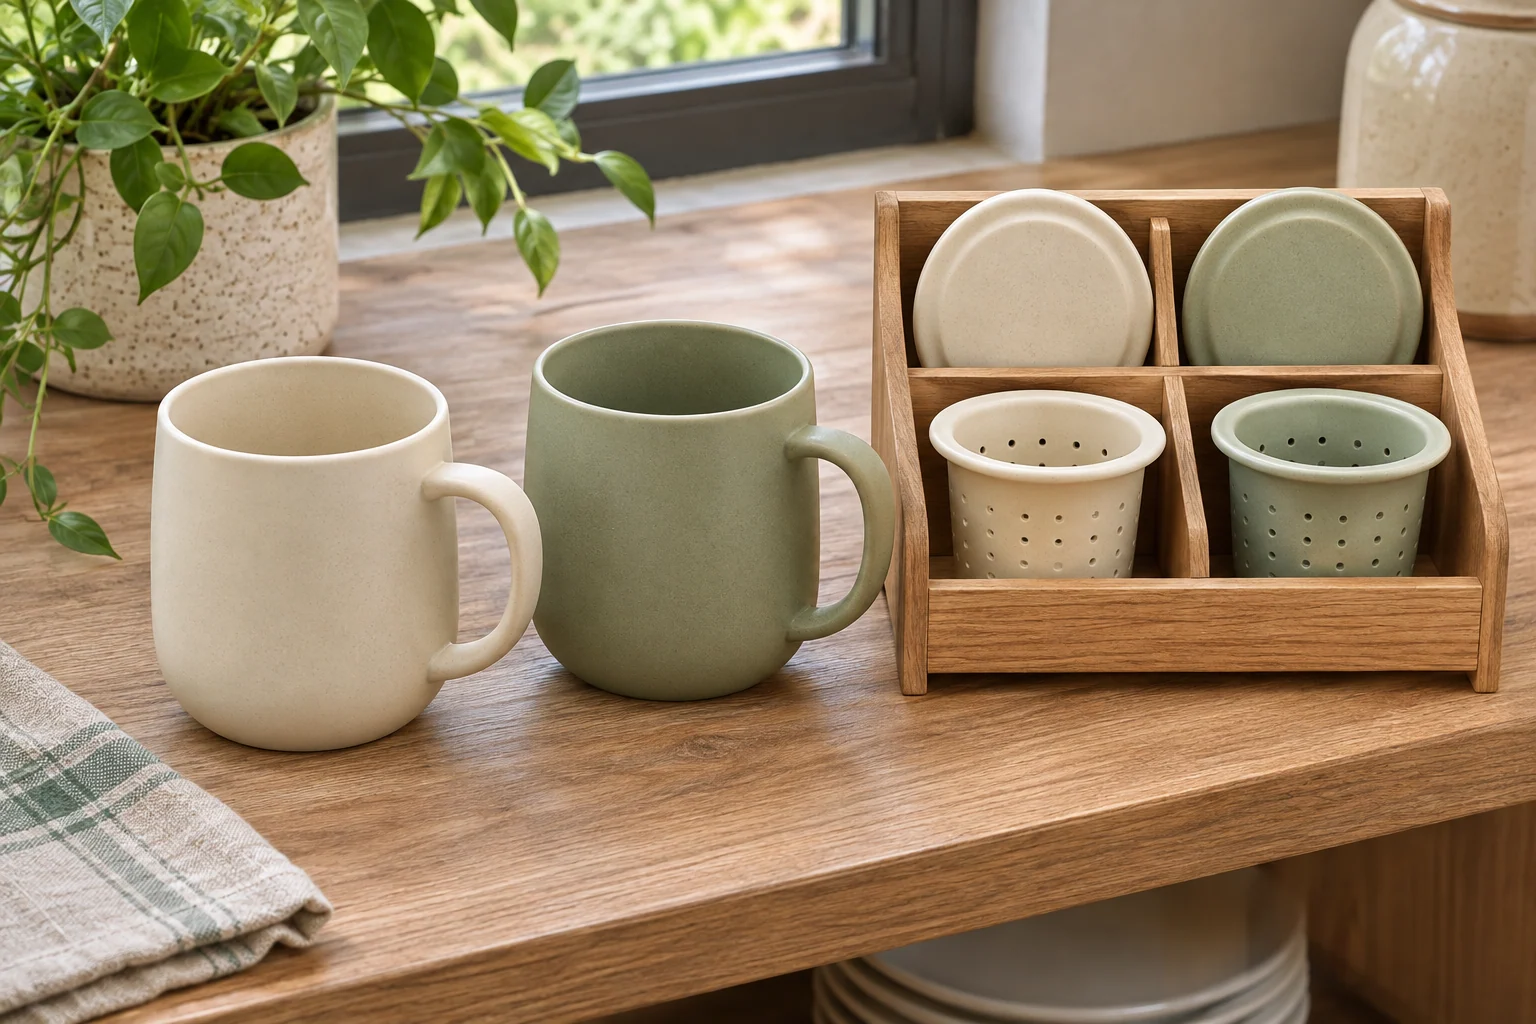
Mugs with separate lids or infusers can be easier to use when the matching components have a defined nearby position. Store each component clean and completely dry according to its instructions. Choose a small supported compartment that prevents parts from disappearing behind the cups.
Keep the arrangement simple enough that the correct pair is obvious. Do not fit lids onto unfamiliar mugs merely because they appear similar. A nearby component space can be more useful than balancing loose pieces on several neighboring rims.
Try this: Keep matching components together without covering unrelated cups.
25. Use a shallow cabinet to avoid hidden rear mugs
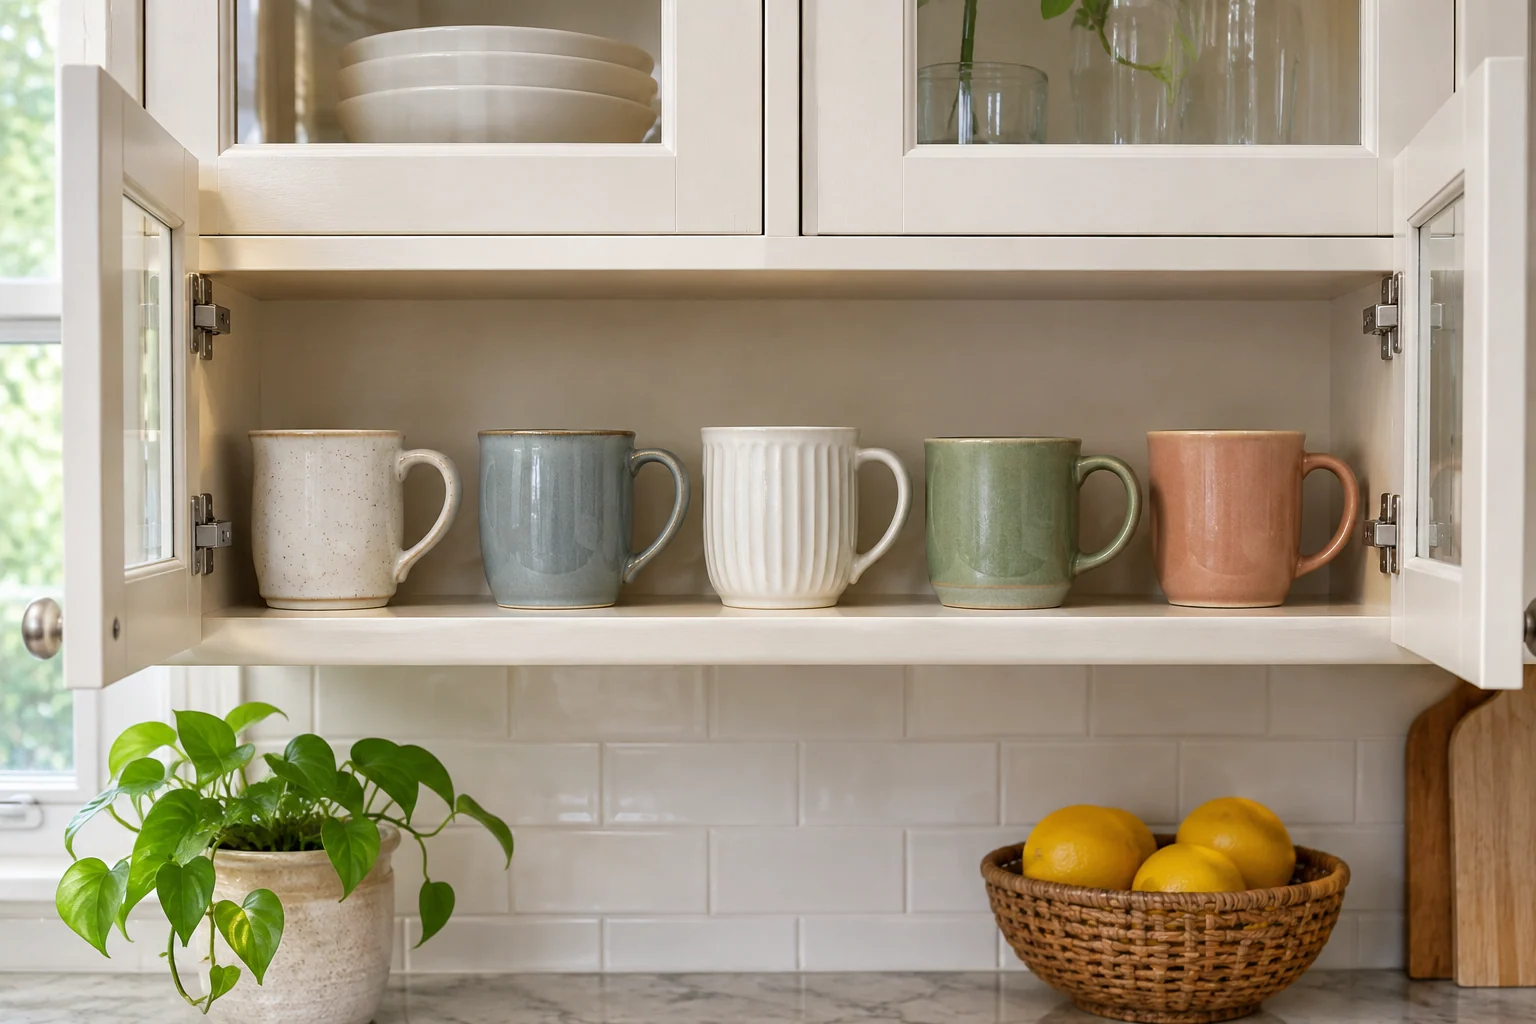
A shallow cupboard can give a modest collection a single visible row. Choose mugs whose bases and handles fit fully within the available shelf depth. Leave the door and hinge area clear so the arrangement works when the cabinet is closed and opened normally.
Resist adding a hidden rear group simply because the bodies seem to fit. If every rear mug requires moving the front row, the storage becomes a repeated task. Give extra pieces another suitable defined position instead.
Try this: Measure usable depth with the door hardware included.
26. Keep a mobile coffee cart restrained and stable
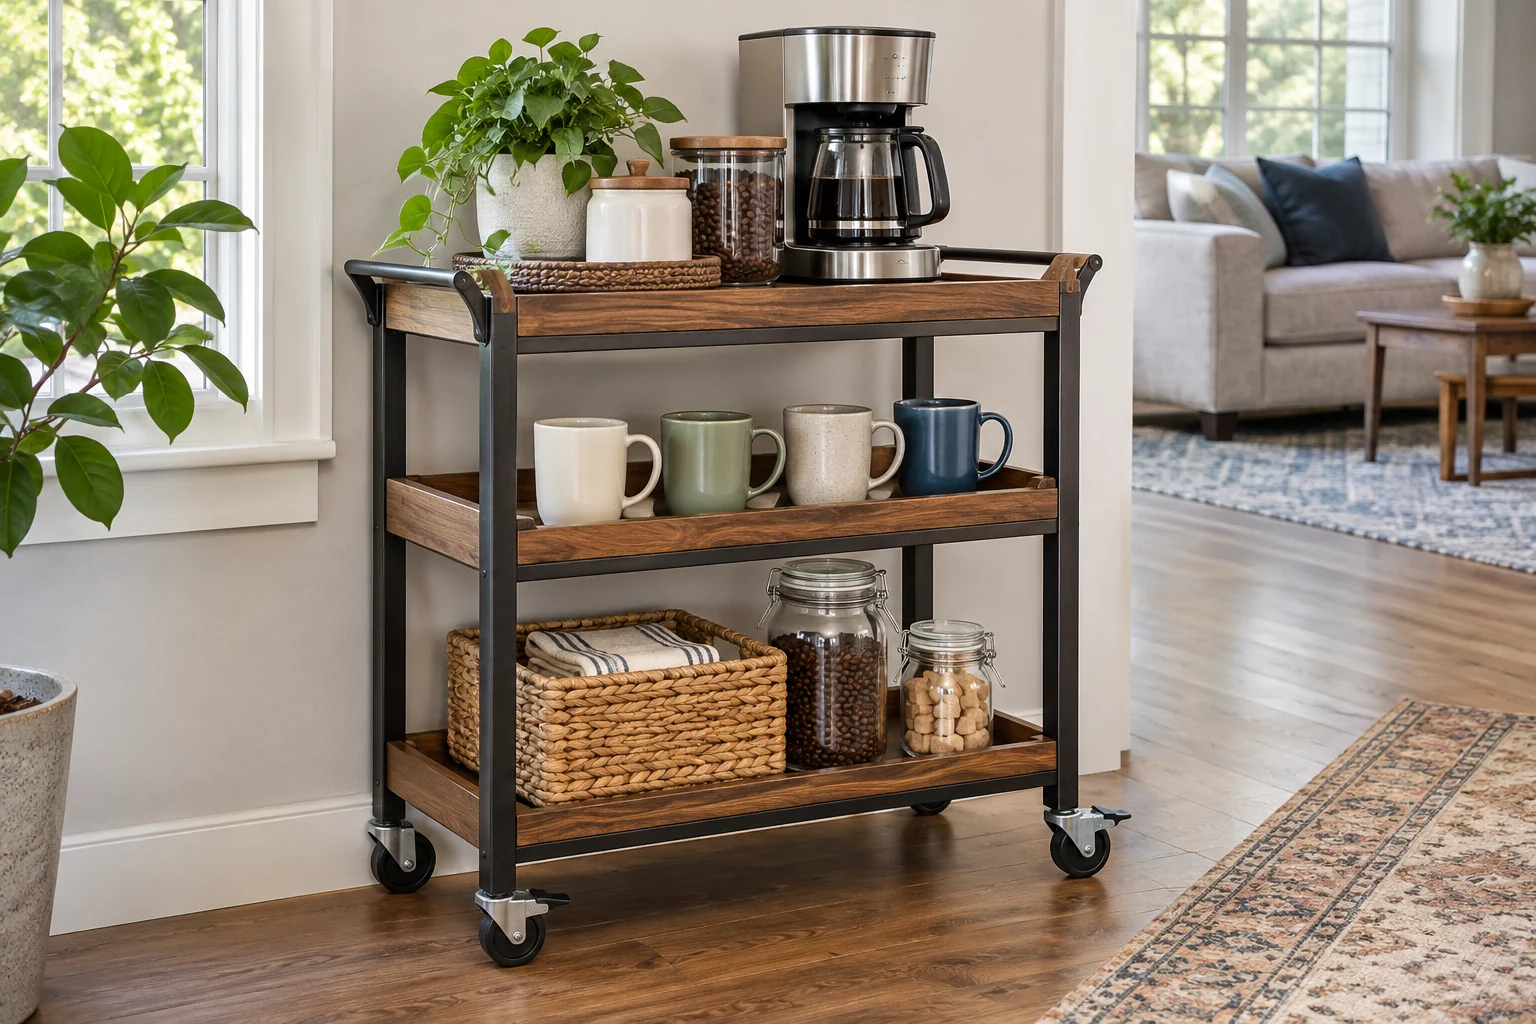
A purpose-designed cart can hold a small mug group when its shelves, stability and placement suit the load. Store the mugs upright on an appropriate supported surface, keeping their bases and handles within the shelf boundary. Follow the cart’s assembly and movement guidance.
Do not assume a full display should travel around the kitchen with loose mugs on it. Keep the parked position clear of walkways and use the cart only as intended. A small group can support an occasional serving routine without replacing the main kitchen storage.
Try this: Check the cart instructions before moving a loaded arrangement.
27. Finish with a simple return test after breakfast
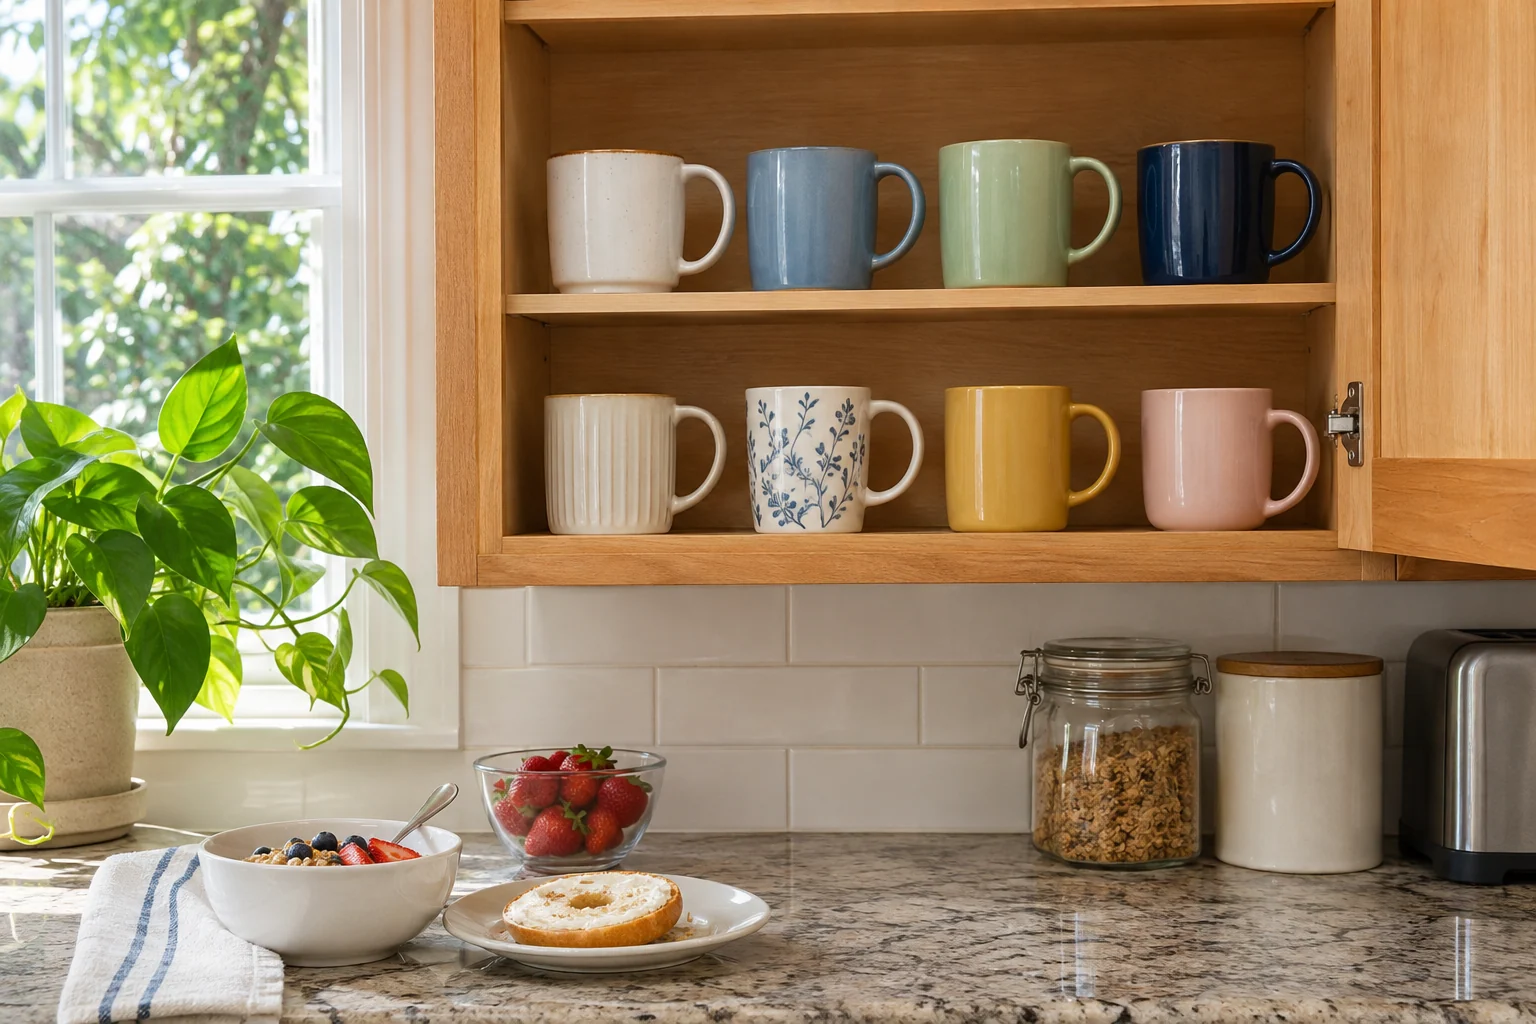
A useful mug layout works when the neighboring spaces are occupied. After an ordinary breakfast, test returning one clean dry mug to its place without shifting the row, lifting a riser or untangling hooks. Notice the specific position that makes the movement awkward.
Adjust that repeated problem before adding another accessory. A smaller daily group, a different handle direction or a taller bay may solve more than a new rack. Keep the final arrangement suited to the actual mugs, support system and household routine.
Try this: Improve the repeated awkward position first.
A Riser-Height Example Before You Buy
Imagine a cabinet with 10 inches of clear height. A riser 6¼ inches high plus a hypothetical mug 4½ inches tall requires 10¾ inches before allowing any comfortable lifting room. That arrangement is already ¾ inch too tall, even if the riser fits the shelf width and depth. This arithmetic example combines one stated riser height with an invented mug height; it is not a compatibility claim. Measure the actual mug and the usable opening beneath the riser separately, because the top thickness and supports can reduce that lower space.
Copy This Seven-Part Mug Storage Fit Card
Write down: the largest handle-inclusive width; tallest mug height; clear shelf or drawer dimensions; the complete organizer footprint; loaded height; a comfortable gripping route; and the actual mounting or handle compatibility requirements. For a hanging system, check the rail, fixings, hooks and mug handles together. IKEA identifies HULTARP hooks as compatible with its HULTARP rail, but a per-hook limit does not establish the capacity of the wall, rail or complete assembly. Never multiply a hook rating to invent a system rating.
Frequently asked questions
Should mugs be stored on shelves or hooks?
Choose according to the mug, the available space and the support system. An upright shelf provides base support without relying on the handle. Hanging storage requires compatible handles and purpose-designed hardware installed and loaded as directed. Test comfortable removal as well as appearance.
Can I stack any matching mugs?
No. Similar shapes do not establish stacking compatibility. Use the exact mug maker’s instructions and any purpose-designed rack requirements. When stacking guidance is unavailable, individual supported positions avoid relying on an unverified fit between rims and bases.
How many mugs should stay beside the coffee maker?
Keep the quantity that serves your ordinary routine without obstructing preparation space or crowding the appliance. There is no universal correct number. Give guest and occasional mugs another defined accessible place, then review whether the daily group is comfortable to use and return.
A practical next step
Arrange the everyday mugs first, including their handles and the space needed to grip them. Add a shelf insert or hanging system only when the complete loaded arrangement fits and follows the actual product guidance. A useful mug cabinet supports a simple daily routine while leaving the kitchen comfortable to work in.
The images are original AI-generated decor concepts, not installation diagrams or photographs of completed client projects.
Sources and care references
- IKEA: shallow VARIERA shelf insert, assembled dimensions and assembly guidance
- IKEA: HULTARP hook, compatible rail and model-specific load information
Related reading on Nestroxe
Optional digital guide for this topic
If you prefer a structured workbook, explore this related paid guide.