Pot and pan storage works best when the cookware you use most can come out without a balancing act. The awkward part is usually the handle, the lid or the space needed to lift a heavy pot, rather than the round base alone.
These arrangements help you choose a home for different cookware shapes while keeping the kitchen inviting. Use the ideas as a menu: a daily skillet drawer and a separate stockpot shelf may solve more than one large organizer.
The images are original AI-generated decor concepts, not installation diagrams or photographs of completed client projects.
Browse These 24 Pot And Pan Storage
Jump to an idea
- Give everyday skillets separate drawer positions
- Use a deep drawer for lidded saucepans
- Create individual slots for frying pans
- Keep heavy Dutch ovens on a low reachable shelf
- Use shelf risers for light, separated groups
- Put lids in a dedicated upright rack
- Reserve a shallow drawer for flat lids
- Pair a pan bay with a neighboring lid bay
- Let long handles follow the drawer depth
- Make a separate home for a large stockpot
- Store roasting pans like wide trays
- Group small pans in a compact cooking bay
- Protect a short nested stack
- Separate coated cookware from rough neighboring items
- Use a pull-out shelf for a deep cabinet
- Keep a corner organizer modestly loaded
- Choose a wall rail for suitable lighter pans
- Use open shelving for a small coordinated display
- Consider a freestanding rack with a real footprint
- Give a kitchen cart a defined cookware shelf
- Separate occasional cookware from the daily route
- Use a low bench-height cupboard in a compact kitchen
- Make the lid return as easy as the pan return
- Leave room to lift rather than filling every inch
Plan Pot and Pan Storage from the Handle Outward
Measure your cookware at its widest point, including handles, and record the stored height with the lid in its intended position. Then measure the cabinet opening, usable interior and access route. Le Creuset advises putting thoroughly dry cookware in dry storage and protecting pieces when stacking is necessary. Follow your cookware maker and storage-hardware instructions for the actual materials, mounting and loads.
| Cookware group | Useful arrangement | Fit detail |
|---|---|---|
| Everyday frying pans | Separate horizontal drawer positions | Handle length and closed height |
| Heavy lidded pots | Low reachable shelf | Lifting room and rated shelf capacity |
| Flat lids | Dedicated upright rack | Knob depth and stability |
| Occasional large stockpot | Individual cupboard bay | Clear opening and full retrieval path |
A Handle-Length Fit Example
A pan body that measures 12 inches across might occupy 20 inches from the far rim to the end of its handle. In an 18-inch-deep drawer, the body dimension alone gives the wrong answer. A diagonal position may fit, but test the complete footprint on paper and allow the drawer to close. These are illustrative dimensions: use your own cookware, dividers and drawer measurements.
Make a Cookware Location Card
List your five most-used pieces, their full footprints, their empty weights and the lids that go with them. For each proposed location, write how many other pieces must move before that item comes out. Favor arrangements that reduce that count for the cookware you use every day. Confirm the furniture and hardware capacity separately; an organizing sketch cannot establish a safe load.
1. Give everyday skillets separate drawer positions
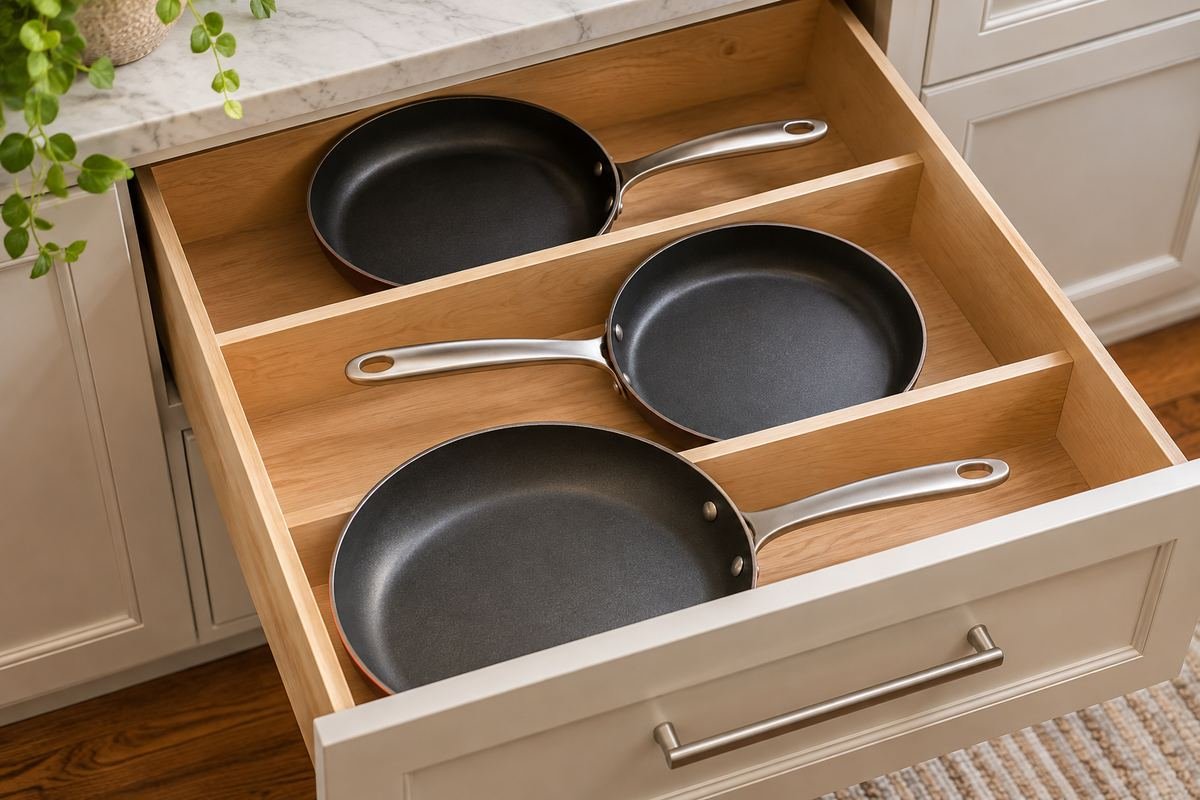
A broad drawer can hold a few skillets in individual horizontal positions. Each pan then comes out without lifting another one off its cooking surface. The handles determine the layout, so arrange those first.
Try alternating handle directions to use the available width. Keep a clear handhold at each pan and avoid treating the final small gap as space for another heavy item. The drawer’s rated capacity still controls the load.
Practical tip: Trace the whole pan, including its handle, onto paper.
2. Use a deep drawer for lidded saucepans

A deep drawer can put saucepan bodies and their lids in one reachable area. Store only the number that fits with room above the knobs, so the drawer can close without catching the lid.
A simple divider can stop handles crossing into neighboring pieces. Put the most-used saucepan toward the front, where it is easier to lift straight out. Do not assume a drawer suitable for light utensils can carry a cookware collection.
Practical tip: Measure the tallest lid knob in its stored position.
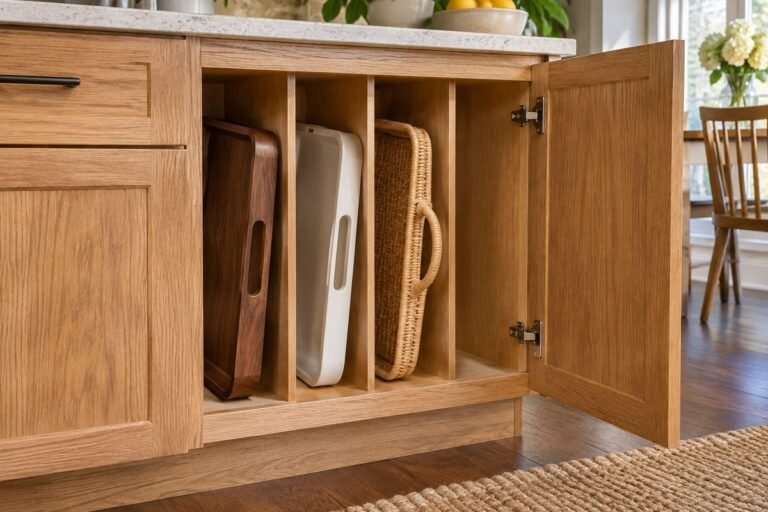
3. Create individual slots for frying pans
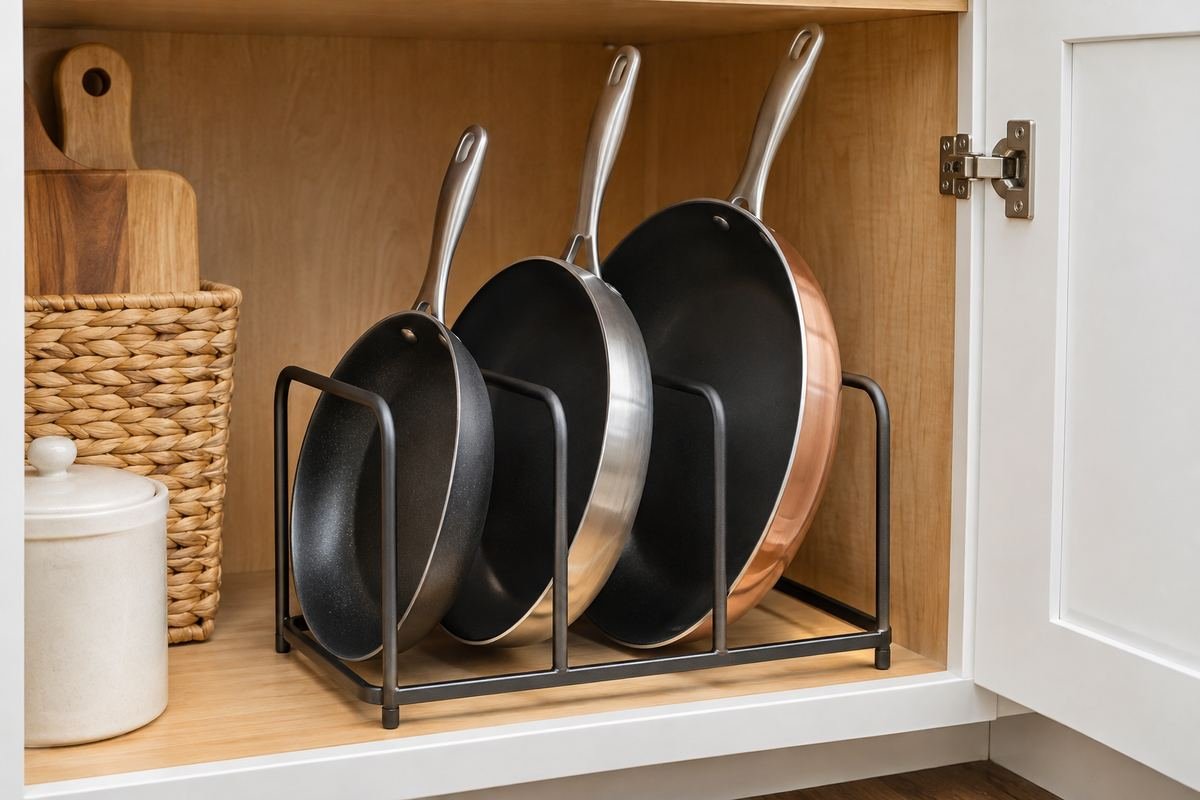
An upright pan organizer separates shallow cookware like files. It can make each skillet visible without a stack, provided the slots are wide enough for the pan and any protective requirements.
The rack must remain stable when the largest pan is removed. Check its exact dimensions and supported load, then test the handles against the cupboard opening. A rack that fits empty may fail once handles extend over its edge.
Practical tip: Start with the widest pan rather than the smallest one.
4. Keep heavy Dutch ovens on a low reachable shelf
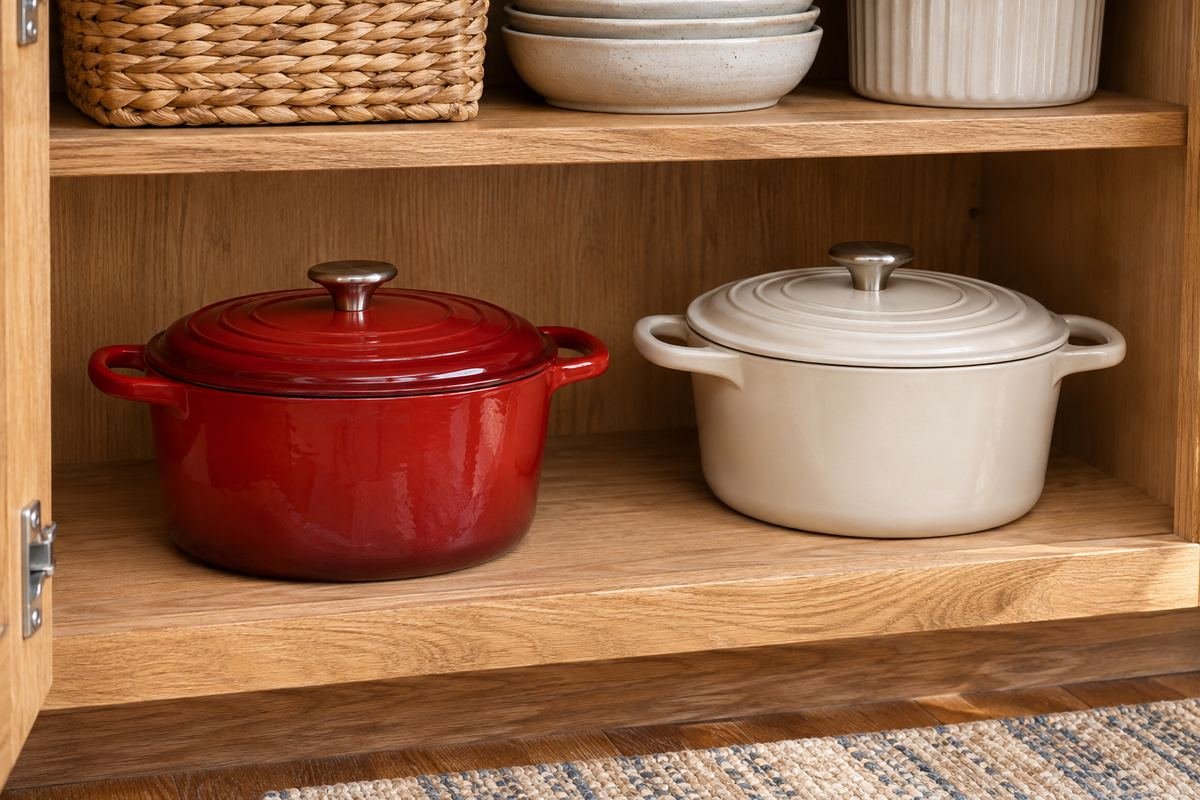
A heavy pot is easier to manage when its storage location allows a controlled lift. An individual low shelf position avoids reaching overhead or removing a stack before carrying the pot to the counter.
Leave room around both handles. The shelf should have appropriate support for the actual load, and the position should stay dry. A beautiful display is less useful if the surrounding dishes prevent you from gripping the pot properly.
Practical tip: Test the empty-pot lifting movement before filling the shelf.
5. Use shelf risers for light, separated groups
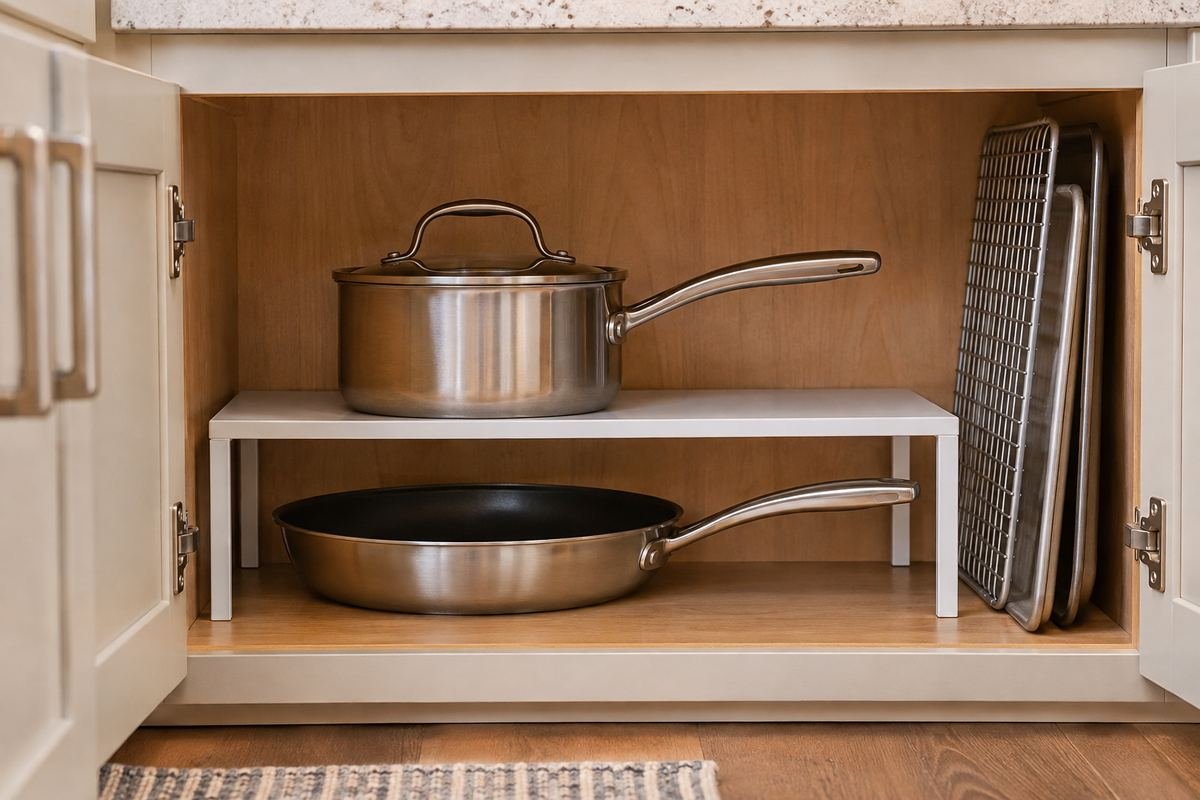
A suitable shelf riser can create an extra level without placing one pan directly on another. This can help with a small saucepan above a shallow skillet, where each item remains independently reachable.
Check both the riser and cabinet capacity and the loaded height. An elevated shelf is not an invitation to stack heavy cookware high. Keep the arrangement modest and make sure the riser does not wobble when an item comes out.
Practical tip: Include the riser thickness in your height measurement.
6. Put lids in a dedicated upright rack
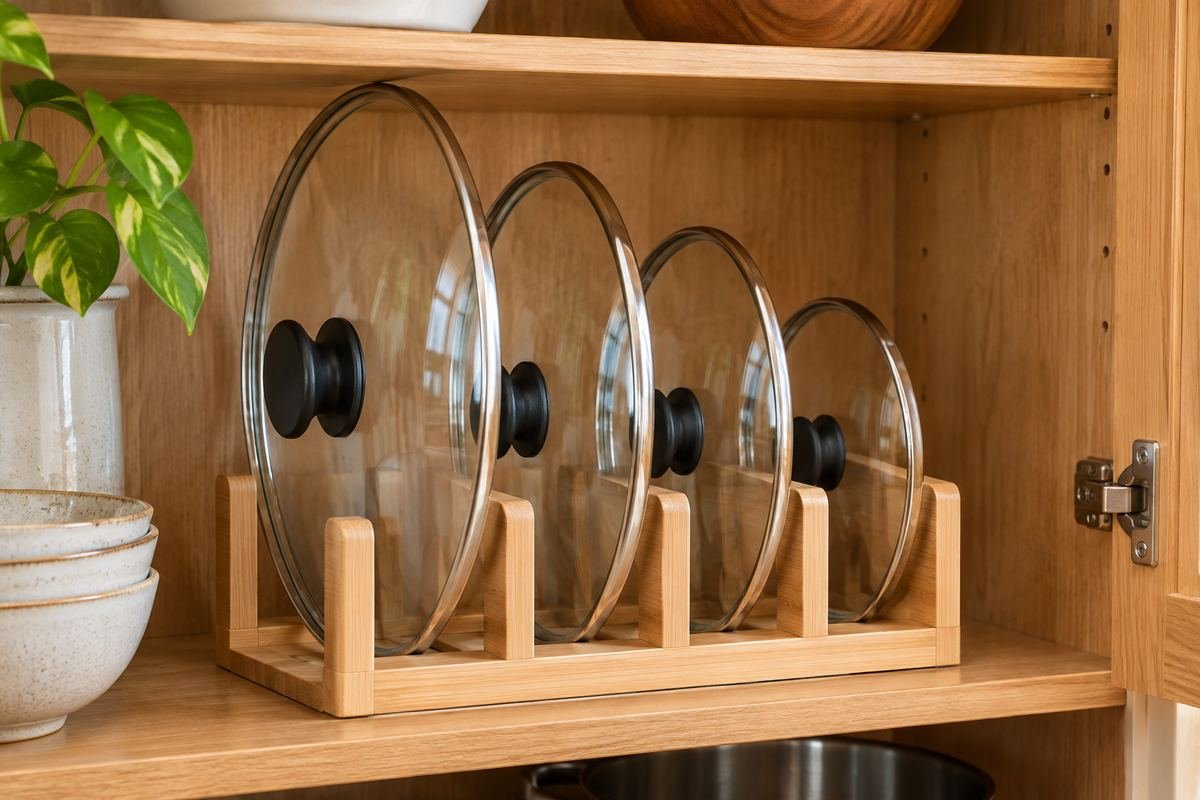
A lid rack can turn a jumble of round pieces into a visible row. Group lids by size or by the pans they belong to, then give each enough room for its knob or handle.
Place the rack where the largest lid can lift out without hitting a shelf. A narrow slot that grips the rim too tightly can make the arrangement frustrating. Avoid filling every possible gap if the lids begin leaning into one another.
Practical tip: Remove the middle lid during the fit test.
7. Reserve a shallow drawer for flat lids
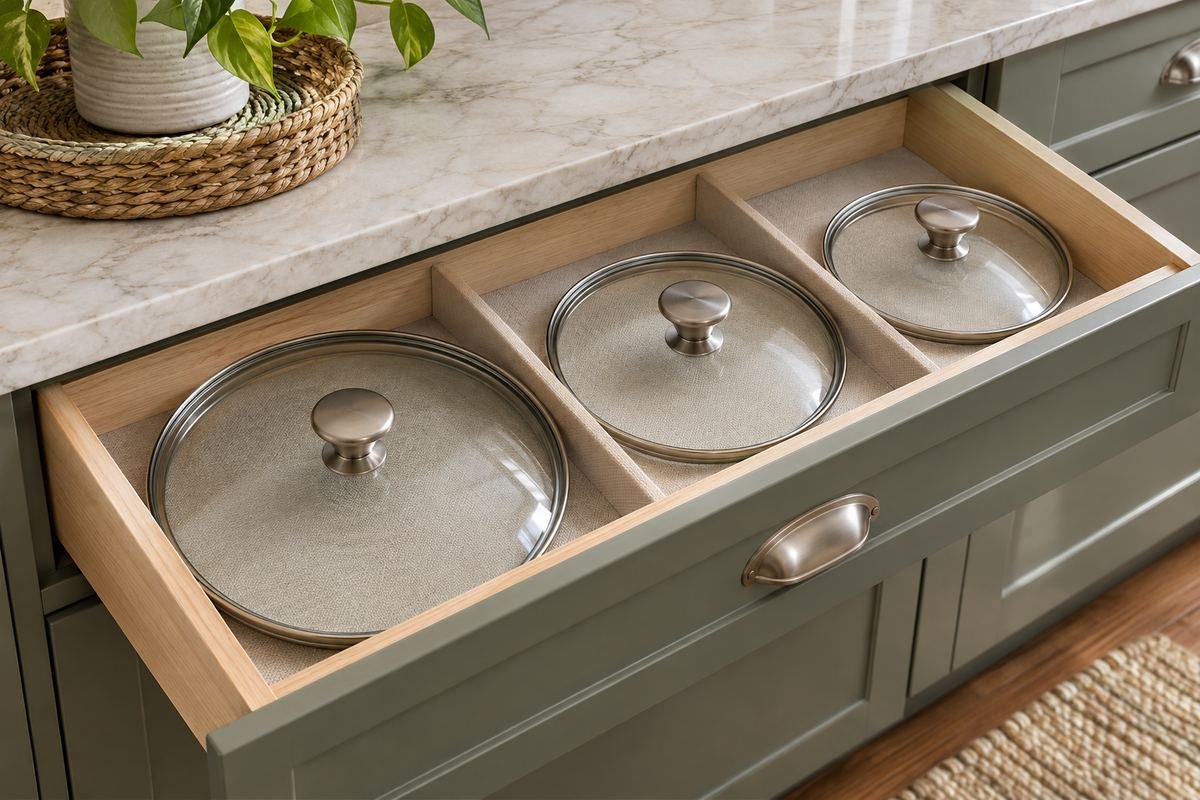
A shallow drawer may suit lids better than full cookware bodies. Place them flat in defined positions where the knobs fit below the closed drawer and the glass or metal rims do not bang together.
Separate large and small pieces so the smallest lid does not disappear under a bigger one. This arrangement works well when the cookware bodies already have useful storage nearby. It should simplify the routine rather than send lids across the kitchen.
Practical tip: Keep the most-used lid at the front of the drawer.
8. Pair a pan bay with a neighboring lid bay

Two adjacent compartments can keep bodies and lids close while giving each group a better shape of storage. The pans occupy broad spaces, and the lids stand in a narrower section beside them.
This is useful when upright lids would make a deep drawer too crowded. Use a simple pairing system, such as arranging both groups by size. Make sure anyone who cooks can identify the corresponding lid without trying several.
Practical tip: Keep the matching body and lid in the same left-to-right order.
9. Let long handles follow the drawer depth
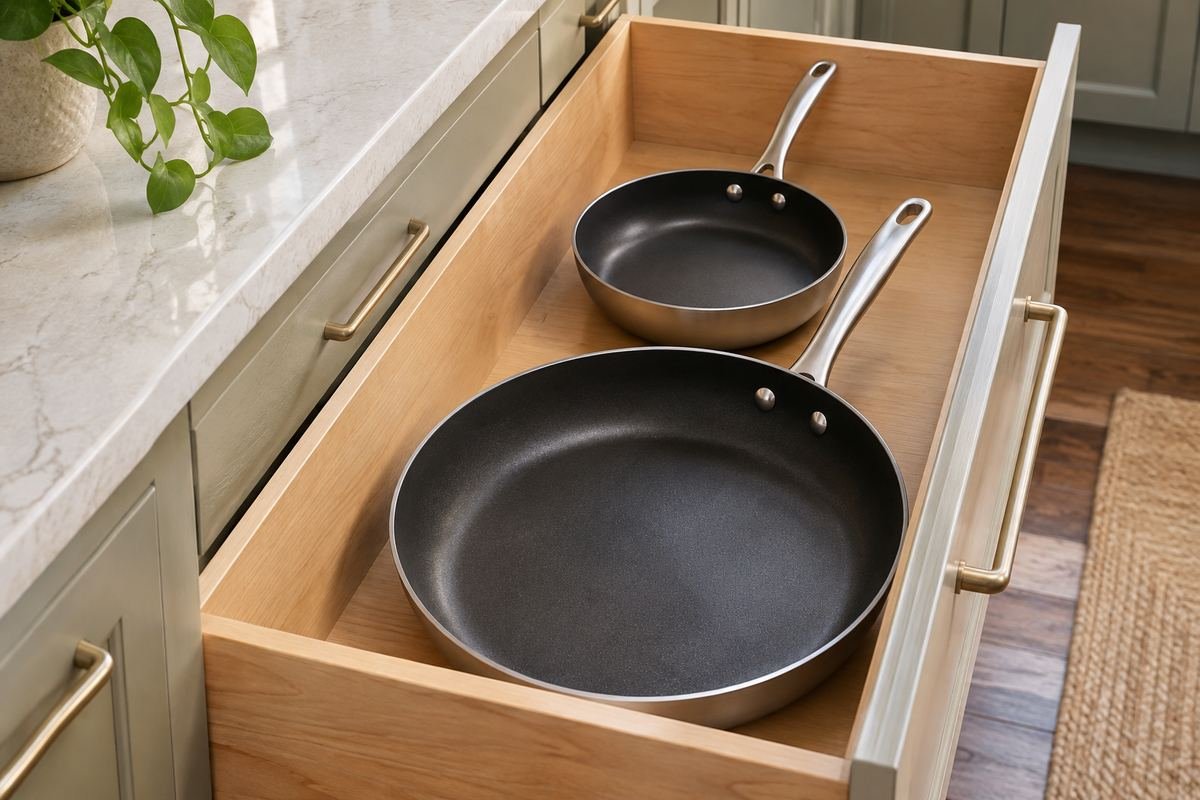
Some cookware fits best with the handle pointing toward the back of the drawer. This can free sideways space for another piece while keeping the pan body near the opening.
Measure the complete front-to-back length and the room required for your hand. If the handle reaches the rear panel, moving the pan at an angle may be awkward. Leave a small useful gap instead of wedging the piece tightly into place.
Practical tip: Keep handles clear of the drawer runners and closing path.
10. Make a separate home for a large stockpot
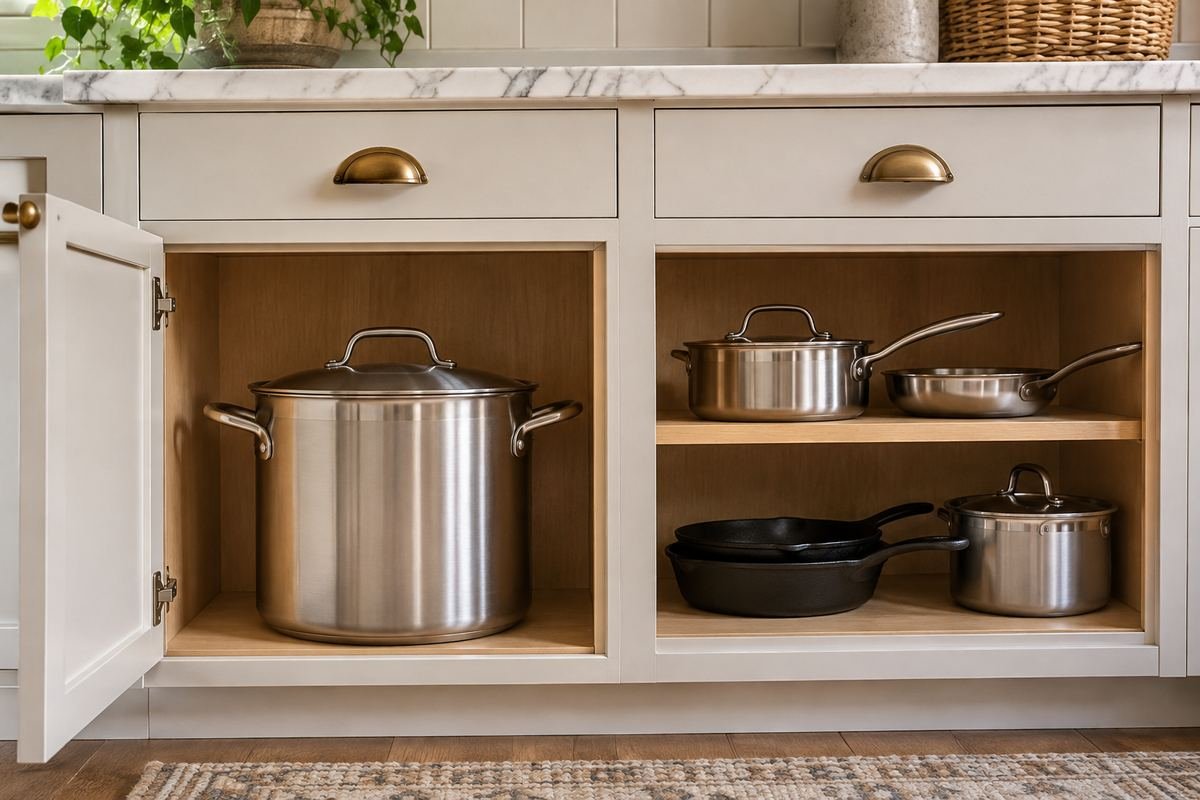
A tall stockpot can dictate the shelf height for an entire cupboard. Give it a dedicated bay so smaller cookware can use more closely spaced shelves elsewhere.
The bay must clear the pot’s full width and height, including the handles and lid. Use an easy-to-reach location if the empty pot is heavy. Its interior should not become a hiding place for unrelated items that must be unloaded before cooking.
Practical tip: Keep the stockpot empty when that makes retrieval simpler.
11. Store roasting pans like wide trays

A roasting pan often needs a different footprint from a skillet. A broad vertical divider can keep it separate, as long as the handles and deep sides fit comfortably and the rack supports the piece.
Include the lifting handles when judging slot width. Thin baking sheets can share a nearby section, but do not jam them against a heavy roaster. The goal is a clear grip on the item you actually want.
Practical tip: Try removing the roasting pan without shifting the baking sheets.
12. Group small pans in a compact cooking bay

A modest everyday set can occupy one compact cupboard bay when each piece has a defined place. Put the pan you use first at the front, with occasional pieces behind or on another suitable level.
Keep this group focused on the cooking routine rather than every pan you own. If one piece always has to be moved out of the way, give it a different home. A small useful collection can outperform a dense cabinet full of duplicates.
Practical tip: Build the bay around a typical week of meals.
13. Protect a short nested stack
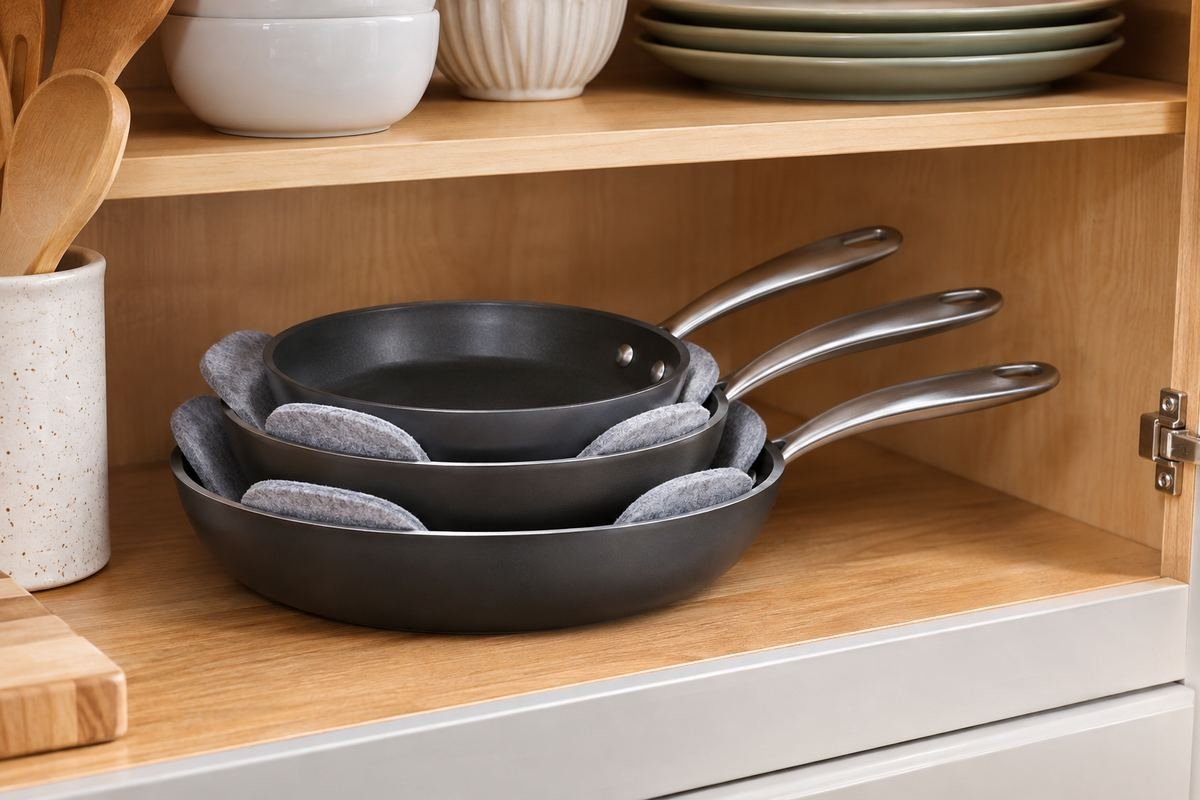
Nesting can save space when separate positions are unavailable. Use suitable protective layers according to the cookware maker’s instructions, and keep the stack low enough that the bottom piece can be retrieved comfortably.
Choose the nesting order from the actual shapes rather than forcing unlike pieces together. A protruding handle or tight rim can make an apparently neat stack difficult to separate. Let all pieces dry before they return to storage.
Practical tip: Prefer two manageable groups to one tall pile.
14. Separate coated cookware from rough neighboring items

A delicate cooking surface should not rub against a rough pan base or loose metal tools in storage. Give coated pans a defined position or an appropriate protected arrangement.
Check the care instructions for the actual cookware rather than assuming all finishes behave alike. Keeping spatulas and lids in their own spaces also makes the pan easier to remove. A divider should guide the piece without scraping its surface.
Practical tip: Keep loose utensils out of the pan storage bay.
15. Use a pull-out shelf for a deep cabinet
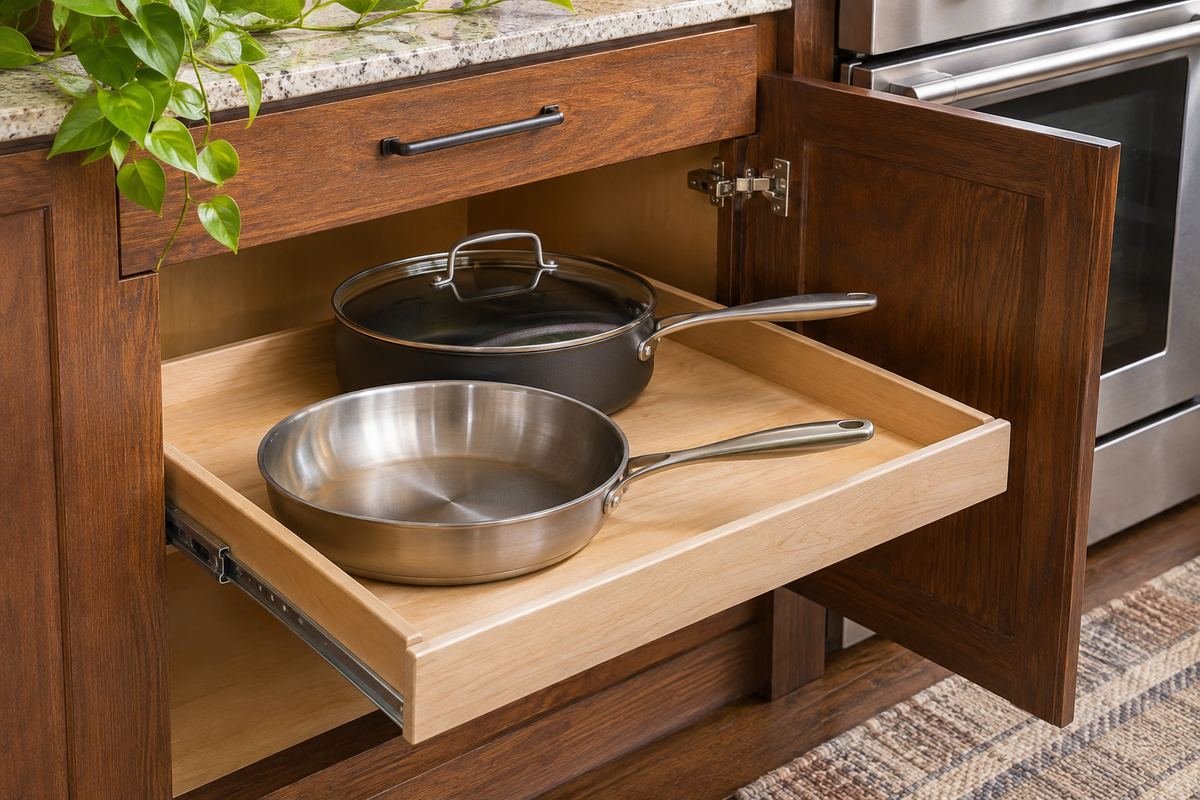
A suitable pull-out shelf can bring cookware forward in a deep base cabinet. It helps when the problem is reaching the rear rather than lack of total shelf area.
Check the product’s mounting, load limit and travel distance. The shelf must come far enough out for the largest piece to lift clearly. Door hinges and face frames can reduce the usable opening, so include them in the measurements.
Practical tip: Measure access with both cabinet doors open at their normal angle.
16. Keep a corner organizer modestly loaded
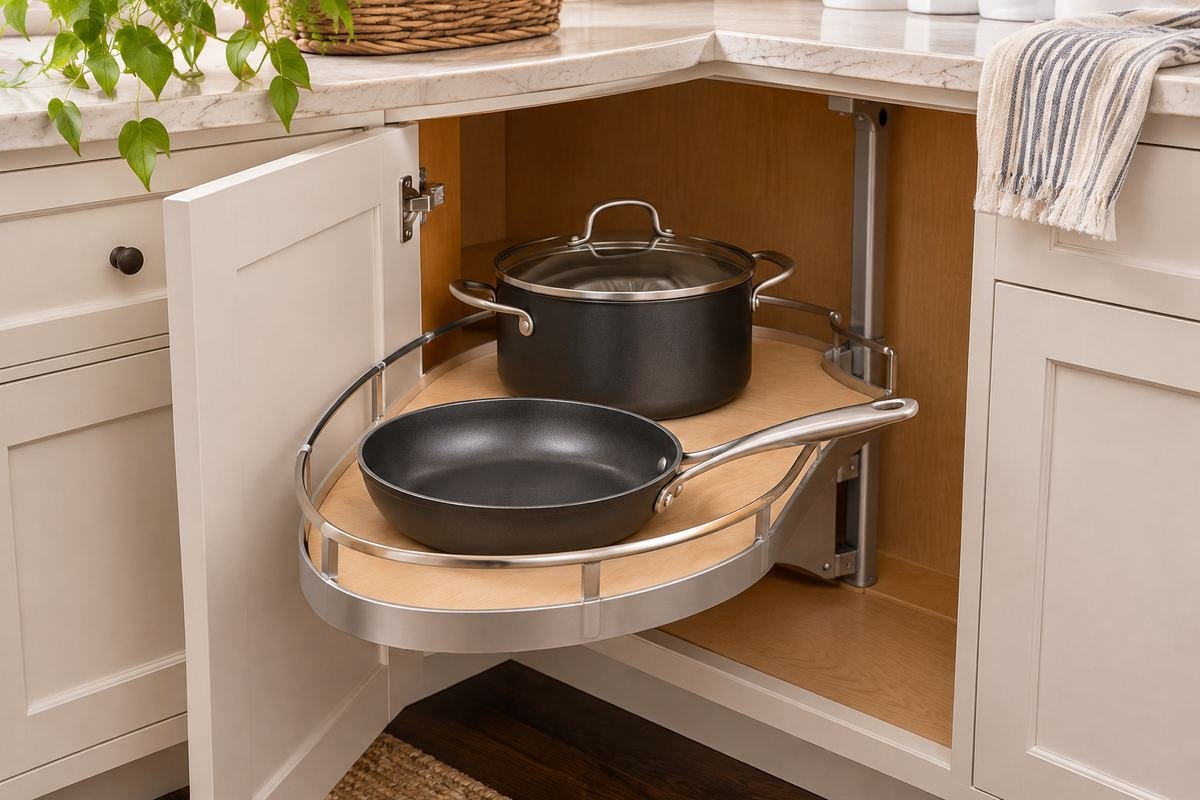
A rotating or swing-out corner unit can make cookware visible, but the actual basket shape and opening determine what fits. Use a few selected pieces instead of treating every curved edge as extra capacity.
Check how handles move through the opening as the organizer travels. A pan that sits neatly on the basket may still collide with the door frame. Follow the exact hardware load limits and installation instructions.
Practical tip: Test the entire travel path with the largest piece first.
17. Choose a wall rail for suitable lighter pans
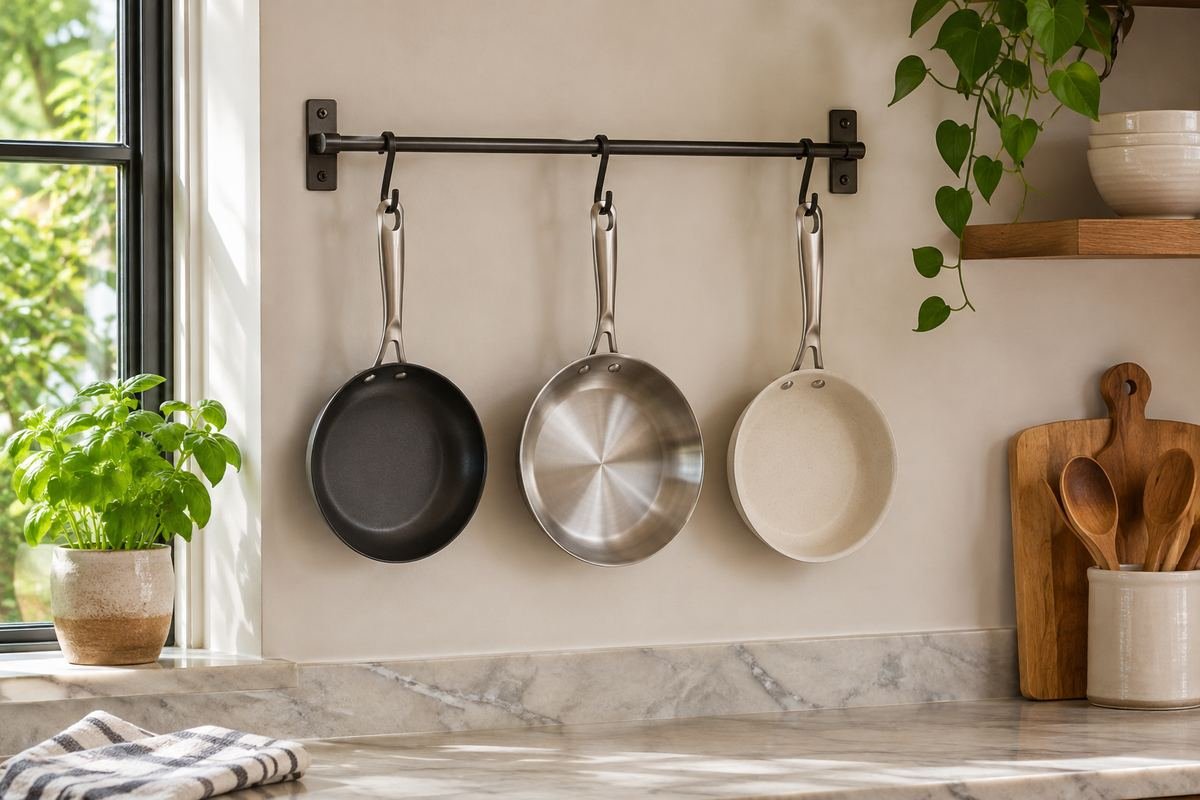
A properly installed rail can give lightweight frequently used pans an easy return position. It also makes their shapes part of the kitchen’s visual character.
Use hardware rated for the intended load and suitable for the wall. Leave room between handles and neighboring items so the pans do not collide. Avoid locating the group where it gathers cooking splatter or interrupts a walkway.
Practical tip: Confirm the rail, hooks and mounting as a complete system.
18. Use open shelving for a small coordinated display
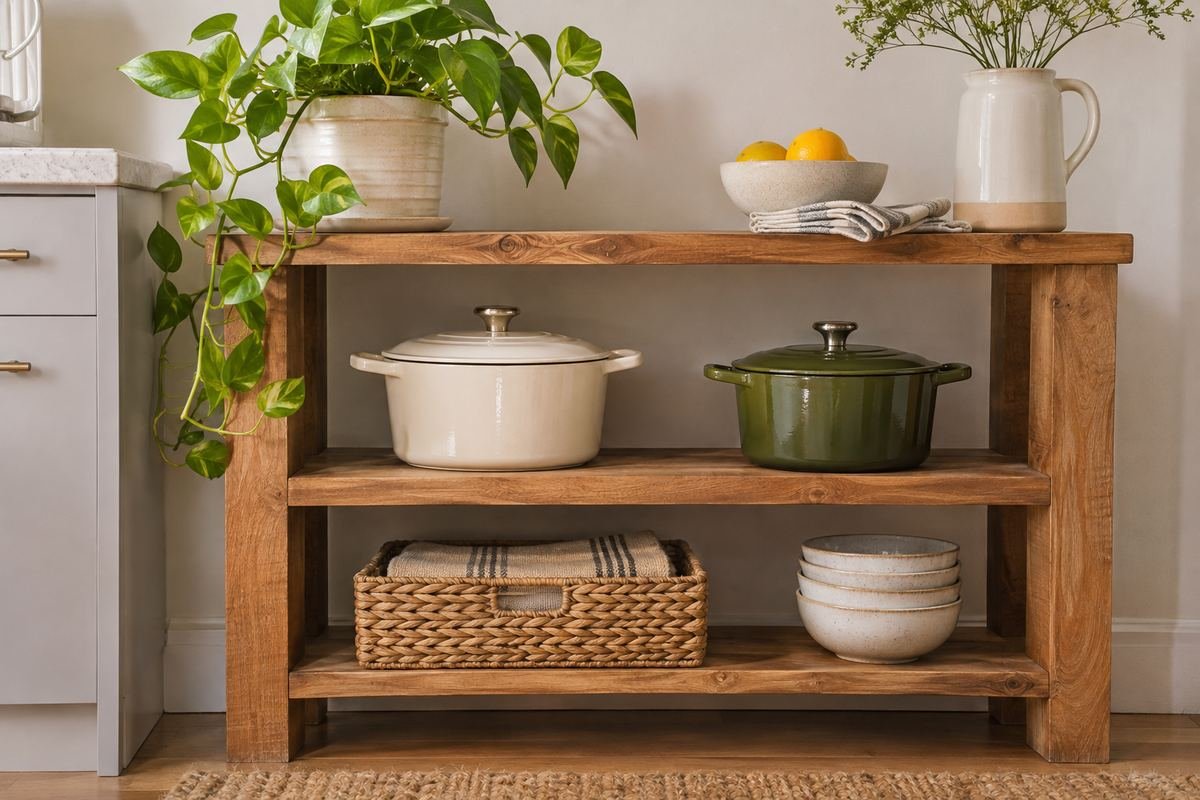
Open shelving can turn a few attractive pots into part of the room. Choose a restrained group with useful space around each piece, rather than displaying the whole collection in several crowded rows.
The shelves need appropriate support for the cookware, especially for cast iron. Keep the everyday pieces within comfortable reach and establish a cleaning routine for exposed surfaces. Closed storage may suit the rest of the collection better.
Practical tip: Display only cookware that you can remove without rearranging the shelf.
19. Consider a freestanding rack with a real footprint
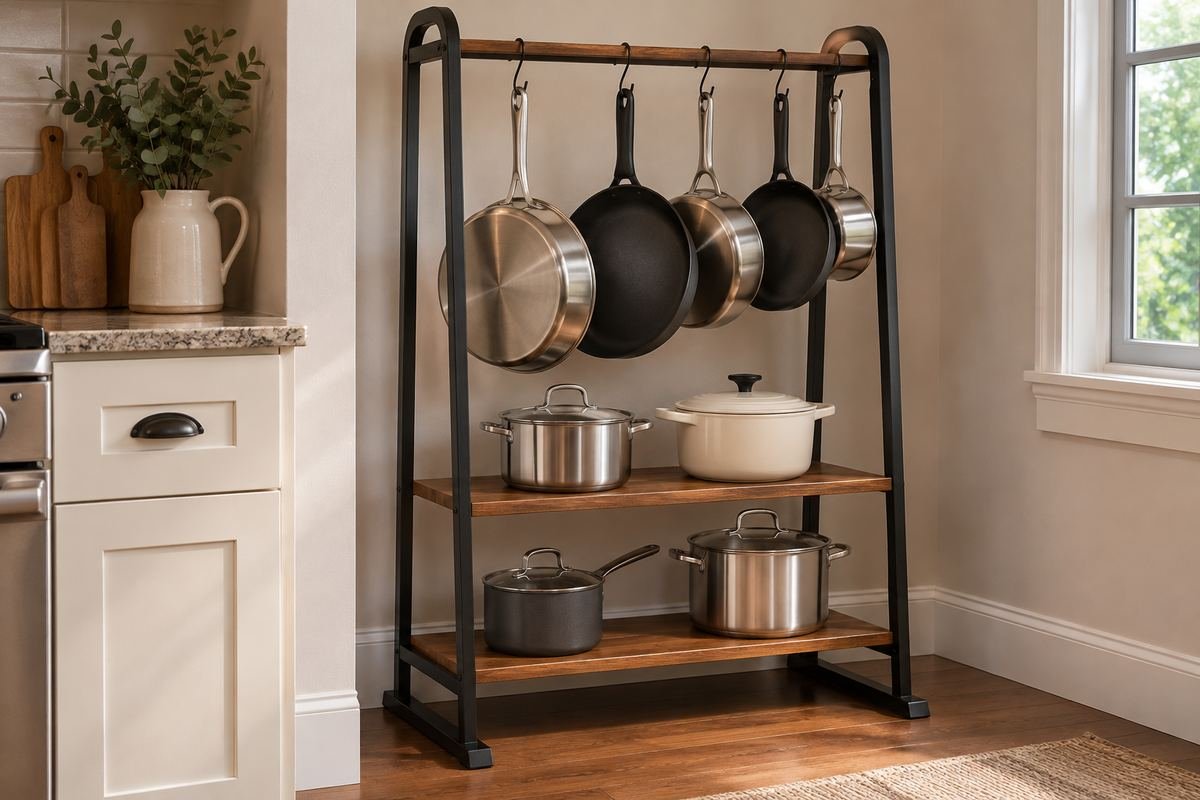
A floor-standing pot rack can help where cabinetry is limited. Its base and loading instructions matter as much as the number of shelves, so choose a stable piece intended for the cookware you own.
Place it outside the working route and follow any required anchoring instructions. A tall narrow rack should not depend on a carefully balanced arrangement to stay stable. Leave clear access to the lower shelves and the surrounding floor.
Practical tip: Measure the floor space with the largest pot in place.
20. Give a kitchen cart a defined cookware shelf
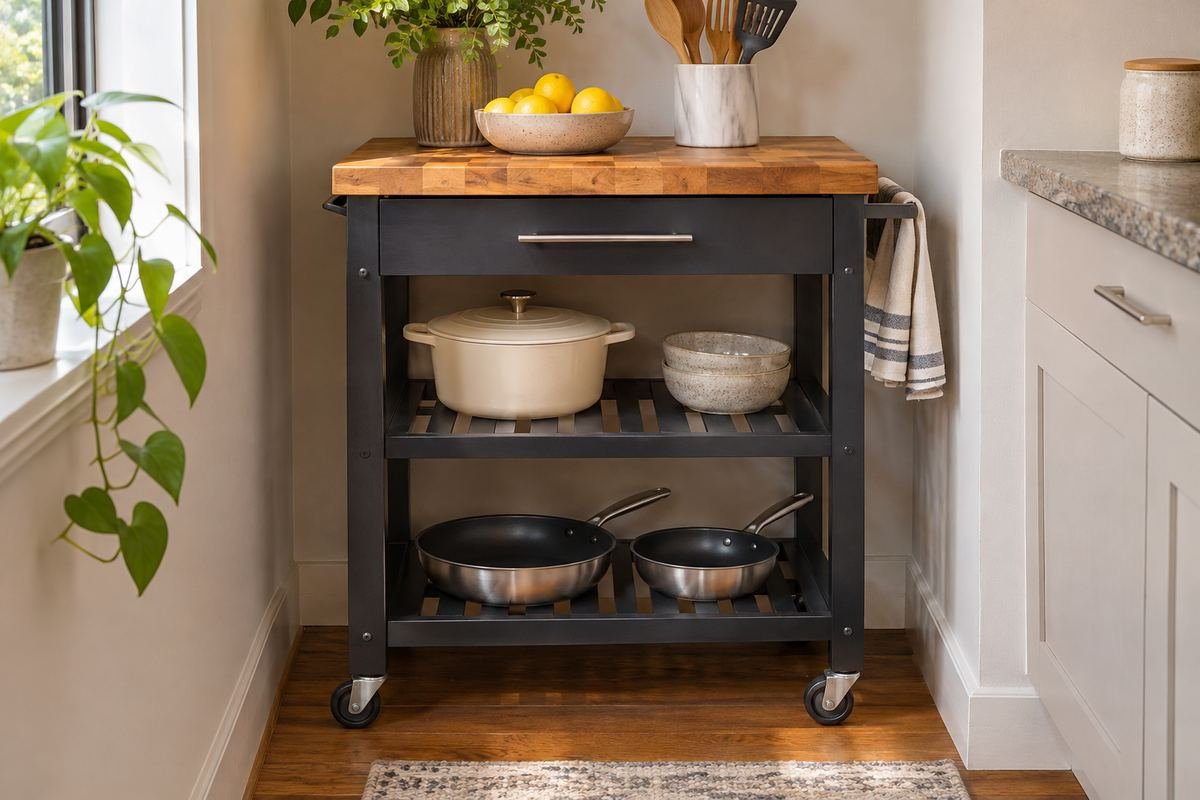
A suitable cart can hold a small cooking group when fixed storage is limited. Use its lower shelf for selected dry cookware and keep the top available for the task the cart supports.
Confirm the cart’s load rating, stability and any wheel-lock instructions. Do not let handles project into a passage. A cart works best when its parked position is as useful as its mobile position.
Practical tip: Plan where the cart returns before adding cookware.
21. Separate occasional cookware from the daily route

A specialty pan used a few times a year does not need the easiest drawer. Store it in a suitable dry cupboard so everyday cookware can have a simpler arrangement.
Keep the piece identifiable and reachable without building a high heavy stack. If several occasional items share a space, group them by shape or use. Review the collection before buying another organizer for cookware you rarely use.
Practical tip: Keep a simple location note for specialty pieces.
22. Use a low bench-height cupboard in a compact kitchen
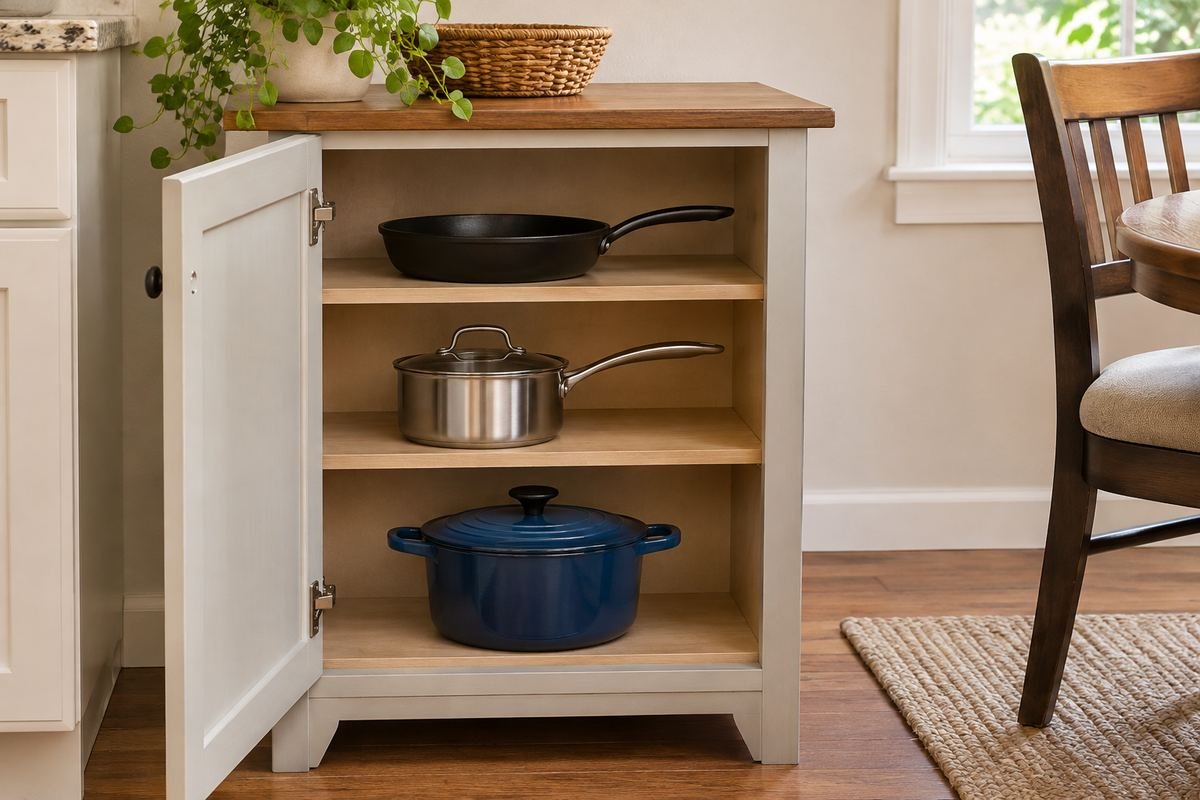
A low storage cupboard outside the main cabinet run can provide cookware space in a small kitchen. A plain furniture-like front helps it blend into the room without adding another busy open rack.
Choose furniture designed to support the intended load and follow its anchoring guidance. Keep the doors clear of dining chairs or the route to the refrigerator. Extra storage is only useful if you can open it during ordinary kitchen use.
Practical tip: Test the open door with nearby furniture occupied.
23. Make the lid return as easy as the pan return
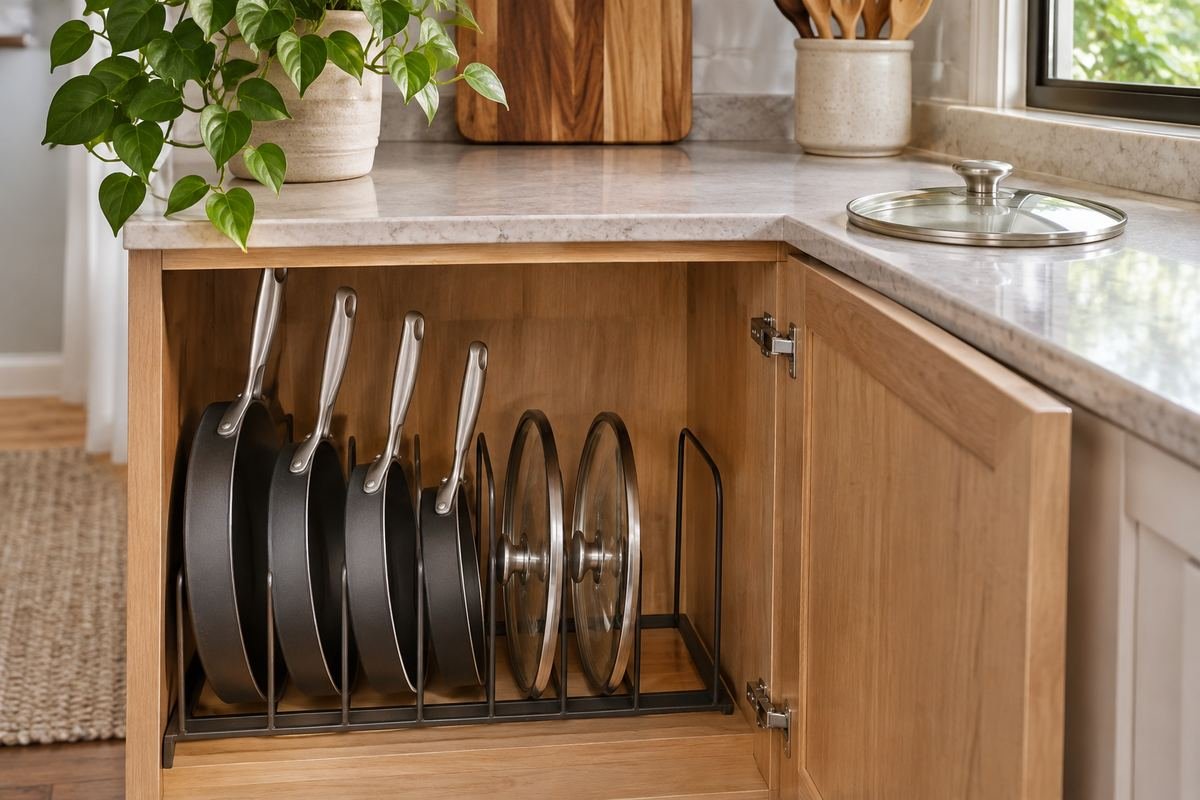
A storage plan can fail when the pan goes back easily but the lid has no obvious destination. Give lids a specific return position, close enough that cleanup does not end with a pile on the counter.
Use one clear organizing rule such as size order or a matching compartment. Let another household member put away the group once without instructions. Their hesitation often reveals which part of the arrangement needs a simpler cue.
Practical tip: Leave an obvious empty position for the lid currently in use.
24. Leave room to lift rather than filling every inch
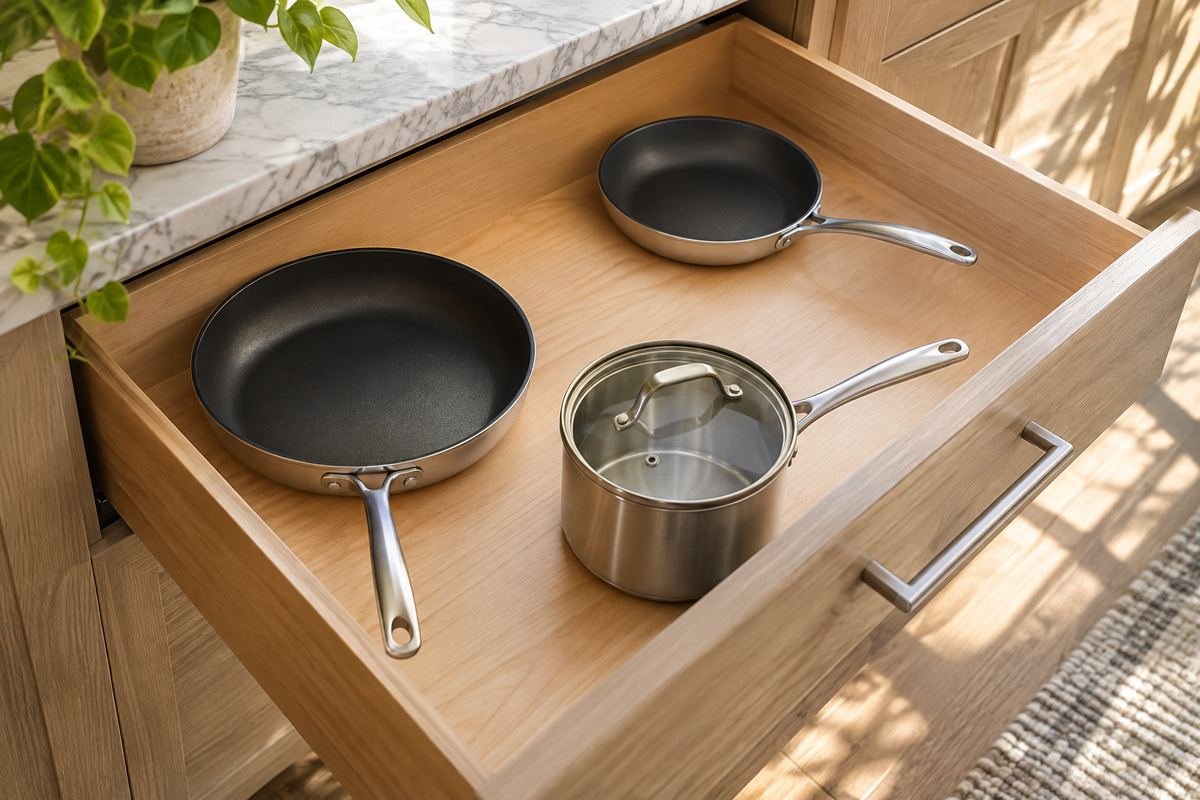
The last piece in a cupboard often makes the whole arrangement harder to use. Preserve enough space to grip handles and lift cookware without dragging it across neighboring surfaces.
After several meals, notice which pieces were left out because returning them was awkward. Move one item or adjust a divider before adding new hardware. Pot and pan storage should reduce friction in the routine, even if that means storing fewer pieces in one place.
Practical tip: Judge the layout after a normal cooking and cleanup cycle.
Frequently Asked Questions
Is it better to stack pans or store them separately?
Separate positions reduce the need to lift other pieces, when space allows. If you stack, follow the cookware maker’s advice about protective layers and avoid a tall awkward pile. The best arrangement also depends on weight and the space you have to lift each piece.
How do I organize lids with large knobs?
Measure the full knob depth and arrange the lids in stable individual slots or a suitable rack. A flat-looking lid can need considerably more space than its rim suggests. Test the loaded rack with the cabinet door closed.
Can every cabinet door support a lid rack?
No. Door construction, hinge capacity, rack mounting and the loaded weight all matter. Use a suitable rated product and follow the cabinet and rack instructions. A freestanding shelf organizer is a useful alternative when mounting suitability is uncertain.
Choose the Details That Work in Your Home
Give the daily cookware the easiest spaces and let the occasional pieces use the remaining suitable storage. A complete pan footprint, a stable lid position and one clear lifting movement are more useful than a cabinet that looks full but is difficult to use.
For related ideas, explore kitchen corner cabinet ideas, kitchen island storage, kitchen drawer organization.
Planning References
Le Creuset: how to store cookware; Le Creuset: cookware care guidance. Follow the instructions for the exact products you choose.
Optional digital guide for this topic
If you prefer a structured workbook, explore this related paid guide.