Useful kitchen sink caddy ideas begin with the tools you reach for after an ordinary meal. A brush needs somewhere to stand, a sponge needs a supported place to drain, and the whole arrangement needs to leave the faucet and basin comfortable to use. The right caddy makes that small daily routine easier.
This guide covers compact counter organizers, removable basin holders and different finishes for a calm sink area. Choose one layout that matches the actual space around your sink. The measuring card and worked comparison below help you judge a caddy before buying it, while each idea explains the practical tradeoff behind the appearance.
The images are original AI-generated decor concepts, not installation diagrams or photographs of completed client projects.
Browse These 24 Kitchen Sink Caddy Ideas
Jump to an idea
- Use a slim caddy on a measured side ledge
- Choose a compact upright layout for a short counter
- Try a suitable removable holder inside the basin
- Use a rim holder only when it fits the sink edge
- Keep a back-ledge caddy clear of the faucet sweep
- Use a side corner without burying the tools
- Separate the soap position from the wet-tool caddy
- Choose a catch tray you can remove easily
- Direct a purpose-designed drain toward the basin
- Use a ceramic outer holder with a removable insert
- Repeat stainless steel for a quiet sink surround
- Use a dark caddy as a deliberate small accent
- Let a white caddy blend into a pale kitchen
- Add a muted green accent in one useful piece
- Choose a flexible holder that lifts out cleanly
- Give two regular brushes separate positions
- Support a sponge on its edge when the holder allows
- Allow extra height for a bottle brush
- Keep one working zone beside a double sink
- Keep a deep single basin easy to reclaim
- Leave window hardware accessible above the sink
- Create a clear lift-out cleaning position
- Keep refill bottles outside the daily caddy
- Finish with the smallest kit that works for your meals
Kitchen Sink Caddy Ideas Start with a Clear Working Area
Clear the sink surround and put back only the brush, sponge and soap you use regularly. Move the faucet through its normal range, open any nearby window and try lifting a large pan from the basin. Mark the space that stays clear during those movements. Then consider where water from the tools will go and how the organizer comes apart for cleaning. OXO’s published caddy designs illustrate removable catch trays and separated tool spaces; use those as features to evaluate, rather than assuming every holder drains or cleans in the same way.
| Your main constraint | A useful layout to try | The deciding check |
|---|---|---|
| Narrow counter beside the basin | Compact upright organizer | Full base and tall-brush clearance |
| Long but shallow back ledge | Slim horizontal caddy | Faucet movement and usable depth |
| No spare counter area | Suitable removable in-basin holder | Mounting surface and basin use |
| Water collecting under tools | Accessible removable catch tray | An easy emptying and cleaning route |
| Too many bottles at the sink | Small wet-tool caddy plus one soap position | Only the everyday working kit |
A Worked Fit Comparison with Published Product Dimensions
Imagine a clear counter lane 8 inches long and 4 inches deep. OXO lists one slim Stainless Steel Sink Organizer at 9 by 3.75 by 4.75 inches, so its 9-inch length would extend beyond that lane in the normal orientation. The same company lists a different Sink Caddy at 5.6 by 3.8 by 5.5 inches. The second footprint fits the simple rectangle on paper, but the taller tools, faucet movement and access to the drip tray still need checking. This is a fit example, not a product test or a recommendation for either model.
Copy This Kitchen Sink Caddy Fit Card
Record six things: clear support length; clear support depth; usable height beneath the window or shelf; size of your longest brush; where water collects or drains; how the caddy lifts out for cleaning. Add the actual mounting-surface instructions for any attached model. For example, IKEA’s RINNIG page specifies a flat surface and a 1-pound maximum load for that particular suction holder. Those requirements do not establish compatibility with every sink finish or a capacity for another model.
1. Use a slim caddy on a measured side ledge
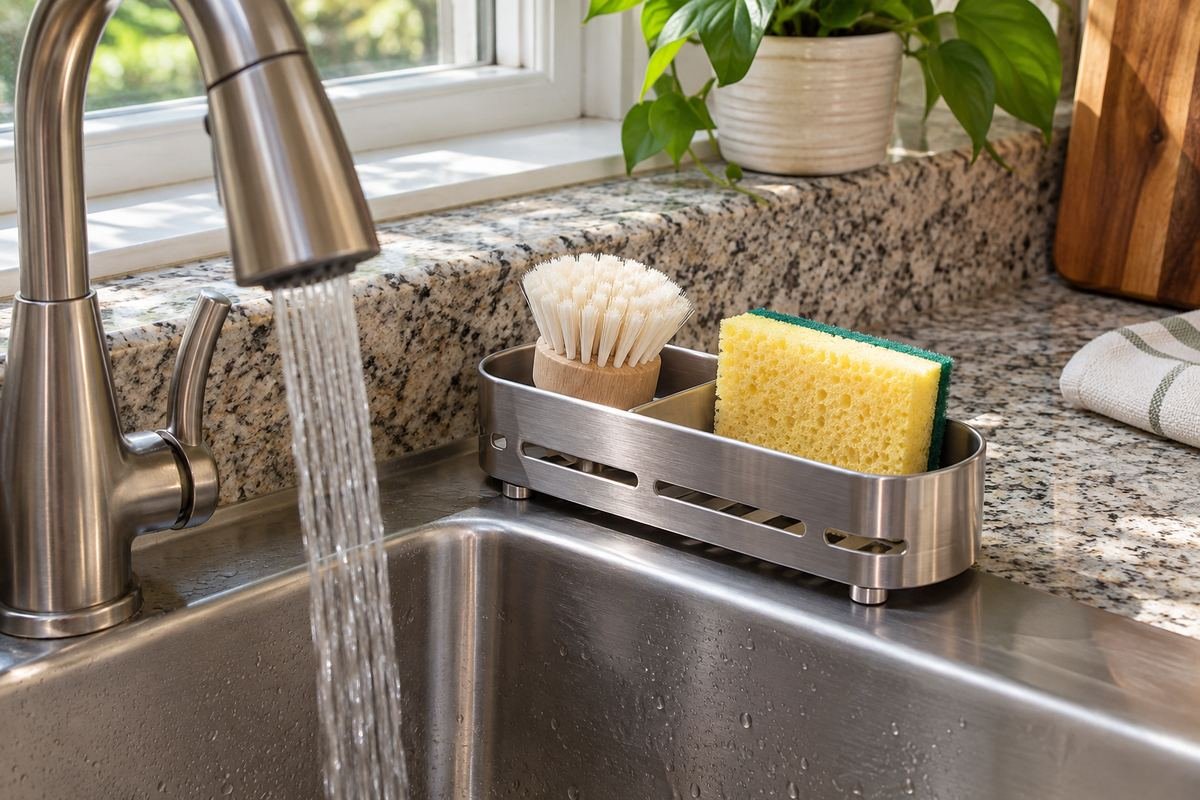
A long, slim organizer can collect the daily tools without spreading them across the counter. Position it on a ledge that supports its entire base. The best spot leaves the front edge of the basin open so you can bring a pan to the sink without reaching around a brush.
Measure the caddy itself and the tools that project beyond it. A broad brush head can make a narrow organizer feel much larger in use. Keep the rear edge reachable for wiping, and leave a clear way to remove any catch tray without lifting the faucet or another container.
Practical tip: Draw the complete footprint on paper before committing a narrow ledge to it.
2. Choose a compact upright layout for a short counter

A compact upright caddy can work where there is little length beside the sink. Give the brush a tall compartment and the sponge a lower position so each can be returned naturally. Keeping the tool outlines distinct is often more useful than a container full of mixed handles.
Look at the space above the caddy as well as its base. A shelf, low window handle or faucet lever can interfere with a brush that stands taller than the organizer. Test the longest tool in place and leave enough room to lift it out without tilting it into another object.
Practical tip: Measure the total height with your longest brush inside.
3. Try a suitable removable holder inside the basin

An in-basin holder can free a useful patch of counter. It suits a sink where the holder’s mounting requirements are met and the remaining basin still works for normal dishwashing. A removable design makes it easier to recover the full basin when a large pan needs washing.
Follow the exact holder’s instructions for surface compatibility, preparation and loading. A curved or textured area may not suit a model intended for flat surfaces. Place it where you can see and reach it, and avoid making a hidden corner so crowded that returning a sponge becomes awkward.
Practical tip: Test the empty holder’s location with your largest regular pan.
4. Use a rim holder only when it fits the sink edge

A holder designed to sit over a compatible sink rim can give a sponge a defined home without using much counter. The fit depends on the rim’s shape, thickness and surrounding counter. Choose a product designed for that role rather than improvising a hanger from an unrelated accessory.
Look at what happens when a tray or pan crosses the sink edge. The holder should not turn the main loading route into an obstacle. If it rocks or shifts in its intended position, find a better-matched model or use another location rather than relying on neighboring items to steady it.
Practical tip: Include the sink rim profile when checking a holder’s specifications.
5. Keep a back-ledge caddy clear of the faucet sweep

The area behind a faucet can seem like unused storage until the faucet turns. A small caddy can sit there only when its tools stay outside the faucet’s normal movement. Keep the controls easy to see and operate with an ordinary grip.
Try the arrangement with the brush in place, not just an empty caddy. A tall handle may meet the spout even when the organizer’s base looks comfortably clear. Leave enough room for cleaning around the faucet base instead of wedging the caddy tightly against the backsplash.
Practical tip: Move the faucet through its full ordinary range before setting the caddy down.
6. Use a side corner without burying the tools
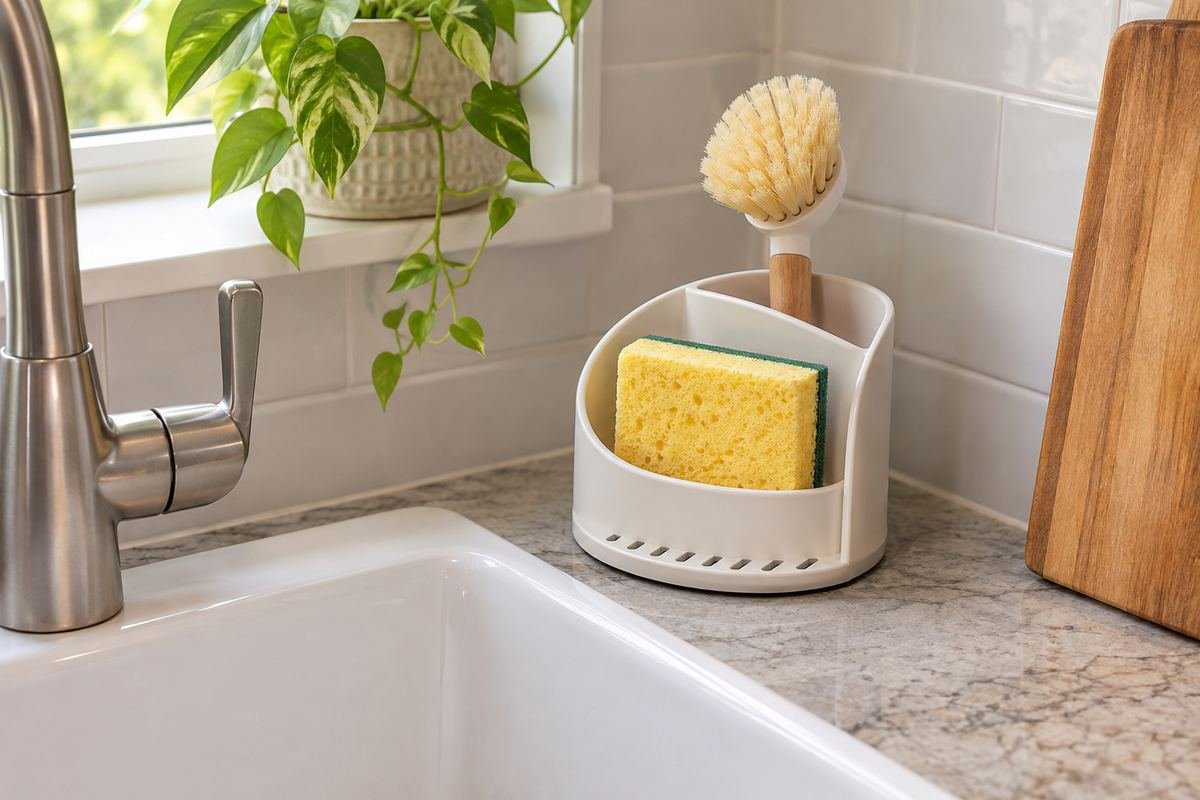
A corner beside the basin can gather the wet tools while leaving a longer counter run clear. Choose a caddy with a footprint that belongs in that corner. Its compartments should face the person washing dishes so the brush and sponge can be returned without reaching behind a bottle.
Avoid forcing a rectangular organizer into a triangular gap simply because it looks small. A stable, fully supported base matters more than filling every inch of the corner. Keep the caddy movable so the back of the counter remains part of the normal wipe-down routine.
Practical tip: Turn the tool openings toward the place where you stand.
7. Separate the soap position from the wet-tool caddy
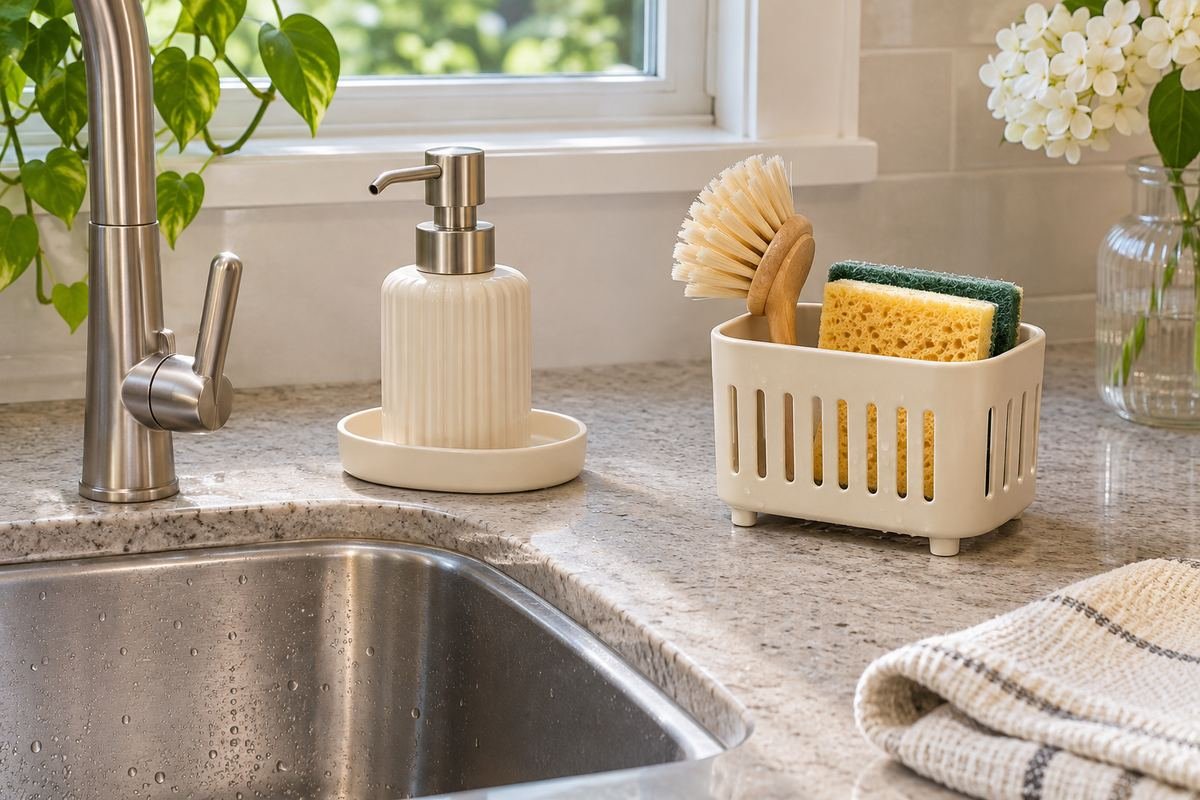
Soap and wet tools do not always need to share a container. One stable dispenser position and a smaller brush-and-sponge holder can be easier to use than a large all-in-one unit. Let each piece sit where its actual movement makes sense.
Leave the dispenser’s pump accessible without reaching through brush handles. The wet-tool holder needs its own water-management and cleaning routine. Keep enough visual relationship between the two pieces to make the setup feel intentional, such as a shared finish or a similar scale.
Practical tip: Keep the pump path clear while leaving the sponge easy to grab.
8. Choose a catch tray you can remove easily
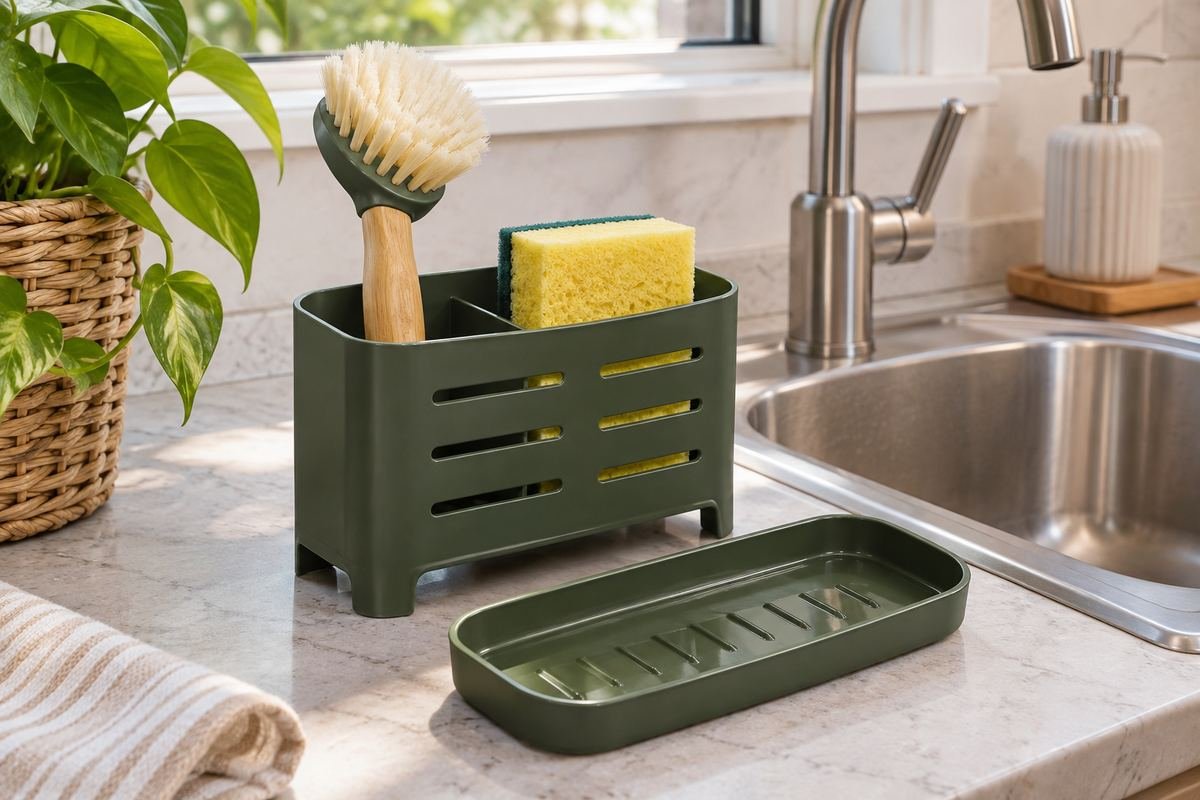
A removable catch tray gives water a defined collection point and a clear emptying step. Its usefulness depends on access. Place the caddy so that tray can come out as intended without moving a heavy appliance, turning the faucet or unloading the entire sink surround.
Practice the removal while the organizer is empty, then again with its regular tools. Follow the caddy’s cleaning instructions for the parts and finish. A collection tray that remains hidden and awkward to reach can make an otherwise tidy arrangement inconvenient to maintain.
Practical tip: Check which direction the catch tray slides or lifts before choosing the final location.
9. Direct a purpose-designed drain toward the basin
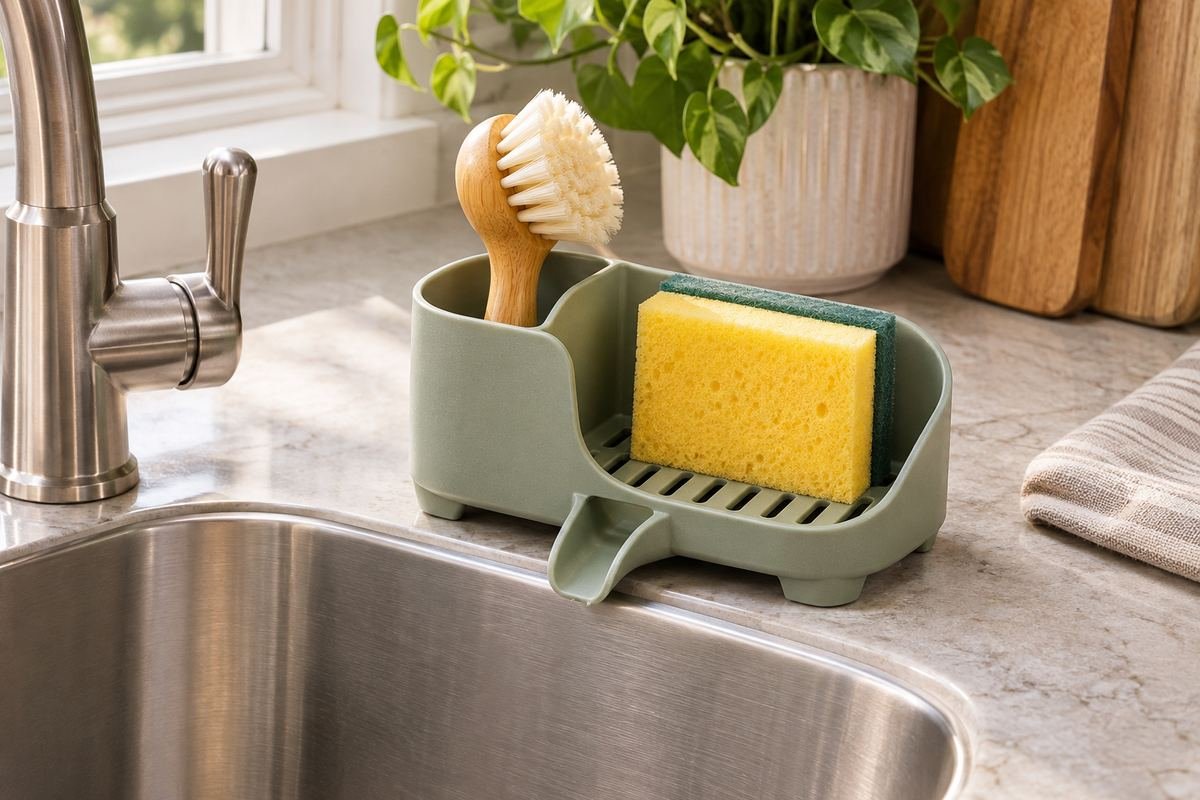
Some caddies have a drainage outlet intended to face the sink. When that is part of the design, orient the unit according to its instructions and keep the outlet clear. The entire caddy still needs stable support in the chosen position.
Do not tilt an ordinary flat-bottom holder or balance its feet over an edge to imitate a draining model. Judge the whole system, including where water lands and whether the outlet can be cleaned. A small catch tray may be a better fit when the counter and sink edge do not suit the draining design.
Practical tip: Choose the water route before judging the finish or color.
10. Use a ceramic outer holder with a removable insert
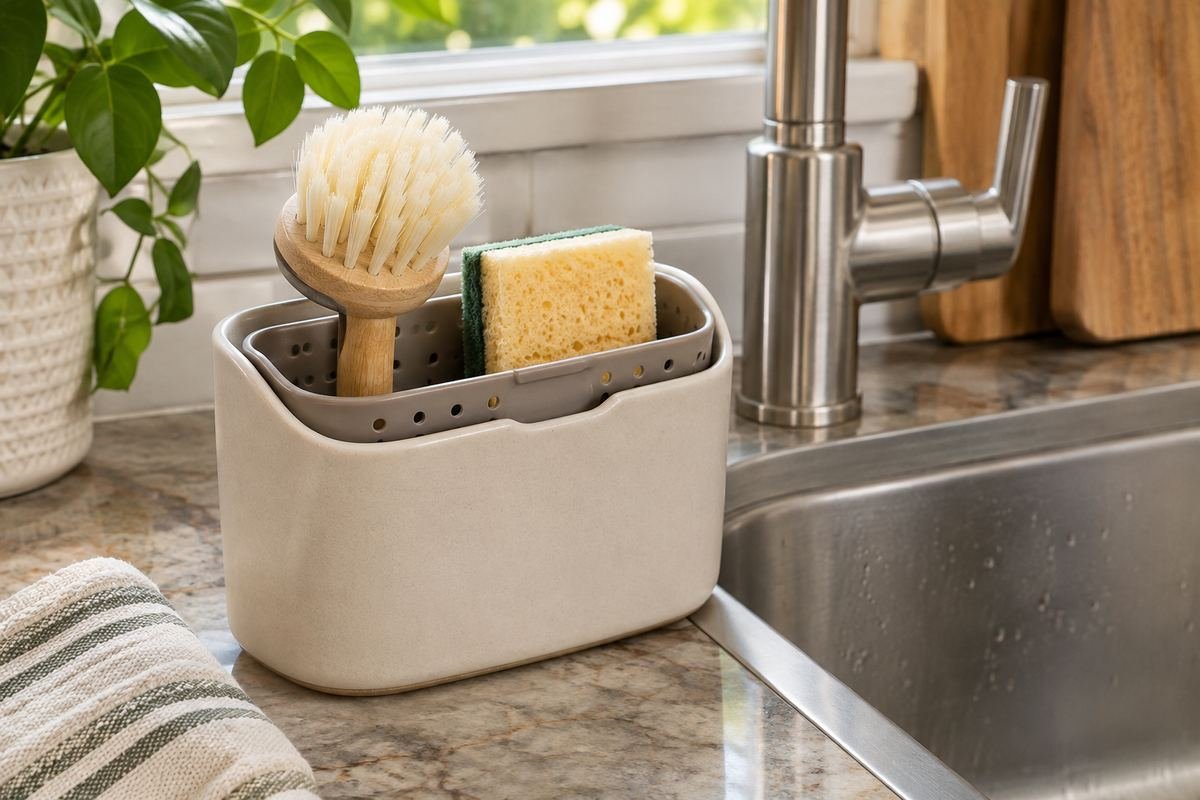
A ceramic finish can connect the caddy to a quiet kitchen palette. For wet tools, a separate insert designed for that role may provide a clearer storage and cleaning arrangement than a deep decorative crock. Keep all parts accessible rather than treating the outer vessel as permanent decor.
Follow the guidance for both the insert and the outer holder. An attractive container does not automatically manage collected water, and a tight insert can be hard to lift out. Choose a modest group of tools that leaves the insert’s handle or edge available for removal.
Practical tip: Try lifting the insert before filling its compartments.
11. Repeat stainless steel for a quiet sink surround

A stainless-look caddy can sit comfortably beside a stainless sink when its scale is restrained. Repeating one finish lets the tools stay visible without adding another strong color. Choose the layout for access first, then use the finish to connect the pieces.
Keep the caddy’s care instructions with the rest of the sink accessories. Similar-looking metals can have different finishes and cleaning requirements. Leave enough open surface around the organizer to wipe it and the counter separately instead of building a tightly packed row of reflective objects.
Practical tip: Compare the finish in the kitchen’s ordinary daylight.
12. Use a dark caddy as a deliberate small accent

A dark organizer can define the tool area against a pale sink and counter. Keep the shape simple so the accent comes from one useful object. A small dark caddy often feels more considered than several unrelated black bottles scattered along the backsplash.
Choose its size around the regular kit. A large dark container can visually dominate a compact sink corner even when half empty. Keep nearby accessories quiet, and check the care instructions for the actual finish rather than assuming every matte surface can be treated the same way.
Practical tip: Use one dark organizer before adding more contrasting accessories.
13. Let a white caddy blend into a pale kitchen
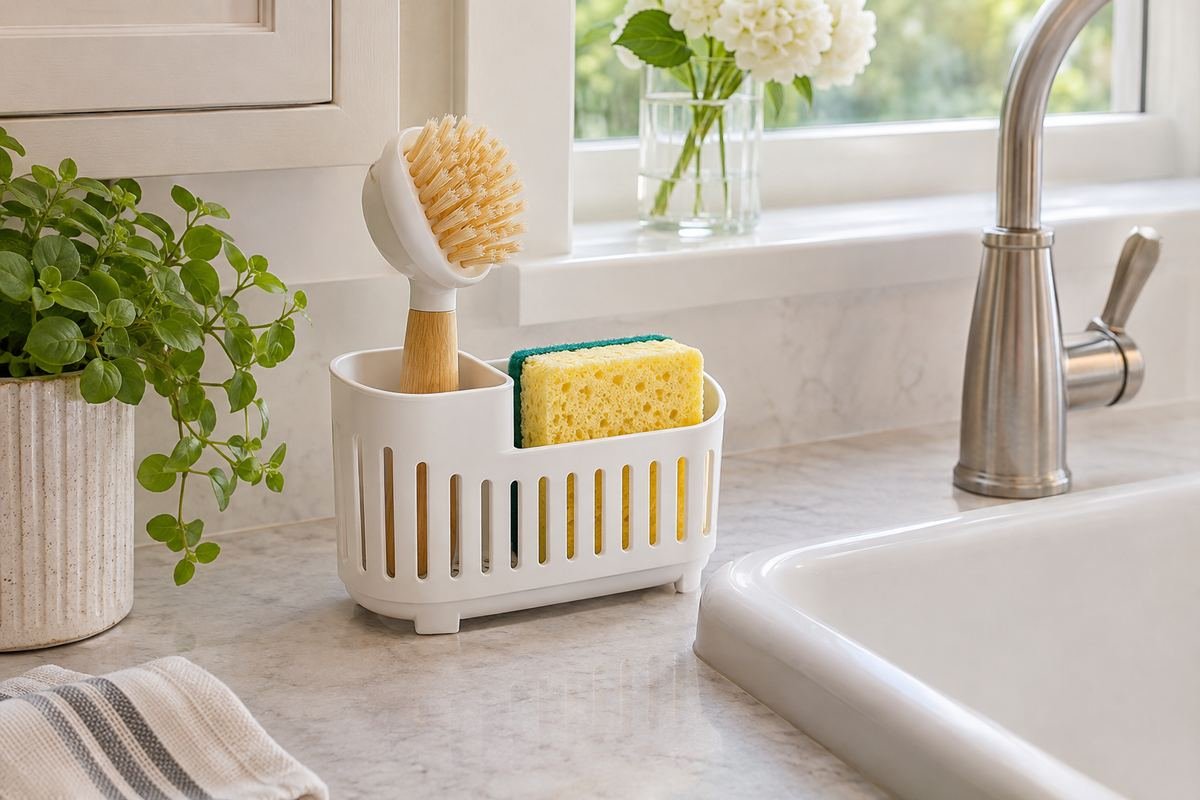
A white caddy can visually recede beside pale cabinetry and a light basin. This is useful when you want the sink area to feel calm while keeping everyday tools accessible. A small defined footprint prevents the quiet color from becoming an excuse to fill the whole ledge.
Look at the organizer’s shape and care requirements as carefully as the color. A deep solid cup may conceal the tools without giving you a convenient way to empty collected water. Choose a layout that keeps the working sponge visible and the base reachable for cleaning.
Practical tip: Judge the organizer with your real tools inside, not only when it is empty.
14. Add a muted green accent in one useful piece

A muted green caddy can repeat a color already present in a kitchen without adding a separate decorative object. It works well when the rest of the sink surround stays simple. Choose the shade as a small connection to the room, then keep the tool kit restrained.
Avoid crowding the caddy with ornamental greenery where you need to reach for a brush. A practical accessory can carry the color on its own. The same footprint, drainage and cleaning checks apply regardless of whether the finish looks soft, earthy or glossy.
Practical tip: Repeat one existing room color instead of introducing several competing accents.
15. Choose a flexible holder that lifts out cleanly

A flexible holder can be appealing when its shape makes it easy to remove and clean as directed. Set it on a stable surface suited to the particular design. Its compartments should retain their useful shape with your actual tools in place.
Look beyond the material name. Flexible products differ in their intended mounting, drainage and care methods, so do not infer heat resistance or cleaning compatibility from appearance. Test whether the holder can be lifted without folding around the tools or leaving an awkward pool beneath the base.
Practical tip: Choose the complete design for the job rather than buying by material alone.
16. Give two regular brushes separate positions
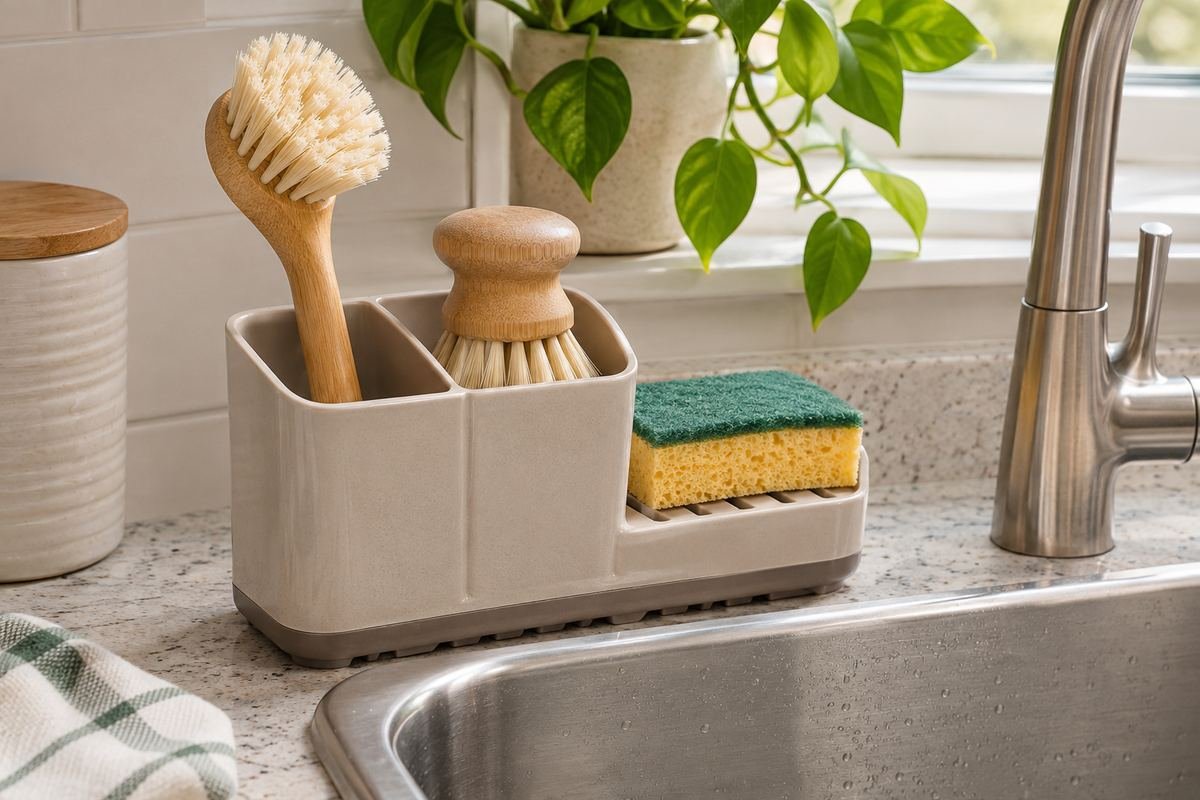
If you regularly use a long dish brush and a smaller scrub brush, a divided caddy can keep each easy to identify. The compartments do not have to be the same size. Choose the layout around the actual handle length and brush head rather than a photograph of an empty organizer.
Leave enough space to return one brush without knocking the other out. If a tool is used only occasionally, a separate suitable storage position may keep the daily caddy simpler. A divided unit works best when every compartment has a real purpose instead of collecting extra tools.
Practical tip: Return each brush once with the neighboring compartment occupied.
17. Support a sponge on its edge when the holder allows

A holder designed to support a sponge on its edge can keep the sponge’s return position clear and easy to see. Match the slot to the sponge’s actual thickness. It should sit securely without being tightly wedged into a gap that makes removal awkward.
Keep the support easy to reach and clean according to its instructions. This arrangement is a storage choice, and it does not replace the sponge’s own care or replacement routine. If your sponge folds or slips out in that position, use a holder better suited to its shape.
Practical tip: Try the sponge you use now before choosing a narrow slot.
18. Allow extra height for a bottle brush

A bottle brush often rises well above a standard sponge caddy. Give it a position where the handle clears the window, shelf and faucet. Its brush head should come out without sweeping across soap bottles or catching the underside of a cabinet.
Measure the brush in the orientation used for storage. If the everyday caddy cannot hold it comfortably, a separate purpose-designed tall compartment may be more manageable. Keep that compartment stable and avoid leaning a long brush against a window simply because its handle will not fit upright.
Practical tip: Check the lifting route with the window or blind in its usual position.
19. Keep one working zone beside a double sink
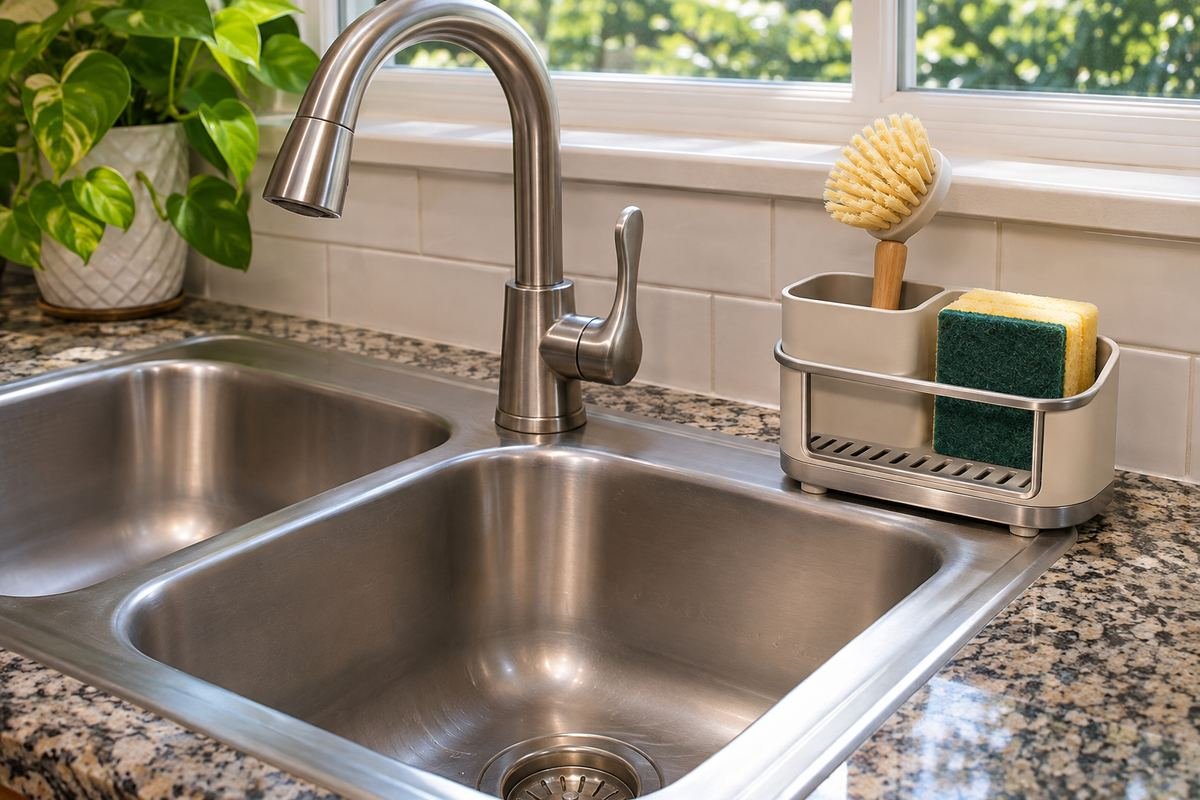
A double sink does not require a full organizer at each end. One defined caddy position can serve the washing side while leaving the other basin’s surround available for its usual task. Use your actual routine to decide which side needs the brush within reach.
Look at where a washed pan, colander or drying rack normally rests. The caddy should not compete for that same patch of counter. A single clear return position is easier to share than two half-filled holders with tools moving unpredictably between them.
Practical tip: Choose the caddy side after watching one ordinary cleanup.
20. Keep a deep single basin easy to reclaim
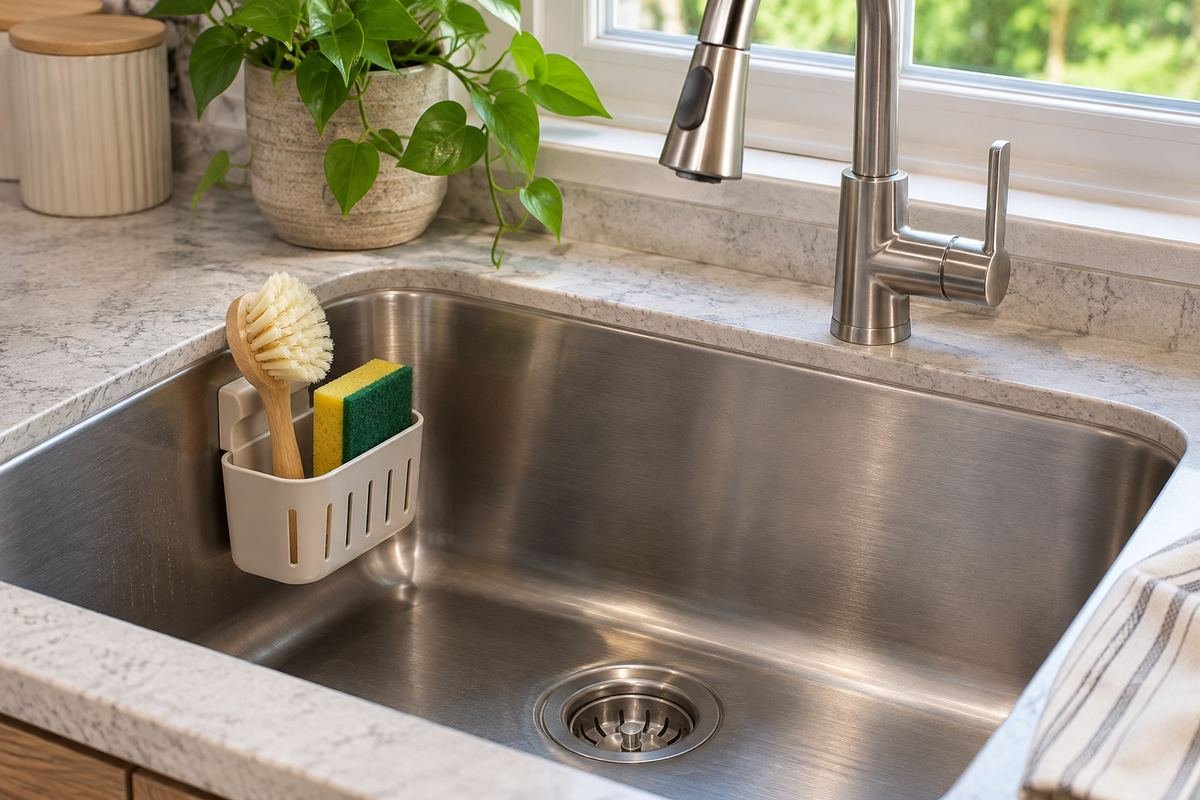
A large single basin is valuable for awkward cookware, so any holder inside it should be easy to remove when needed. Choose a location and mounting system designed for the actual surface. Keep the tool group small enough that removing the holder is a quick step.
Try a full-size pan in the basin with the empty holder in place before deciding on the position. If the holder forces you to angle every pan around it, a counter model may suit the kitchen better. Storage should support the basin’s main job instead of shrinking the useful washing area.
Practical tip: Include the biggest regularly washed item in the layout test.
21. Leave window hardware accessible above the sink

A sink below a window needs room for the handle, blind or other moving hardware. A low caddy can preserve that clearance while giving the sponge a visible return position. Keep tall brushes on the side where they do not interfere with opening or cleaning the window.
Try the window’s ordinary movement before finishing the arrangement. A caddy may fit perfectly on the sill while still preventing a latch from turning. If the sill is not suitable for wet-tool storage, use the counter beside the basin and leave the window ledge clear.
Practical tip: Treat the window’s movement as part of the measurement.
22. Create a clear lift-out cleaning position

A small empty patch beside the sink helps when the caddy needs attention. You can lift out the organizer and separate its parts according to the instructions without balancing them on other containers. That makes the cleaning step part of the layout from the beginning.
Keep the temporary landing area clear after the parts go back. It should not become another permanent collection of sponges and bottles. If there is no nearby room for maintenance, consider a smaller caddy or a simpler tool kit rather than filling the available surface to its edge.
Practical tip: Practice taking the holder apart once before deciding its permanent spot.
23. Keep refill bottles outside the daily caddy
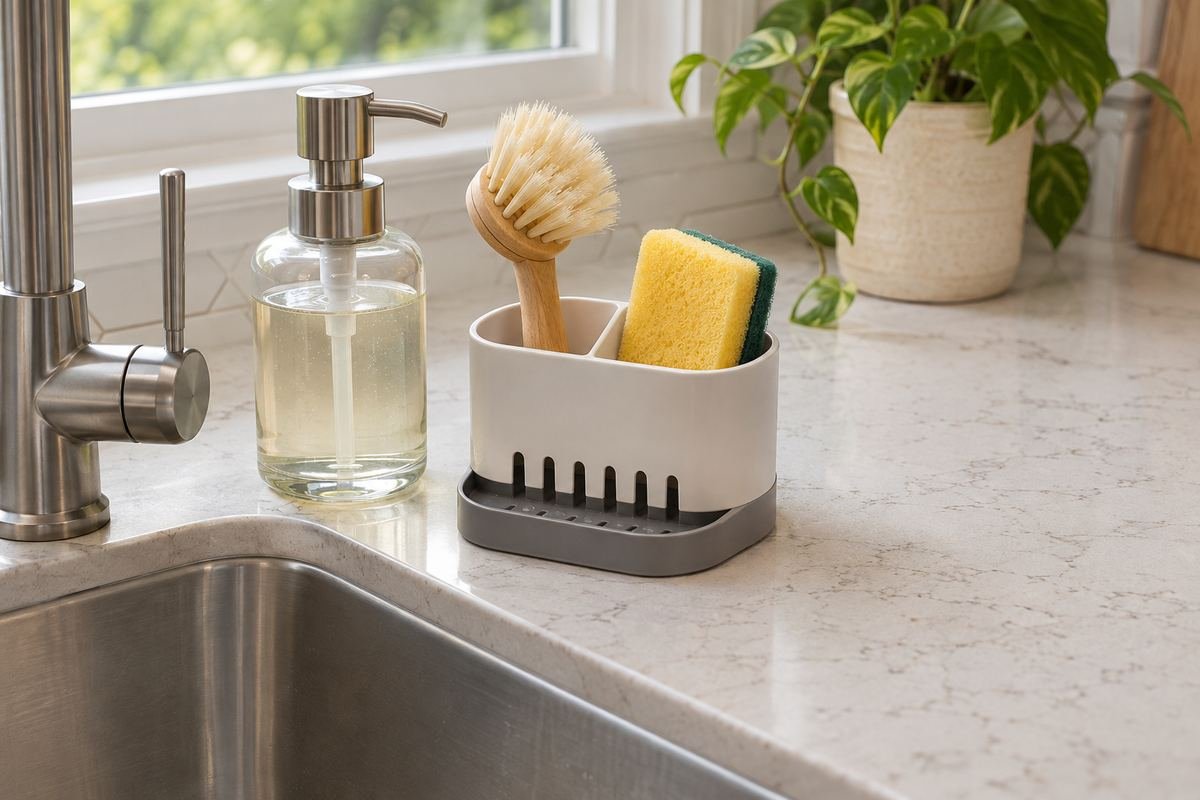
The working caddy rarely needs the full refill supply beside the faucet. Keep only the everyday dispenser and tools in the sink zone, with refills stored as their packaging directs in an appropriate separate location. This reduces the footprint without making the daily routine complicated.
Make the return arrangement obvious for everyone who uses the kitchen. The brush goes in one compartment, the sponge in another and the dispenser on its stable spot. Fewer objects make it easier to notice when the catch tray needs emptying or the counter needs wiping.
Practical tip: Choose the regular working amount before arranging spare supplies.
24. Finish with the smallest kit that works for your meals
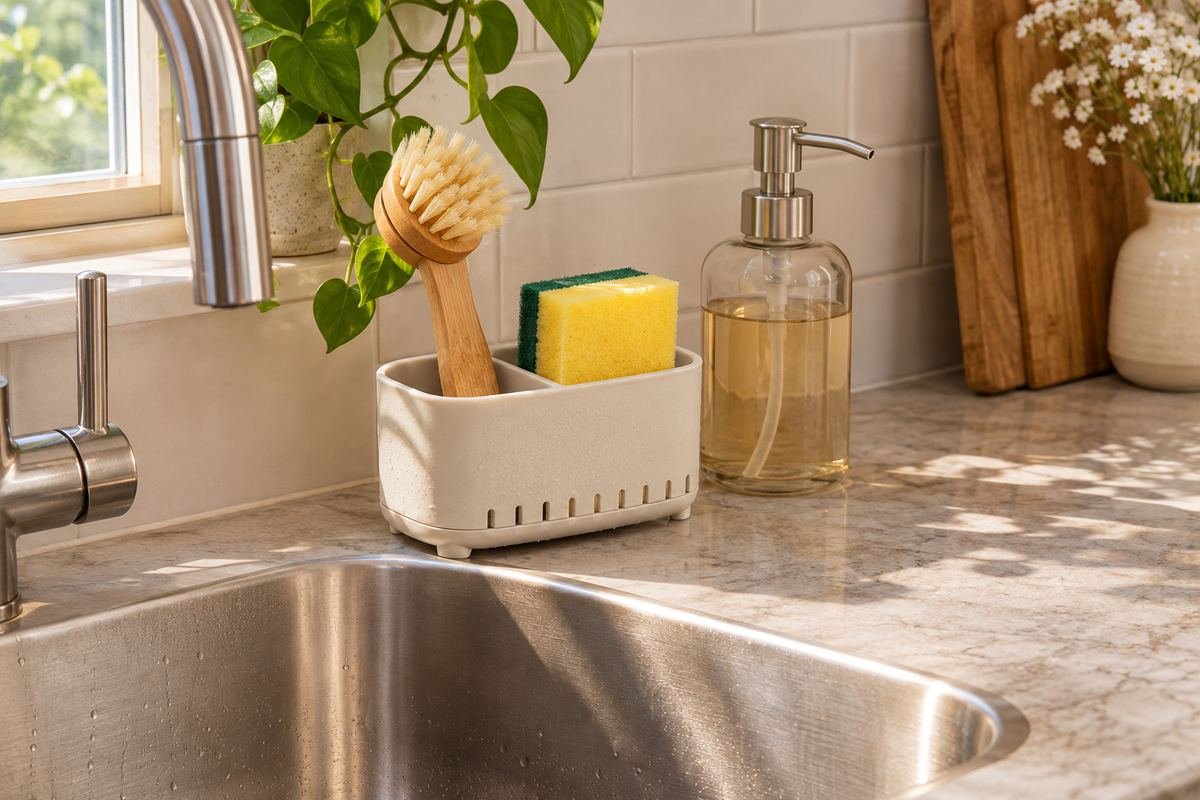
After a week, notice which tools you actually used and which merely occupied the caddy. Keep the useful working group together and give occasional tools an appropriate separate home. A smaller kit can make a modest organizer more comfortable without buying another accessory.
Test the complete routine: pick up the tool, use the sink, return the tool and lift the holder out when needed. The arrangement succeeds when those steps feel straightforward. Let that experience guide the final position and size instead of preserving a layout only because it looked attractive when first arranged.
Practical tip: Review one unused tool before adding another compartment.
Frequently Asked Questions
Should a sink caddy sit inside or outside the basin?
Choose the place that preserves the most useful working area without obstructing the faucet or dishes. A counter caddy needs a fully supported base and a manageable drip tray. An in-basin model needs a compatible mounting surface and enough room to remove it when washing large pieces.
Does a draining caddy keep a sponge sanitary?
A draining holder is a storage feature, not proof that a sponge is sanitized. Follow the cleaning and replacement guidance for your actual sponge, brush and organizer. Keep the holder accessible so you can empty collected water and clean its parts as directed.
What belongs in a small kitchen sink caddy?
Start with the everyday brush and sponge, adding a soap container only when the caddy is designed to hold it. Keep refill bottles and occasional tools in an appropriate separate location. A small, easy-to-return kit is usually more manageable than storing every cleaning item at the sink.
Choose the Details That Work in Your Home
Choose one caddy position that leaves the faucet, basin and nearby counter comfortable to use. Test it with your real brush and sponge, then practice lifting it out and emptying its catch tray. A sink area stays easier to reset when the working kit is small and every piece has a clear return position.
For related ideas, explore kitchen sink ideas, kitchen under-sink organization ideas, kitchen counter decor ideas.
Planning References
OXO: compact Sink Caddy, compartments and dimensions; OXO: Stainless Steel Sink Organizer, removable tray and dimensions; IKEA: RINNIG sink container mounting and care requirements. Follow the instructions for the exact products you choose.
Optional digital guide for this topic
If you prefer a structured workbook, explore this related paid guide.