Kitchen under-sink organization ideas work best when they start with the cabinet you actually have. A deep sink bowl, disposal, supply lines or a bulky hinge can leave much less usable room than the cabinet’s outside width suggests. Map those obstacles before choosing a matching set of bins.
Treat this as a storage project around existing services, not a reason to move pipes or hide a leak. If the cabinet is damp, damaged or needs plumbing work, address that problem before arranging supplies. Keep the access required by the actual equipment and its instructions.
These 22 original concepts focus on modest, removable groups that are easy to reach and put away. The illustrations use dry nonchemical supplies to make the layouts clear. Household products need their own label-directed storage and appropriate access protection; a decorative basket does not establish that a product belongs under the sink.
The images are original AI-generated decor concepts, not installation diagrams or photographs of completed client projects.
Browse These 22 Kitchen Under-sink Organization Ideas
Jump to an idea
- Begin with the cabinet deliberately half empty
- Use two independent bins around a central drain
- Kitchen under-sink organization ideas with a low caddy
- Keep the shallow front zone for the regular group
- Choose a narrow bin for one genuine side gap
- Use a short bin where cabinet depth is interrupted
- Group spare sink accessories without their packaging becoming clutter
- Separate clean dry cloths from items waiting to be washed
- Give removable trays a clear lifting edge
- Kitchen under-sink organization ideas with unequal zones
- Keep the hinge-side area free of projecting objects
- Compare a fitted pullout with the complete access route
- Use a door-mounted accessory only after a clearance check
- Keep tall handles out of the sink-bowl space
- Use one open group for supplies you need to identify quickly
- Compare a lidded box with its open position
- Divide one useful bin instead of adding more containers
- Kitchen under-sink organization ideas with a stable front row
- Give infrequent spares a deliberate review position
- Use a clear return position for the shared household group
- Leave a narrow unusable pocket clear
- Finish kitchen under-sink organization ideas with a simple reset
Map kitchen under-sink organization ideas before buying bins
Empty the cabinet, check its condition and record the usable opening and interior width, depth and height. Include the sink bowl, disposal, pipes, hinges and door-mounted hardware. Test a proposed organizer with the door moving normally and with the service access that the actual equipment requires. A bin must pass through the opening as well as fit inside the cabinet.
| What you find | Arrangement to compare | Practical test |
|---|---|---|
| Pipes divide the cabinet | Separate small removable groups | Can each group lift out without touching the plumbing? |
| The opening is narrower than the interior | Modest containers that pass through it | Can the filled container turn and come out normally? |
| A deep sink bowl limits upper space | Low storage below a clear usable area | Does the actual loaded height fit? |
| The door has projecting hinges | A group set inside their movement | Can the door close without contact? |
| Frequent cleaning supplies | A manageable removable caddy | Can the caddy be carried and returned comfortably? |
| A possible leak or damaged base | Repair before storage changes | Is the cabinet sound and suitably dry? |
| Products with storage requirements | Their original containers in an appropriate location | Does the label and household access protection allow this location? |
Read a product’s fit statement with the real obstructions
Rev-A-Shelf describes its 5CCSO door-mounted caddy as a removable polypropylene product designed for 30-inch and larger sink base cabinets. That is a statement about that series, not a promise that every cabinet of that nominal width accepts it. The manufacturer’s measuring guidance asks for the opening dimensions and for plumbing, hinges and other obstructions to be considered. Check the exact option and installation instructions before choosing.
Keep product storage separate from a styling decision
The U.S. Consumer Product Safety Commission advises following household-product labels, retaining original containers, resecuring child-resistant packaging and using appropriate locked or latched storage where children could gain access. It also separates household products from food and medicine storage. Apply that guidance to the actual household and products; do not decant cleaners into decorative jars or assume an open bin provides protection.
Make a one-week cabinet-use record
For each item you keep here, write down its usual task, storage requirements, container and return position. During a normal week, notice the group that is hard to lift, the item that gets lost at the back and the organizer that catches a hinge. Change one source of friction at a time. The record is more useful than buying another container before you know what the cabinet needs.
1. Begin with the cabinet deliberately half empty
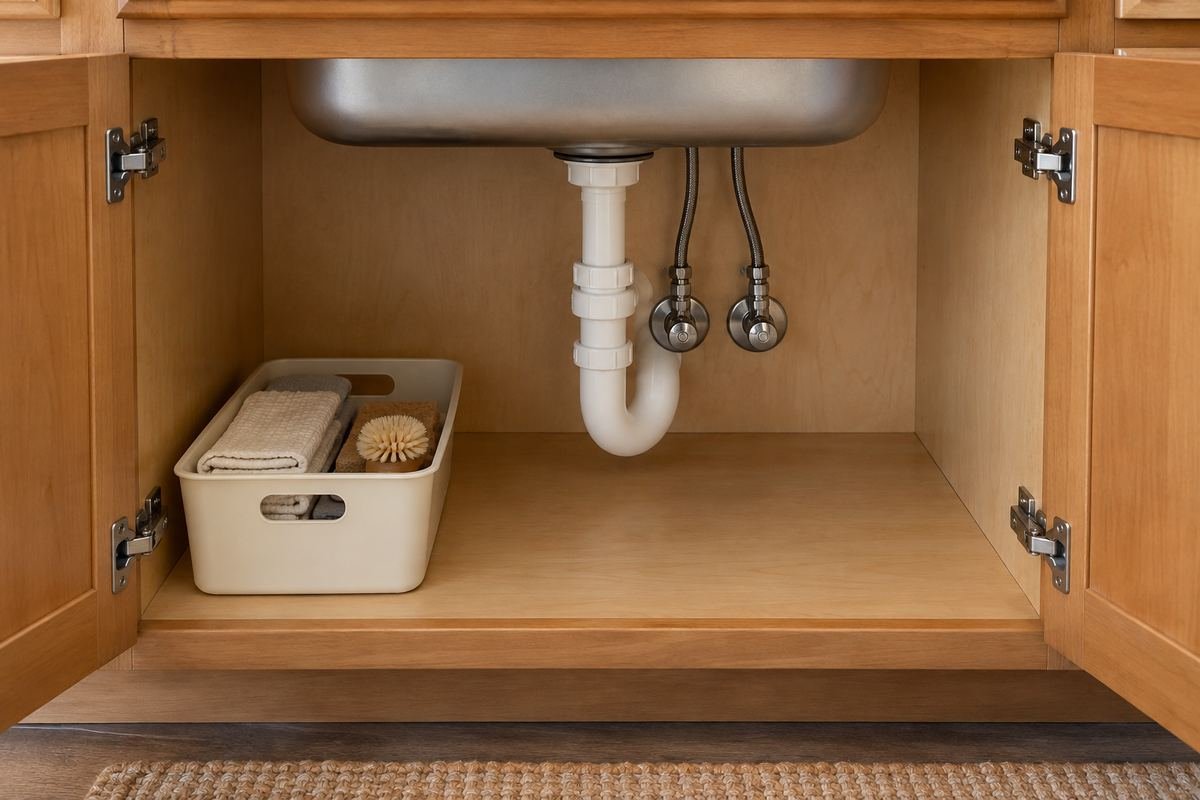
Leave some of the usable space unassigned while you learn what actually belongs here. A lightly filled cabinet makes it easier to see the existing pipework, inspect the base and remove a group of supplies. Empty space can be a useful part of the arrangement rather than a gap to fill.
Keep only suitable items connected to the tasks you perform nearby. If an object is here merely because another cupboard is full, choose its proper destination before buying a container for it. Review the cabinet after ordinary use rather than styling every inch on the first day.
Practical tip: Start with the essential groups and add only what earns a place.
2. Use two independent bins around a central drain

A drain that divides the cabinet may suit two small removable groups instead of one large organizer with an awkward cutout. Compare each complete bin with the door opening and the space on its side of the pipes. Keep all containers clear of the plumbing.
Separate by a useful task, such as dry cloths and spare nonchemical sink accessories. Make each group easy to lift without moving the other. If one side is too narrow for a practical container, leave it clear instead of forcing a matching pair into the cabinet.
Practical tip: The two bins can differ in size when the cabinet does.
3. Kitchen under-sink organization ideas with a low caddy
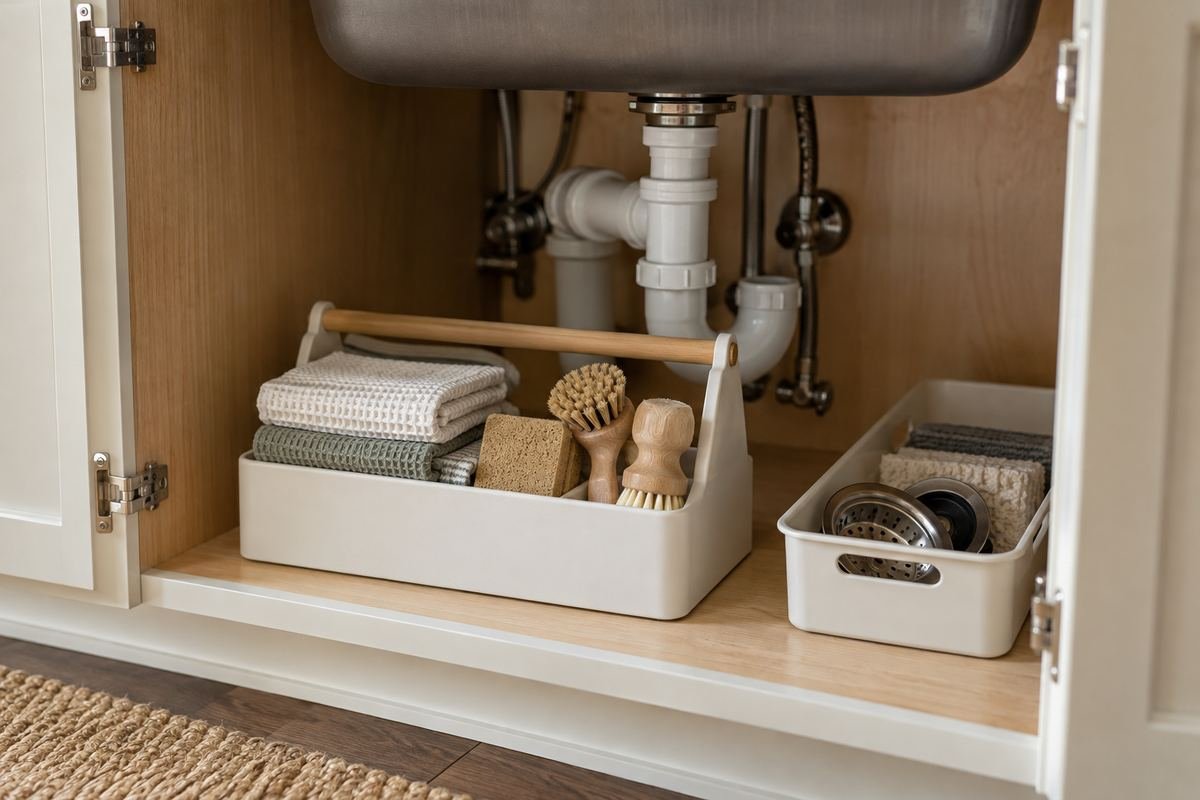
A low removable caddy can keep a small group together where the sink bowl reduces upper space. Check its loaded height, handles and the route through the door opening. A handle that fits when empty can still become awkward once the caddy is filled.
Choose a manageable group and a stable appropriate base. The caddy should make retrieval easier, not become a heavy container that needs to be tilted around pipes. Keep every item suitable for this storage location and return the caddy without pressing against services.
Practical tip: Lift the loaded caddy during the fit test.
4. Keep the shallow front zone for the regular group
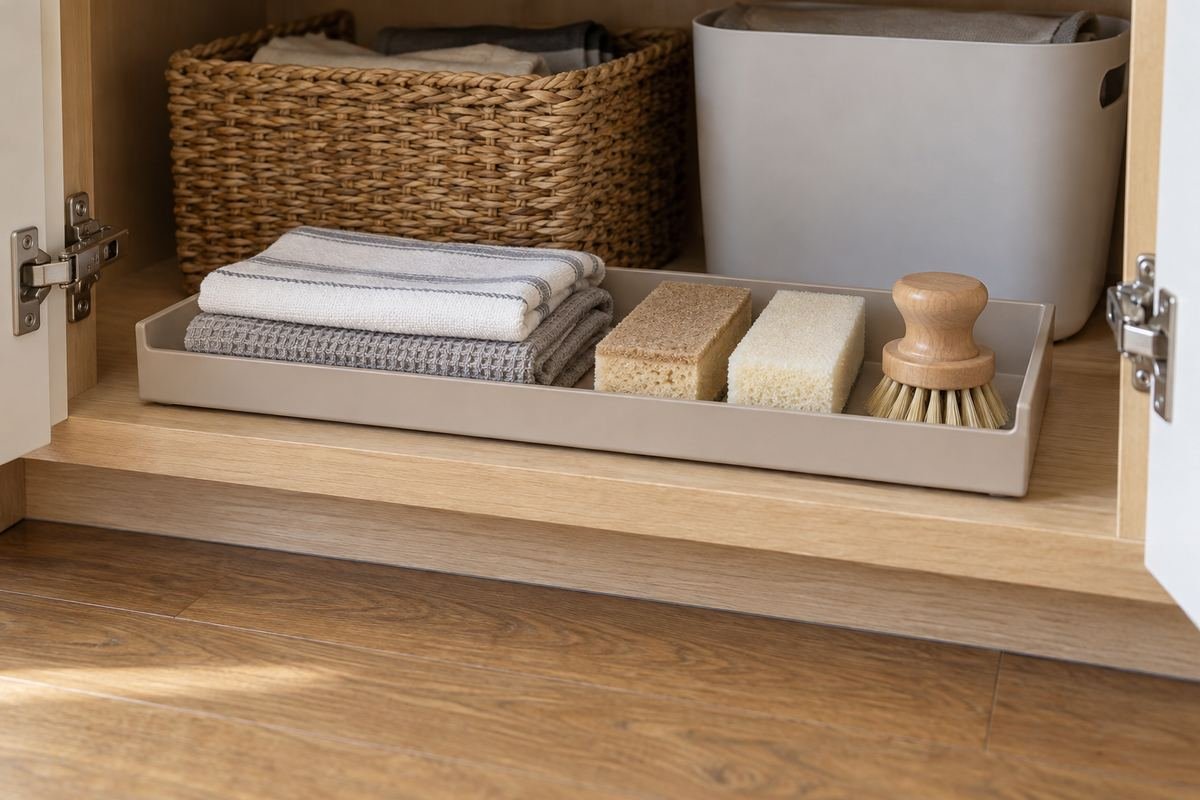
A modest group near the front can be easier to reach without leaning into the back of the cabinet. Test the position with the doors closed and the hinges moving normally. Keep the group inside the usable floor area rather than balancing a container across the front edge.
Use the rear only when its access is practical and appropriate. Placing the frequent group in front should not turn the remaining space into a forgotten pile. If the arrangement requires moving several objects for one ordinary task, simplify the groups.
Practical tip: Keep the regular group reachable without stacking another above it.
5. Choose a narrow bin for one genuine side gap
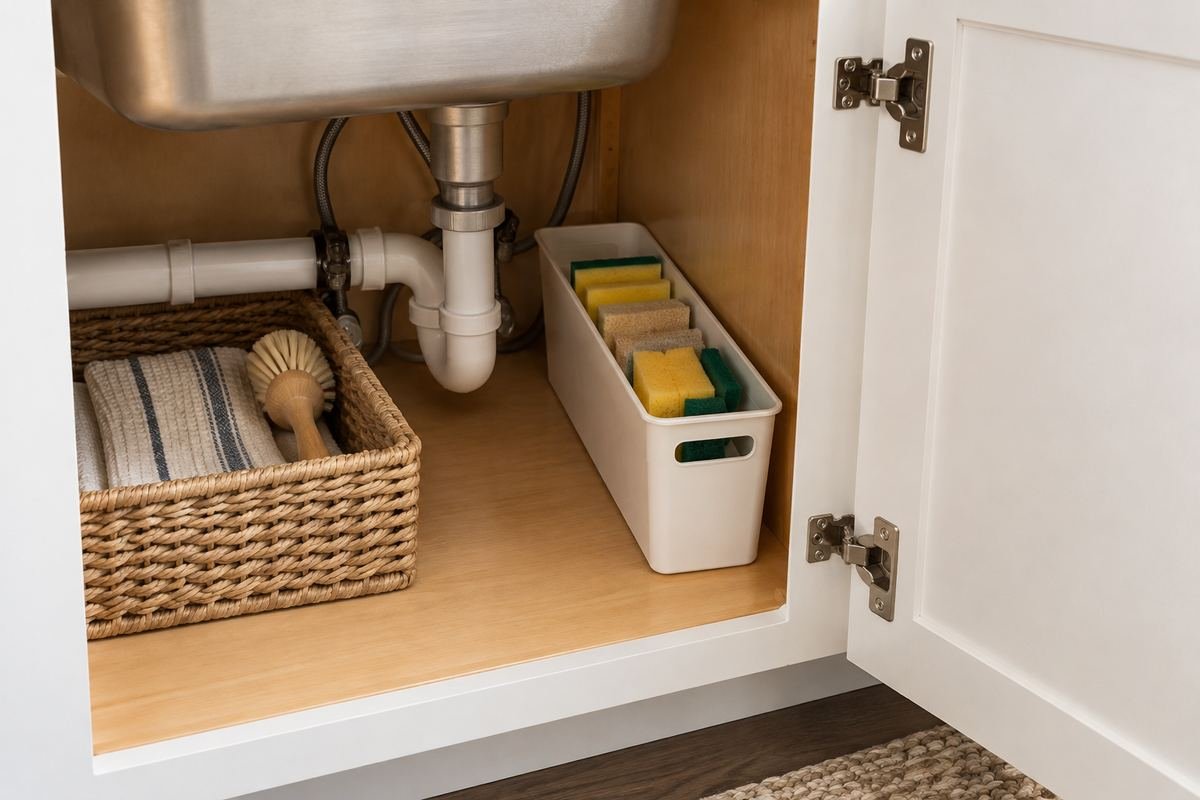
A narrow usable gap may suit a slim container for a small nonchemical supply group. Measure the actual gap from the obstruction rather than from the cabinet’s outside panel. Check whether the filled bin can be gripped and lifted without scraping the pipes or hinge.
Avoid filling the slim bin with objects that are too tall or bulky for its useful position. A narrow accessory is worthwhile only when the household can reach and return it normally. If retrieval needs an awkward twist around plumbing, choose another position.
Practical tip: Test the gripping space as well as the bin width.
6. Use a short bin where cabinet depth is interrupted
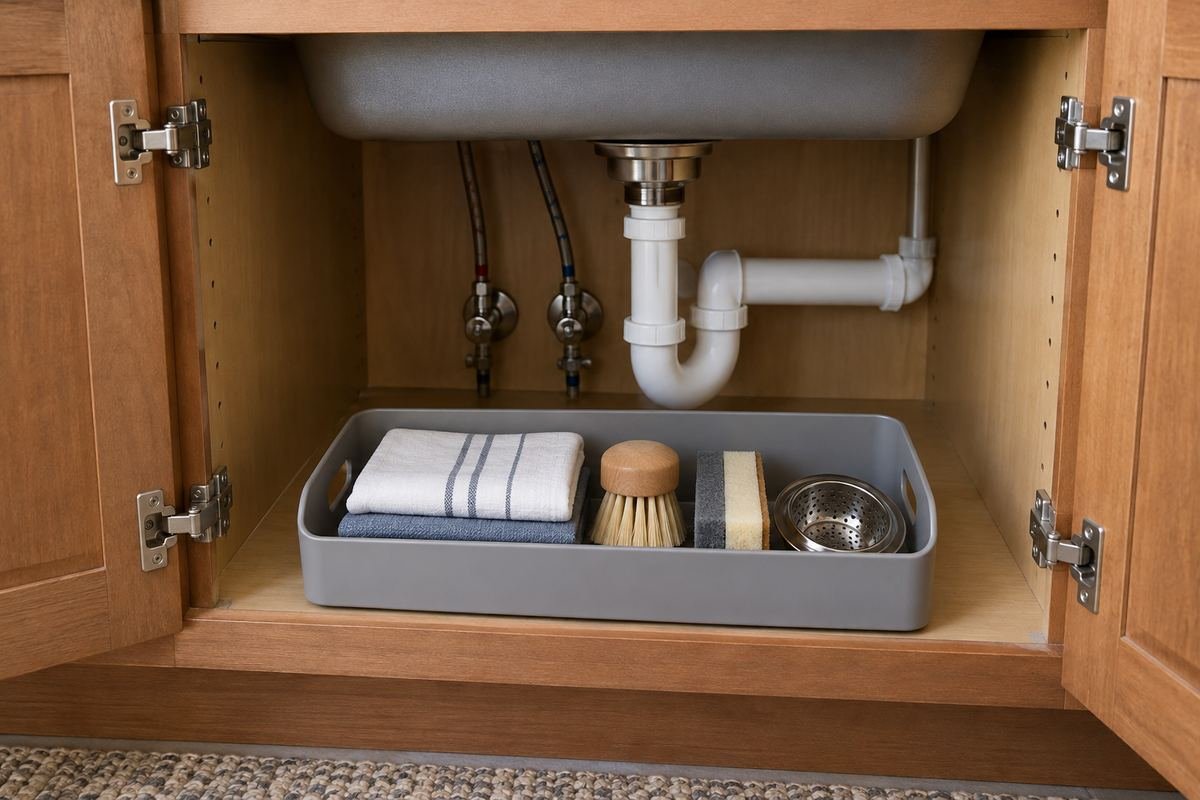
A supply line or other existing component can make a full-depth organizer unsuitable. A shorter removable bin may fit the genuinely usable front area without reaching into that obstruction. Check the loaded position and keep the access required by the actual equipment.
Do not treat the space behind the bin as a hiding place for loose objects. Leave it visible and accessible when that makes the cabinet easier to inspect. A shorter container can be the complete solution even when a deeper matching accessory looks more efficient in a product photograph.
Practical tip: Compare the usable depth at the organizer’s actual height.
7. Group spare sink accessories without their packaging becoming clutter
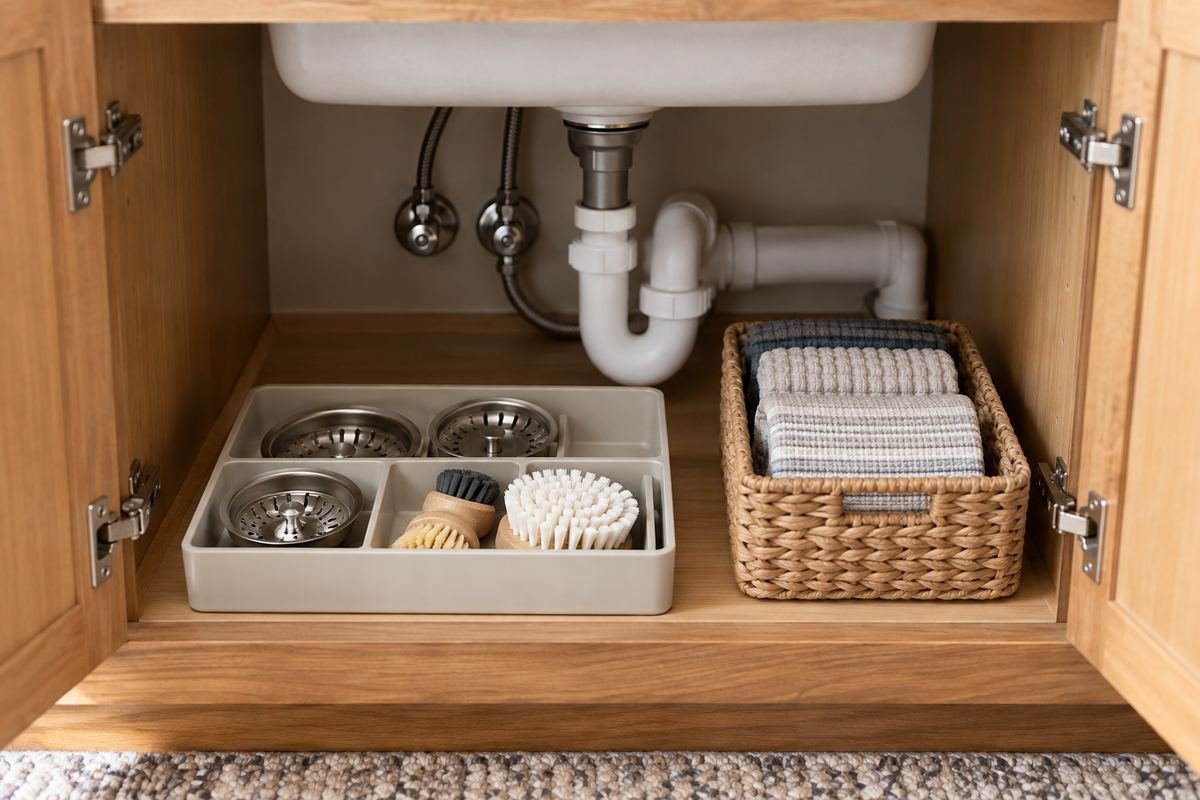
Small suitable nonchemical accessories can disappear when they are spread across the base. Give the spare brush heads, plain sink strainers or other appropriate items one shallow group. Retain any information needed for their care, compatibility or identification.
Avoid opening and mixing product packages merely to make a container look uniform. Keep the group appropriate to the actual items and the cabinet conditions. A small accessible supply group is easier to review than a deep box of miscellaneous parts from several rooms.
Practical tip: Keep identification and compatibility information with the item.
8. Separate clean dry cloths from items waiting to be washed
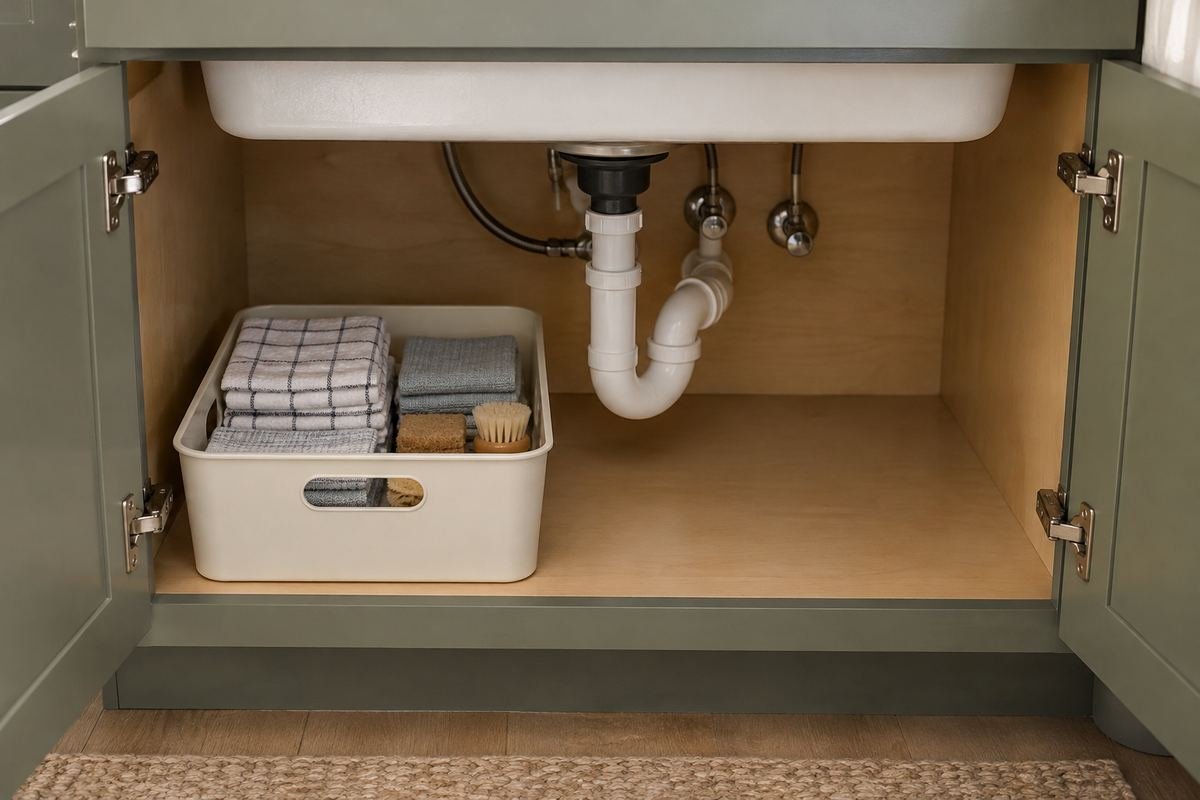
A group of clean dry cloths needs a clear identity within the storage arrangement. Use a suitable modest container and keep used items in an appropriate separate laundry routine rather than dropping them back into the clean group. Do not fill the cabinet with damp textiles.
Choose the quantity from normal use and laundry frequency. If the stack is difficult to remove or repeatedly collapses, reduce it or choose a smaller fold. A container should support the routine rather than become an excuse to store every spare cloth here.
Practical tip: Return only appropriate clean dry textiles to this group.
9. Give removable trays a clear lifting edge
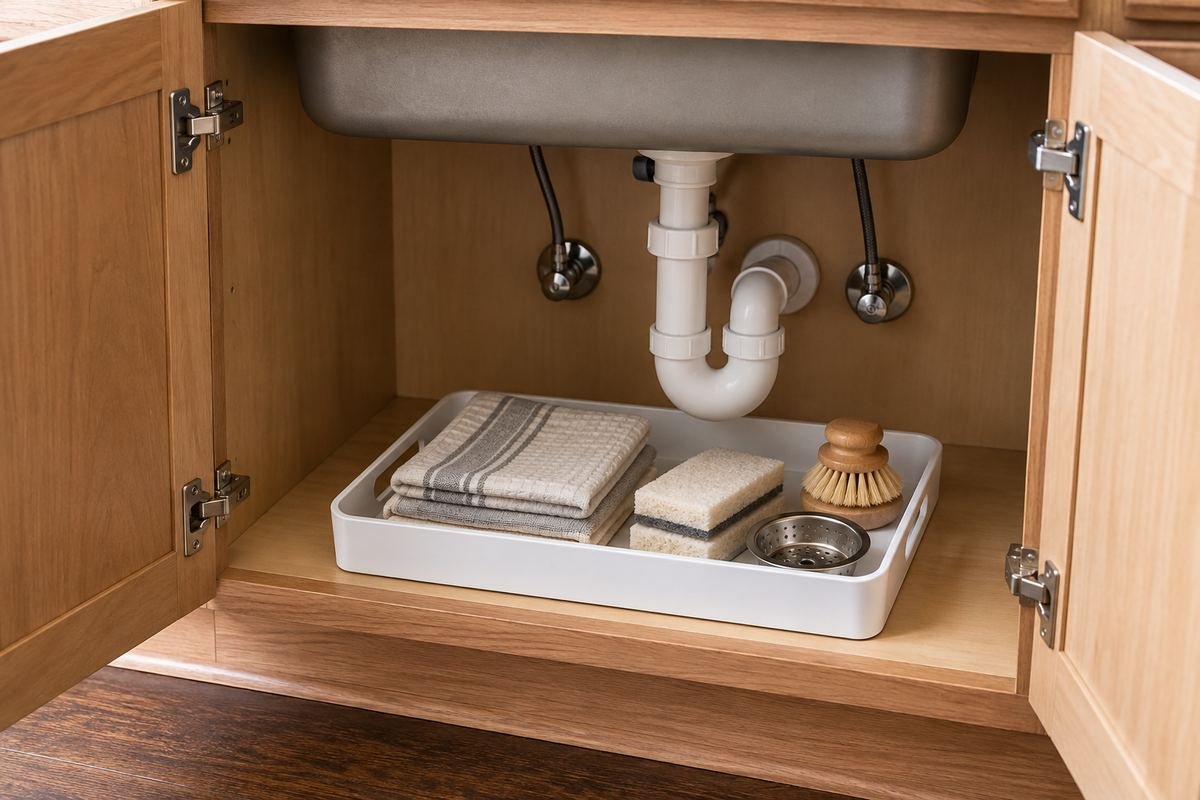
A suitable tray can collect a modest supply group and simplify removing it for cleaning. Choose a shape that leaves a useful gripping edge in its actual position. Compare the loaded tray with the door opening so it does not need to tip toward the plumbing.
Keep the tray fully supported and avoid treating it as a permanent cover over the cabinet condition. Lift it periodically and inspect the base as appropriate. If it makes inspection harder, a smaller tray or separate bin may be more useful.
Practical tip: Test lifting the tray without disturbing neighboring items.
10. Kitchen under-sink organization ideas with unequal zones

The cabinet does not need a symmetrical arrangement when the equipment is asymmetrical. A disposal or offset drain may leave one useful area much wider than the other. Compare a larger modest group on one side with a smaller group or clear area on the other.
Choose each zone for access rather than matching container sizes. Keep services and their required space available. A deliberately unequal arrangement can be easier to use than a centered display that ignores the real shape of the cabinet.
Practical tip: Let the existing equipment set the storage zones.
11. Keep the hinge-side area free of projecting objects

Door hinges and other hardware can occupy more of the storage area as the door moves. Check their normal operation before placing a tall container near the side panel. Keep the group clear through the whole movement rather than checking only the fully open position.
A simple front-to-back adjustment may help, but do not push a bin into the plumbing to clear the hinge. Compare the whole arrangement and choose a smaller container if necessary. The cabinet door should remain easy to operate during ordinary use.
Practical tip: Open and close the actual door during the test.
12. Compare a fitted pullout with the complete access route

A correctly specified pullout can make a suitable cabinet easier to use, but it has its own fitting, installation and load requirements. Compare the exact product with the opening, interior and equipment before choosing. Follow its instructions rather than adapting a generic image into an installation plan.
Check the fully extended position as well as the stored one. A pullout must operate without striking doors, plumbing or nearby room features. Keep the access needed for service available and use appropriate installation help where the product or cabinet requires it.
Practical tip: Review both open and closed product dimensions.
13. Use a door-mounted accessory only after a clearance check

A suitable door accessory may use otherwise empty space, but its loaded shape moves with the door. Compare the full movement with the sink bowl, hinges and interior supplies. Check the door material, attachment and load requirements for the exact accessory.
The Rev-A-Shelf caddy reference is one product example, not a universal mounting instruction. Avoid improvised attachments or using the door as a support without product guidance. If the loaded accessory makes the door awkward or blocks interior access, choose a removable floor container instead.
Practical tip: Test the moving loaded footprint before choosing a door accessory.
14. Keep tall handles out of the sink-bowl space
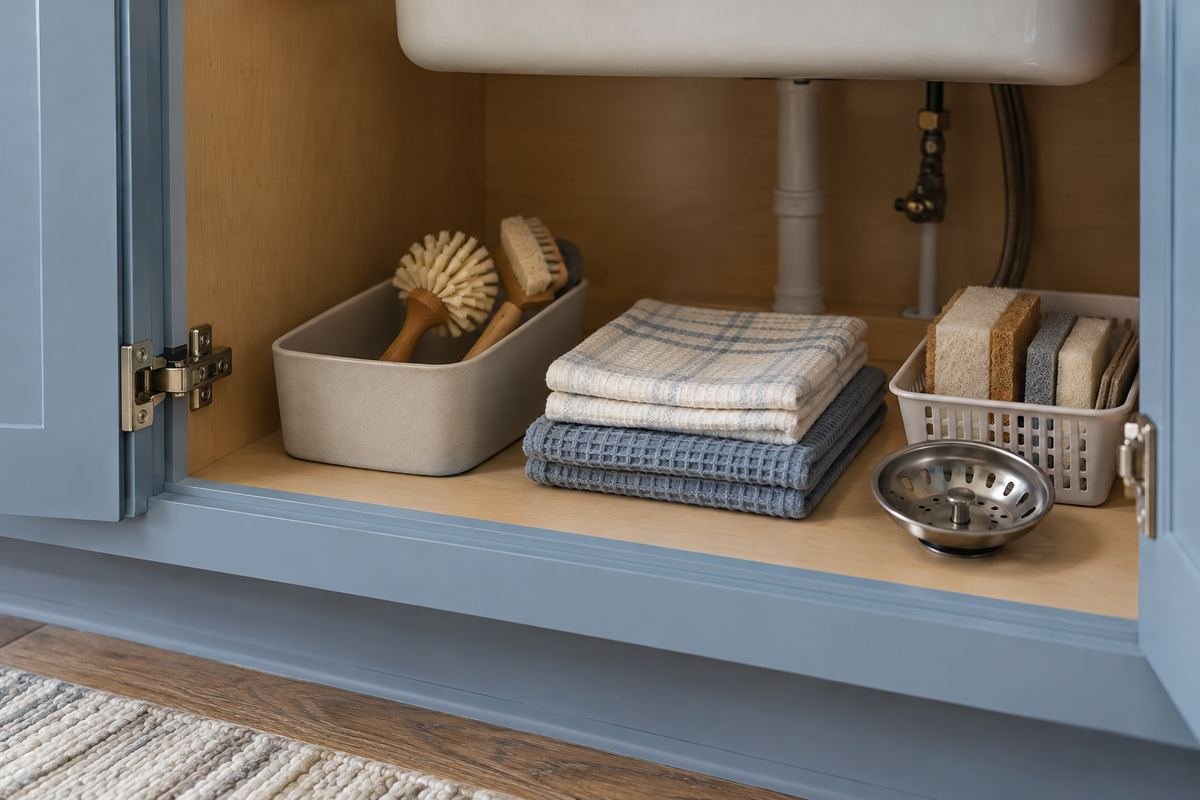
A long handle can collide with the underside of the sink even when the item’s base fits on the cabinet floor. Compare the complete stored height and the movement needed to remove the object. Keep handles clear of fittings and equipment.
Choose an appropriate smaller group or another storage location for awkward long items. Do not lean handles onto pipes or wedge them beneath the bowl. The arrangement should let the object come out normally without turning the plumbing into a resting point.
Practical tip: Test the complete item rather than measuring its container alone.
15. Use one open group for supplies you need to identify quickly
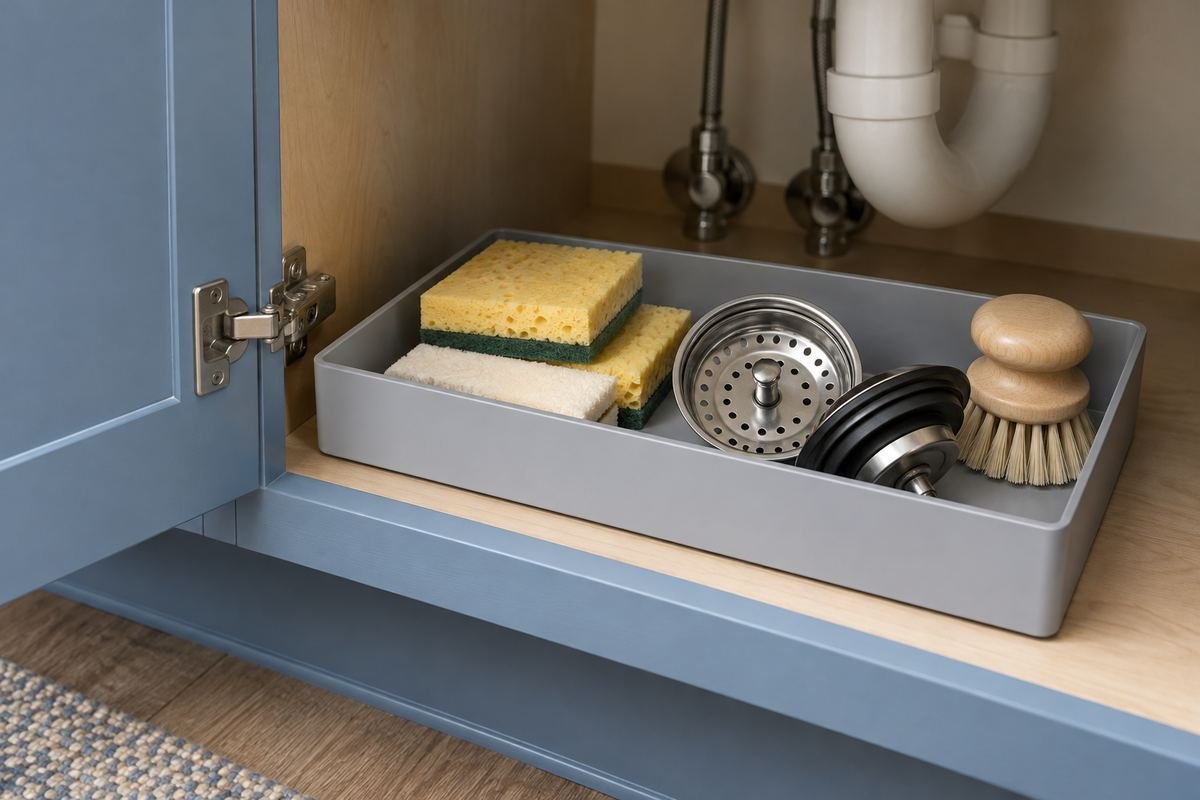
A shallow open container can make a small suitable group easy to see when visual identification is useful. Keep the contents limited enough that they do not form several layers. Choose the container from the task rather than filling it because the top remains open.
An open container is not a substitute for any protection required for household products. The illustrated group contains only dry nonchemical accessories. Keep the storage decision appropriate to the actual items and household before choosing the visual style of the bin.
Practical tip: Choose visibility only where it suits the contents.
16. Compare a lidded box with its open position
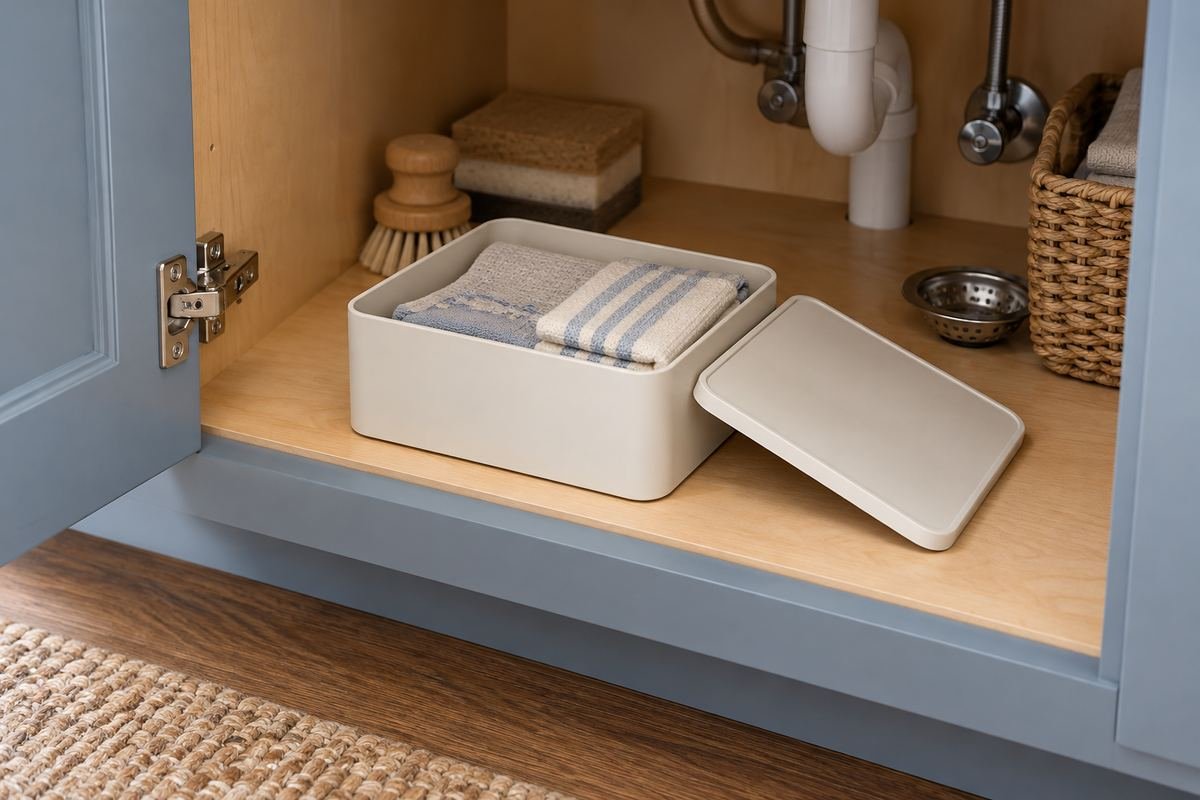
A suitable lidded container may help keep a small dry supply group together, but the lid needs room to work. Compare opening it inside the cabinet with removing the whole box first. The more practical choice depends on the height, contents and normal task.
Do not assume a decorative lid provides security or solves moisture. Choose the container and location from the actual storage requirements. If the lid repeatedly catches the sink bowl or has to be misplaced during use, choose a simpler container.
Practical tip: Test where the lid goes while the contents are used.
17. Divide one useful bin instead of adding more containers
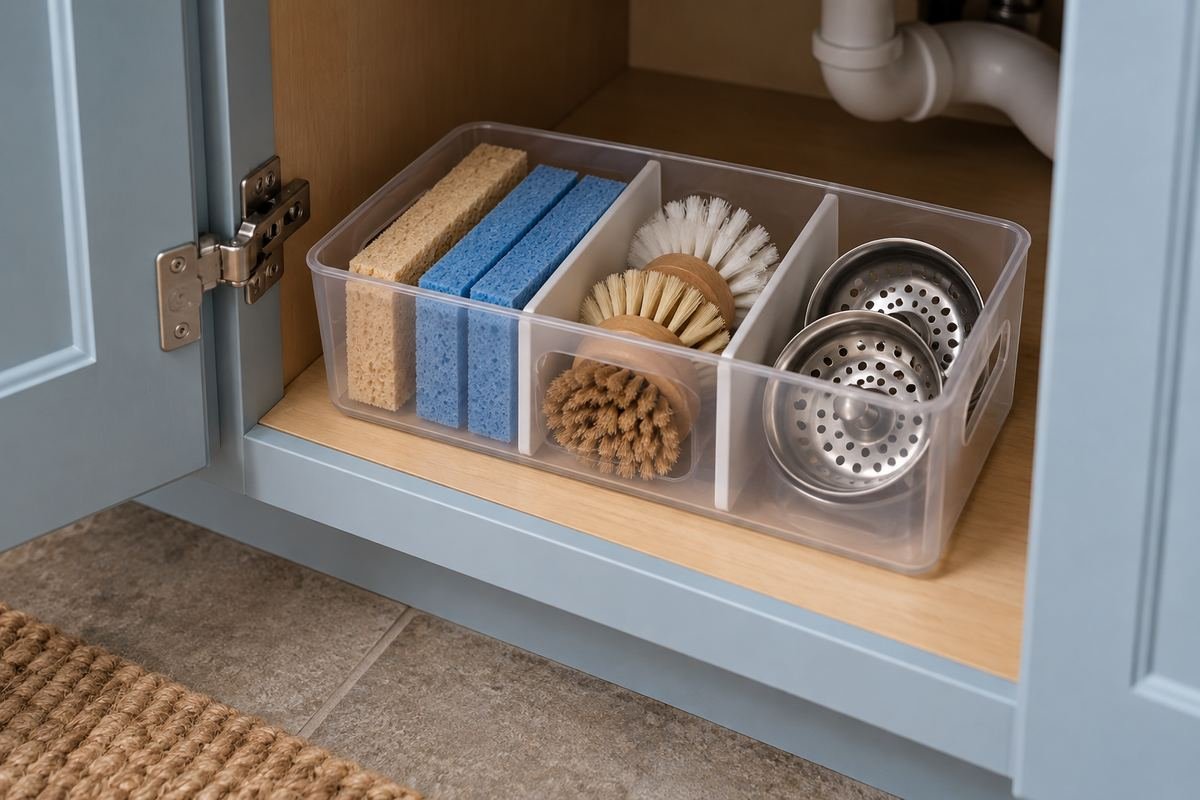
A modest divider can keep small nonchemical accessories from mixing within a bin that already fits the cabinet. Compare the compartment sizes with the actual objects so each can be removed without digging beneath another. Keep the divider suitable for the container and its conditions.
Avoid creating tiny sections that are difficult to clean or no longer match the supplies. Start with the few separations that solve a real problem. One manageable bin with a clear internal layout may be easier to carry than several small loose cups.
Practical tip: Keep only the divisions that help during normal use.
18. Kitchen under-sink organization ideas with a stable front row
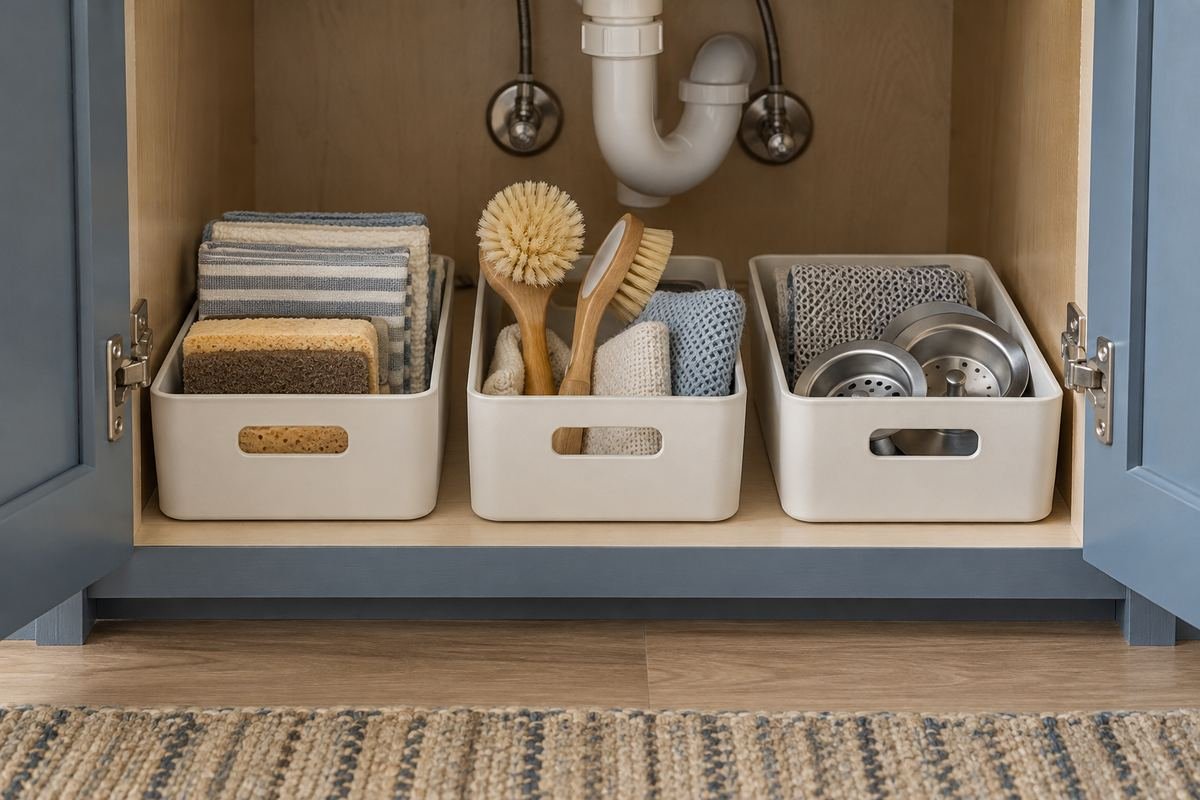
A single front row can make a modest supply group visible without stacking containers. Compare its depth with the opening and keep every base within the cabinet. Leave useful access behind it rather than building a second row automatically.
If a back row is necessary, give it suitable less-frequent items and a realistic retrieval route. Avoid arranging the cabinet so the regular task requires unloading the whole front. Reduce the total group when the storage depth creates repeated inconvenience.
Practical tip: Test one ordinary retrieval before adding a rear row.
19. Give infrequent spares a deliberate review position
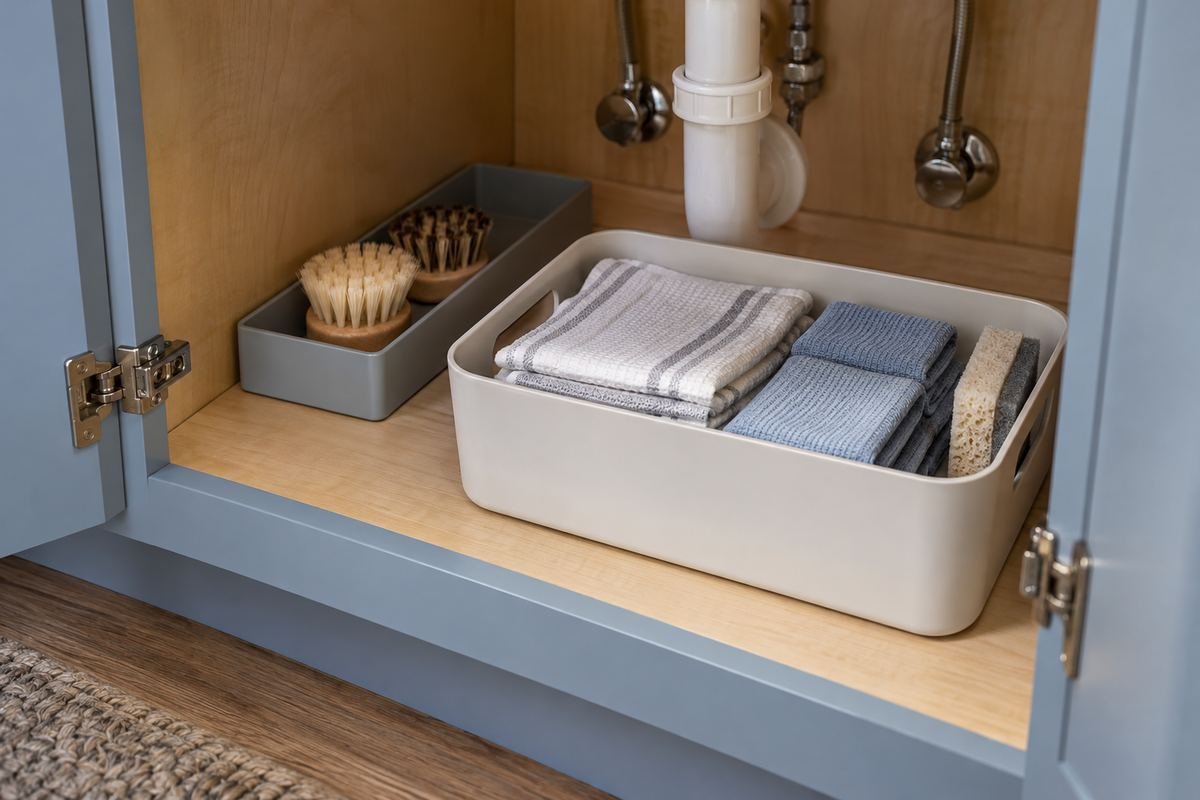
Suitable spare accessories can have a separate position from the regular-use group. Choose an accessible place that does not hide the cabinet base or block services. Keep the quantity connected to the items the household actually uses.
Review the spare group when a replacement is needed. Remove obsolete parts or move them to their correct storage destination through the household’s normal process. A smaller current group is easier to identify than several generations of incompatible accessories in one deep box.
Practical tip: Check compatibility before keeping another spare.
20. Use a clear return position for the shared household group
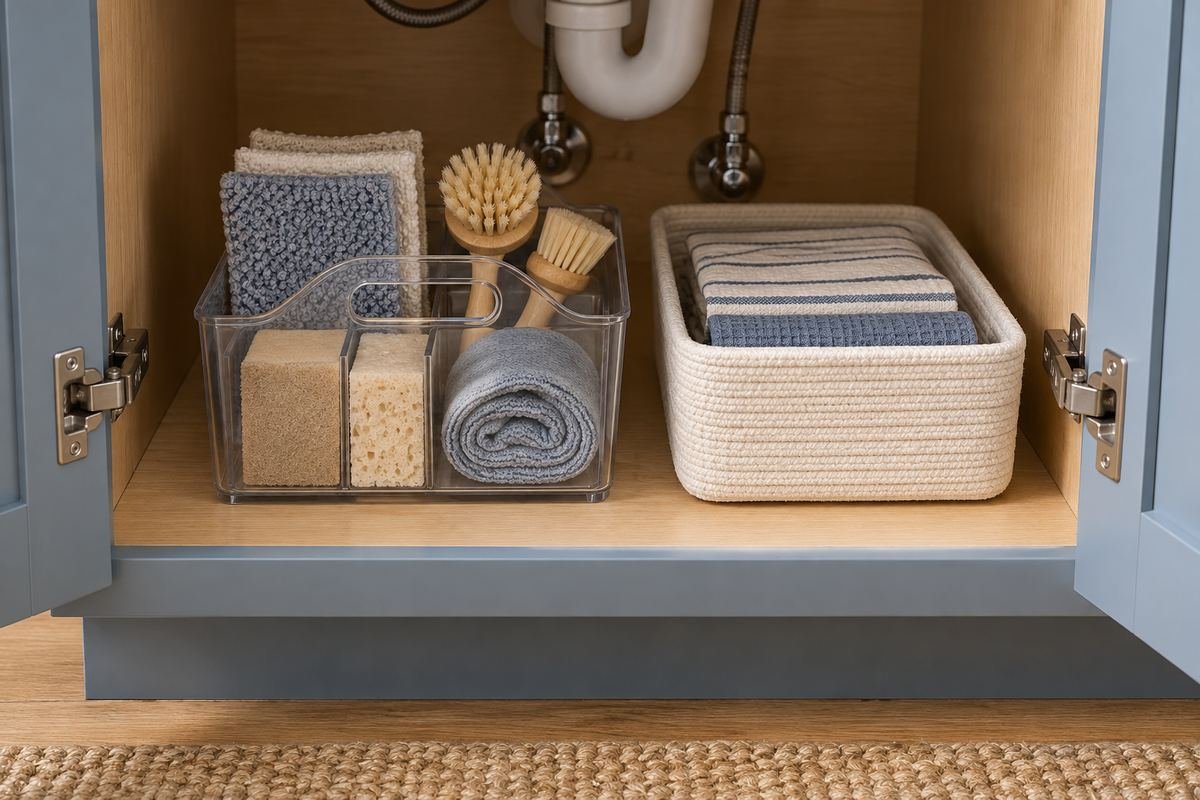
A shared cabinet is easier to maintain when each suitable group has a consistent place. Choose positions that make sense from the task and that the people using the cabinet can reach. Explain the arrangement through a simple routine rather than a complex labeling system.
Keep any necessary product identification and labels intact. For ordinary nonchemical supplies, a consistent container and position may be enough. If a group repeatedly lands in the wrong place, review whether its chosen position works during real use.
Practical tip: Make the correct return position the easy one.
21. Leave a narrow unusable pocket clear
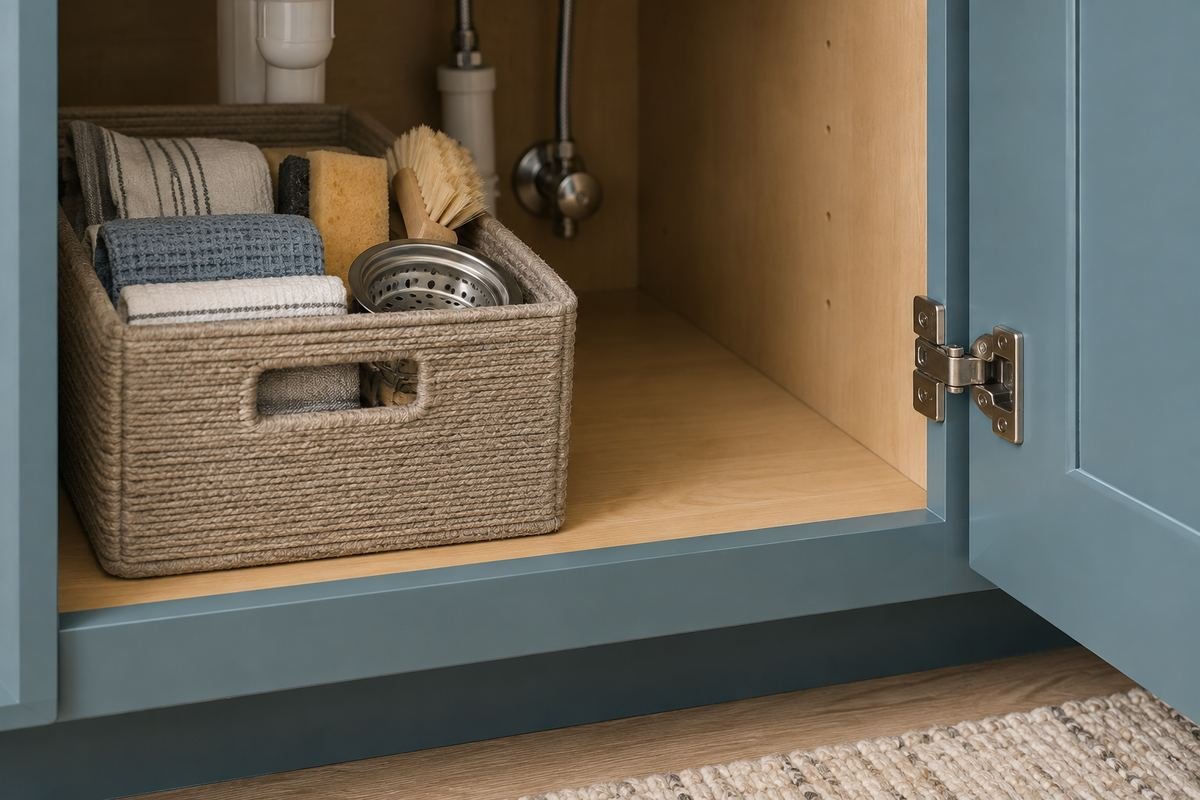
Some gaps do not support a practical storage group. A narrow space behind a hinge or beside a pipe can remain empty when filling it would make retrieval or inspection awkward. Useful organization is not measured by how completely the cabinet appears filled.
Use an empty pocket deliberately and resist pushing loose accessories into it later. If the supplies do not fit the usable zones, reduce the group or choose another suitable location. Do not alter existing services to turn every small gap into storage.
Practical tip: A clear awkward gap can be a successful final choice.
22. Finish kitchen under-sink organization ideas with a simple reset
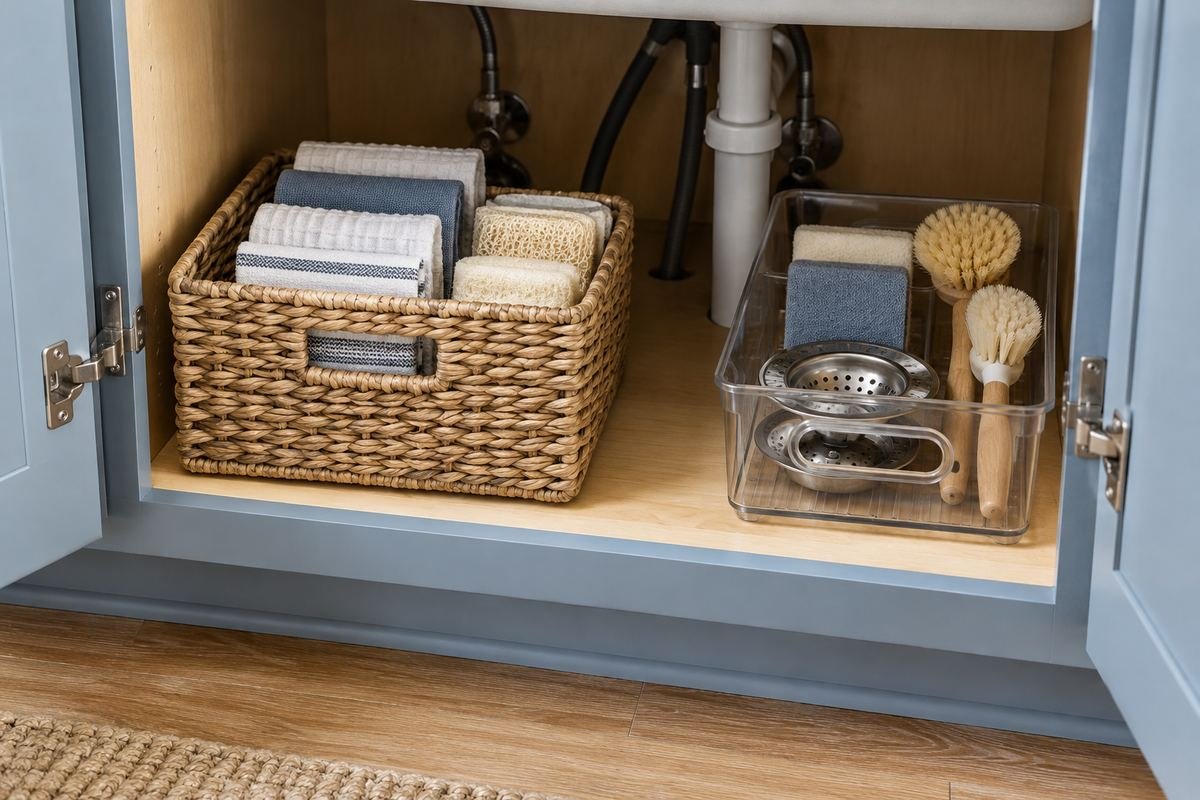
Remove the storage groups, inspect and clean the cabinet as its materials require, and return only suitable items to their chosen positions. The arrangement should make this ordinary reset manageable. Notice any moisture or damage rather than covering it with a new accessory.
Use the one-week record to correct the recurring problem before buying more bins. Reduce a difficult group, relocate an awkward spare or choose a container that passes through the opening more easily. A practical cabinet can stay modest while becoming much easier to use.
Practical tip: Improve the repeated point of friction before adding another organizer.
Frequently Asked Questions
How do I organize under a kitchen sink with awkward pipes?
Map the actual pipes and other equipment first, then compare small removable groups in the usable spaces around them. Keep the access required by the equipment instructions. Do not move, support or alter plumbing to make a storage accessory fit.
Should I buy bins from the cabinet’s listed width?
Check the usable opening and internal dimensions as well as the cabinet type. Hinges, the sink bowl and services can reduce the space. The filled organizer must also come out through the opening and allow the door to operate normally.
Can I keep cleaning products in decorative containers?
Retain household products in their original containers and follow their labels and access-protection requirements. Do not transfer cleaners to food-style jars or drink bottles for appearance. Choose another suitable storage location when the sink cabinet does not meet the requirements.
Will a cabinet mat solve a leak?
No. A suitable removable mat or tray is a surface accessory, not a plumbing repair or proof that moisture is harmless. Investigate dampness and damage, and obtain appropriate help for a leak before putting supplies back.
Are pullouts better than removable bins?
A correctly specified pullout may make a particular cabinet easier to use, but it has fitting, mounting and load requirements. Removable bins can be simpler when the usable space is irregular. Compare the complete use and service-access routine for the actual cabinet.
What should stay out of this cabinet?
Exclude items whose required storage conditions the location cannot provide. Keep food and medicines separate from household products, preserve service access and avoid anything that hides an unresolved moisture problem. The right list depends on the actual cabinet and product instructions.
Choose the Details That Work in Your Home
Choose kitchen under-sink organization ideas that make the cabinet easier to inspect, reach and reset. Fit each organizer around the existing services, keep the door and access useful and let product requirements decide what belongs there. A modest arrangement that can be removed and returned easily is a practical finished result.
For related ideas, explore kitchen sink ideas, kitchen drawer organization ideas, kitchen island storage ideas, more kitchen storage planning.
Planning References
Rev-A-Shelf 5CCSO caddy and cabinet-measuring guidance; U.S. CPSC: household-product storage and original containers. Follow the instructions for the exact products you choose.
Optional digital guide for this topic
If you prefer a structured workbook, explore this related paid guide.