Backyard and Patio
If every backyard gathering you host still ends up funneling everyone back into your kitchen, the problem probably isn’t your guests — it’s that your outdoor space was never actually built for cooking and hosting at the same time. A grill pushed into a corner isn’t an outdoor kitchen; it’s just a grill with nowhere for people to gather around it.
By the end of this article, you’ll have 12 real ways to build an outdoor cooking and entertaining space that people actually want to stay in, whatever your budget or backyard size.
Table of Contents
- 1. Build a Poolside Bar-Style Island
- 2. Start Simple With a Breeze-Block Grill Station
- 3. Add a Wood-Fired Pizza Oven
- 4. Fit a Compact Bar Cart Into a Corner
- 5. Wrap the Whole Island in Stone
- 6. Pair Bar Seating With a Fire Pit
- 7. Place Cooking and Dining Side by Side
- 8. Fully Shelter the Space Like an Outdoor Room
- 9. Bring Color Into the Cabinetry
- 10. Build a Dedicated Beverage Station
- 11. Add Bistro Character With Brick and Tile
- 12. Plan for Multifunction, Not Just a Grill
- Effort & Cost Snapshot
1. Build a Poolside Bar-Style Island
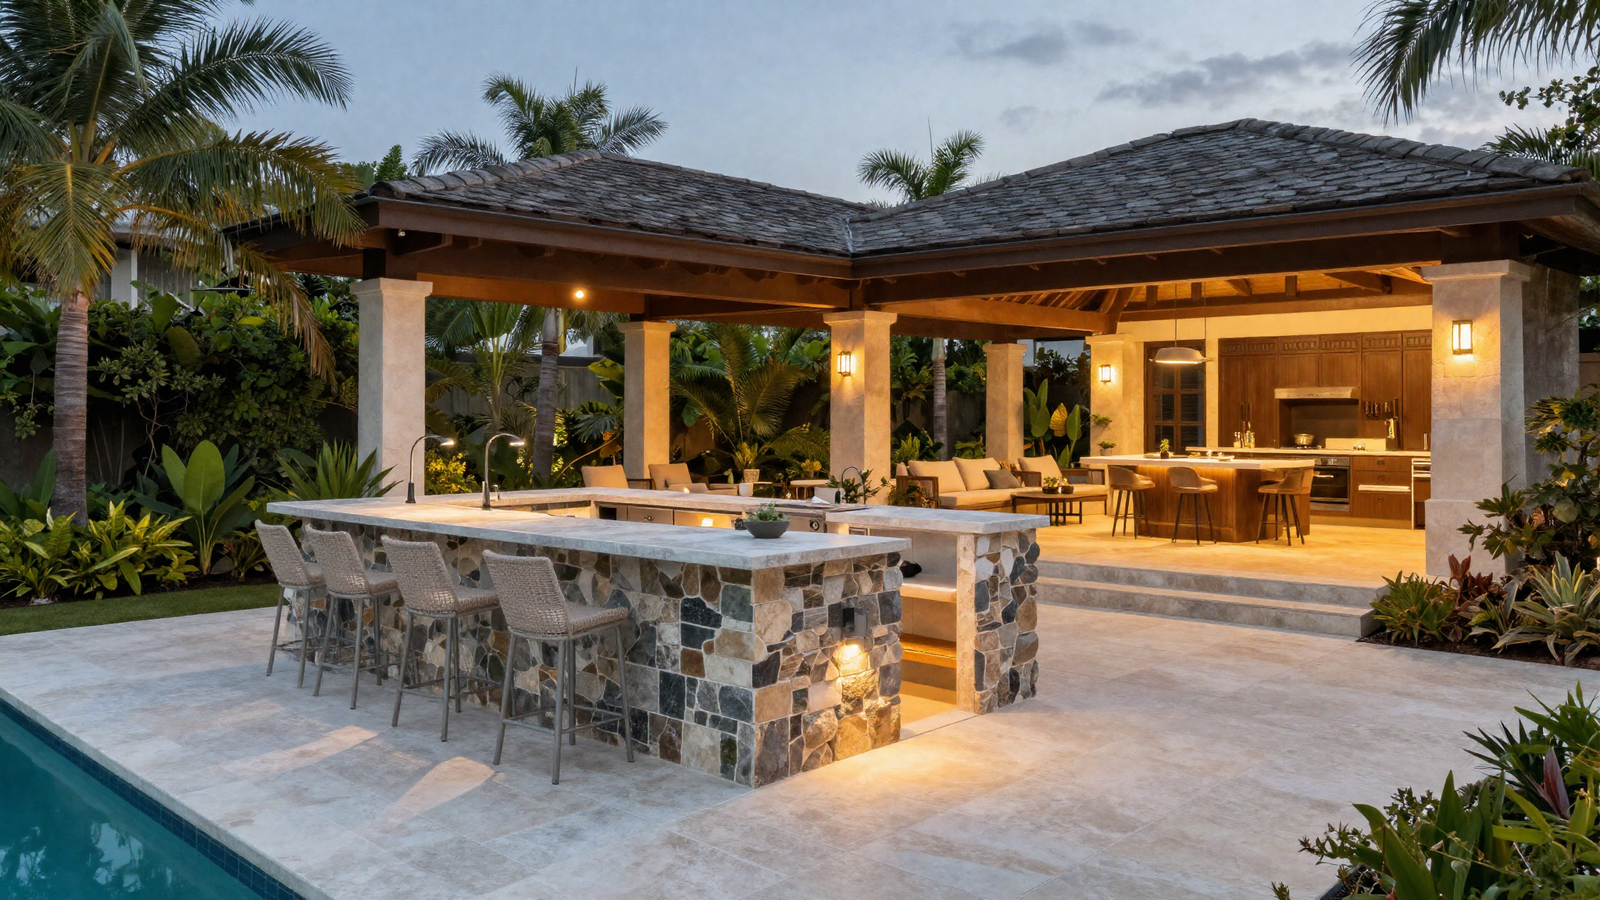
A long stone island with bar seating right along the pool edge turns cooking into part of the entertainment instead of a separate task. Paired with tropical landscaping and an open-air pavilion, it gives an ordinary backyard the feel of a boutique resort without ever leaving home.
💡 Smart tip: Orient the bar side toward the pool and the prep side toward the yard, so the host can face guests while working.
⚠️ Mistake to avoid: Skipping slip-resistant flooring near the pool edge; standard smooth stone gets dangerously slick when wet.
2. Start Simple With a Breeze-Block Grill Station
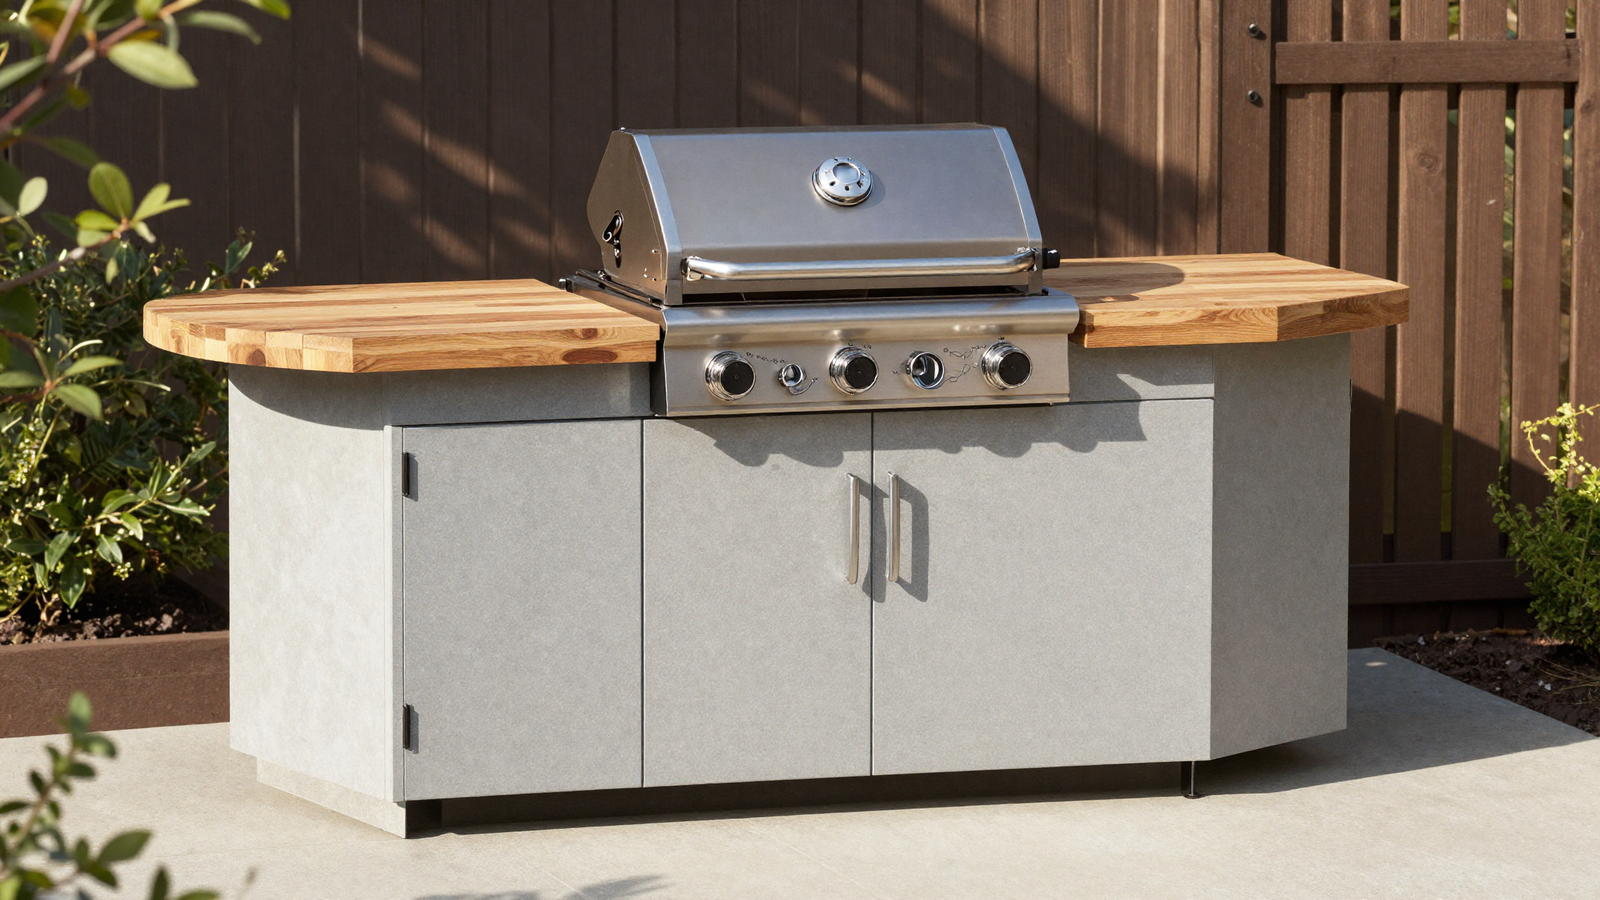
You don’t need a full renovation to build something real — a breeze-block base topped with a solid wood countertop gives a grill a genuine home without a big budget or contractor timeline. It has an honest, weekend-project charm that expensive setups sometimes lack.
💡 Smart tip: Seal the wood countertop with an exterior-rated finish before the first use, and reapply annually to keep it from graying and cracking.
⚠️ Mistake to avoid: Placing untreated wood too close to direct grill heat; leave enough clearance or use a heat-resistant material for the section nearest the flame.
3. Add a Wood-Fired Pizza Oven
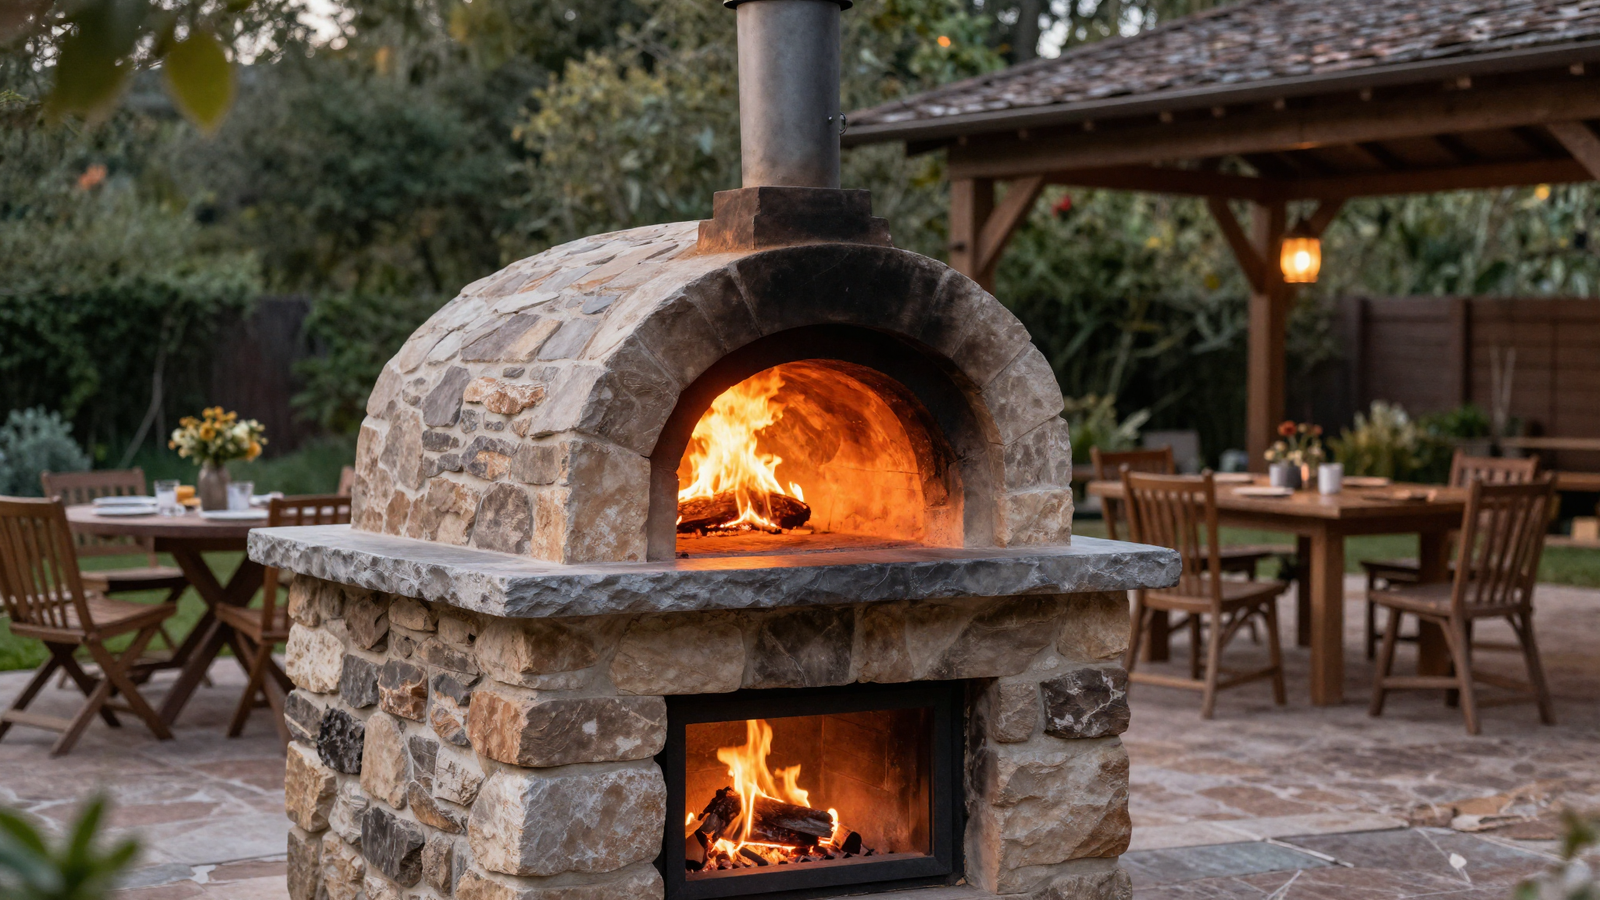
A built-in pizza oven does something a grill can’t — it becomes the event itself, with guests naturally gathering around to watch and wait for the next pie. It also extends what your outdoor kitchen can actually cook well beyond burgers and skewers.
💡 Smart tip: Position the oven opening away from prevailing wind direction so smoke doesn’t blow directly into the seating area.
⚠️ Mistake to avoid: Underestimating cure time for a new masonry oven; rushing the first fires can crack the interior before it’s fully dried out.
Loving These Ideas? Get the Step-by-Step Guide
Grab the full 5-day eBook and turn these ideas into a finished room.




4. Fit a Compact Bar Cart Into a Corner
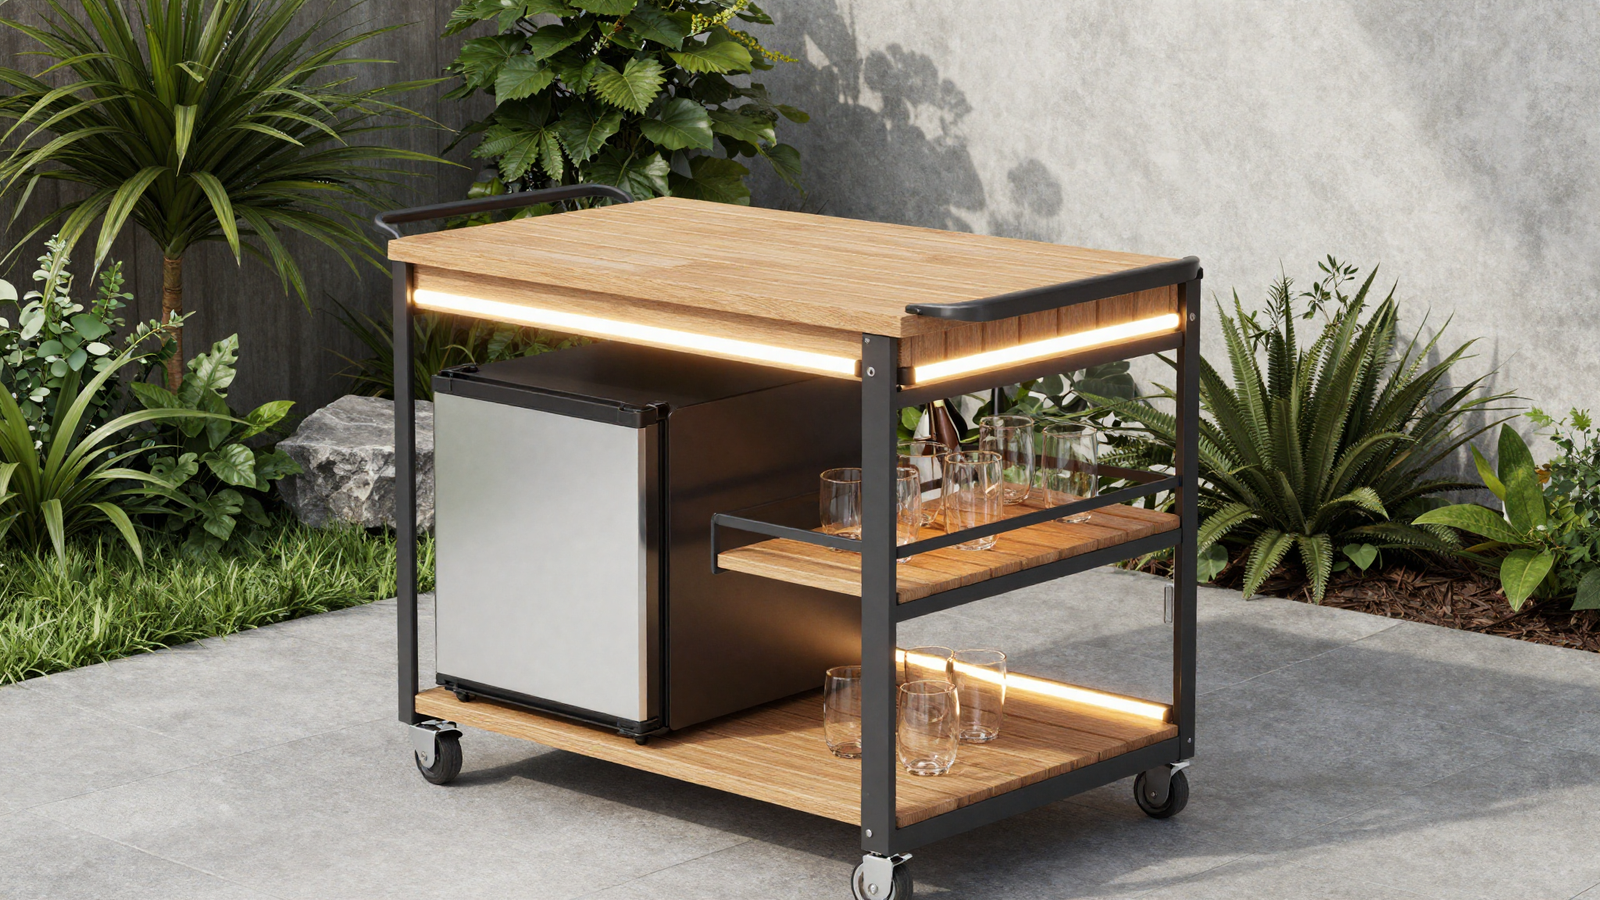
For smaller patios, a slim bar cart with built-in lighting and a mini fridge delivers the entertaining function of a full bar without eating up walkway space. It proves an outdoor kitchen setup doesn’t require a sprawling yard to work.
💡 Smart tip: Choose a cart on locking wheels so you can reposition it seasonally or tuck it away during storms.
⚠️ Mistake to avoid: Overloading a small cart with too many appliances; a mini fridge and glassware storage is usually enough before it starts feeling cramped.
5. Wrap the Whole Island in Stone
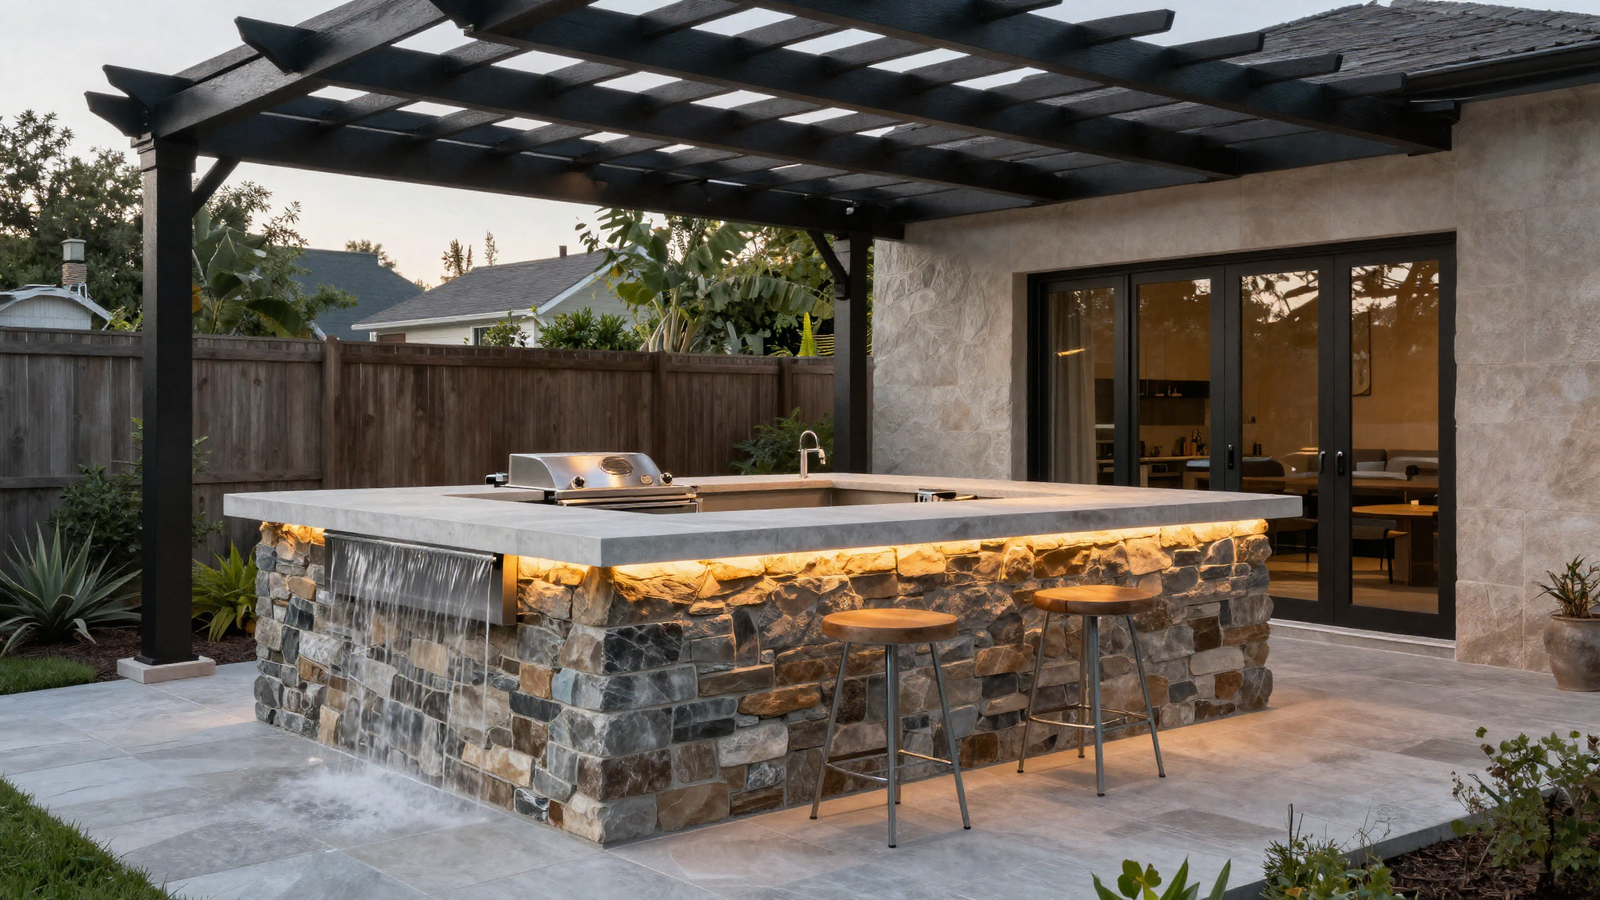
Fully cladding an island in natural stone, with a waterfall edge and subtle underlighting, turns a cooking station into a genuine architectural feature rather than just an appliance holder. It’s a bolder, more substantial statement than partial cladding or painted panels.
💡 Smart tip: Choose a stone with consistent veining across all panels so the waterfall edge reads as one continuous slab rather than mismatched pieces.
⚠️ Mistake to avoid: Underestimating the weight of full stone cladding; confirm your existing patio slab can support it before installation.
6. Pair Bar Seating With a Fire Pit
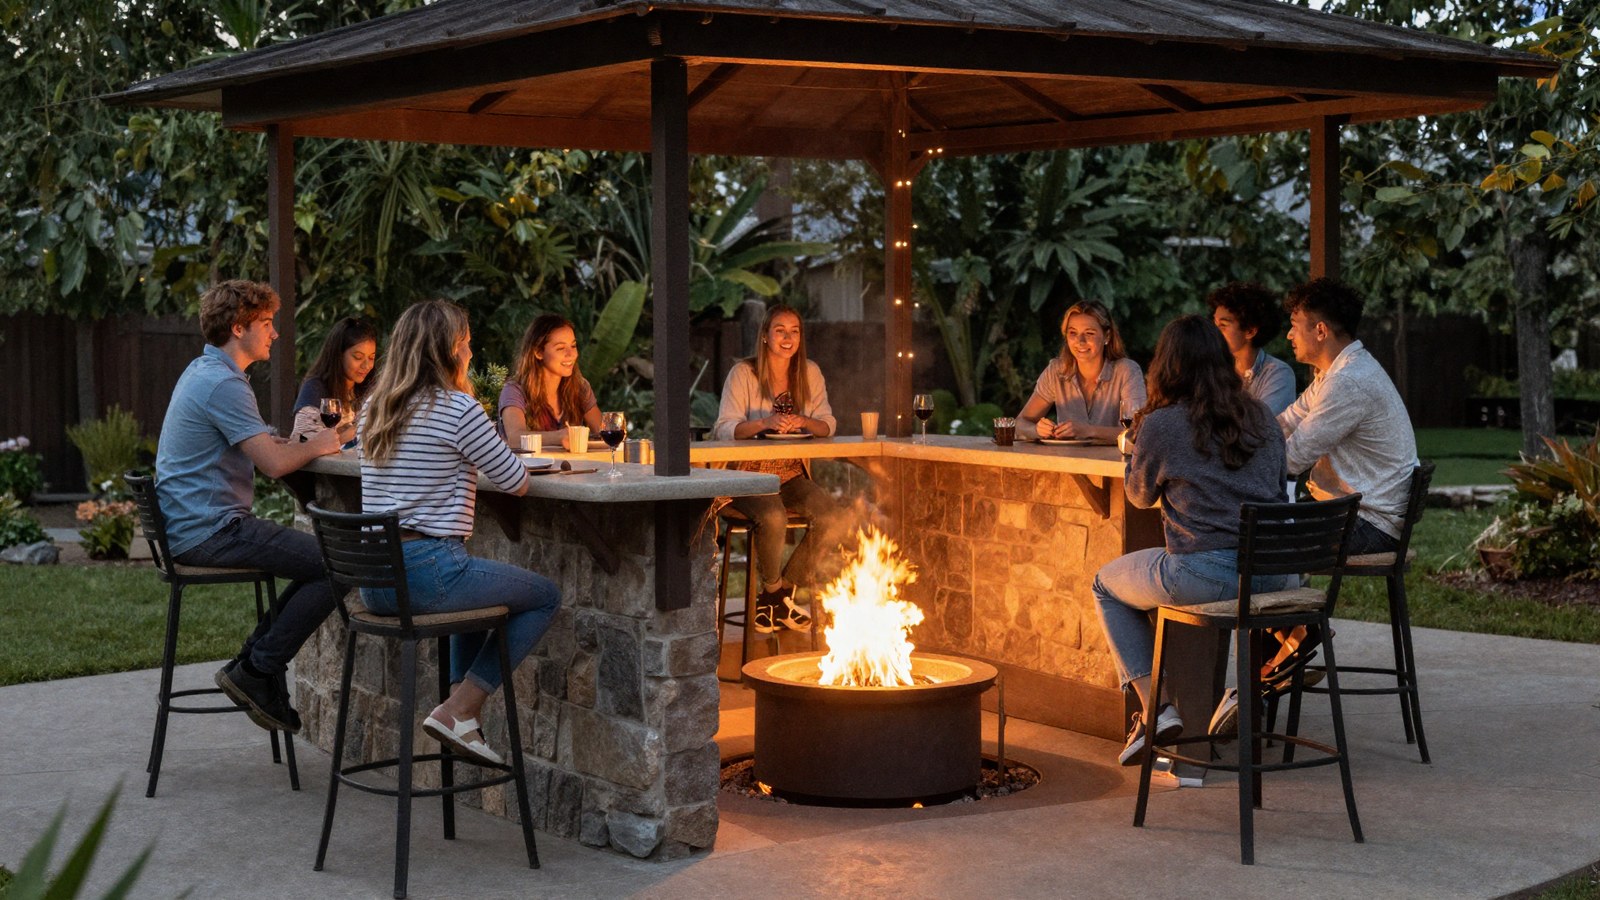
Placing a small bar counter near a fire pit keeps drinks and conversation flowing on cooler evenings, extending the usable season well past the point most patios go quiet. The warm firelight also does more for evening ambiance than any string light setup alone.
💡 Smart tip: Keep at least 3 feet of clearance between the bar counter and the fire pit’s edge for comfortable, safe circulation.
⚠️ Mistake to avoid: Using flammable materials for stools or counter surfaces positioned close to an open flame; stick to metal, stone, or treated wood in that zone.
7. Place Cooking and Dining Side by Side
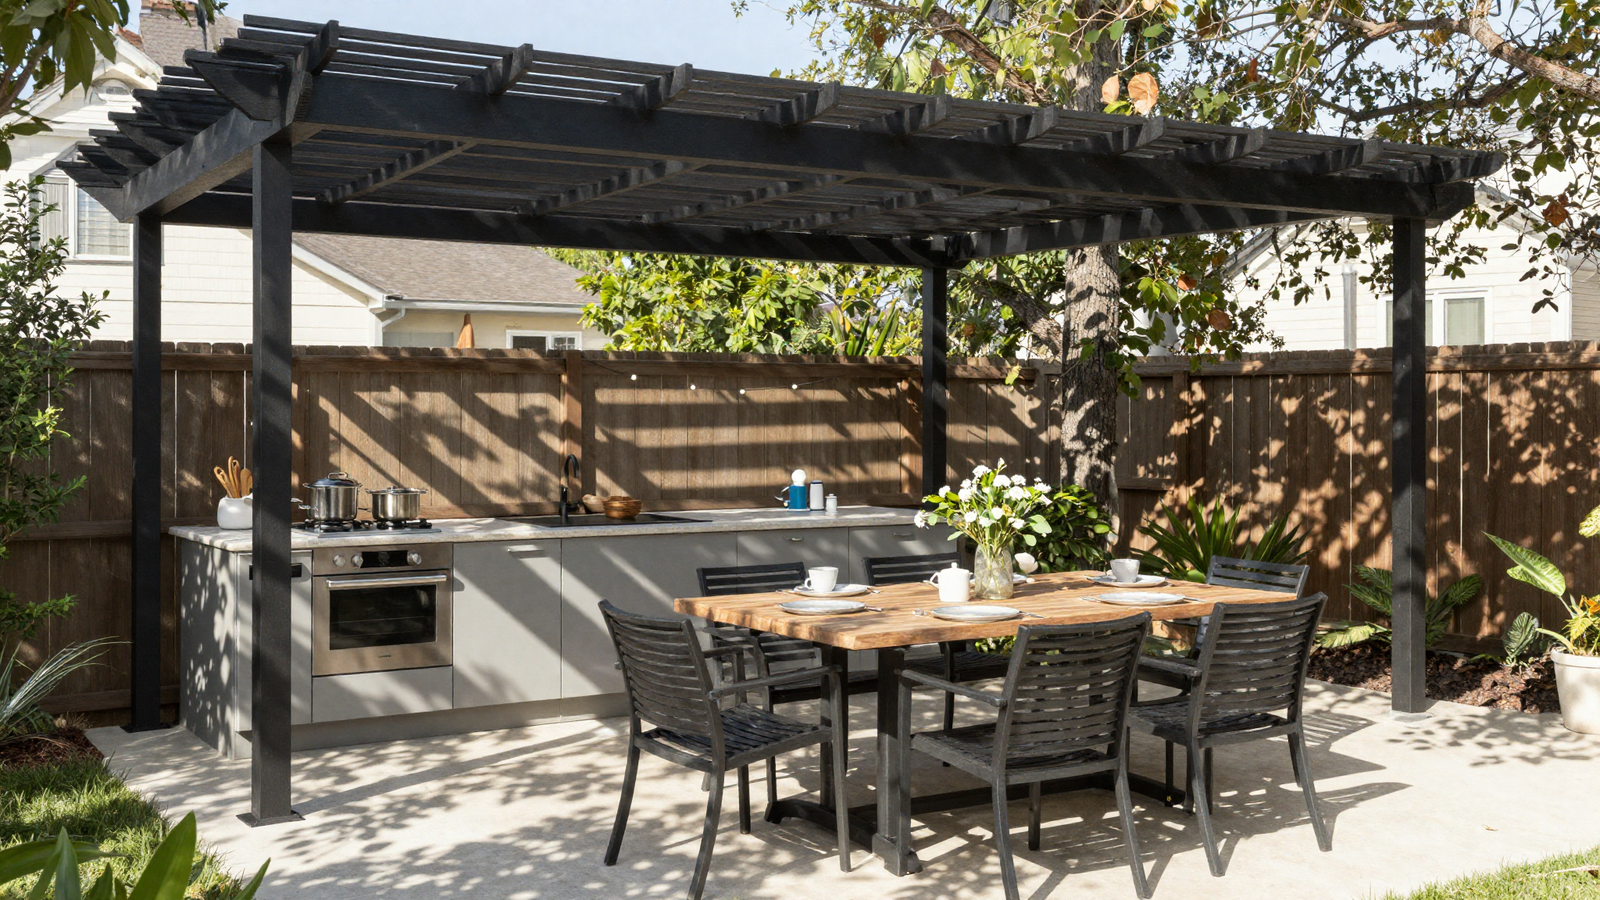
Positioning the kitchen and the dining table right next to each other, under one shared pergola, keeps the cook part of the conversation instead of isolated behind a counter. It’s a layout choice that costs nothing extra but changes how the whole space actually functions during a gathering.
💡 Smart tip: Leave at least 4 feet of walking clearance between the kitchen and the table edge so serving and clearing don’t feel cramped.
⚠️ Mistake to avoid: Placing the dining table directly downwind of the grill; smoke drifting over a meal ruins the whole point of the layout.
8. Fully Shelter the Space Like an Outdoor Room
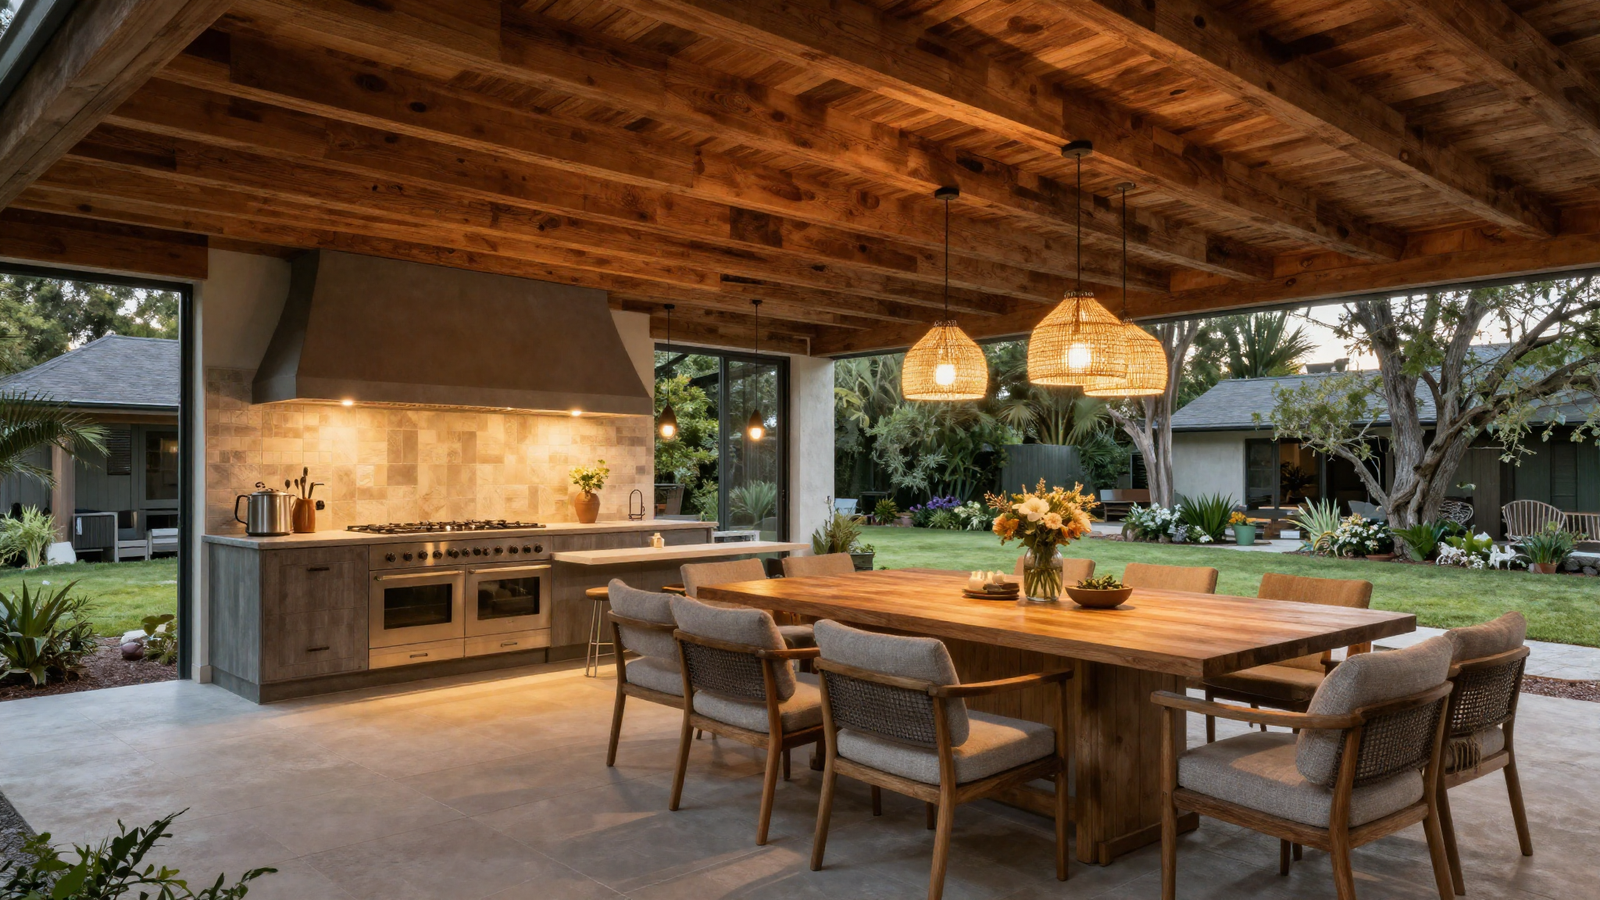
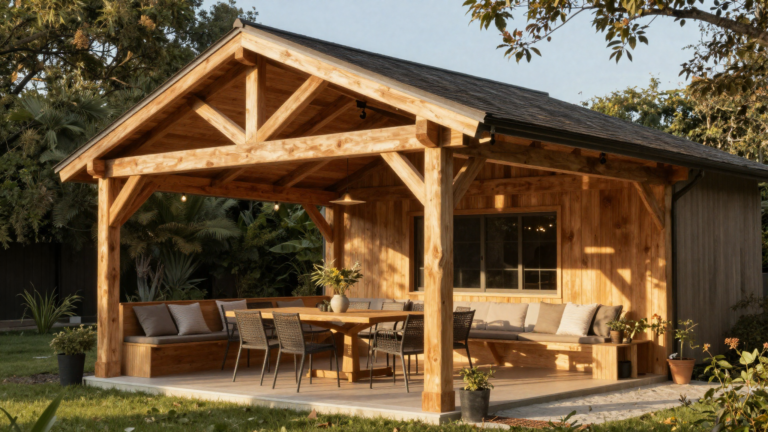
A fully roofed structure with a finished wood ceiling and comfortable lounge seating stops reading as “outdoor kitchen” and starts feeling like an actual living room that happens to be outside. It’s the most usable setup for year-round entertaining, rain or shine.
💡 Smart tip: Add ceiling fans to the structure to keep airflow moving during warmer months when a fully enclosed roof can trap heat.
⚠️ Mistake to avoid: Choosing indoor-grade furniture and fabrics for the lounge seating; even under full cover, outdoor humidity and temperature swings need outdoor-rated materials.
9. Bring Color Into the Cabinetry
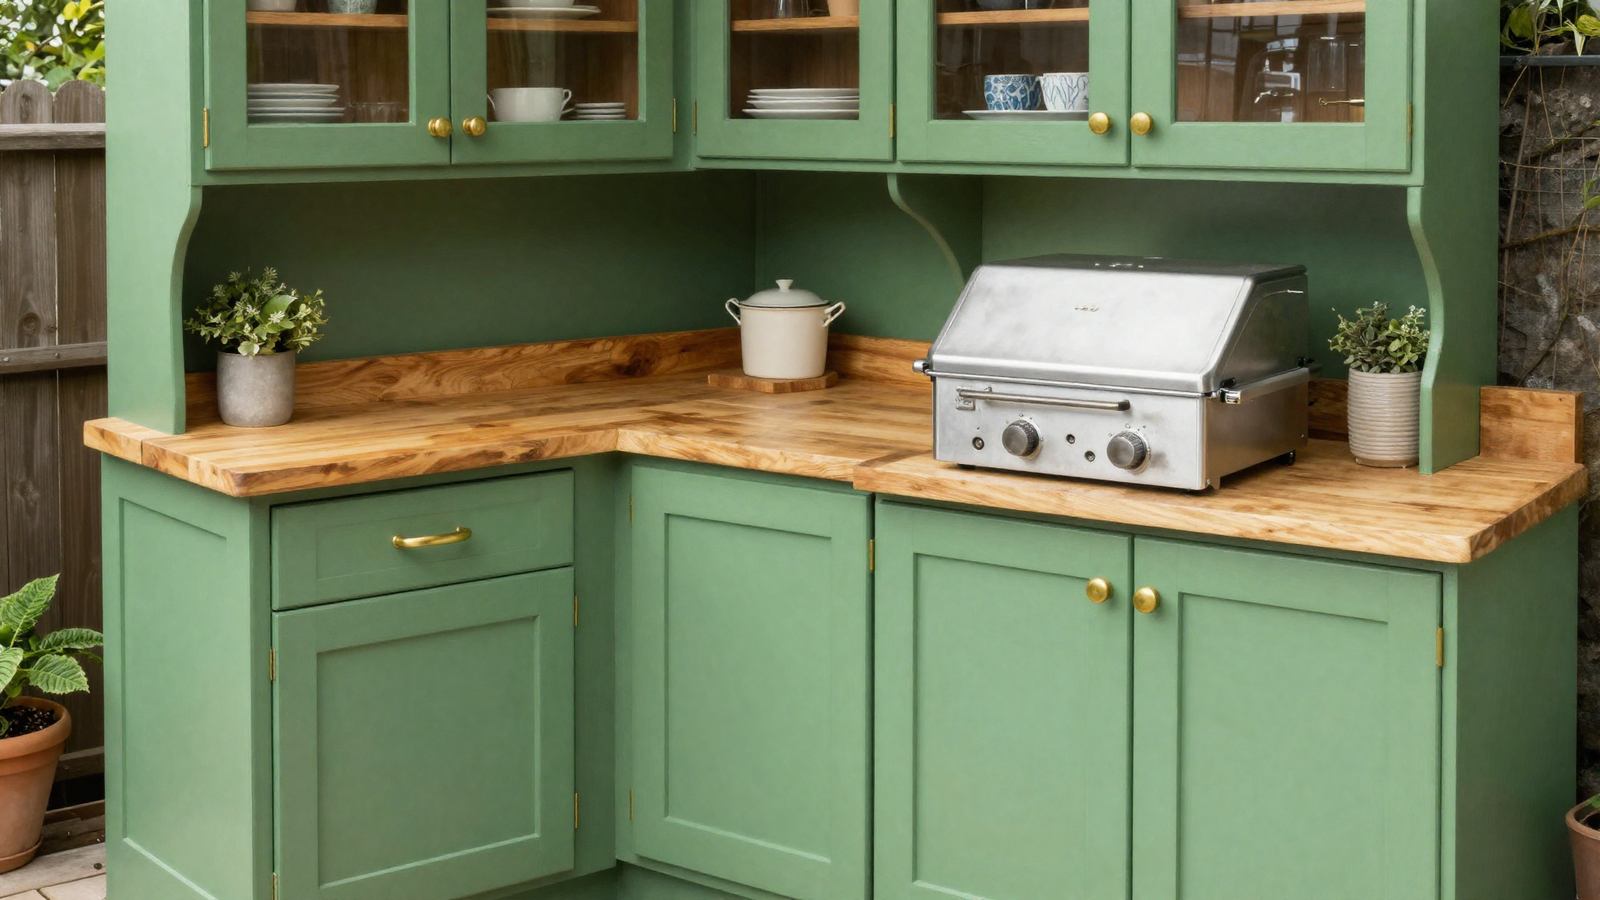
Swapping the standard white-and-steel look for a rich painted cabinet color, like deep green, gives an outdoor kitchen real personality instead of feeling purely utilitarian. Warm brass hardware and a natural wood countertop keep the bolder color grounded rather than overwhelming.
💡 Smart tip: Use marine-grade or exterior cabinet paint specifically rated for weather exposure, not standard interior cabinet finishes.
⚠️ Mistake to avoid: Choosing a trendy color without checking how it reads against your existing patio and house tones; bring a paint sample outside before committing.
10. Build a Dedicated Beverage Station
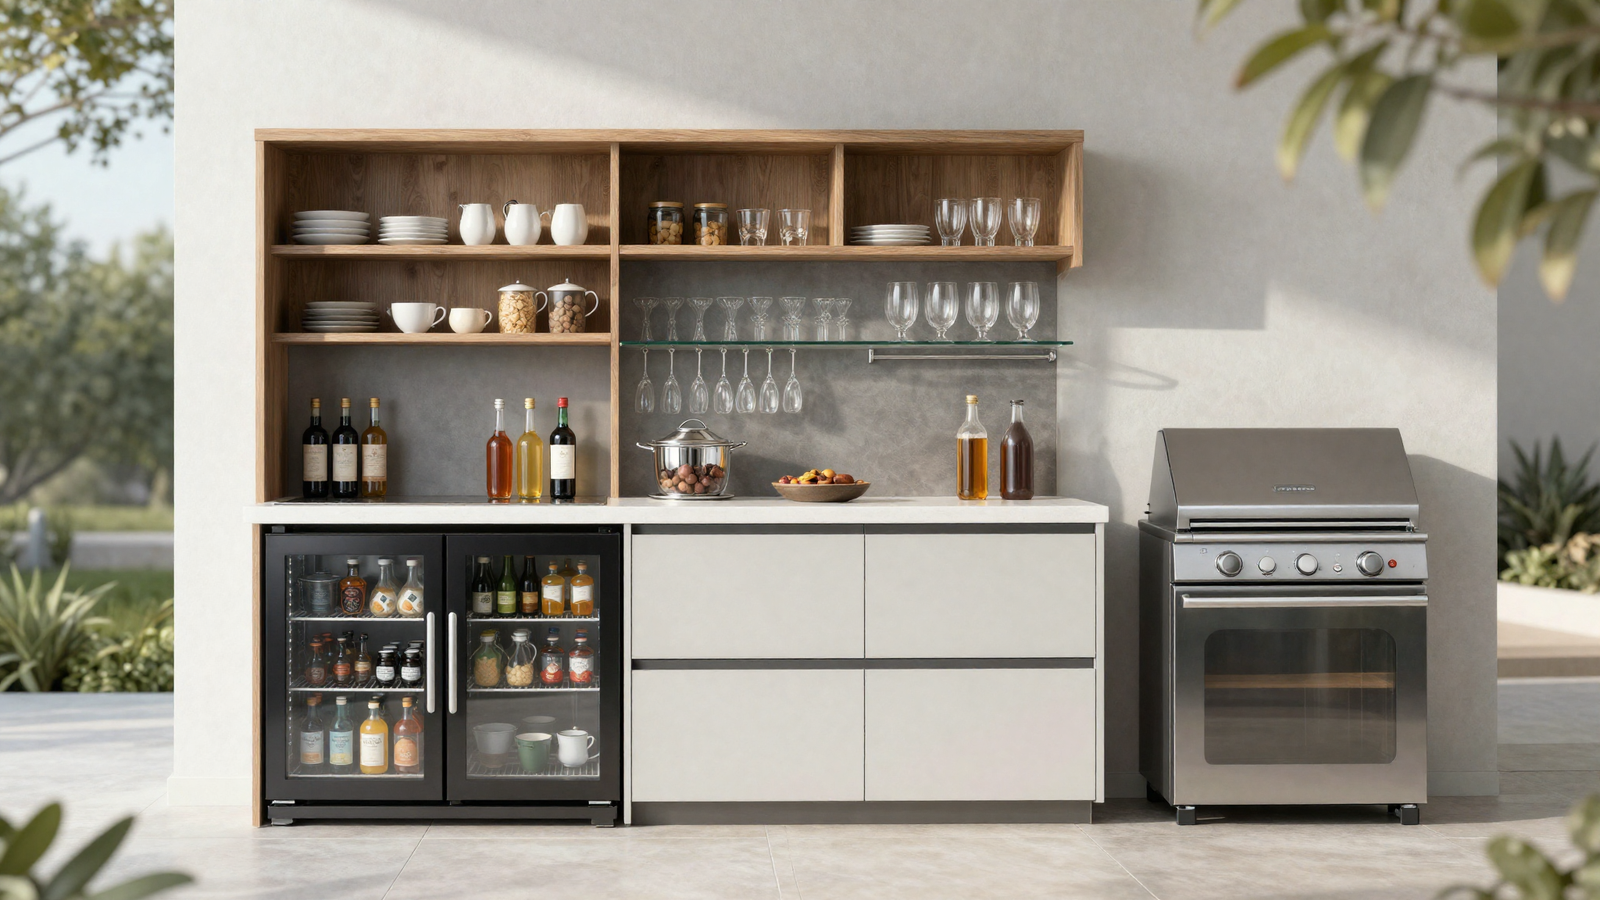
Separating drinks from the main cooking zone with a dedicated fridge and glassware shelving keeps guests from crowding the grill while food is being prepared. It’s a small layout decision that makes hosting noticeably smoother once you’ve actually tried it.
💡 Smart tip: Position the beverage station near the entry point guests use most, so self-serve drinks don’t require walking through the whole kitchen zone.
⚠️ Mistake to avoid: Installing a standard indoor mini fridge outdoors; only outdoor-rated refrigeration units handle temperature swings and humidity properly.
11. Add Bistro Character With Brick and Tile
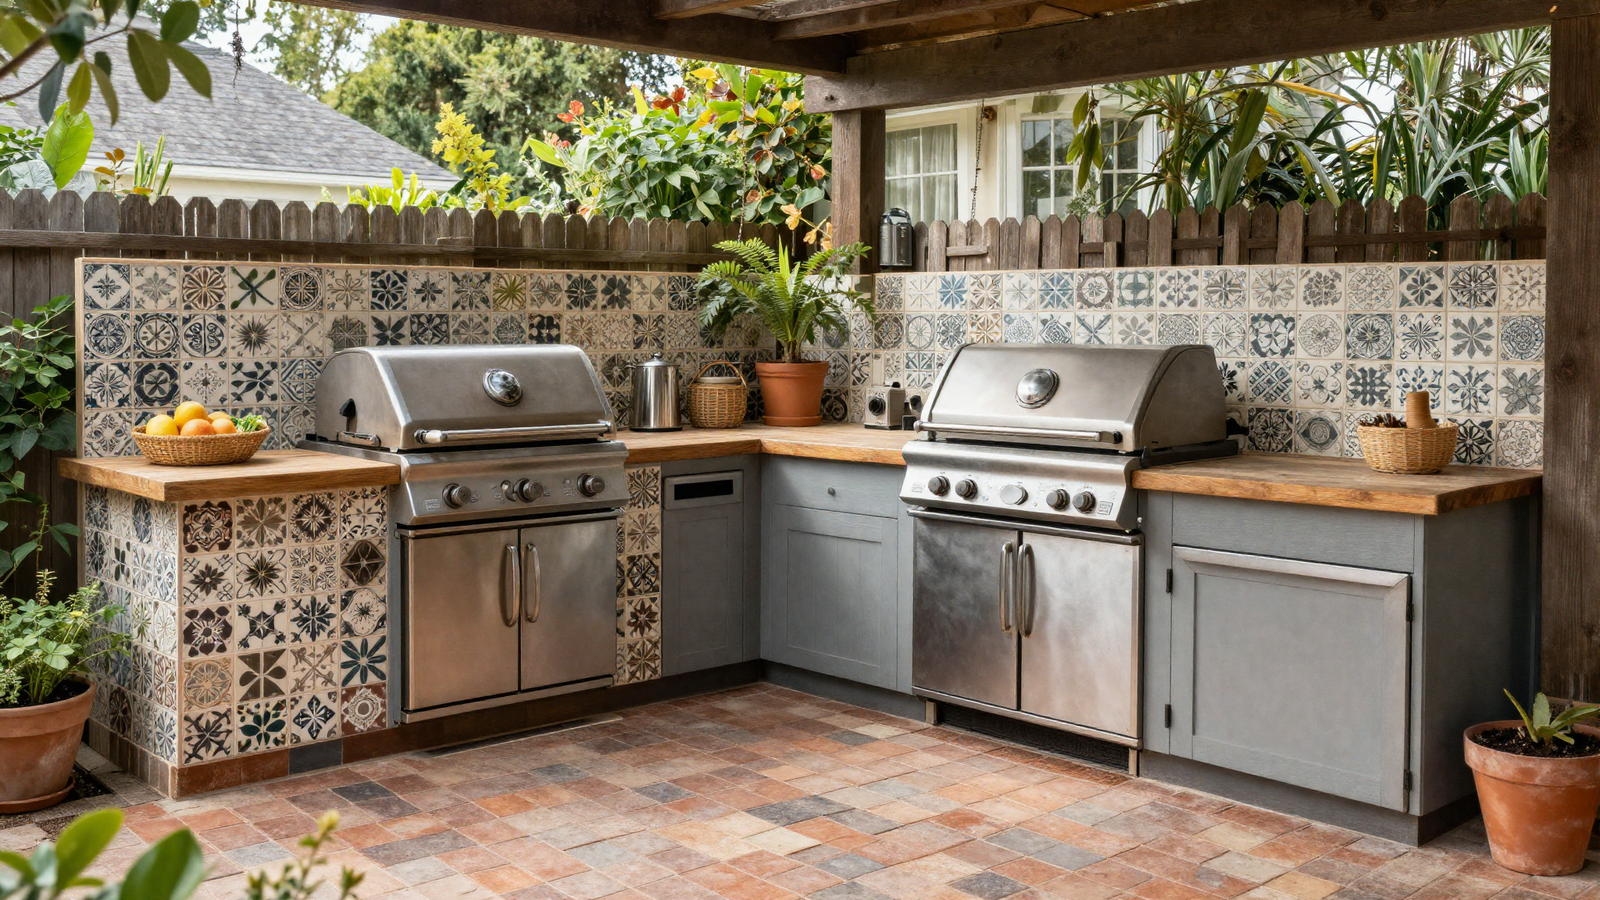
Brick flooring paired with a patterned tile backsplash gives an outdoor kitchen a charming, lived-in character that sleeker stone-and-steel setups don’t have. It’s a style that leans into warmth and personality over pure polish, and it tends to feel more garden than showroom.
💡 Smart tip: Seal both brick and tile surfaces with an outdoor-rated sealant to prevent staining from grease and weather exposure over time.
⚠️ Mistake to avoid: Choosing overly delicate tile patterns not rated for exterior use; confirm any decorative tile is specifically freeze-thaw and UV rated.
12. Plan for Multifunction, Not Just a Grill
The outdoor kitchens people actually use go well beyond a single grill — a smoker, a side burner, or a small prep sink each add real function that turns occasional cookouts into a space capable of hosting a full meal from start to finish. Planning for this upfront saves you from a disjointed series of add-ons later.
💡 Smart tip: Sketch out your actual cooking habits before designing the layout — the appliances you use weekly should get prime counter space, not just the ones that look impressive.
⚠️ Mistake to avoid: Cramming too many appliances into a small footprint; a multifunctional kitchen still needs enough open counter space to actually prep and plate food.
Effort & Cost Snapshot
| Idea | Effort | Approx. Cost |
|---|---|---|
| 1. Poolside Bar-Style Island | High (contractor build) | $8,000–$25,000+ |
| 2. Breeze-Block Grill Station | Medium (DIY possible) | $500–$2,000 |
| 3. Wood-Fired Pizza Oven | High (DIY kit or pro) | $2,000–$10,000 |
| 4. Compact Bar Cart | Low (DIY, no build needed) | $200–$1,200 |
| 5. Full Stone-Wrapped Island | High (contractor build) | $6,000–$20,000+ |
| 6. Bar Seating Near Fire Pit | Medium (DIY or pro) | $1,000–$4,000 |
| 7. Side-by-Side Kitchen and Dining | Low (layout only) | $0–$500 |
| 8. Fully Sheltered Outdoor Room | Very High (pro required) | $10,000–$40,000+ |
| 9. Colorful Cabinetry Upgrade | Medium (DIY paint or new cabinets) | $300–$3,000 |
| 10. Dedicated Beverage Station | Medium (DIY or pro) | $800–$3,500 |
| 11. Brick and Tile Bistro Finish | Medium–High (pro install) | $1,500–$6,000 |
| 12. Multifunctional Appliance Layout | High (planning + build) | $3,000–$15,000+ |
The best outdoor kitchens aren’t defined by how expensive they look — they’re defined by how naturally people gather around them. Save this list to Pinterest so you can plan out your own backyard entertaining space, one feature at a time.
Continue Your Home Transformation
Explore the full collection of step-by-step eBooks and get the guide that fits the room you're working on.