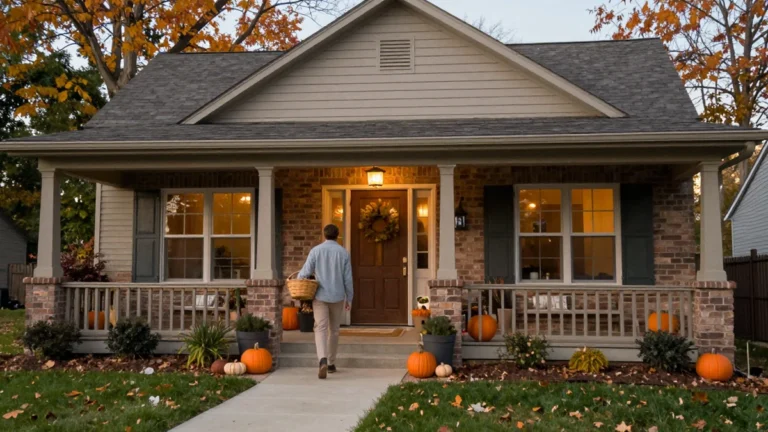
Designing an outdoor living area requires a careful balance between structural planning, material selection, and functional zoning. Whether you are transforming a neglected lawn or upgrading an existing concrete pad, exploring the best backyard patio ideas helps you turn underutilized yard space into a purposeful extension of your home. A well-designed patio creates a seamless transition between interior rooms and the outdoors, enhancing daily relaxation while increasing overall property value.
Successful outdoor projects begin by addressing practical conditions such as yard slope, soil drainage, sun orientation, and circulation paths before purchasing furniture or placing hardscape materials. By establishing clear physical boundaries for dining, lounging, and cooking, even compact backyards can feel spacious, organized, and inviting. Selecting materials that withstand local weather conditions ensures your investment remains structural sound and visually appealing across seasons.
From low-maintenance modular paver designs to integrated shade pergolas and space-saving built-in seating, modern patio design emphasizes versatility and ease of care. The following practical ideas offer actionable step-by-step guidance, precise installation specifications, and expert advice to help you plan, build, and style an outdoor sanctuary tailored to your lifestyle.
1. Best Backyard Patio Ideas: 1. Define Outdoor Rooms with Multi-Format Concrete Pavers
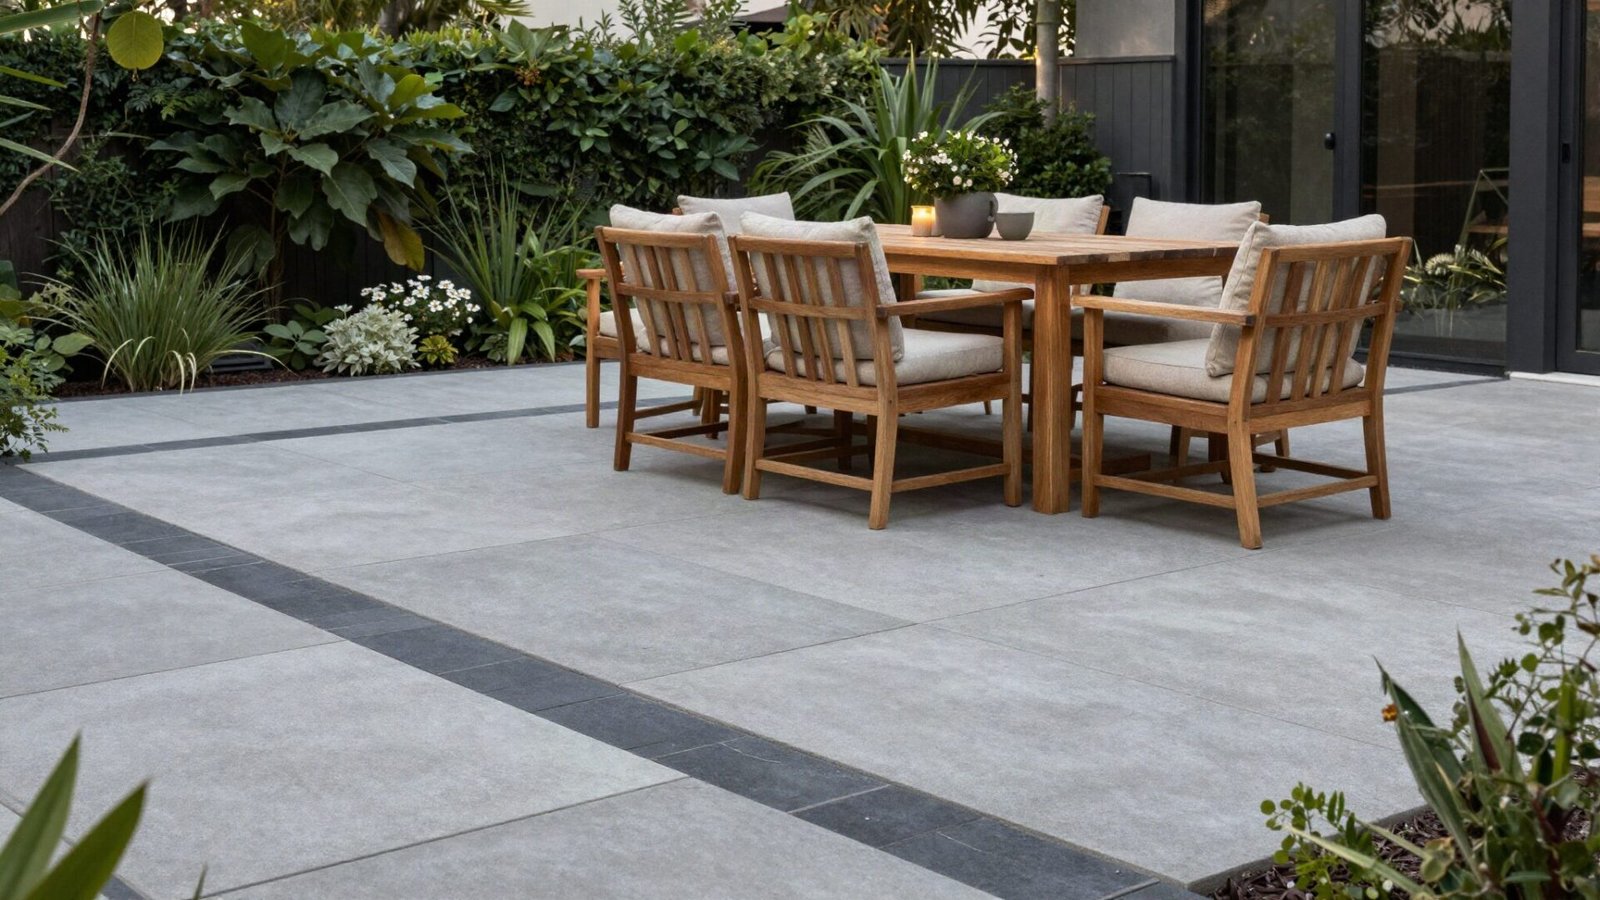
Using multi-format concrete pavers in varied dimensions—such as three-piece modular sets combining 6×6, 6×12, and 12×12-inch units—allows you to visually anchor different functional zones without constructing physical walls. Lighter stone shades absorb less radiant heat during peak summer months, making the surface comfortable for barefoot walking. Laying a field pattern surrounded by a darker border course creates a polished, custom architectural look that frames your dining or lounge setup.
Proper base foundation is critical to prevent shifting, heaving, or water pooling. A standard installation requires excavating 6 to 8 inches of topsoil, placing a 4- to 6-inch layer of compacted crushed gravel base, followed by 1 inch of coarse bedding sand. Fill all joint gaps with polymeric joint sand, which hardens upon hydration to block weed emergence and resist ant burrowing while remaining flexible enough to absorb natural ground movement.
💡 Smart tip: Install a charcoal or dark gray soldier-course paver border along the outer rim to lock in edge restraints and visually ground your patio layout.
⚠️ Mistake to avoid: Skipping the mechanical plate compactor on the gravel sub-base layer will inevitably lead to uneven pavers and dip hazards after winter freeze-thaw cycles.
2. 2. Blend Stepping Pavers with Synthetic Turf for Low-Upkeep Greenery
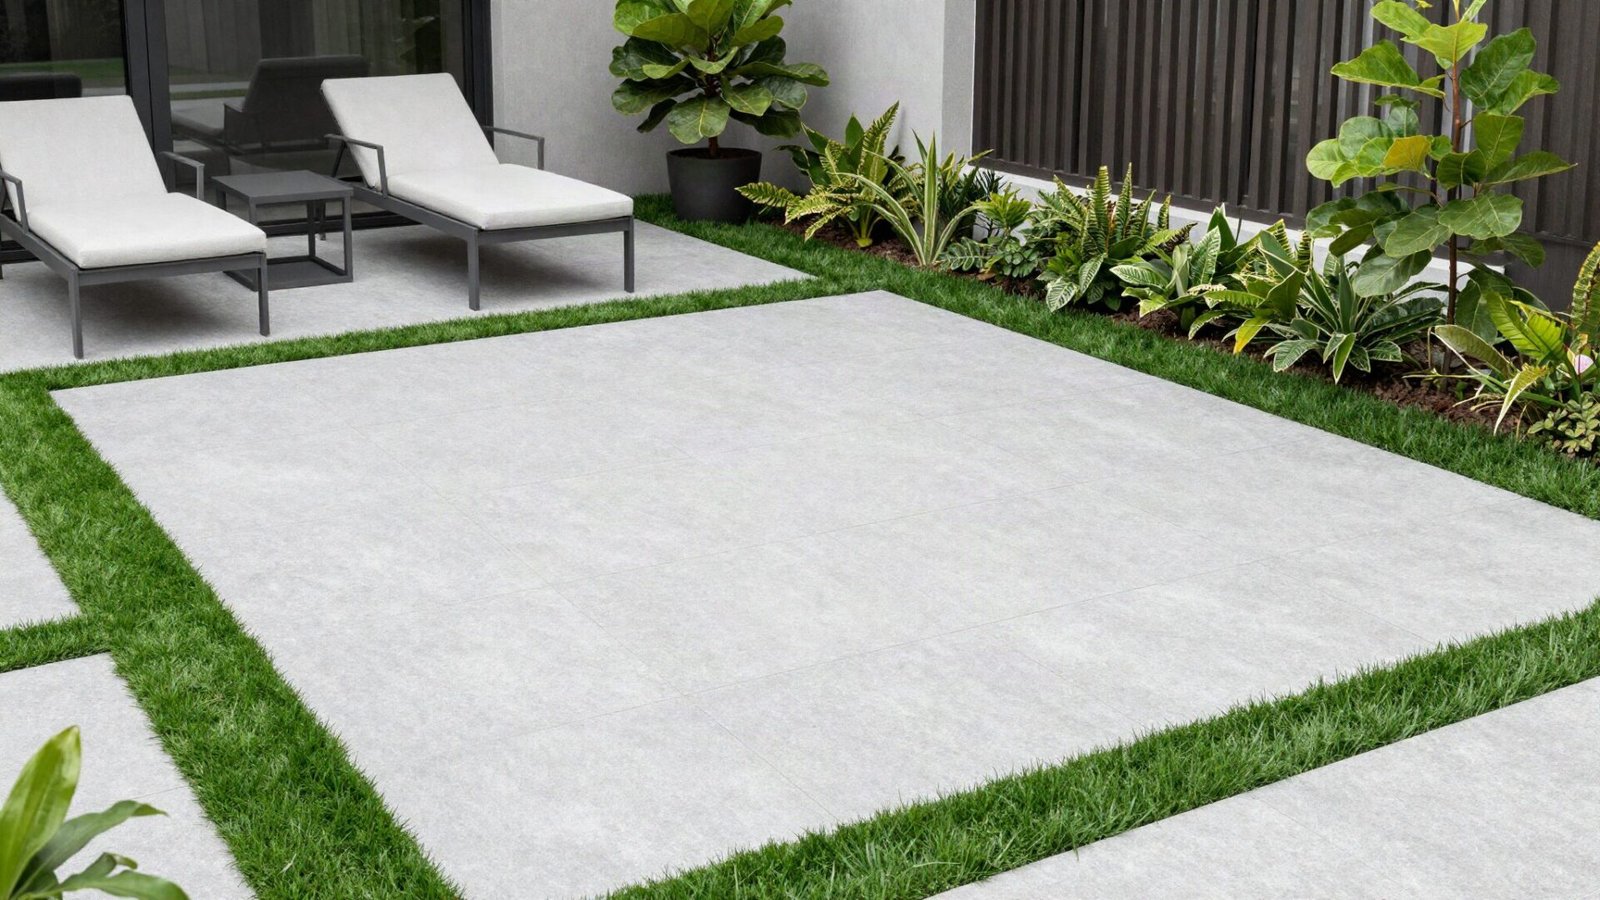
Combining large-format 24×24-inch porcelain or smooth concrete steppers with high-density synthetic turf offers a crisp, contemporary aesthetic ideal for small backyard and patio ideas. This hybrid approach delivers visual warmth and rich green texture year-round without requiring irrigation, fertilizers, or lawn mowers. It works especially well in shaded side yards or courtyard patios where natural grass struggles to establish healthy root systems.
To execute this look cleanly, the sub-base must be prepared uniformly across both paver and turf sections. Dig down 4 inches and pack crushed aggregate aggregate uniformly. Set the pavers on a sand bed so their top edges sit approximately 0.5 inches above the backing of the synthetic turf. This ensures the turf blades sit flush with or slightly higher than the hardscape surface, creating a seamless, manicured finish that prevents tripping.
💡 Smart tip: Maintain a consistent 3- to 4-inch turf gap between large steppers to ensure natural rainwater runoff easily drains through the porous turf backing into the soil below.
⚠️ Mistake to avoid: Laying artificial turf directly onto bare topsoil without a aggregate drainage base will cause foul pet odors and standing water puddles.
3. 3. Install a Cedar Pergola with Retractable Shade Canopies
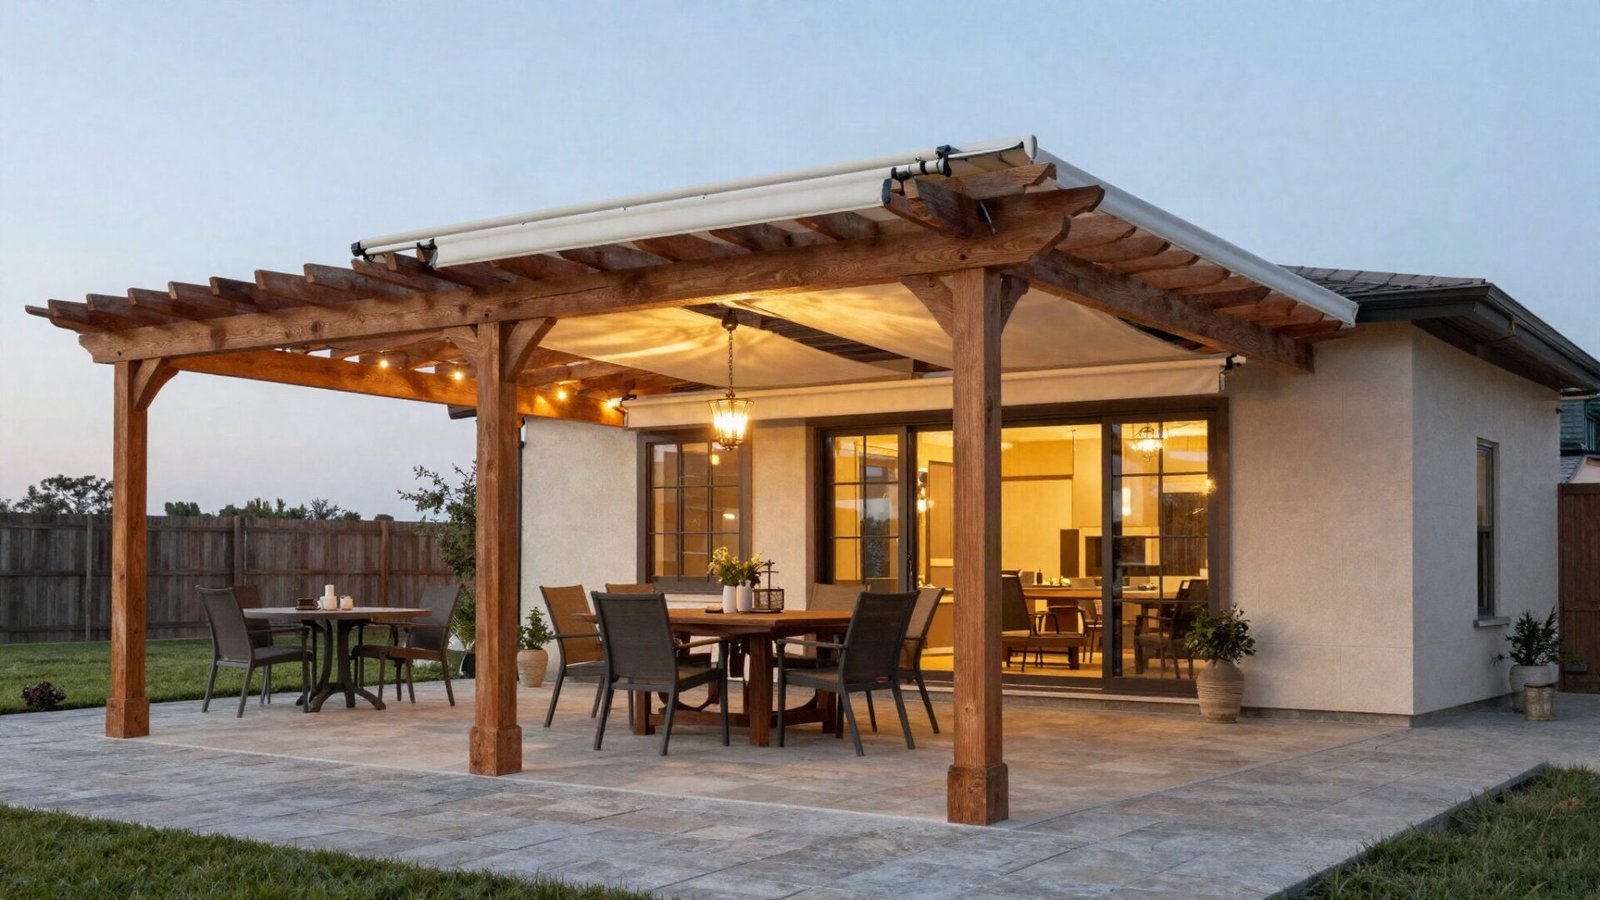
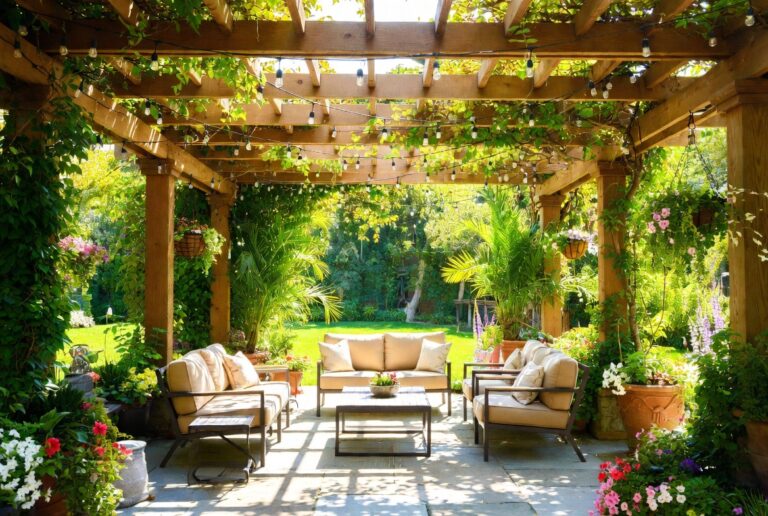
A solid wood pergola constructed from naturally rot-resistant western red cedar or structural Douglas fir introduces vertical height and architectural depth to open backyard and patio ideas. Overhead beams define the ceiling of an outdoor room while filtering harsh afternoon sun rays. Adding a retractable fabric shade sail or track system gives you direct control over sunlight exposure and light overhead precipitation.
When sizing a pergola, allow at least 8 feet of vertical headroom clearance under structural crossbeams. Support posts (6×6-inch minimum thickness) must be anchored to poured concrete footings extending below your regional frost line rather than resting directly on surface patio pavers. Treat raw timber with a UV-blocking clear seal or semi-transparent oil stain every two to three years to maintain its structural integrity and prevent silver-gray weathering.
💡 Smart tip: Mount an outdoor-rated, wet-location ceiling fan to the central ridge beam to keep air circulating and keep flying insects away during summer dinners.
⚠️ Mistake to avoid: Securing heavy pergola posts directly to shallow 2-inch patio pavers without structural concrete footings underneath causes wind uplift hazards.
Loving These Ideas? Get the Step-by-Step Guide
Grab the full 5-day eBook and turn these ideas into a finished room.




4. 4. Build Perimeter L-Shaped Benches for Small Patio Layouts
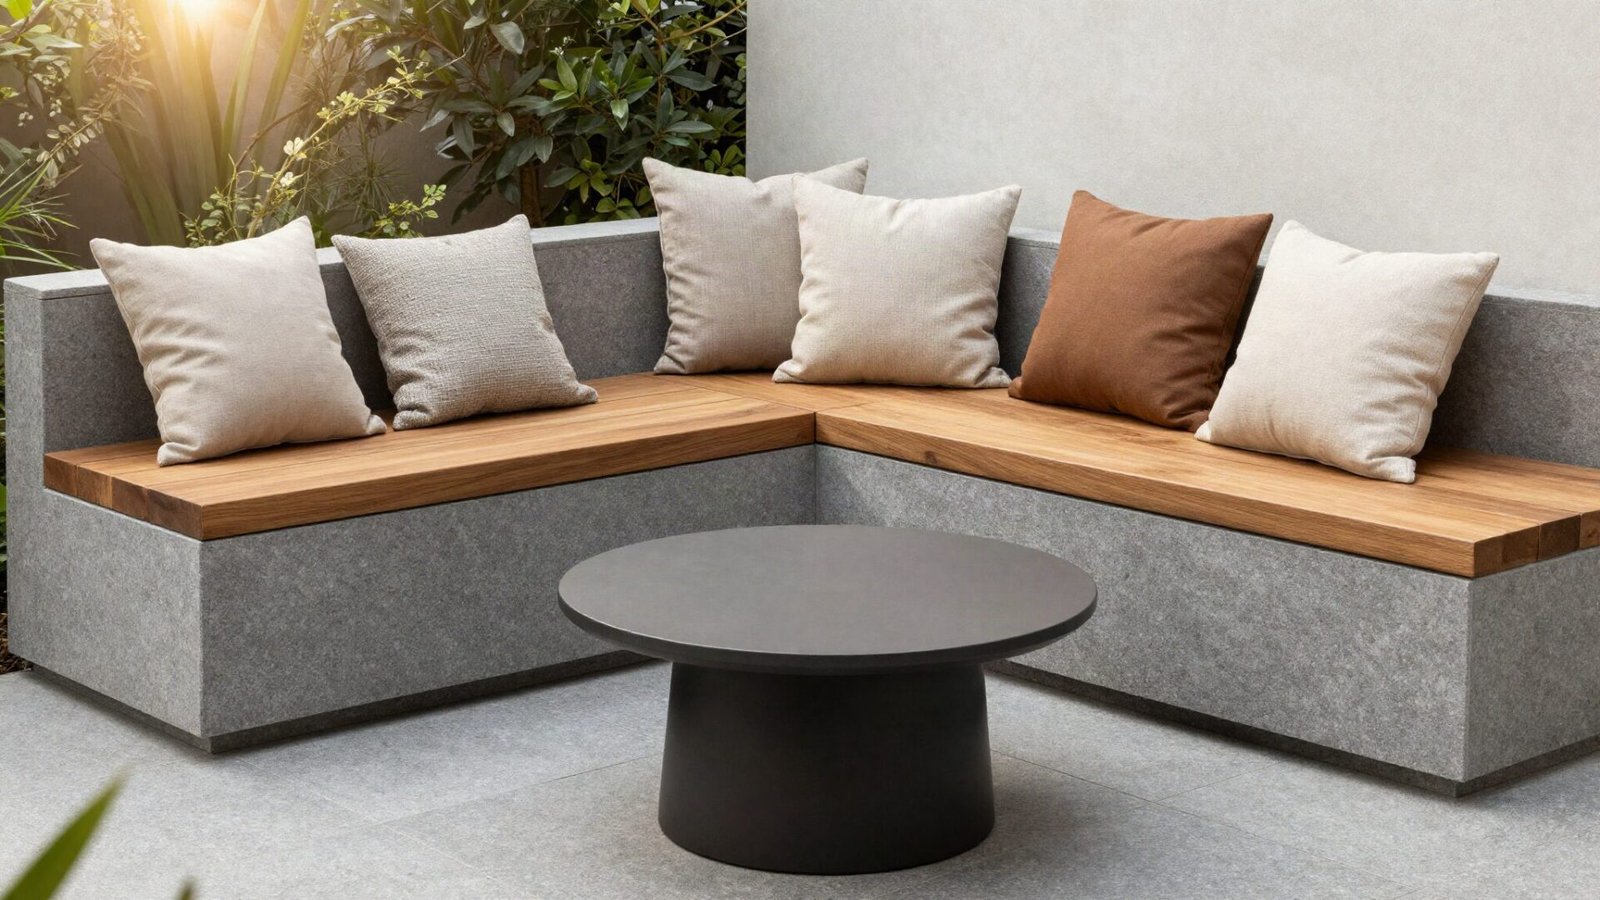
In tight outdoor spaces, loose chairs and bulky furniture can quickly clutter pathways and restrict movement. Installing built-in L-shaped perimeter seating along low retaining walls or patio fence lines maximizes seating capacity while keeping the central floor area open. Combining smooth masonry bases with cedar or composite top cap seats creates a clean, custom design tailored specifically to your footprint.
Standard seating ergonomics dictate a bench height of 18 inches from the patio surface to the top of the seat board, with a depth of at least 18 to 20 inches for comfortable resting. Building hinged wooden top panels transforms the interior hollow bench space into weatherproof storage for seat cushions, garden tools, and outdoor game sets, making it a powerful solution for small backyard patios and decks.
💡 Smart tip: Build the bench backrest with a subtle 5- to 10-degree rearward angle rather than a rigid 90-degree angle for significantly enhanced back support.
⚠️ Mistake to avoid: Forgetting to line internal bench storage compartments with waterproof sheeting will cause dampness, mildew, and fabric decay on stored cushions.
5. 5. Anchor a Sunken Fire Pit Lounge with Permeable Pea Gravel
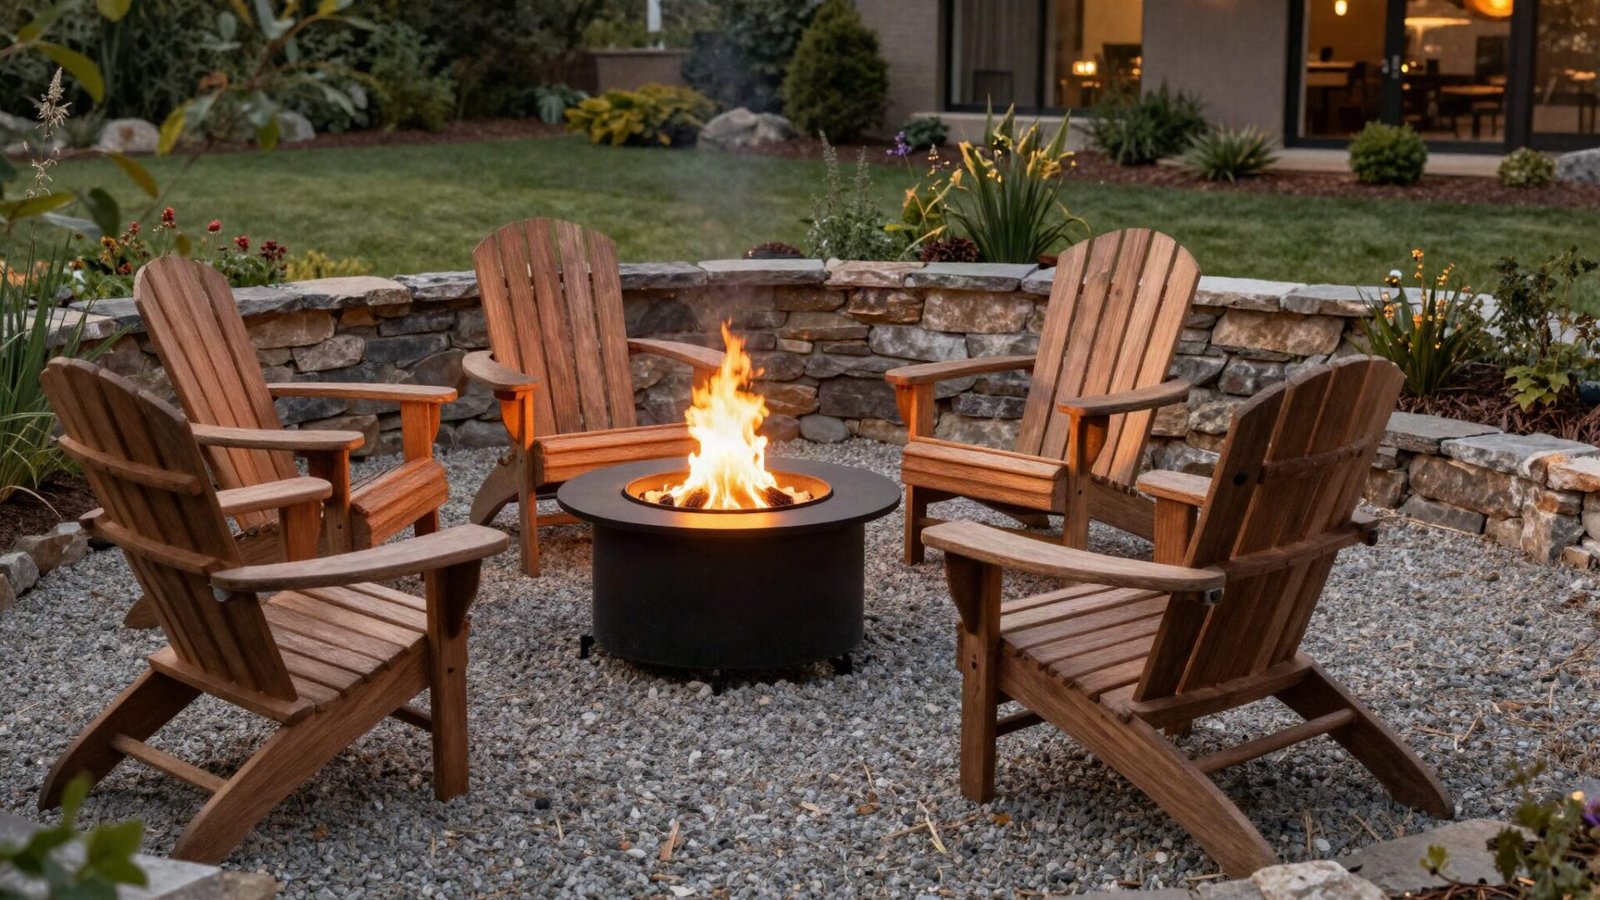
Creating a dedicated fire pit area slightly separated from the primary patio surface provides an inviting focal point for evening gatherings. Using loose, permeable materials like crushed decomposed granite or smooth pea gravel surrounded by metal or stone landscape edging keeps construction costs manageable while delivering exceptional drainage. The natural crunch underfoot adds a distinct textural dimension to the landscape.
Position any fire pit at least 10 to 15 feet away from house sidings, wooden fences, and low-hanging tree branches to satisfy general municipal fire safety codes. A 10-foot diameter gravel circle easily accommodates a 36-inch fire bowl along with four to six Adirondack chairs. Laying high-density woven landscape fabric beneath a 3-inch compacted gravel layer keeps the stone contained and prevents weed growth.
💡 Smart tip: Choose rounded pea gravel or 3/8-inch angular crushed granite over smooth river rocks, as angular aggregates compact better to create a stable, walkable surface for chairs.
⚠️ Mistake to avoid: Lining the interior of a fire pit with soft non-porous stones like shale or river rock can trap internal moisture and cause rocks to crack under intense heat.
6. 6. Frame a Compact Plunge Pool with Slip-Resistant Coping
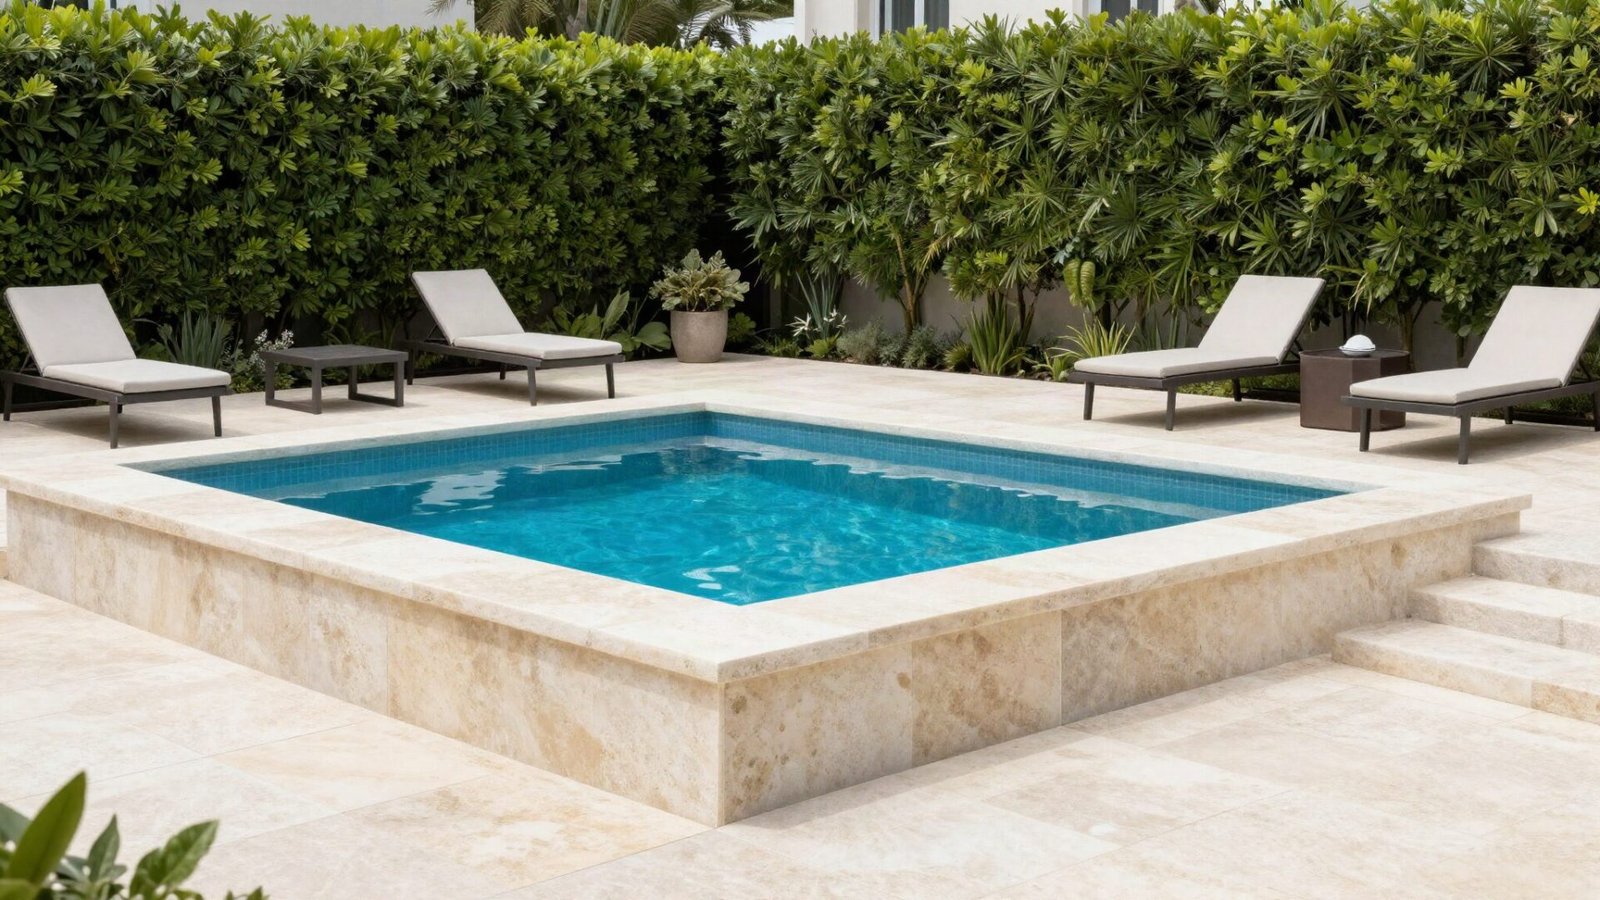
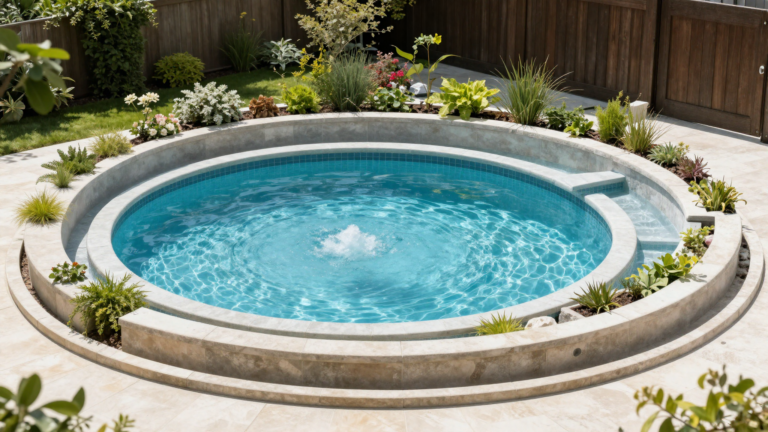
For homeowners exploring small backyard pool and patio combinations, a compact plunge pool (typically ranging from 8×12 feet to 10×16 feet) offers cooling relief without dominating the entire lawn. Framing the pool perimeter with slip-resistant, heat-reflective hardscape materials ensures safety while establishing a cohesive architectural bridge between water features and surrounding patio zones.
Select coping stones such as tumbled travertine, bullnose limestone, or textured concrete caps that remain comfortable under bare feet during hot mid-day sun. Ensure the adjacent patio surface slopes gently away from the pool edge at a rate of 1/4 inch per foot toward an integrated channel drain. This prevents splashed pool water from pooling against home foundations or contaminating nearby garden beds.
💡 Smart tip: Light-colored travertine coping reflects sun rays effectively, maintaining comfortable surface temperatures even in full sun climates.
⚠️ Mistake to avoid: Neglecting to install an inline deck drain between the pool coping and your home doorway can lead to standing water against the wall during heavy usage.
7. 7. Construct a Built-In Outdoor Kitchen Island with Granite Countertops
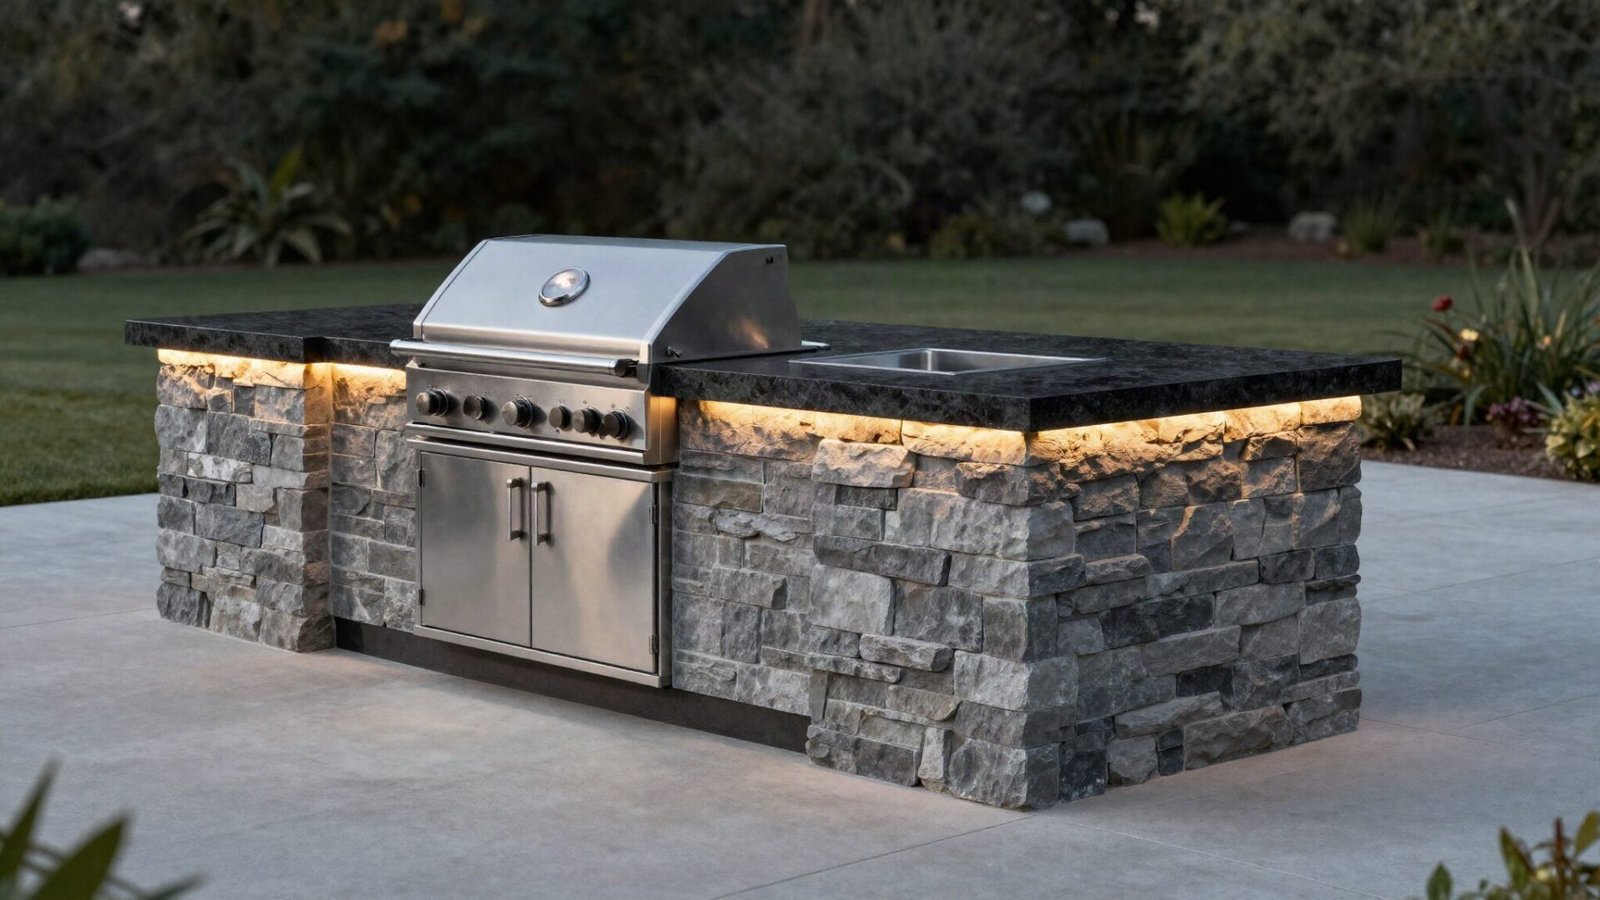
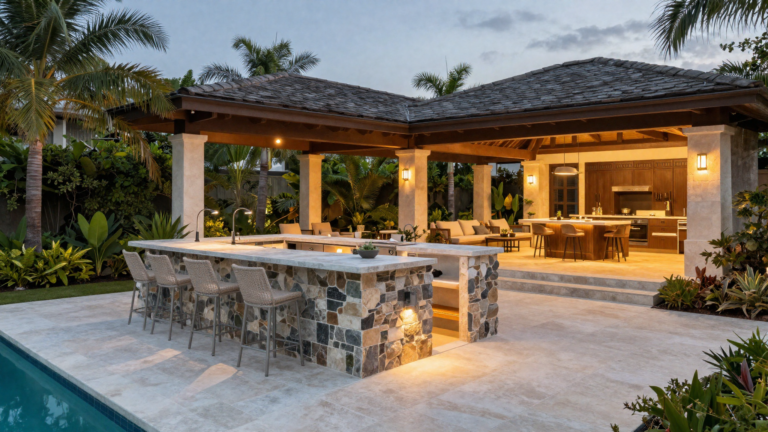
A dedicated prep and cooking station transforms a standard patio into an fully functional exterior entertaining zone. Building an island module requires framing—typically using steel studs clad in cement backer board or concrete masonry units (CMUs)—finished with stone veneer, stucco, or outdoor-rated composite siding. Standard counter depth ranges from 24 to 30 inches, providing ample room for drop-in stainless steel grills, side burners, and access doors.
Selecting materials capable of withstanding freeze-thaw cycles and UV exposure is critical. Honed or leathered granite countertops excel outdoors because they resist heat, scratching, and moisture penetration better than porous marble or synthetic quartz tied together with UV-sensitive resins. Ensure your layout leaves at least 36 inches of clear walkway around all sides of the island to accommodate comfortable foot traffic during gatherings.
💡 Smart tip: Extend the countertop overhang by 12 to 15 inches on the non-cooking side to create comfortable bar-height seating for guests without sacrificing prep space.
⚠️ Mistake to avoid: Avoid placing gas grills directly against combustible wall surfaces; always install an insulated grill jacket if building into a framed structure containing wood or composite elements.
8. 8. Layer Low-Voltage Hardscape Sconces and Solar Pathway Lights
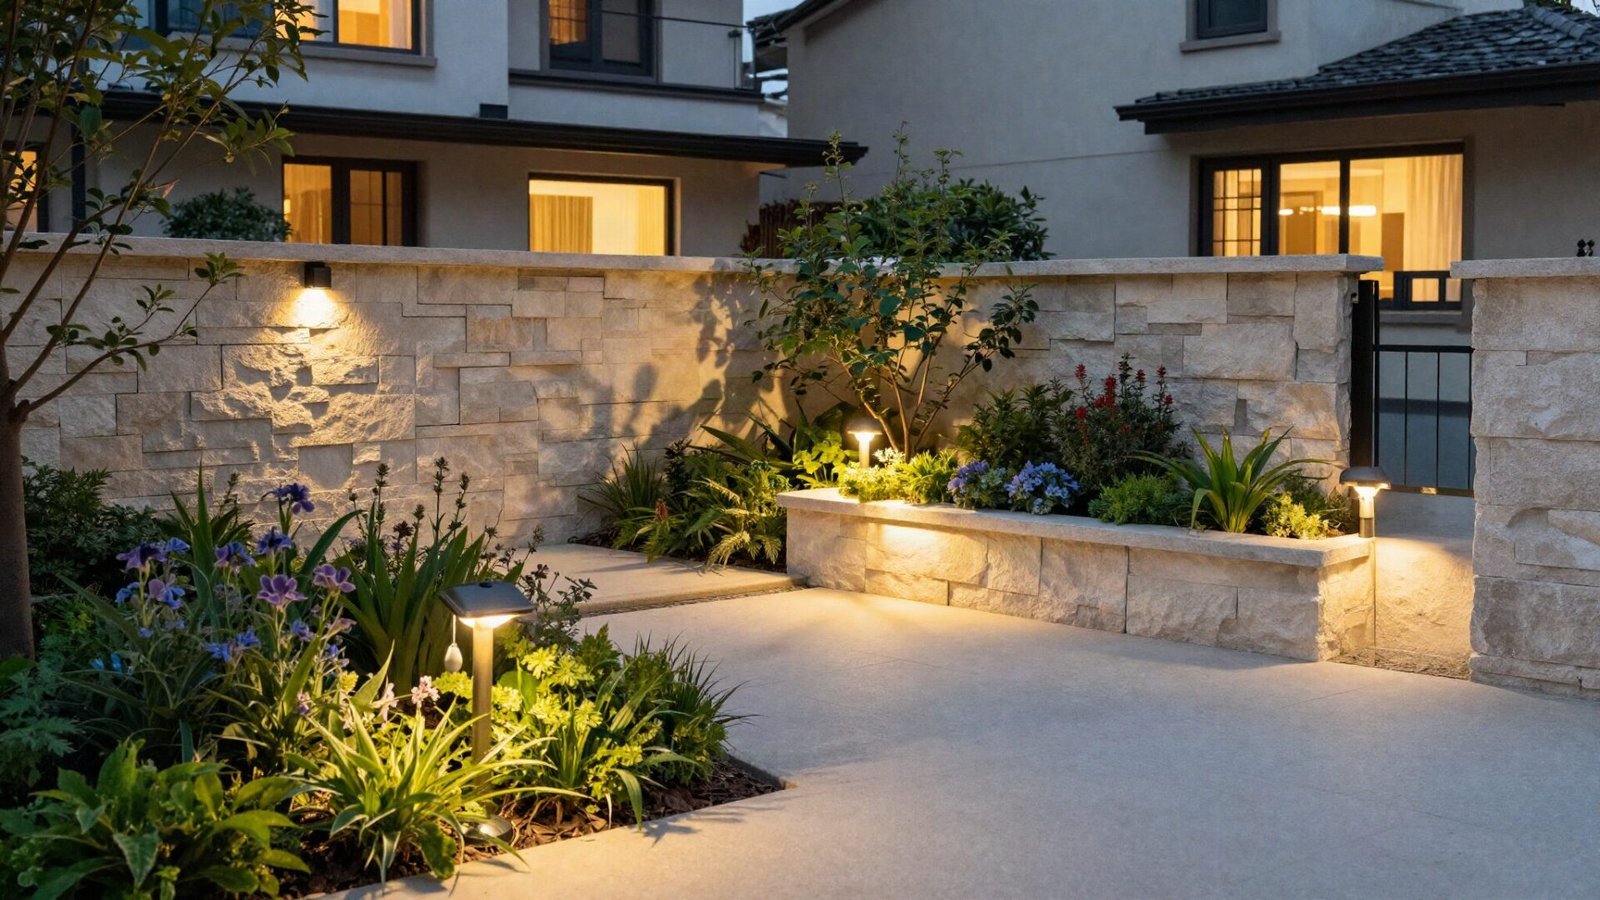
Effective outdoor lighting relies on layering distinct light sources rather than relying on a single overhead floodlight. Hardscape fixtures integrated under seat-wall coping stones or step risers provide ambient downlighting that highlights structural textures while eliminating tripping hazards. Connecting these perimeter lights to a 12-volt low-voltage transformer keeps power consumption minimal and installation manageable for experienced DIYers.
To complement permanent hardscape fixtures, position solar-powered brass or copper path stakes along garden borders adjacent to the patio. Aim for warm light temperatures between 2700K and 3000K to create a welcoming, natural ambiance rather than the cold blue tint associated with high-kelvin LEDs. Spacing lights 6 to 8 feet apart prevents harsh glare and produces balanced pools of light.
💡 Smart tip: Group fixtures on a smart transformer equipped with astronomical timers that automatically adjust on and off schedules based on local sunset and sunrise times.
⚠️ Mistake to avoid: Avoid lining pathway stakes in straight, evenly spaced parallel lines; offset fixtures in staggered zig-zag patterns for a more subtle and organic glow.
9. 9. Set Up a French Bistro Dining Nook with Foldable Teak Furniture
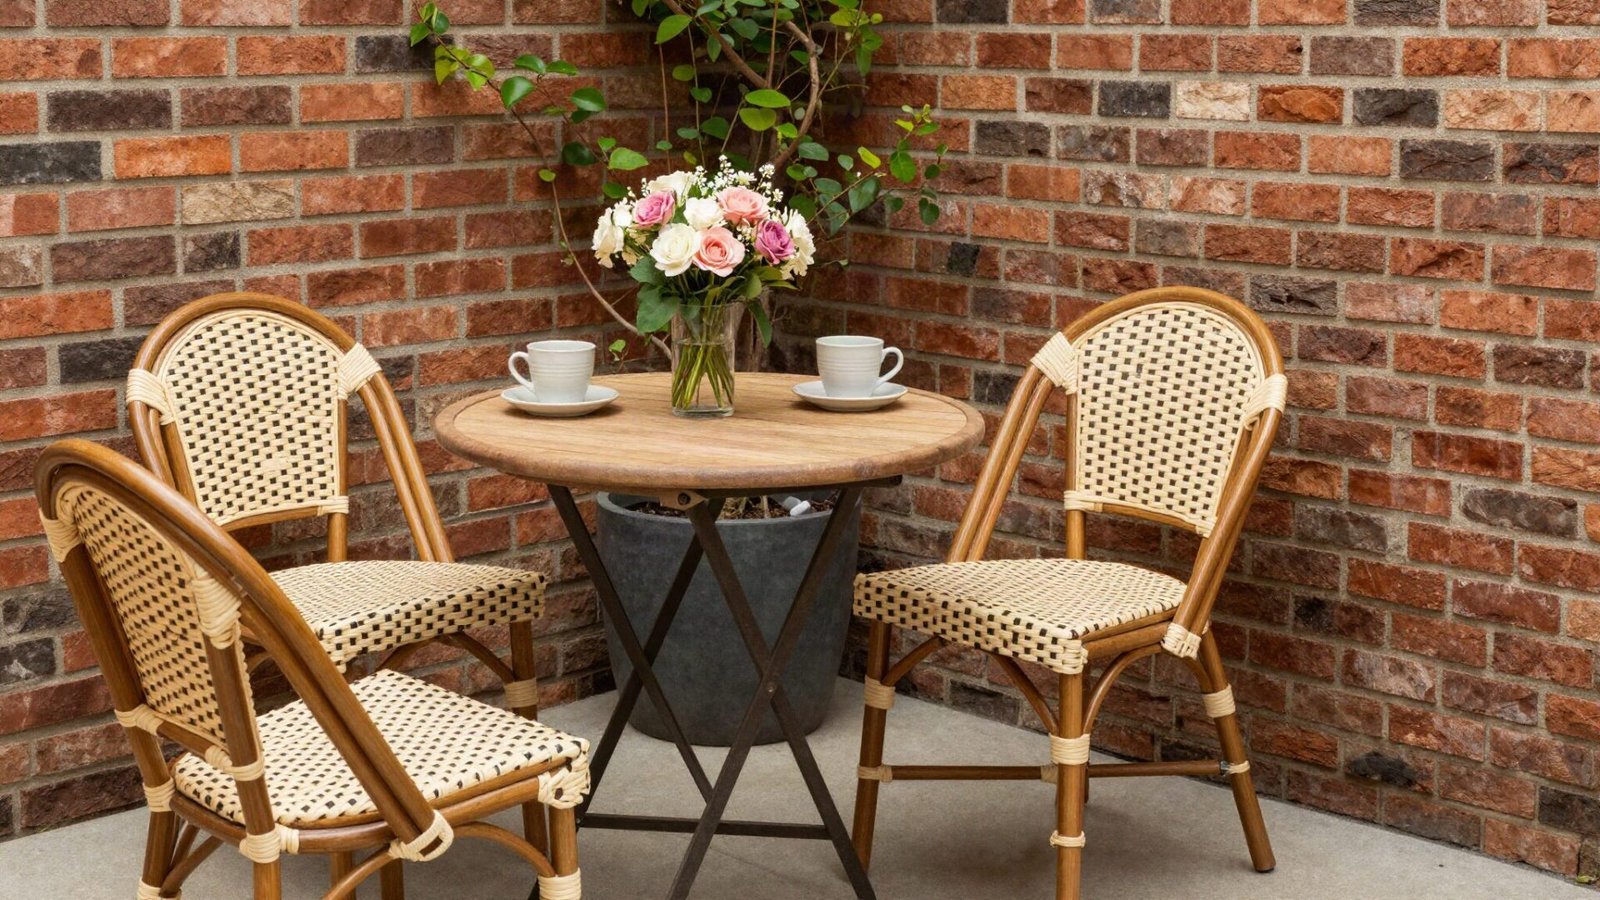
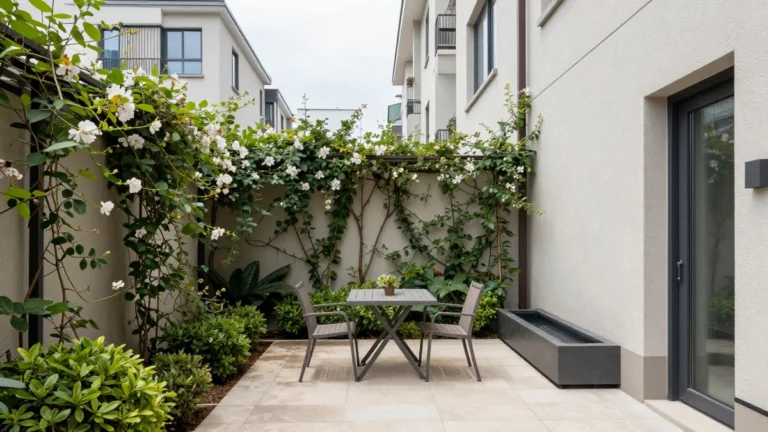
Small patios and tight outdoor alcoves often struggle to accommodate bulky six-piece patio sets. A compact bistro arrangement—featuring a 30-to-36-inch round table paired with two folding chairs—delivers efficient dining functionality without overcrowding narrow stone or brick footprints. Foldable designs allow for effortless seasonal storage or quick repositioning when open floor space is needed for larger gatherings.
High-oil woods like Grade-A teak or powder-coated wrought iron offer superior longevity against rainfall and temperature shifts. Teak naturally resists rot and insect damage; left untreated, it matures into a distinguished silvery-grey patina, or it can be oiled annually to preserve its rich honey-gold tone. Pairing wood tables with woven resin wicker chairs adds tactile texture and ergonomic comfort.
💡 Smart tip: Place a weather-resistant 5-foot round outdoor rug beneath the bistro set to visually anchor the nook and define it as an independent zone within the patio.
⚠️ Mistake to avoid: Avoid leaving untreated iron furniture on porous stone pavers, as moisture can cause rust spots that stain natural flagstone or concrete pavers permanently.
10. 10. Create a Vertical Living Wall with Modular Wall-Mounted Planters
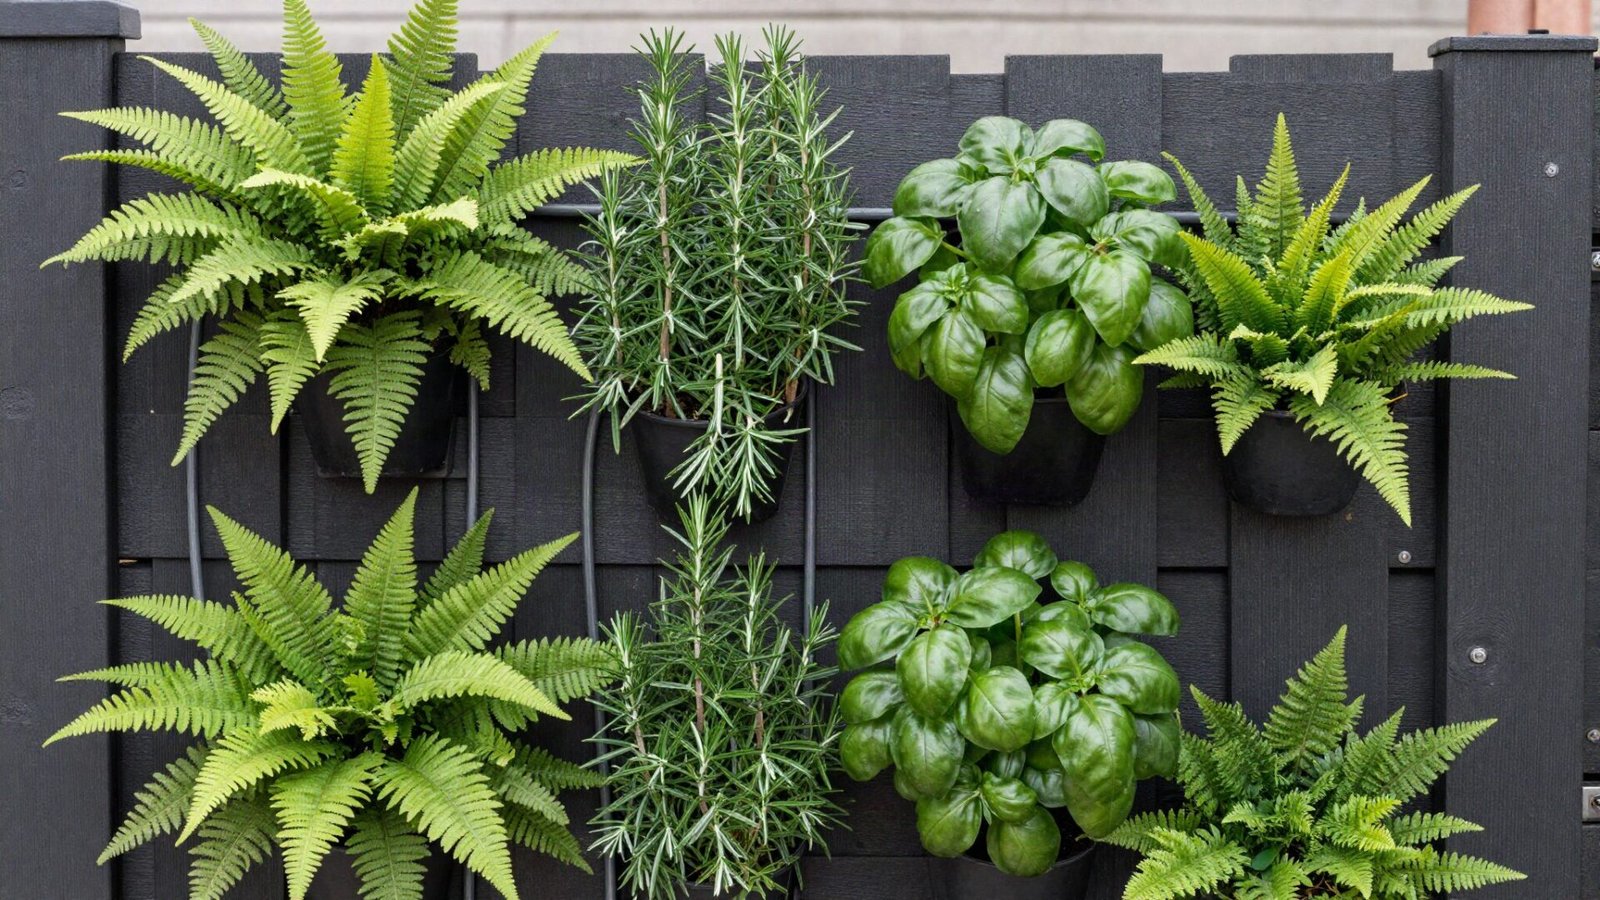
When horizontal ground space is limited along narrow patio perimeters, vertical gardening turns blank exterior fences and masonry walls into lush green backdrops. Modular planter systems crafted from rot-resistant cedar, coated aluminum, or UV-stabilized polymers allow you to stack felt pocket arrays or rigid containers vertically, maximizing planting density across minimal square footage.
Selecting plants based on wall sun exposure determines success. Shaded patios benefit from combinations of Boston ferns, trailing ivy, heuchera, and caladiums, while sun-drenched walls thrive with rosemary, thyme, succulents, and trailing petunias. Installing a simple micro-drip irrigation line along the top planter tier ensures water cascades evenly downward through the lower soil modules.
💡 Smart tip: Mount marine-grade plywood or a corrugated plastic drainage sheet behind the planter frame to protect exterior siding from trapped moisture and root dampness.
⚠️ Mistake to avoid: Avoid filling vertical wall planters with heavy topsoil; use lightweight potting mix blended with perlite to minimize structural weight on mounting brackets.
11. 11. Hang a Wooden Daybed Swing Under Heavy-Timber Overhead Beams
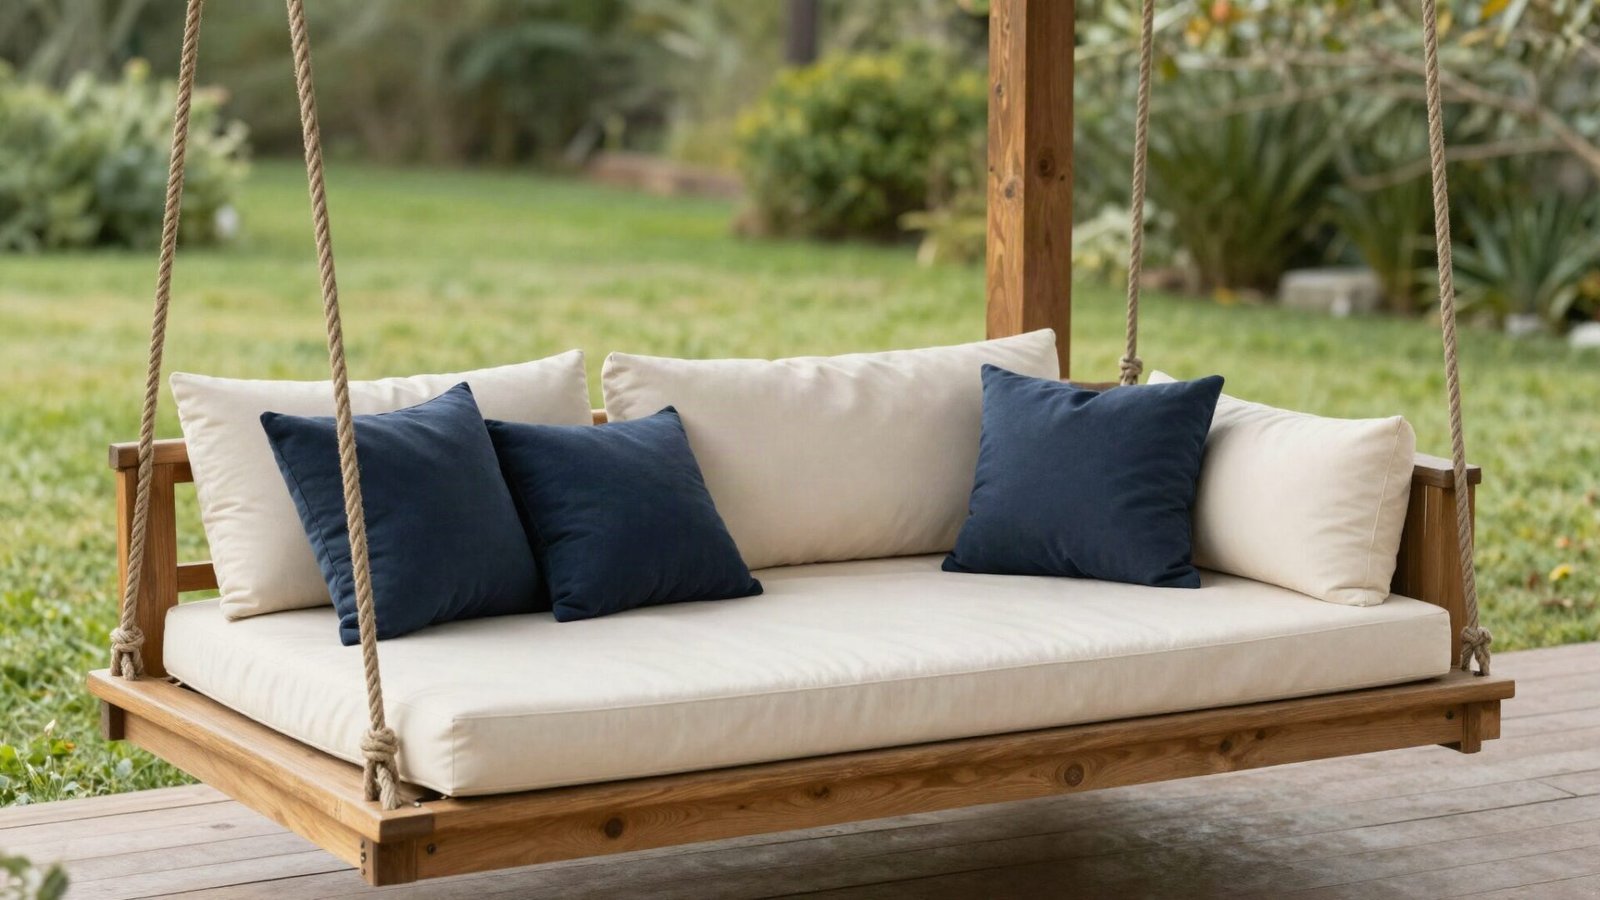
A suspended daybed swing offers deep relaxation while lifting furniture visually off the ground, opening up floor perception across covered patios and deep pergolas. Deep-seat wooden frames built from cedar, cypress, or white oak accommodate standard twin-size outdoor mattresses, turning unused overhang space into an inviting outdoor lounging retreat.
Structural safety dictates installation requirements. Daybed swings demand solid anchor points anchored into load-bearing solid timber joists (typically 2×8 or larger) using heavy-duty 1/2-inch stainless steel eye bolts. Fastening directly into thin ceiling beadboard or hollow structural trim can lead to sudden hardware failure under load.
💡 Smart tip: Outfit the daybed mattress with solution-dyed acrylic cushion covers and reticulated quick-dry foam so moisture drains rapidly after summer rain showers.
⚠️ Mistake to avoid: Avoid mounting a swing with less than 3 feet of clearance in front and behind the frame to prevent colliding with surrounding walls or railing pickets during movement.
12. 12. Position an Outdoor Bar Cart Station with Marine-Grade Storage
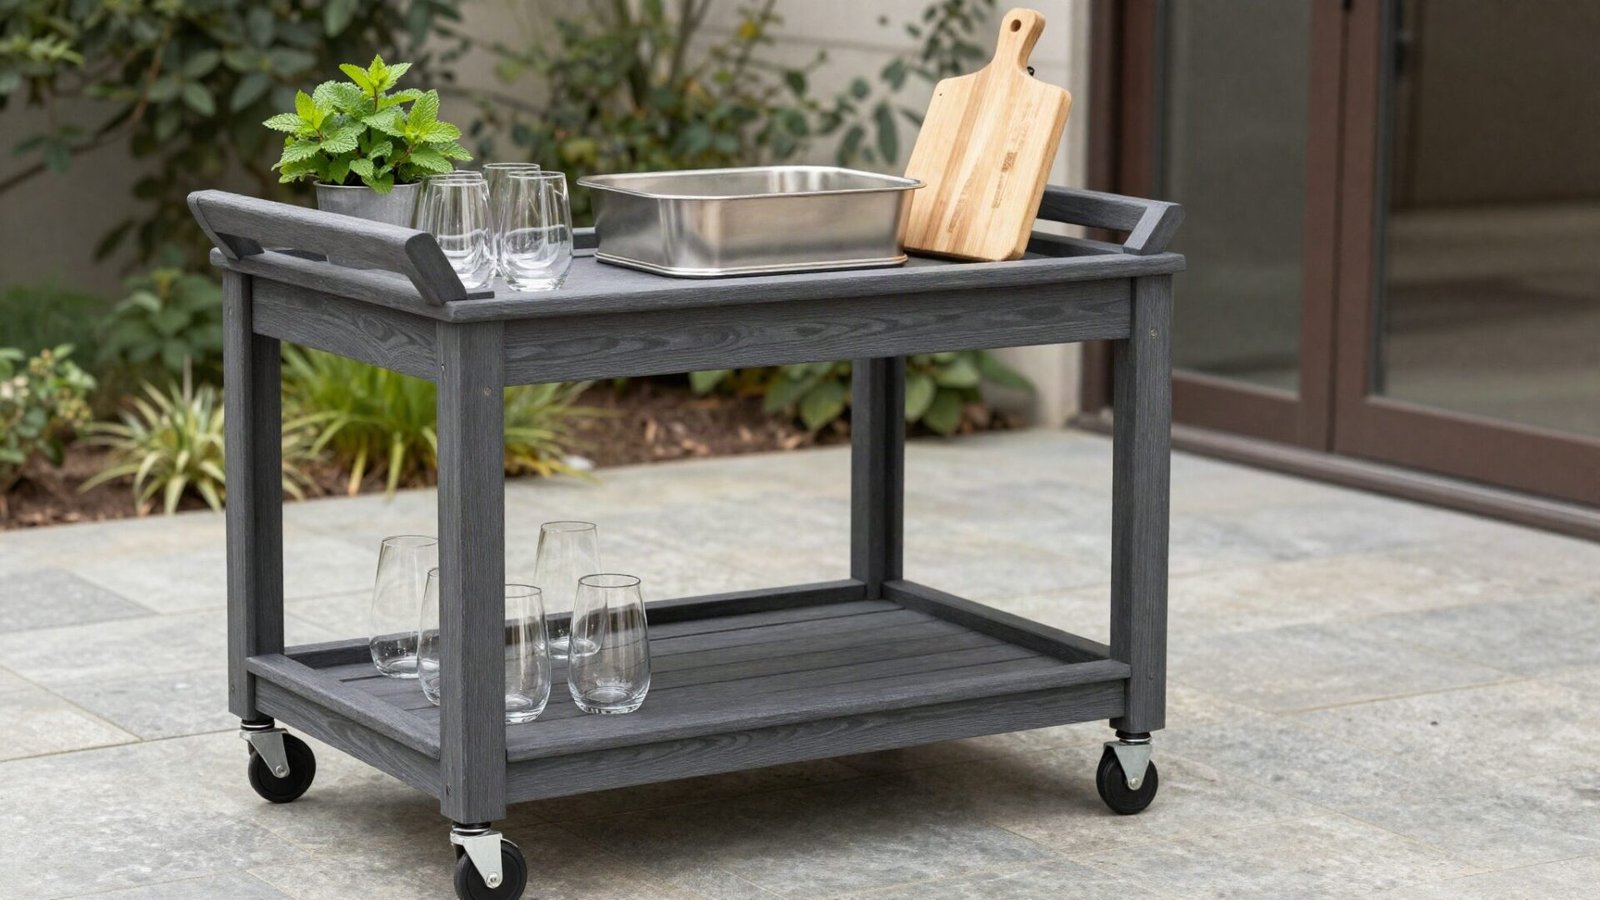
A dedicated mobile bar cart simplifies hosting by keeping beverages, ice, stemware, and prep tools on the patio, preventing constant trips inside to the kitchen. Modern weatherproof bar carts constructed from High-Density Polyethylene (HDPE) lumber or powder-coated aluminum resist warping, fading, and saltwater corrosion far better than indoor wooden furniture.
Look for designs equipped with heavy-duty locking casters, towel bars, stemware racks, and built-in drainage trays for ice buckets. Stationary units or rolling carts positioned against a house wall can easily double as a buffet server during outdoor dinner parties or as a potted plant display when not in active entertaining use.
💡 Smart tip: Keep an insulated, stainless-steel beverage tub stored on the bottom shelf to keep ice frozen hours longer during hot summer afternoon gatherings.
⚠️ Mistake to avoid: Avoid rolling fully loaded metal bar carts across soft, un-compacted gravel or rough stone surfaces without locking the caster wheels first to prevent tipping.
13. 13. Integrate a Tiered Retaining Wall with Built-In Native Flower Beds
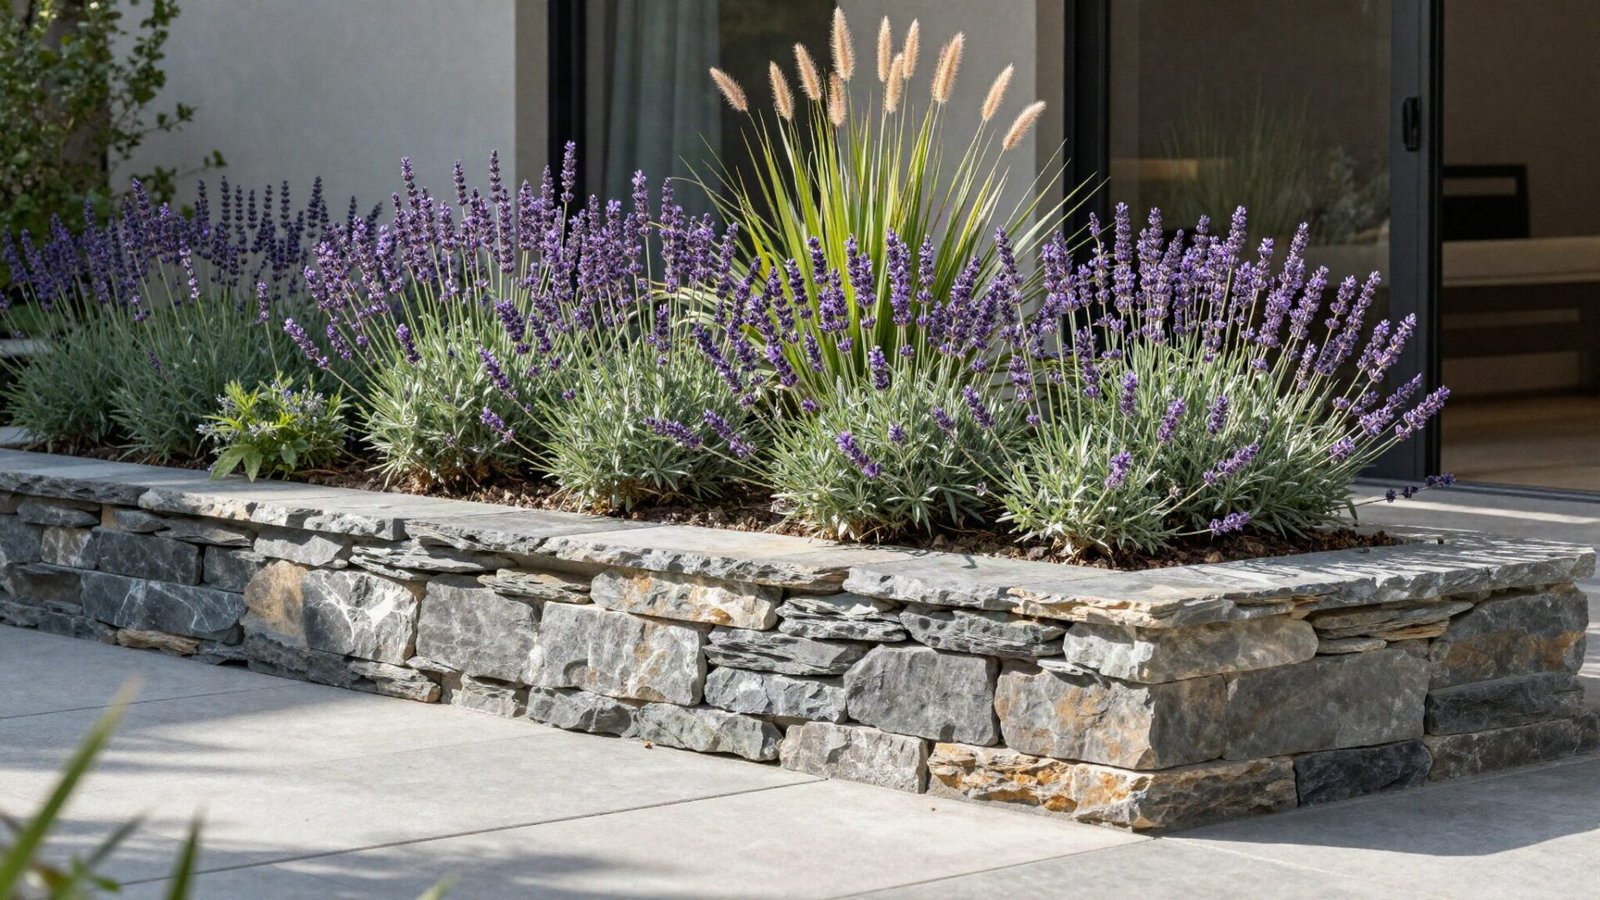
A sloped backyard often creates unusable patio space and poses significant soil erosion challenges. Building a tiered retaining wall system constructed from textured modular concrete blocks or stacked fieldstone transforms steep grade changes into structured, vertical planting terraces. Dividing the total height change into two shorter 18-to-24-inch retaining walls rather than one towering structure creates a softer visual transition and provides wide built-in garden ledges directly adjacent to your seating zone.
Filling these integrated planters with native flowering perennials, ornamental grasses, and cascading groundcovers adds rich color and texture at eye level while supporting local pollinators. Beyond aesthetics, proper construction requires a solid gravel footing and adequate drainage backfill. Hydrostatic pressure from trapped groundwater is the leading cause of retaining wall failure, so integrating coarse crushed stone and a perforated drainage pipe behind the bottom wall layer ensures long-term structural integrity.
💡 Smart tip: Install a continuous 4-inch perforated drain pipe wrapped in filter fabric directly behind the wall’s base course to prevent hydrostatic pressure buildup from trapped rainwater.
⚠️ Mistake to avoid: Skipping structural engineering or backfill compaction on walls over 3 feet tall, which leads to eventual leaning, wall failure, and expensive tear-outs.
14. 14. Install an Architectural Water Feature with Cascading Slate Slabs
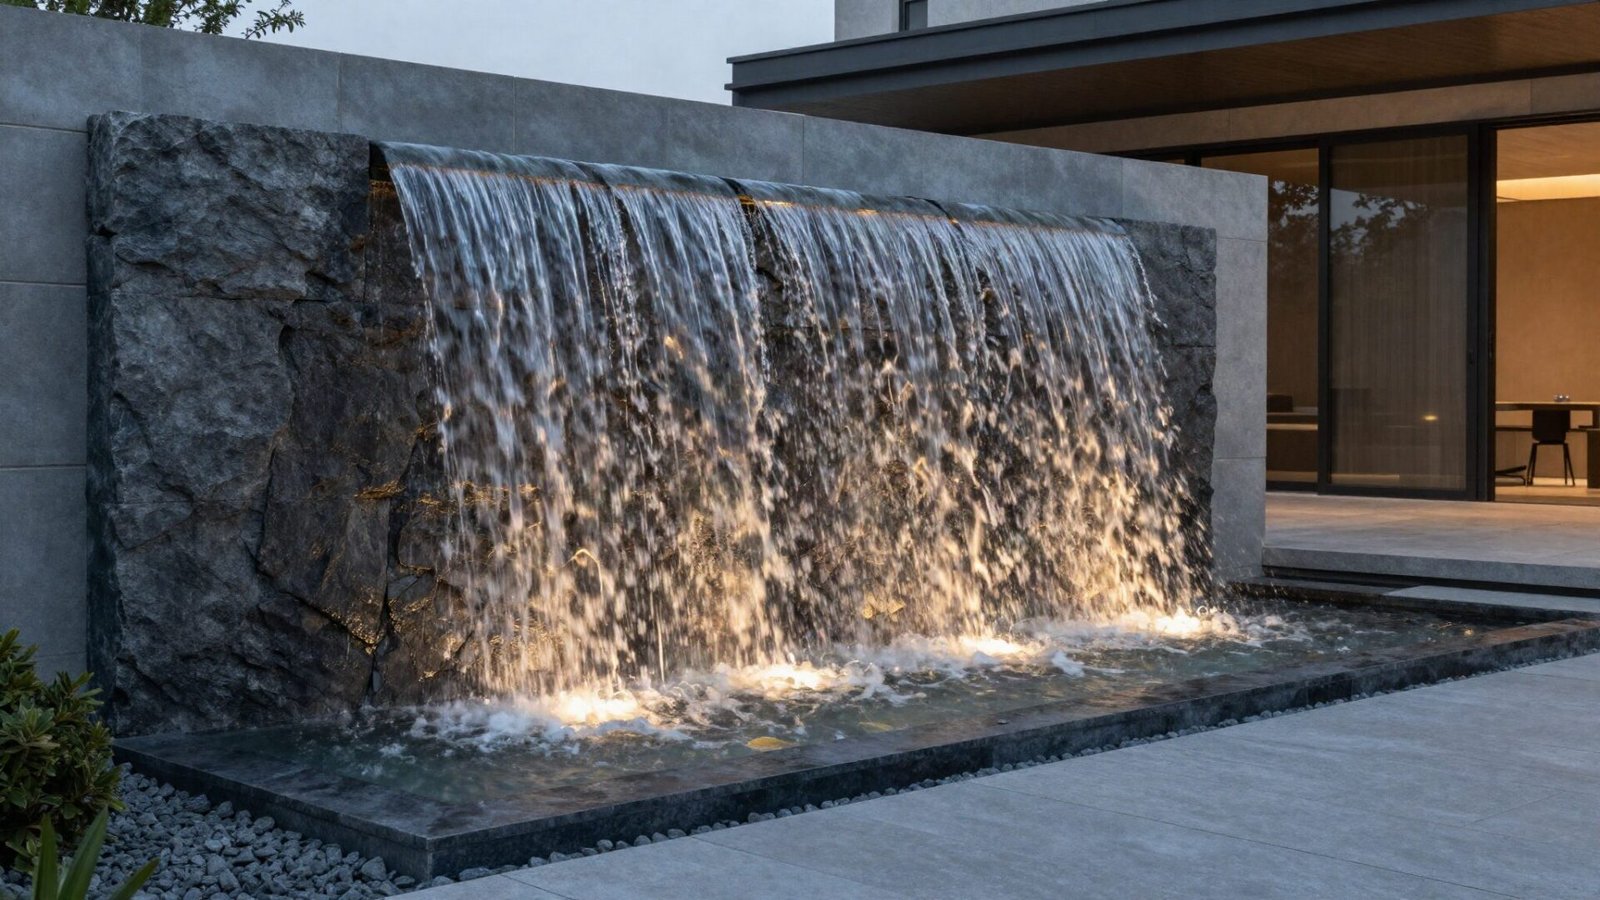
Ambient outdoor noise from traffic or nearby neighbors can quickly diminish the peaceful sanctuary feel of a backyard patio. Installing a custom recirculating water wall made from stacked natural slate creates a gentle, soothing white noise while serving as a dramatic visual focal point. Water flows evenly over the textured stone face into a hidden subterranean basin filled with river rocks, keeping the mechanics concealed and maintenance minimal.
When sizing your pump, select a submersible model rated for the total vertical lift height and desired flow rate to achieve a smooth sheet of water rather than a trickle. Incorporating submerged low-voltage LED spotlights at the base illuminates the water movement at night, casting dynamic light reflections across adjacent wall surfaces and hardscaping.
💡 Smart tip: Choose a pump rated for at least 1.5 times your calculated vertical head height to ensure a consistent, full-width sheet of water across slate surfaces even during low water levels.
⚠️ Mistake to avoid: Placing the water feature directly beneath heavy leaf-dropping trees without a protective screen, causing frequent pump impellers clogs and organic sludge buildup.
15. 15. Mount Adjustable Wood Privacy Louvers Around Outdoor Dining Areas
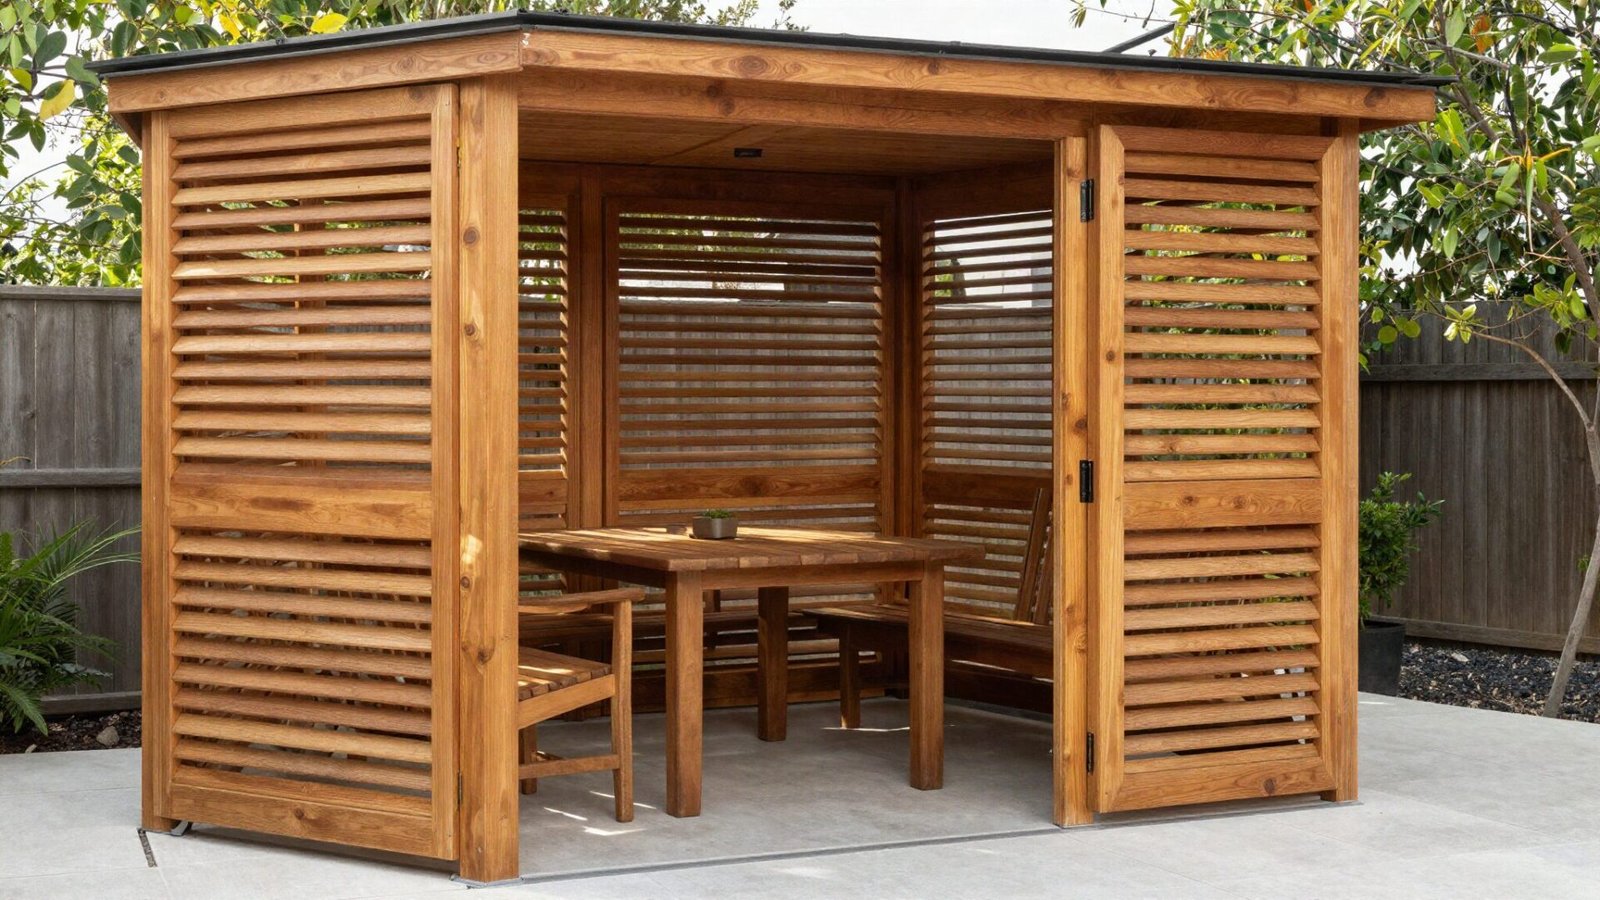
While solid privacy fences can feel claustrophobic and block cool breezes, adjustable wooden louver panels offer customizable screening around patio dining and lounging spaces. Crafted from durable cedar or thermowood, these vertical or horizontal timber louvers pivot smoothly within track hardware. This allows you to close the slats entirely for private evening dinners or angle them open to filter afternoon sunlight while catching prevailing winds.
Integrating these panels along one or two sides of your patio defines an intimate dining boundary without sacrificing airflow. Sealing the timber with a marine-grade UV-resistant penetrative stain preserves the natural grain pattern and prevents graying or weathering over time.
💡 Smart tip: Use stainless steel pivoting hardware brackets with linked connecting bars so an entire bay of louvers rotates smoothly in unison with a single handle adjustment.
⚠️ Mistake to avoid: Using untreated softwoods or unsealed timber, which warp quickly under sun and rain exposure and jam the rotating louver mechanisms.
16. 16. Anchor a Gas Fire Table with Tempered Glass Guards on Flagstone
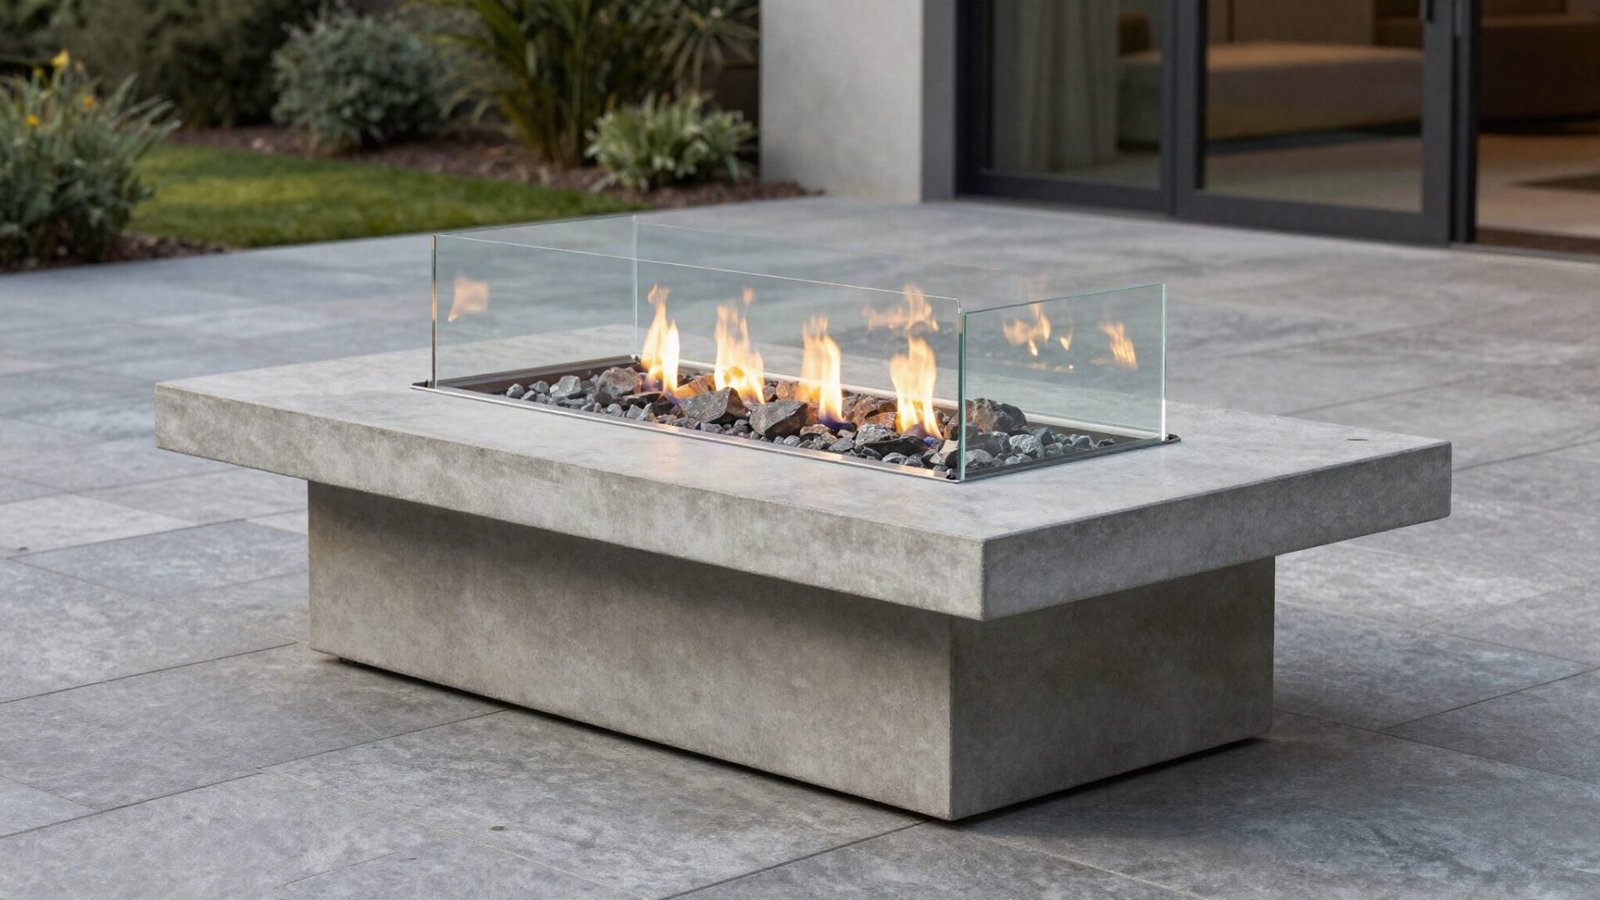
Unlike traditional wood-burning fire pits that generate heavy smoke and require ash cleanup, a clean-burning natural gas or propane fire table delivers instant heat and ambiance at the touch of a button. Positioned on a thermal-resistant natural flagstone patio base, a sleek aluminum or composite concrete fire table acts as a functional coffee table during warm day hours and a radiant heat source when temperatures drop.
Incorporating clear tempered glass wind guards around the burner rim stabilizes the flame against gusts and increases safety for nearby guests and furniture. Hardwiring a natural gas line directly from your home provides endless fuel without tank swaps, though portable liquid propane tanks hidden inside the base offer greater flexibility for rented homes or lower initial install costs.
💡 Smart tip: Run your natural gas line during the initial hardscape excavation phase to avoid digging up installed flagstone later for utility hookups.
⚠️ Mistake to avoid: Setting high-BTU gas fire burners directly over unvented combustible wood decking or placing them too close to overhead synthetic awnings.
17. 17. Install All-Weather Outdoor Curtains on Overhead Stainless Steel Tracks
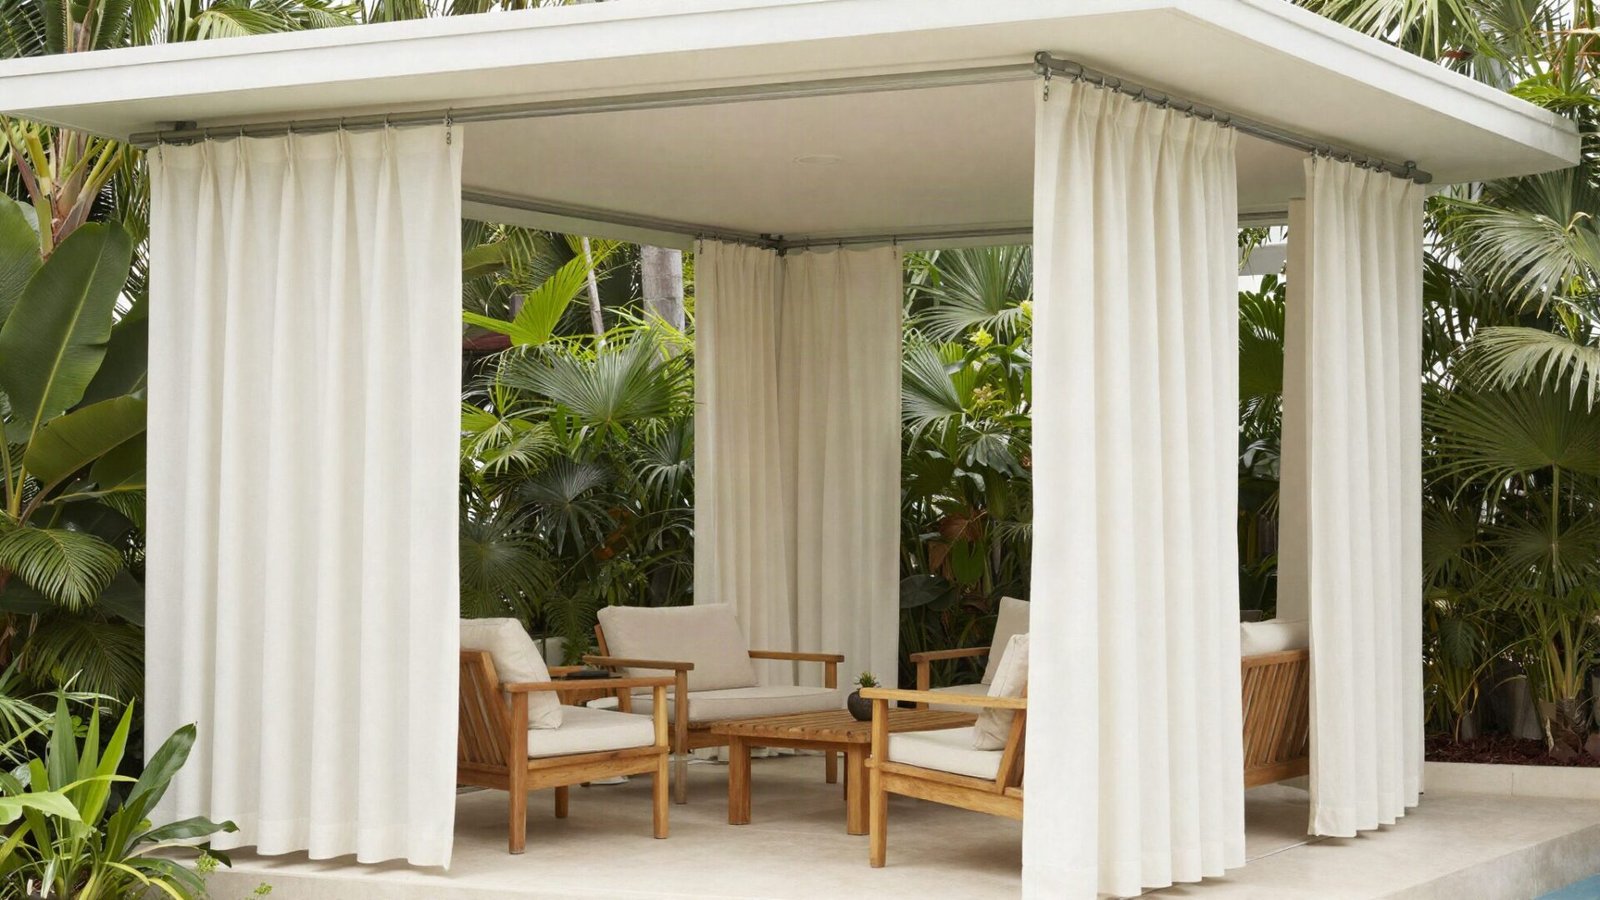
Adding fabric elements to hardscaped patio environments introduces soft texture, vivid movement, and versatile weather protection. Hanging solution-dyed acrylic curtains (such as Sunbrella) from marine-grade stainless steel ceiling tracks along the edges of a porch, covered patio, or pergola allows you to rapidly create a screened indoor-outdoor room. The high-performance outdoor fabric repels moisture, resists UV fading, and shields against low evening sun angles.
To ensure panels remain functional during windy weather, choose tracks fitted with smooth stainless steel ball-bearing rollers and incorporate bottom-hem weights or discrete tie-backs attached to structural posts. Drawing the drapes closed adds immediate privacy and wind protection, while tying them back frames outdoor garden views with resort-inspired elegance.
💡 Smart tip: Insert rust-resistant stainless steel chain weights into the bottom hem of each curtain panel to keep fabrics hanging straight and stable during moderate breezes.
⚠️ Mistake to avoid: Selecting standard interior drapery hardware or untreated cotton fabrics that corrode, mildew, and fade within a single outdoor season.
18. 18. Install Architectural Porcelain Pavers Over Adjustable Support Pedestals
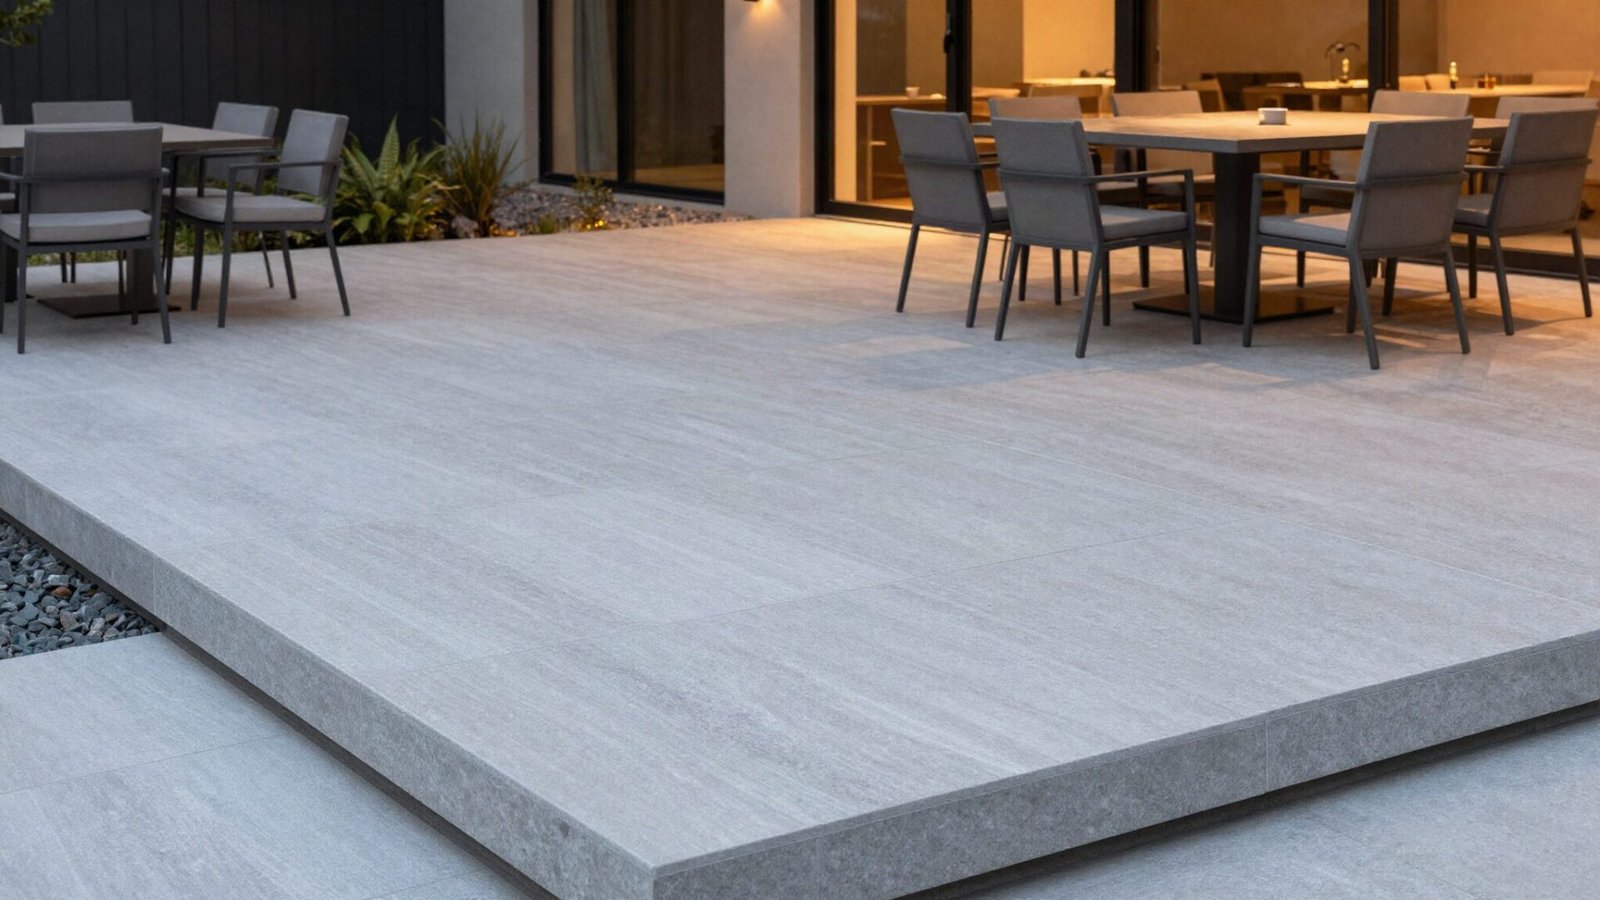
Porcelain exterior pavers elevated on adjustable pedestal supports offer a sophisticated solution for irregular sub-bases, roof terraces, or uneven concrete slabs. Unlike traditional mortared installations, pedestal systems create an elevated deck surface with open open-joint seams, allowing water to drain directly through into the sub-base beneath. This eliminates standing puddle accumulation and ice expansion risks during freeze-thaw cycles, making it ideal for elevated balconies and patio renewals.
Large-format 24×24-inch or 24×48-inch porcelain pavers engineered for exterior use are incredibly dense, stain-resistant, and impervious to algae or moss growth. Because the units sit on top of adjustable polypropylene pedestals, individual tiles can be lifted out effortlessly using a suction cup to inspect underlying utility runs, low-voltage wiring, or drainage channels without destroying any masonry work.
💡 Smart tip: Choose porcelain pavers with a minimum R11 anti-slip surface rating to maintain firm traction underfoot, especially around pool decks or shaded perimeter zones where dampness lingers.
⚠️ Mistake to avoid: Do not install low-density indoor ceramic tiles outdoors; only structural 20mm-thick exterior porcelain rated for high point-load capacities will withstand outdoor freeze-thaw expansion and foot traffic.
19. 19. Mount Radiant Infrared Heaters Beneath Overhead Structures for Year-Round Use
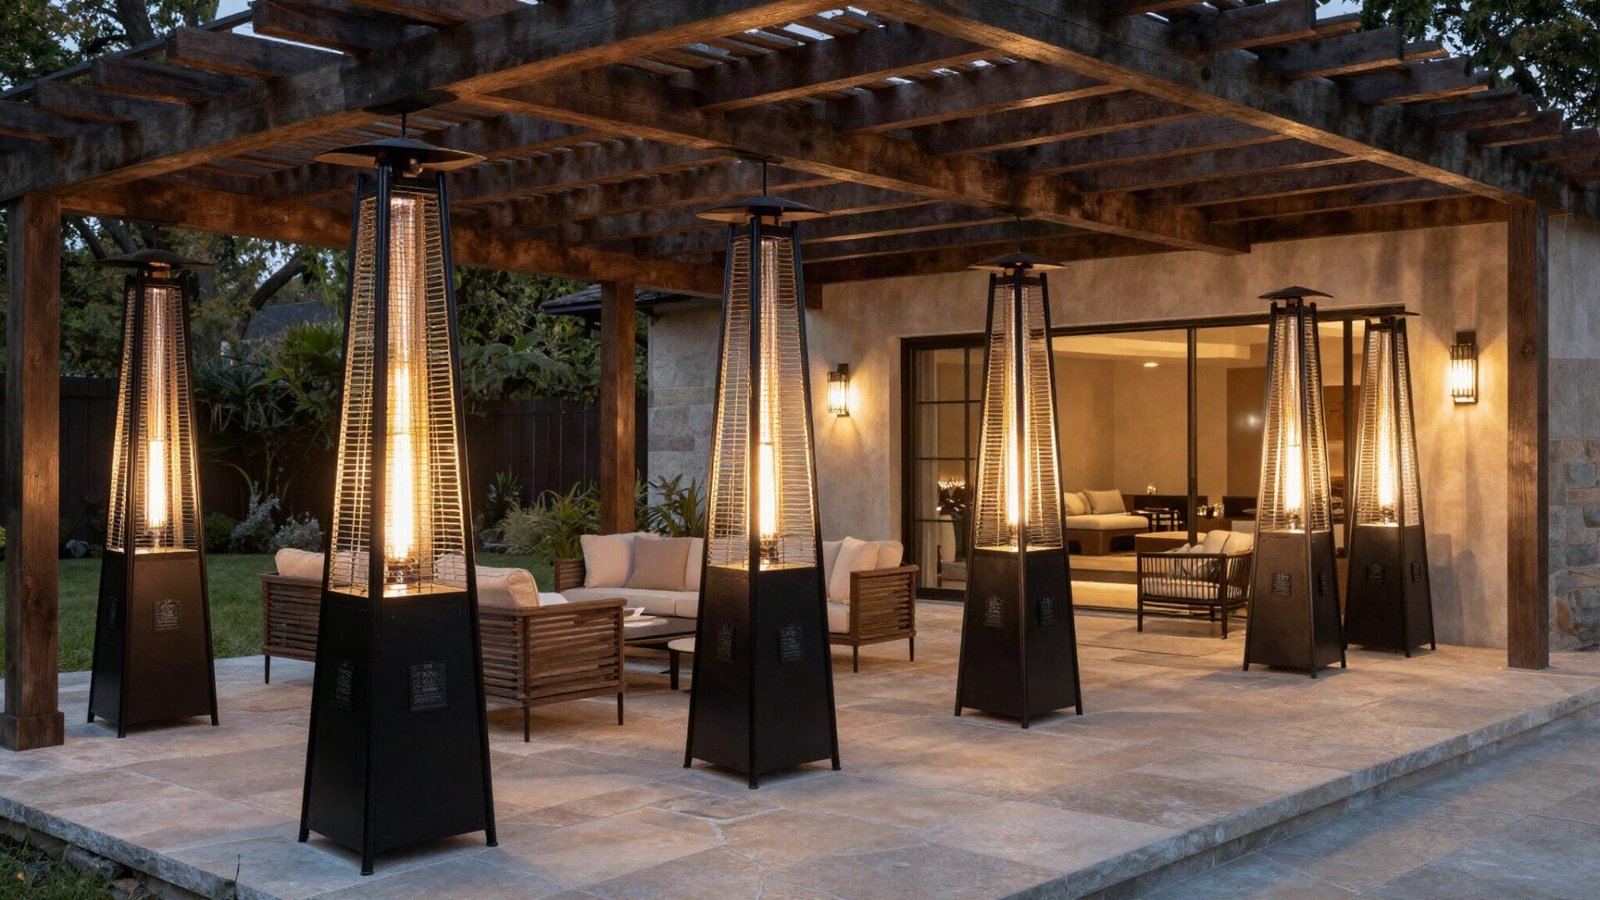
Extending the usability of your patio into late autumn and early spring requires direct, directional heat rather than ambient air warming. Ceiling-mounted electrical radiant infrared heaters transfer heat directly to solid objects and occupants rather than blowing hot air that instantly dissipates in wind. Mounted directly to heavy pergola rafters, solid patio roofs, or wall brackets, sleek linear heaters maintain a clean visual footprint without occupying valuable floor space.
Unlike bulky propane tower heaters that require frequent tank swaps and present tip-over hazards, hardwired electrical infrared units produce instantaneous, silent warmth at the flip of a switch or smartphone app. Dual-element stainless steel fixtures offer variable output control, letting you calibrate heat intensity according to shifting evening temperatures.
💡 Smart tip: Position infrared heaters between 8 and 10 feet above finished patio flooring and angle them inward at 30 degrees to create overlapping zones of continuous warmth across your seating area.
⚠️ Mistake to avoid: Never mount high-intensity radiant heaters directly against combustible materials without maintaining manufacturer-specified clearance distances to structural wood beams and fabric canopies.
20. 20. Frame Patio Edges with French Drains and Gravel Rain-Garden Swales
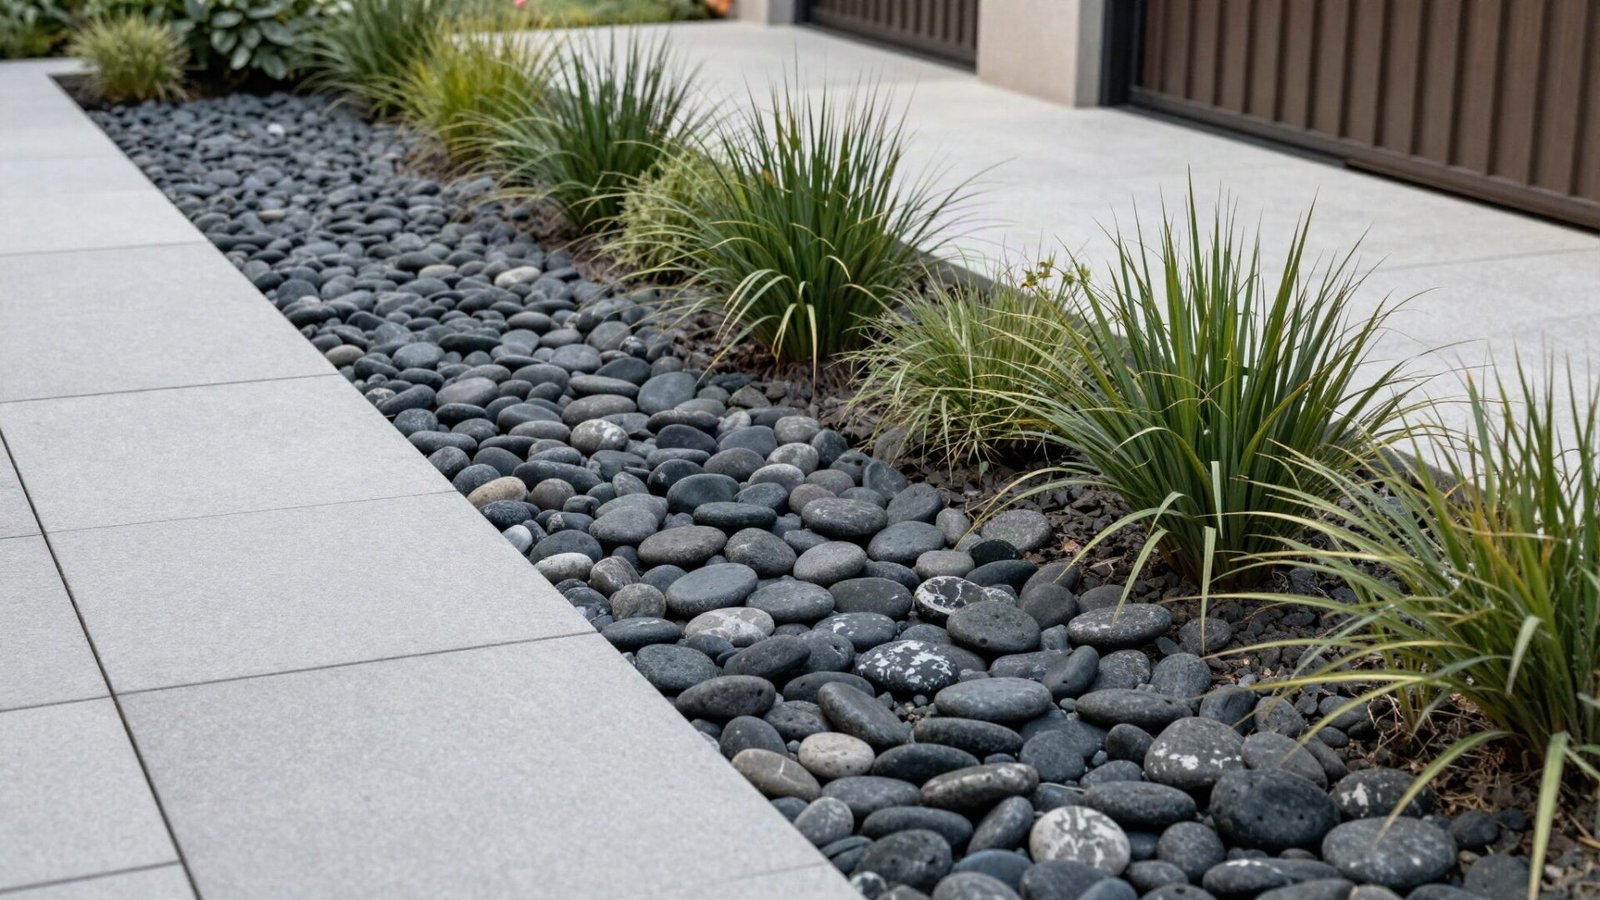
Uncontrolled runoff from hardscape surfaces can lead to soil erosion, muddy lawn borders, and standing water near home foundations. Integrating a functional French drain wrapped in decorative river rock or establishing a gravel-lined rain garden along low-lying patio edges redirects rainwater safely while introducing crisp textural contrast. Excess rainwater flows naturally off non-porous hardscaping into a trench lined with geotextile fabric, perforated pipe, and coarse aggregate.
To elevate aesthetic appeal, top the drainage channel with smooth basalt river stones, slate chips, or Mexican beach pebbles. Plant water-tolerant native species like sedges, blue flag iris, and soft rush along the border of the swale to filter impurities and create a naturalized transitional boundary between structural hardscaping and lush garden lawns.
💡 Smart tip: Pitch your hardscape slope at a consistent 1/4-inch drop per linear foot leading away from house foundations directly into the drainage channel for optimal water management.
⚠️ Mistake to avoid: Avoid skipping geotextile fabric lining in drainage trenches; raw soil will quickly infiltrate gravel pockets, clogging perforated drainage pipes within two to three rainy seasons.
21. 21. Set Up an Outdoor Home Theater with Weatherproof Projectors and Pop-Up Screens
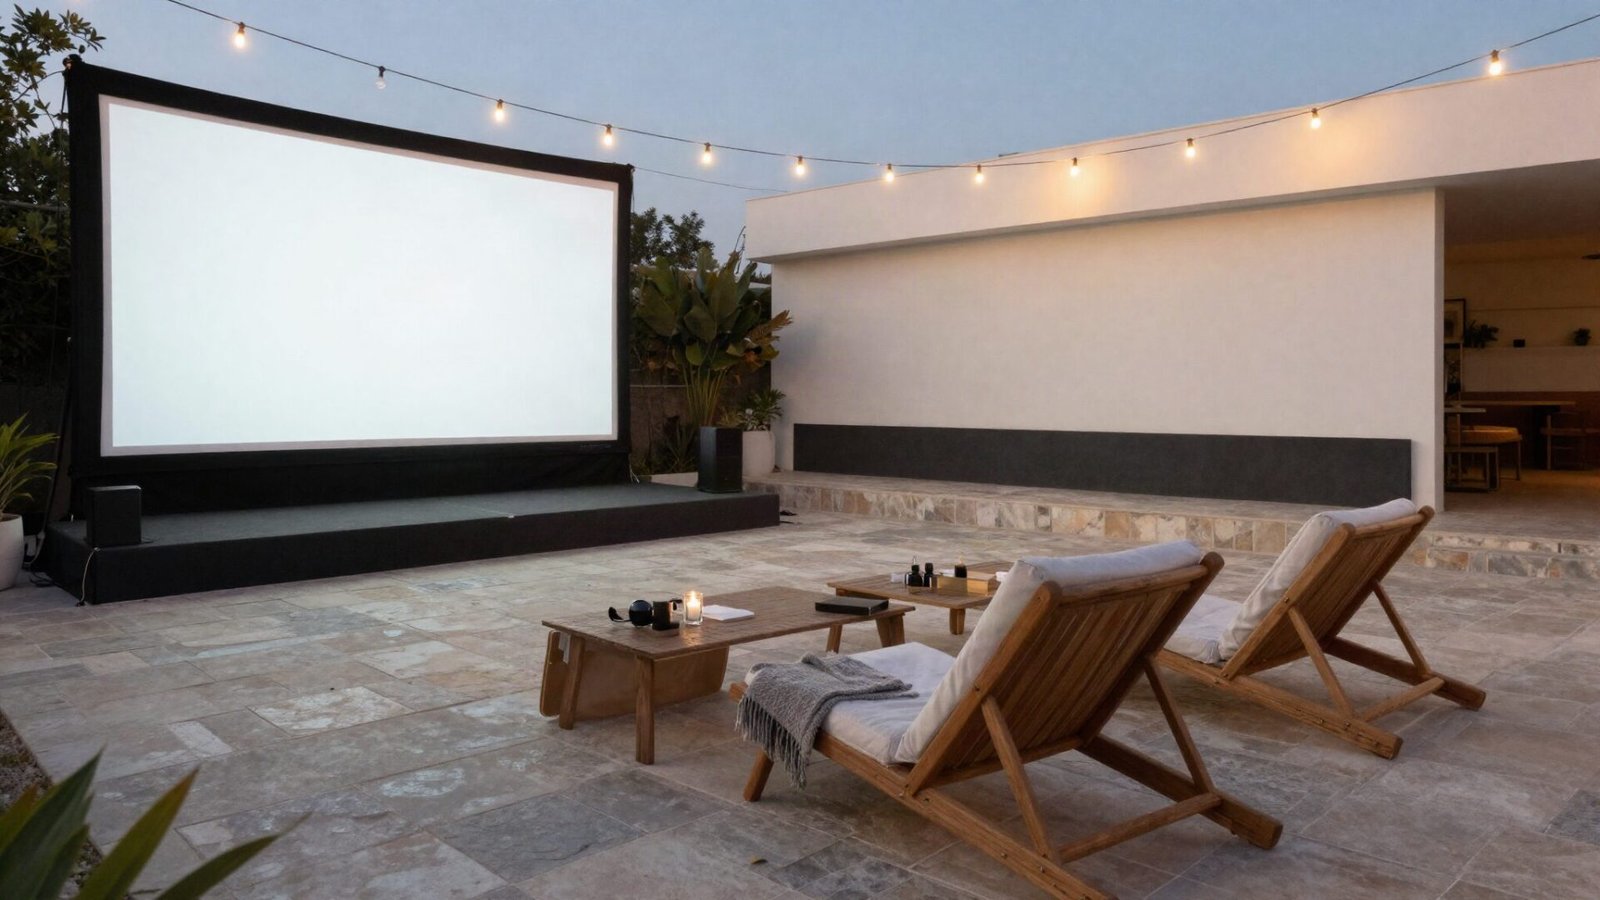
Transforming your patio into an open-air cinema creates an extraordinary entertainment destination for family movie nights and sports watch parties. Rather than installing permanent television screens exposed to harsh sun glare and temperature fluctuations, high-lumen short-throw projectors paired with motorized drop-down or tension-framed pop-up screens provide massive viewing areas with minimal physical clutter when not in use.
Select compact projectors featuring at least 3,000 ANSI lumens to deliver vibrant picture contrast during early evening twilight. Pair the visual system with weather-resistant Bluetooth soundbars or buried subwoofers to ensure clear audio dialogue over ambient breeze and neighborhood noise. Flexible floor cushions, outdoor poufs, and low-slung teak loungers create an inviting, relaxed screening room environment.
💡 Smart tip: Choose ambient light-rejecting (ALR) screen fabrics if you plan to watch movies before complete nightfall, as special screen coatings enhance image contrast against surrounding outdoor light.
⚠️ Mistake to avoid: Do not leave non-weatherproof electronic projectors outdoors overnight, as condensation and morning dew cause internal circuit corrosion even inside covered patio areas.
22. 22. Integrate Acoustic Landscape Speakers for Seamless Outdoor Audio
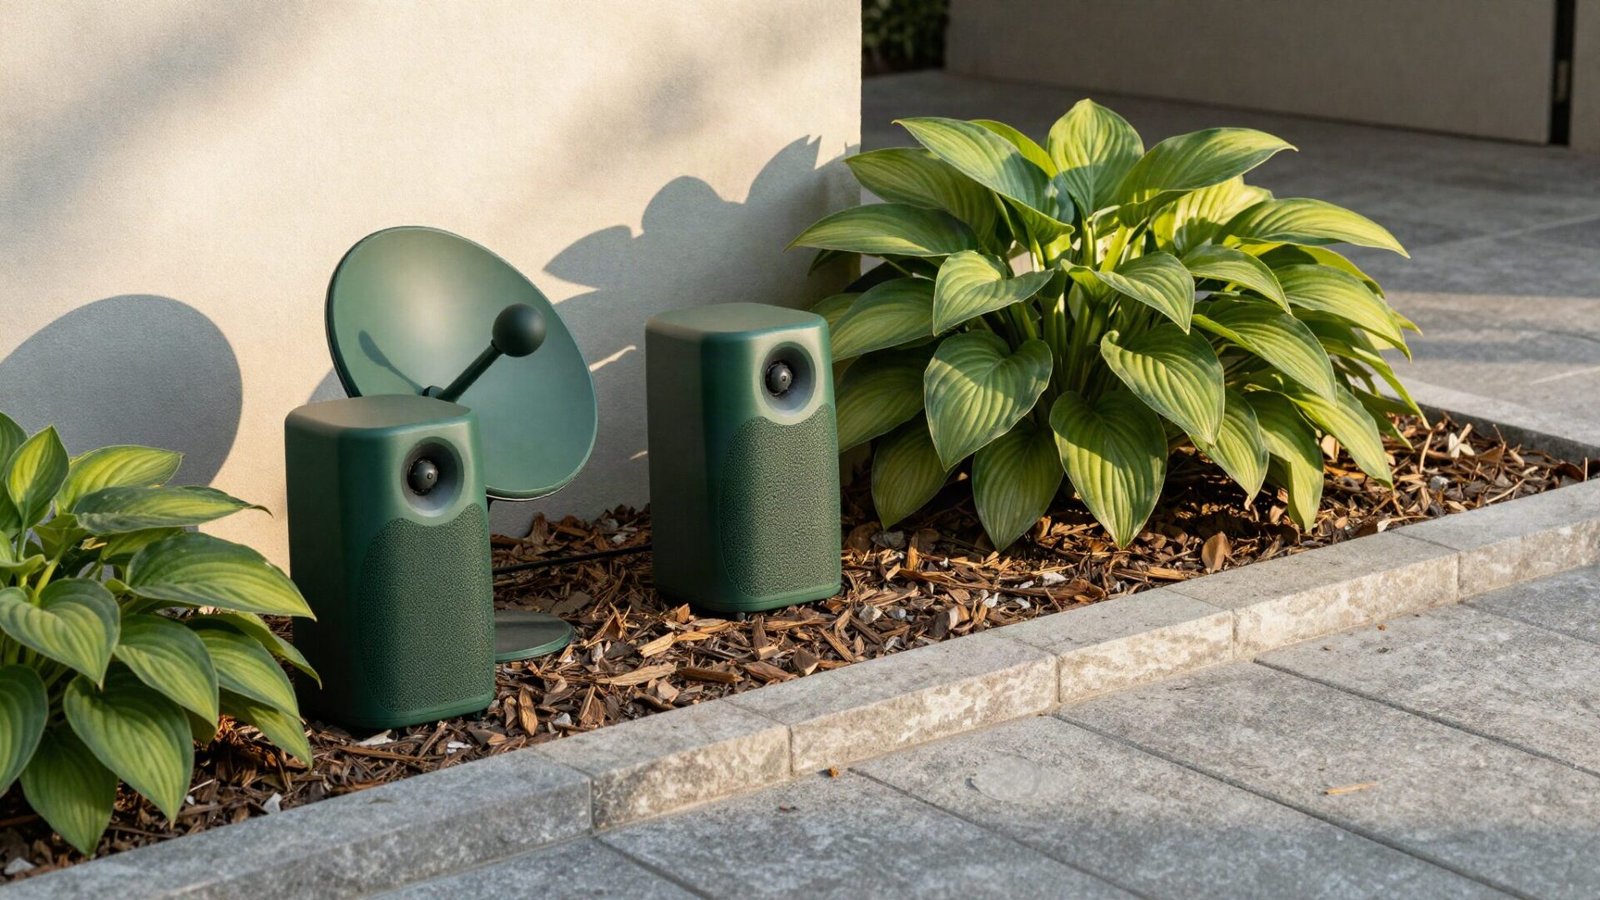
Distributed landscape audio systems offer immersive, balanced background sound across your patio and yard without disturbing surrounding neighbors. Unlike single high-volume patio speakers mounted on walls that create hot spots of loud noise near the house, a network of compact satellite speakers tucked into plant beds delivers uniform sound coverage at lower, comfortable listening levels.
Satellite speakers styled like modern landscape lighting fixtures mount on ground stakes among low foliage, while in-ground subwoofers remain buried out of sight with only a small canopy cap visible. Driven by a dedicated multi-zone amplifier inside the home or garage, sound levels can be tailored independently between quiet dining corners and lively lounge areas.
💡 Smart tip: Aim satellite speakers inward toward the primary patio seating areas and away from property lines to keep sound focused where guests gather.
⚠️ Mistake to avoid: Avoid using standard indoor speaker wire for underground runs; always use direct-burial rated 14/2 or 12/2 audio cables inside conduit to prevent signal degradation from damp ground soil.
Effort & Cost Snapshot
| Idea | Effort | Approx. Cost |
|---|---|---|
| 1. Best Backyard Patio Ideas: 1. Define Outdoor Rooms with Multi-Format Concrete Pavers | High | $15 – $30 per sq. ft. installed |
| 2. 2. Blend Stepping Pavers with Synthetic Turf for Low-Upkeep Greenery | Medium | $12 – $25 per sq. ft. |
| 3. 3. Install a Cedar Pergola with Retractable Shade Canopies | High | $2,500 – $6,000 depending on size |
| 4. 4. Build Perimeter L-Shaped Benches for Small Patio Layouts | Medium | $800 – $2,200 |
| 5. 5. Anchor a Sunken Fire Pit Lounge with Permeable Pea Gravel | Medium | $600 – $1,800 |
| 6. 6. Frame a Compact Plunge Pool with Slip-Resistant Coping | High | $20,000 – $45,000 complete build |
| 7. 7. Construct a Built-In Outdoor Kitchen Island with Granite Countertops | High | $2,500 – $7,500+ |
| 8. 8. Layer Low-Voltage Hardscape Sconces and Solar Pathway Lights | Medium | $150 – $600 |
| 9. 9. Set Up a French Bistro Dining Nook with Foldable Teak Furniture | Low | $200 – $700 |
| 10. 10. Create a Vertical Living Wall with Modular Wall-Mounted Planters | Medium | $120 – $450 |
| 11. 11. Hang a Wooden Daybed Swing Under Heavy-Timber Overhead Beams | High | $500 – $1,800 |
| 12. 12. Position an Outdoor Bar Cart Station with Marine-Grade Storage | Low | $180 – $650 |
| 13. 13. Integrate a Tiered Retaining Wall with Built-In Native Flower Beds | High | $2,500 – $8,500 |
| 14. 14. Install an Architectural Water Feature with Cascading Slate Slabs | Medium | $800 – $3,200 |
| 15. 15. Mount Adjustable Wood Privacy Louvers Around Outdoor Dining Areas | Medium | $650 – $2,400 |
| 16. 16. Anchor a Gas Fire Table with Tempered Glass Guards on Flagstone | Medium | $1,200 – $4,500 |
| 17. 17. Install All-Weather Outdoor Curtains on Overhead Stainless Steel Tracks | Low | $350 – $1,100 |
| 18. 18. Install Architectural Porcelain Pavers Over Adjustable Support Pedestals | Medium | $18 – $38 per square foot installed |
| 19. 19. Mount Radiant Infrared Heaters Beneath Overhead Structures for Year-Round Use | Medium | $400 – $1,400 per heater unit plus electrical wiring |
| 20. 20. Frame Patio Edges with French Drains and Gravel Rain-Garden Swales | High | $1,200 – $3,800 depending on length and excavation |
| 21. 21. Set Up an Outdoor Home Theater with Weatherproof Projectors and Pop-Up Screens | Low | $350 – $1,600 for projector and portable screen setup |
| 22. 22. Integrate Acoustic Landscape Speakers for Seamless Outdoor Audio | Medium | $700 – $2,800 including amplifier and satellite speakers |
Designing an ideal outdoor living space comes down to selecting patio ideas that balance long-term durability, functional layout, and personal design taste. Whether you are transforming a compact suburban urban courtyard with vertical planter walls and space-saving bistro sets or building an expansive backyard retreat complete with porcelain pedestals, radiant infrared heaters, and integrated landscape audio, thoughtfully planned hardscaping elevates how you enjoy your home.
Before breaking ground or purchasing heavy stone materials, evaluate your yard’s slope, soil composition, sun exposure, and local utility locations. Always verify regional building permits, HOA covenants, and electrical safety standards for hardwired lighting and heating additions. By tackling projects in planned phases, you can curate a beautiful, low-maintenance outdoor sanctuary tailored to your budget and lifestyle.
Continue Your Home Transformation
Explore the full collection of step-by-step eBooks and get the guide that fits the room you're working on.