Most home offices are built around what fits the room, not what fits the person sitting in it. A year later, that shows up as neck tension, lower back pain by mid-afternoon, and wrists that ache after a long typing session.
None of that is inevitable. It usually just means one or two measurements in the setup were off from the start.
Ergonomics isn’t about buying expensive gear. It’s about aligning your chair, desk, and monitor to how your body naturally holds itself, so your muscles carry as little load as possible.
This guide walks through every part of that alignment, in the order that actually matters, starting with your chair.
1. Set Your Chair Height First
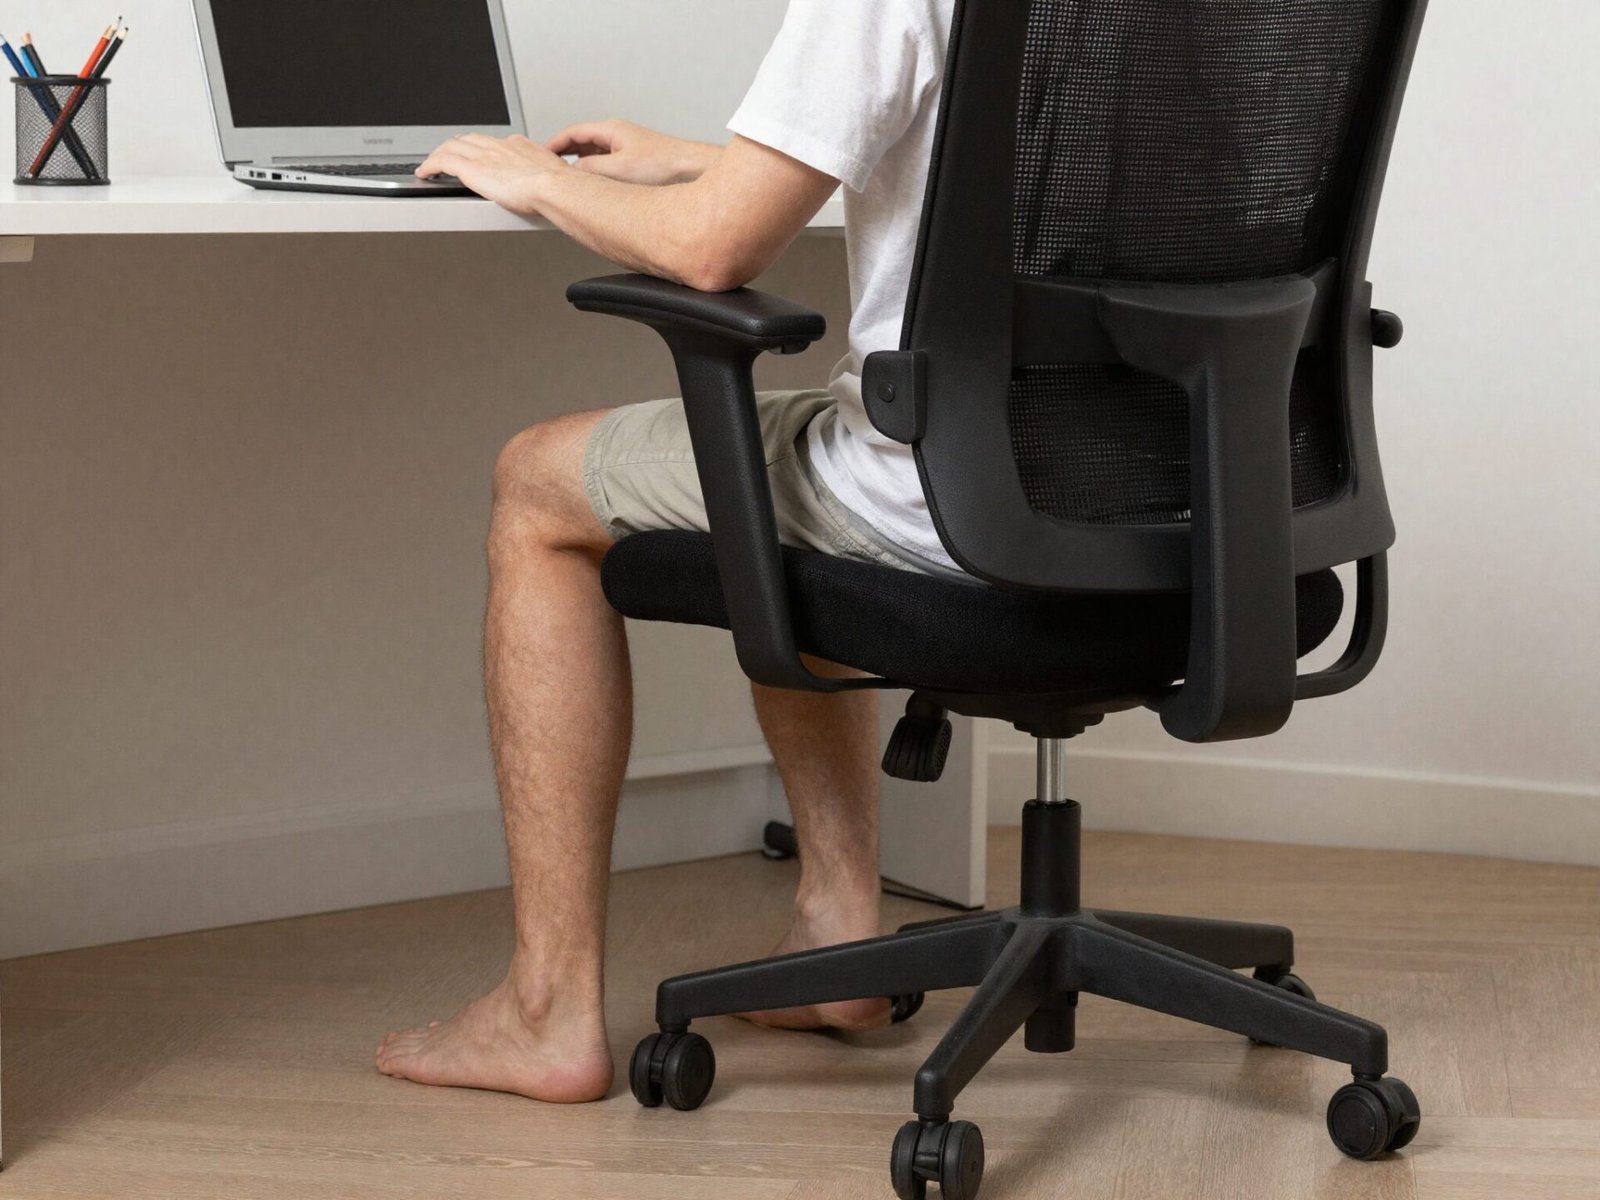
Chair height is the foundation everything else builds on, which is why it’s the first adjustment to make, before touching the desk or monitor.
Your feet should sit flat on the floor with your knees bent at roughly 90 degrees, and your hips should sit slightly higher than your knees.
Getting this one measurement right determines how well every other adjustment in this guide will actually work.
💡 Smart tip: Sit all the way back in the chair so your lower back touches the backrest, then adjust height from that seated position, not while standing.
⚠️ Mistake to avoid: Don’t set chair height based on desk height alone. If your feet dangle or your knees sit above your hips, the desk needs to adjust to the chair, not the other way around.
2. Find the Right Desk Height for Your Elbows
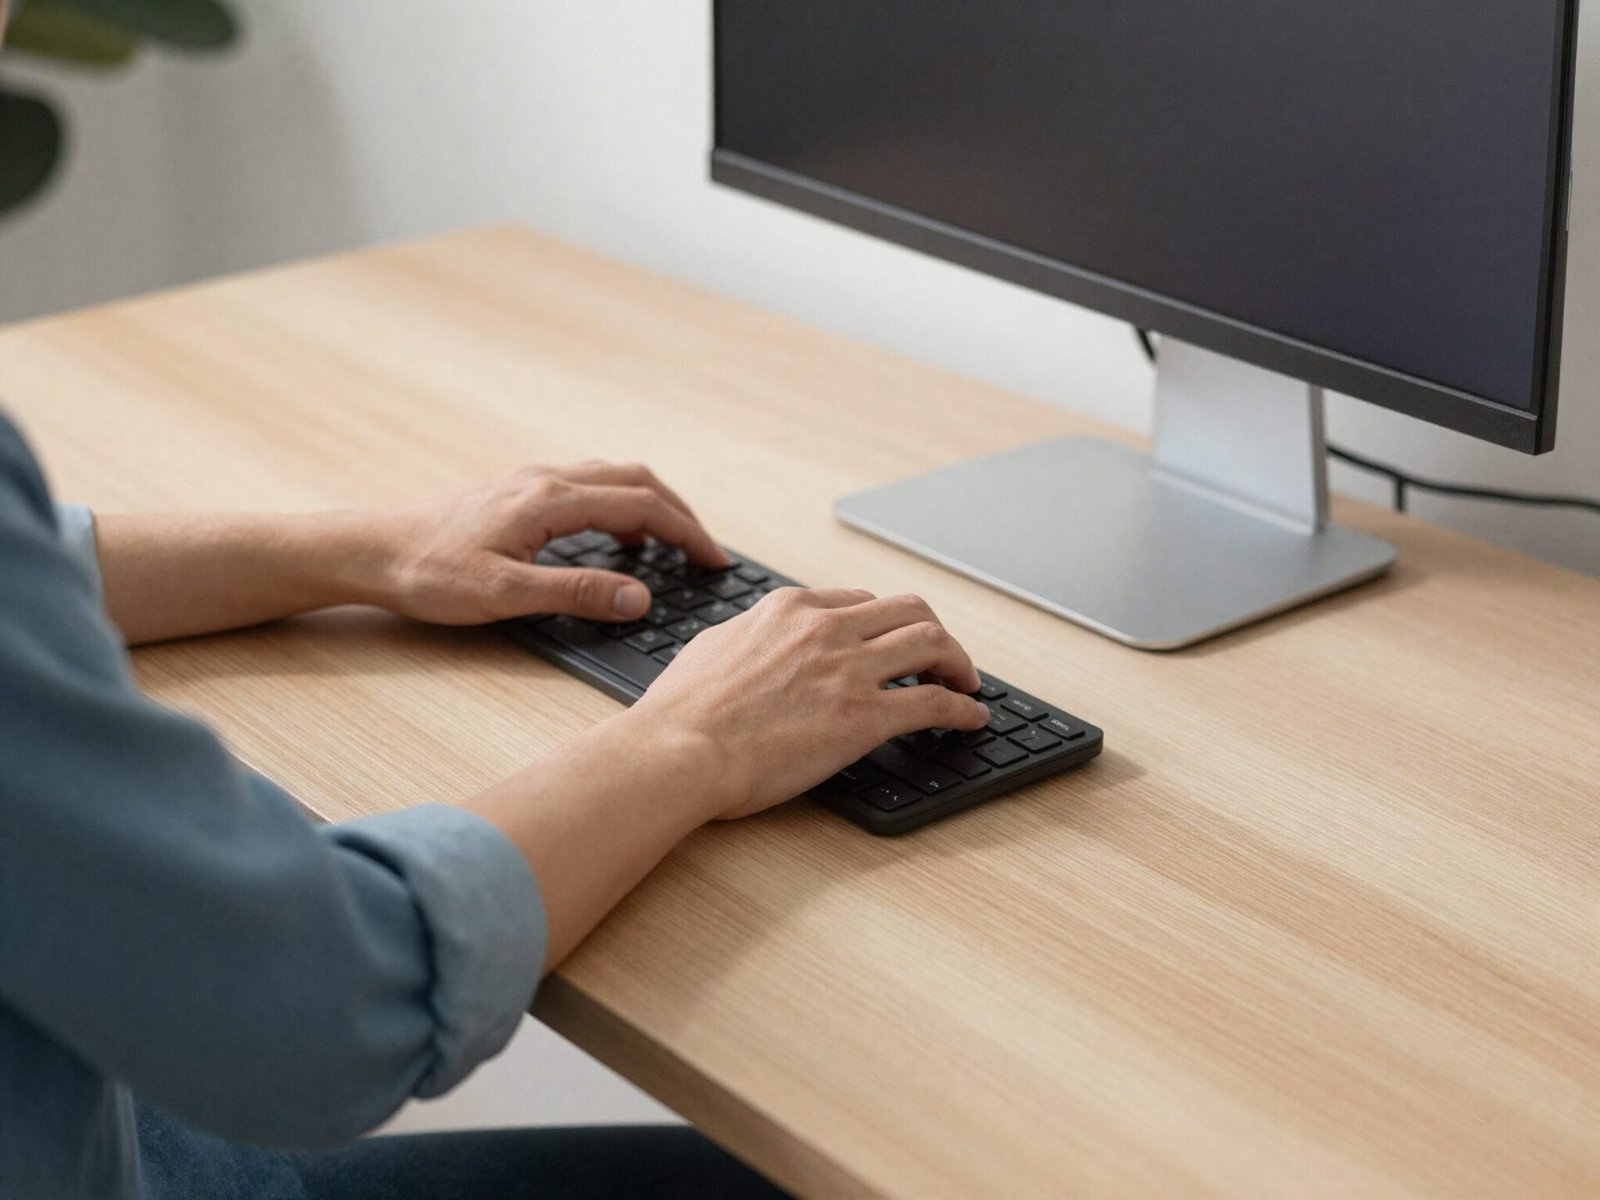
With your chair set correctly, the desk surface should let your elbows rest at roughly a 90-degree angle while typing, whether you’re sitting or standing.
Too high, and your shoulders creep up toward your ears. Too low, and you end up hunching forward to reach the keyboard comfortably.
A height-adjustable desk makes this far easier to dial in precisely, since fixed-height desks rarely suit every body.
💡 Smart tip: If your desk isn’t adjustable and sits too high, add a keyboard tray. If it’s too low, look into adjustable desk risers rather than replacing the whole piece.
⚠️ Mistake to avoid: Don’t judge desk height by how it looks. What feels correct standing next to the desk is often noticeably different once you’re actually seated and typing.
3. Position Your Monitor at Arm’s Length
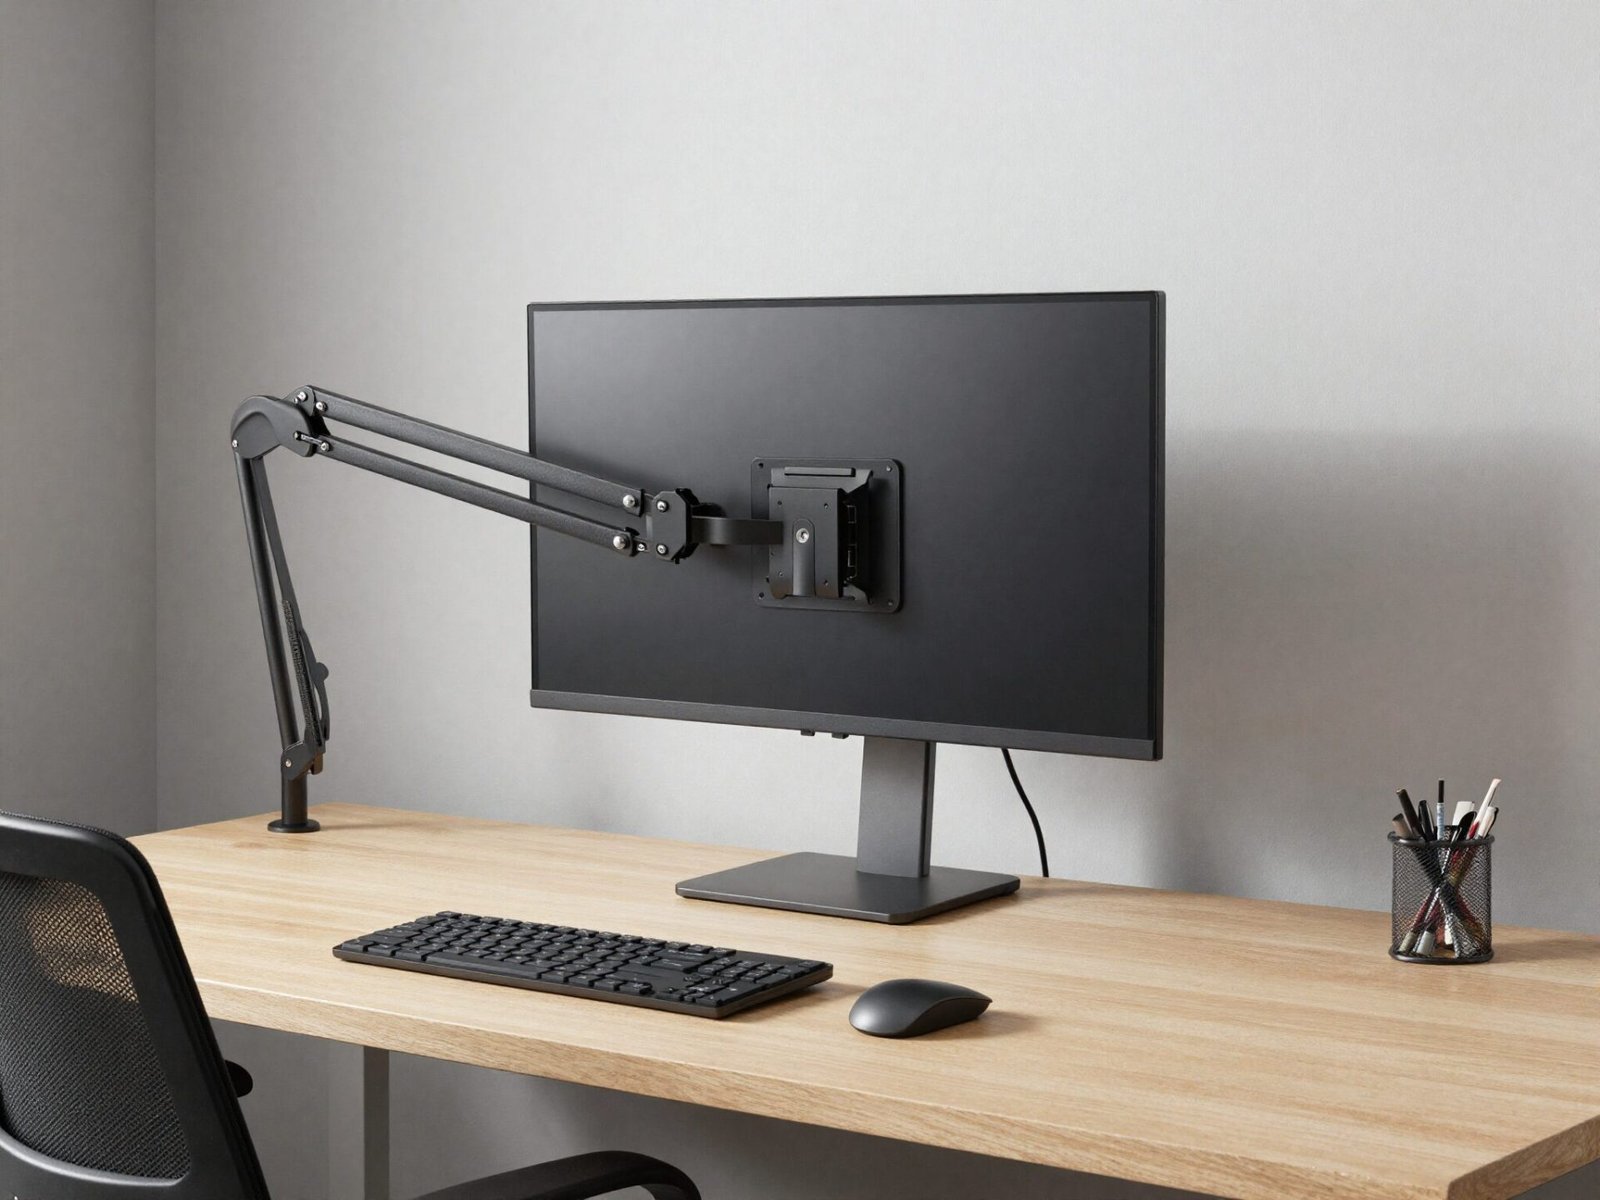
With your back against the chair, extend your arm toward the screen. Your knuckles should just touch the monitor, or the screen should sit a few inches further.
For most people, that lands somewhere between 24 and 28 inches from the eyes to the screen.
Too close, and your eyes work harder to focus. Too far, and you’ll catch yourself leaning forward throughout the day without noticing.
💡 Smart tip: A monitor arm makes this distance easy to fine-tune and adjust as your desk setup changes, unlike a fixed monitor stand.
⚠️ Mistake to avoid: Don’t set monitor distance once and forget it. If you switch chairs or desks later, the correct distance likely needs to move with it.
Loving These Ideas? Get the Step-by-Step Guide
Grab the full 5-day eBook and turn these ideas into a finished room.




4. Set the Top of Your Screen at Eye Level
The top edge of your monitor should sit at or just slightly below eye level when you’re looking straight ahead, not up or down.
This keeps your neck in a neutral position instead of tilted, which is one of the most common sources of neck strain in a home office.
If you’re working from a laptop without a stand, this alignment is almost impossible to achieve, which is exactly why laptop stands matter so much.
💡 Smart tip: Stack books or a monitor riser under the screen if you don’t have an adjustable stand — it’s a low-cost fix that works surprisingly well.
⚠️ Mistake to avoid: Don’t tilt your monitor upward to compensate for it sitting too low. That angle actually increases neck strain rather than reducing it.
5. Adjust for Dual Monitors
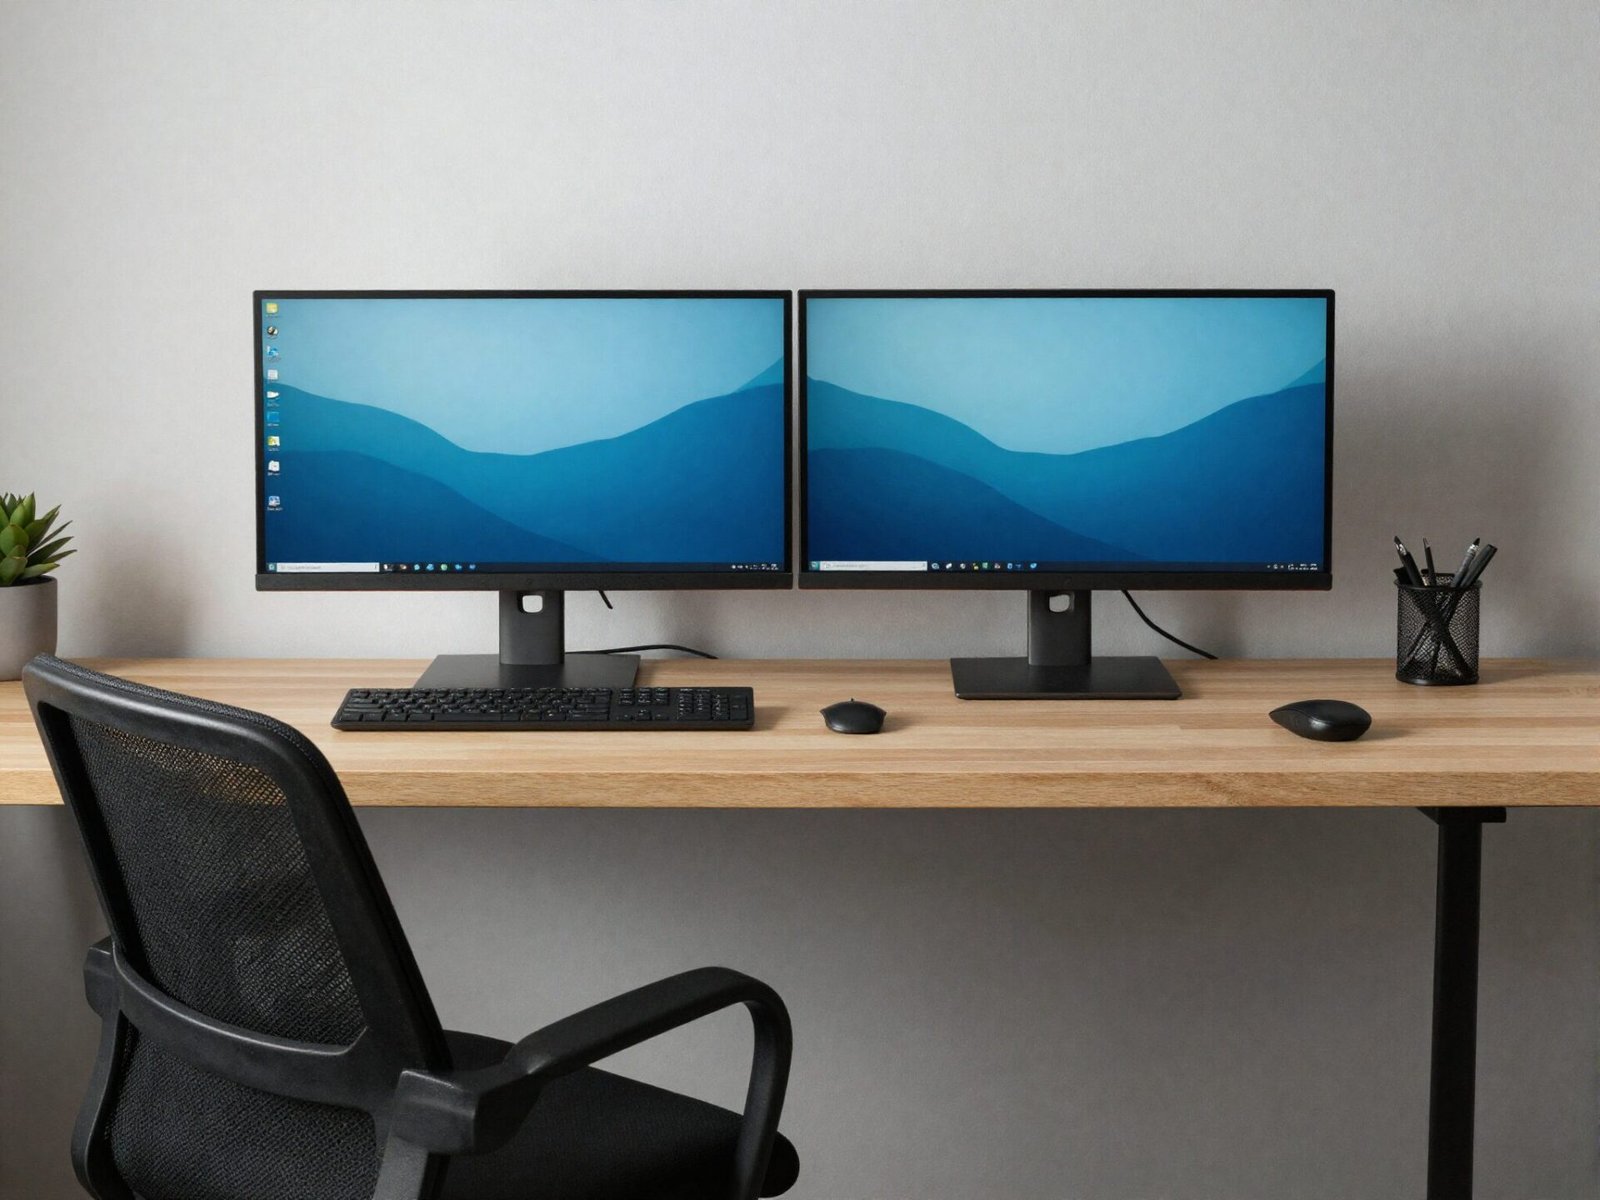
If you use two monitors equally, center both directly in front of you, with the seam between them lined up with your body’s midline.
If one monitor is your primary screen, center that one and angle the secondary monitor slightly toward you, rather than splitting the difference between both.
This prevents the repetitive neck twisting that comes from favoring a screen that’s positioned off to one side all day.
💡 Smart tip: Match both monitors to the same height and distance settings described above, even if one is used less often.
⚠️ Mistake to avoid: Don’t place your primary monitor off-center just because the secondary one needs more desk space — reposition the desk setup instead of compromising your main screen’s alignment.
6. Get Your Keyboard and Mouse on the Same Plane
Your keyboard and mouse should sit at the same height and roughly the same distance from your body, close enough that your elbows stay near your sides.
Reaching too far forward, or having the mouse noticeably higher than the keyboard, creates ongoing shoulder and wrist tension over a full workday.
Wrists should stay flat and neutral while typing, not bent up or down at the wrist joint.
💡 Smart tip: A keyboard tray set slightly below standard desk height often puts wrists in a more neutral position than typing directly on the desktop.
⚠️ Mistake to avoid: Don’t rest your wrists on a hard desk edge while typing. A wrist rest, or simply floating your wrists slightly above the surface, reduces pressure on the nerve that runs through the wrist.
7. Add a Footrest If Your Feet Don’t Reach the Floor
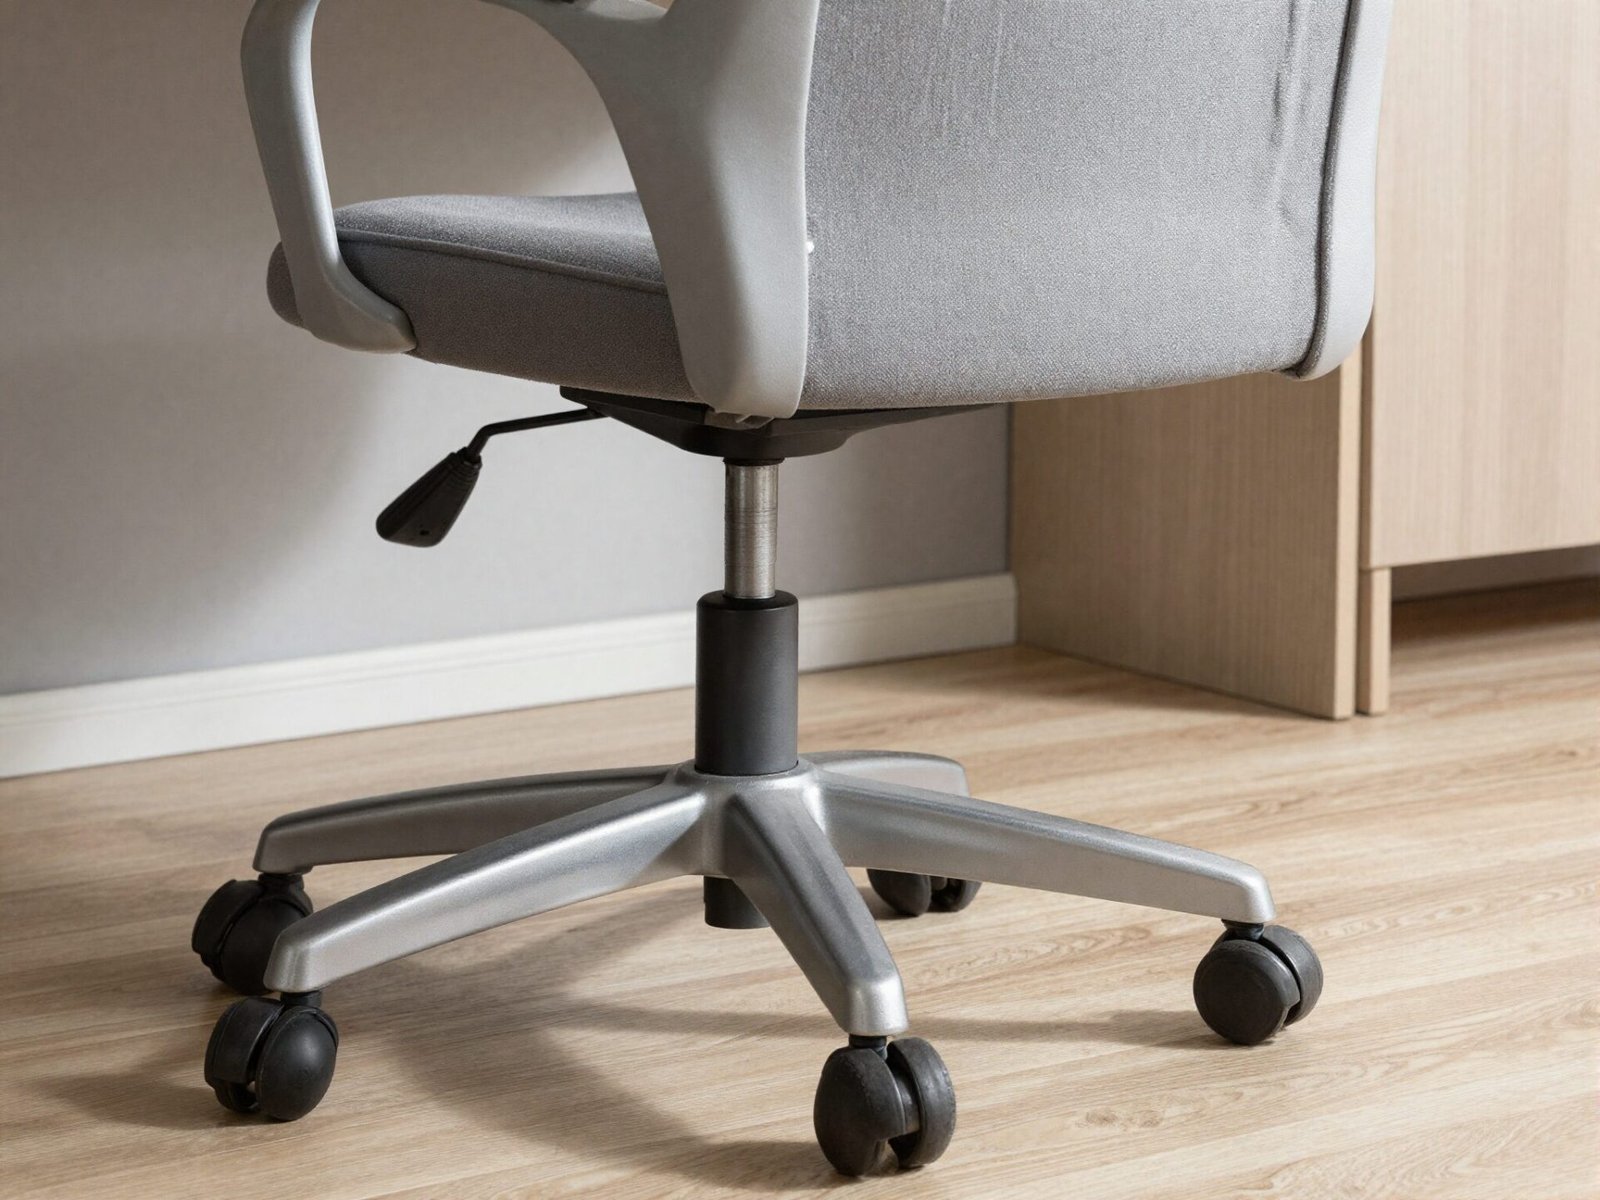
If your chair is set to the correct height for your desk but your feet no longer reach the floor, a footrest closes that gap without compromising the rest of your setup.
This is especially common for shorter users working at a standard-height desk that wasn’t designed with adjustability in mind.
Dangling feet shift pressure onto the back of your thighs, which restricts circulation over long sitting sessions.
💡 Smart tip: Choose a footrest with an adjustable tilt, not just height, so your ankles can stay in a relaxed, neutral position too.
⚠️ Mistake to avoid: Don’t use a stack of books or a makeshift box as a permanent footrest — the unstable surface can actually encourage worse posture than no footrest at all.
8. Use a Laptop Stand and External Keyboard
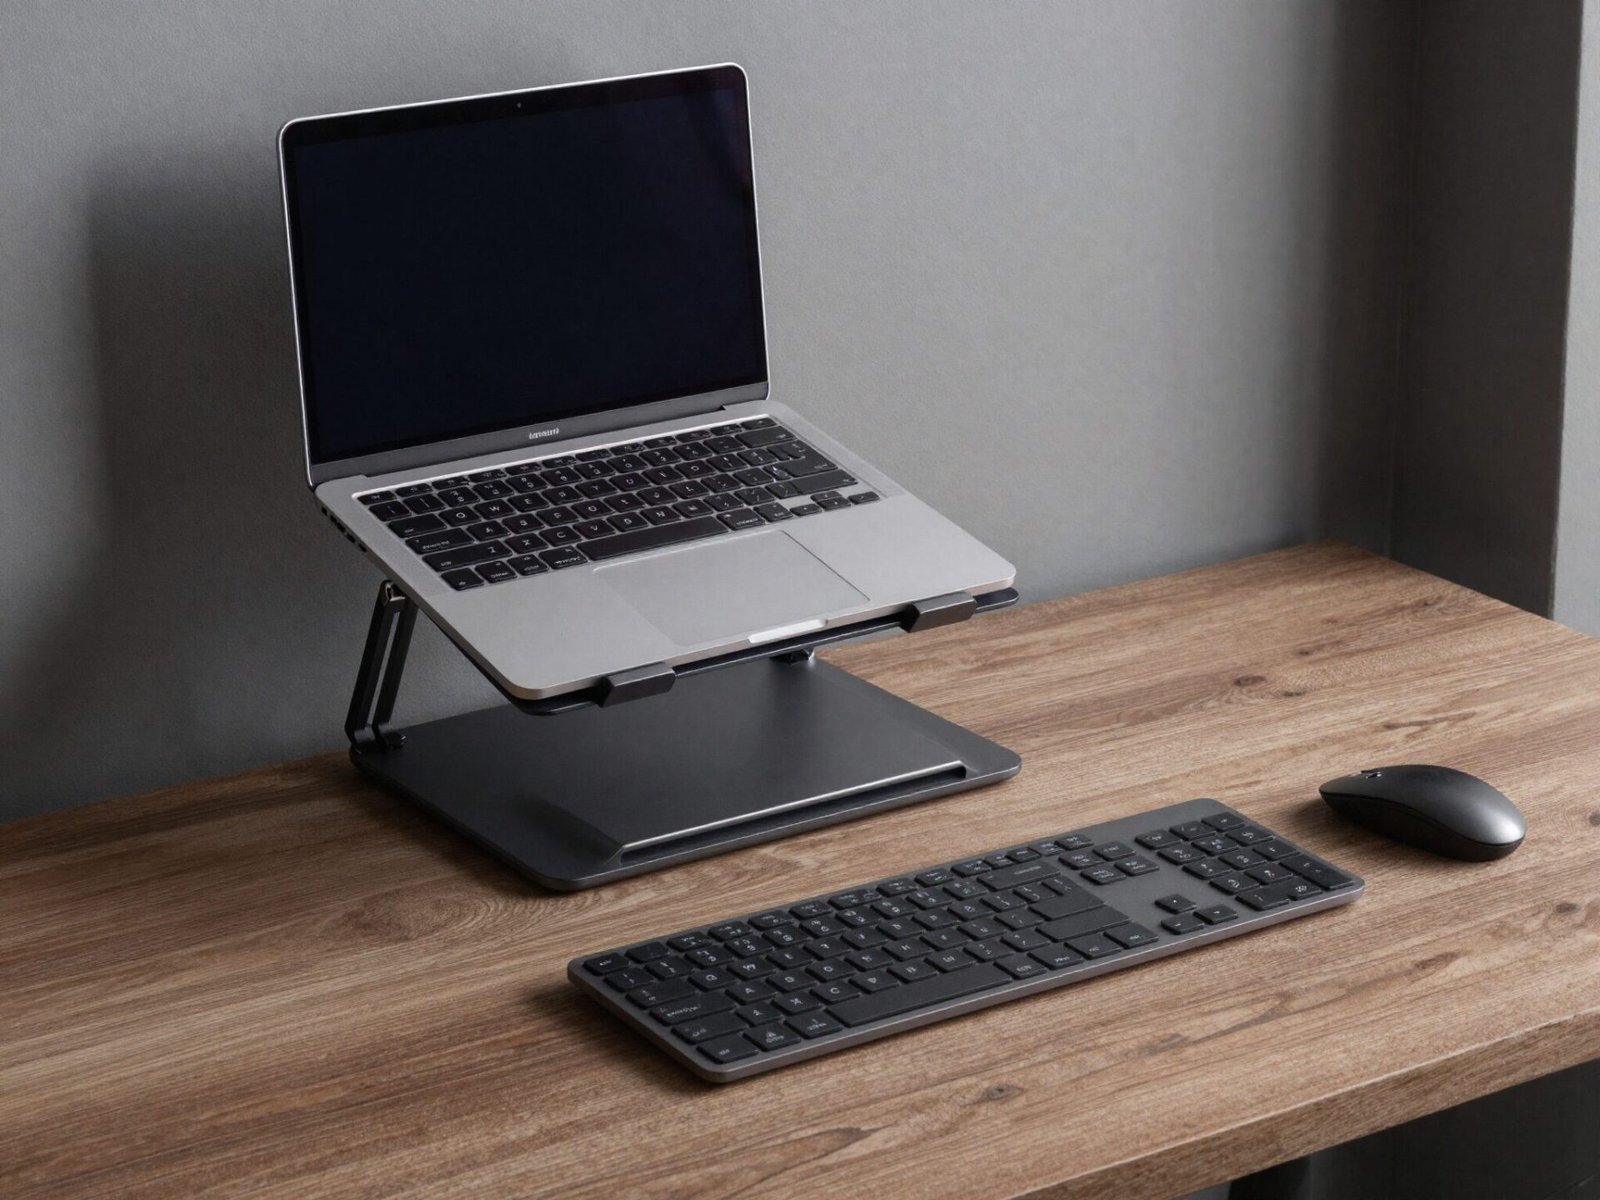
A laptop balances screen and keyboard height against each other, which makes it nearly impossible to get both right at the same time without extra equipment.
Raising the laptop on a stand fixes the screen height, but only works if you pair it with an external keyboard and mouse at the correct lower height.
Typing directly on an elevated laptop defeats the entire purpose, since it puts your wrists at an awkward upward angle.
💡 Smart tip: A wireless keyboard and mouse keep the desk looking clean while still giving you full ergonomic control over hand position.
⚠️ Mistake to avoid: Don’t use a laptop stand without also adding external input devices — raising the screen without lowering the typing surface just moves the strain from your neck to your wrists.
9. Check Your Lumbar Support Position
Lumbar support should sit right in the small curve of your lower back, not below it against your seat or too high against your mid-back.
Most adjustable chairs let you move this support up and down independently of the seat height, so it’s worth testing a few positions.
Good lumbar support reduces the muscular effort your lower back has to do just to hold you upright through a long workday.
💡 Smart tip: If your chair lacks built-in lumbar adjustment, a small rolled towel or a dedicated lumbar cushion can approximate the same support.
⚠️ Mistake to avoid: Don’t confuse a taller backrest with better lumbar support. Height and lower-back curve support are two separate features, and a tall chair can still miss the mark on the second one.
10. Set Armrest Height Correctly
Armrests should support your forearms with your shoulders relaxed, not raised or hunched up to reach them.
If they sit too high, your shoulders creep upward over time; too low, and your arms hang without any real support at all.
Some chairs also allow width and depth adjustment on the armrests, which is worth using if your desk has drawers or a narrower keyboard tray.
💡 Smart tip: Set armrest height while your hands are resting on the keyboard, not while your arms are hanging loosely at your sides.
⚠️ Mistake to avoid: Don’t leave armrests so wide that they hit the underside of your desk, which forces you to sit further back than the correct monitor distance allows.
11. Choose the Right Desk Width for Your Space
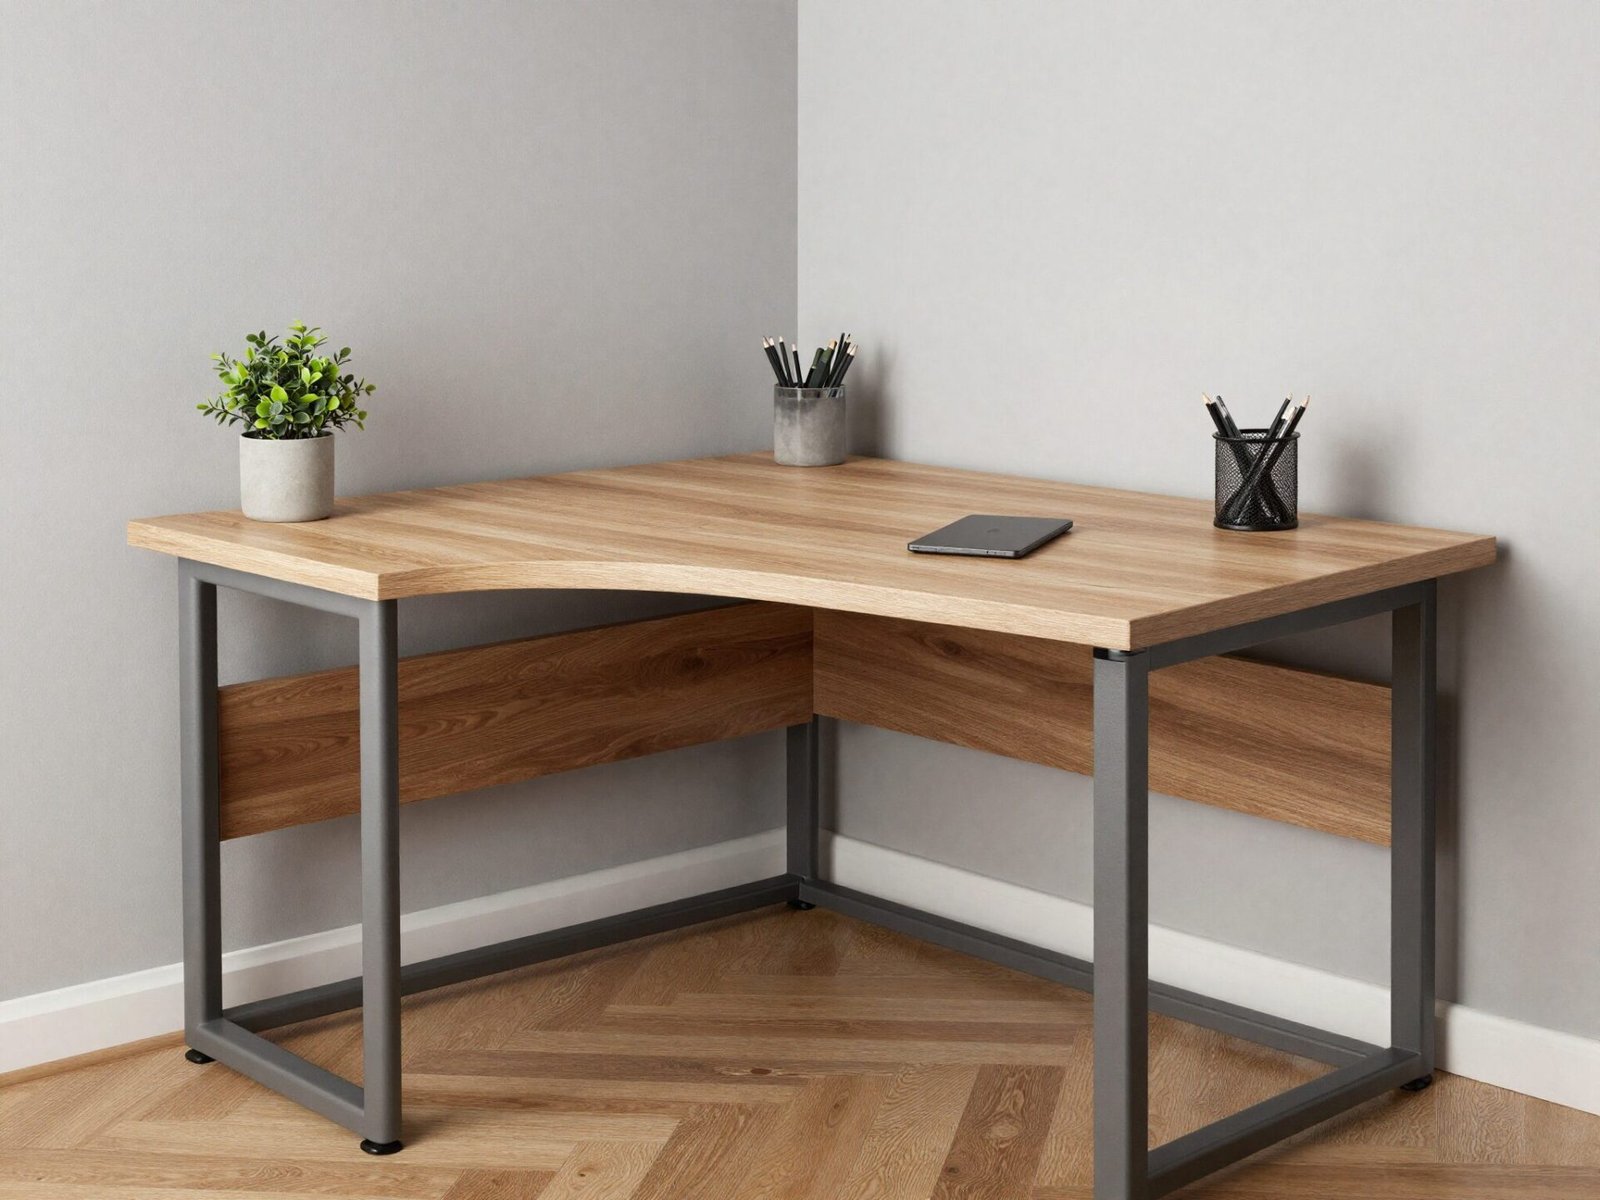
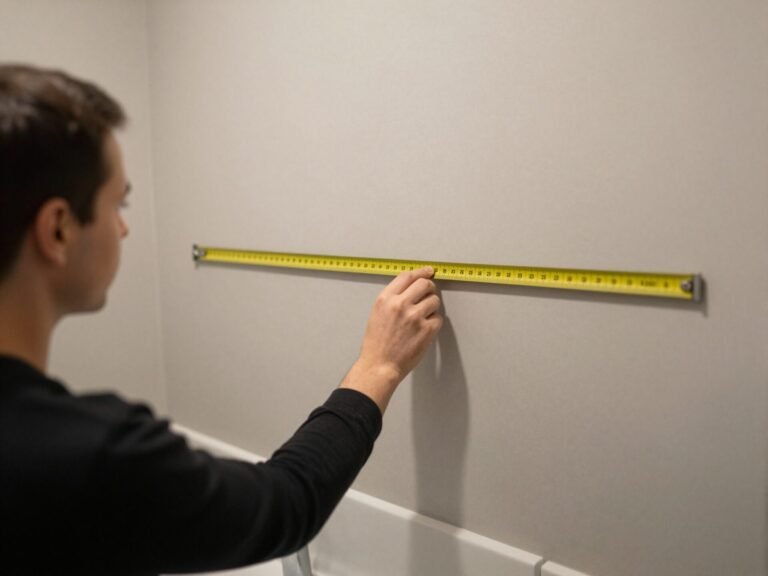
A desk between 48 and 60 inches wide suits most single-monitor setups, giving enough room for a keyboard, mouse, and a bit of open surface.
A 47-48 inch desk works well in smaller rooms if you’re primarily using one screen with minimal extra equipment.
If you regularly use multiple monitors or spread out documents, 60 inches or more gives noticeably more breathing room without feeling cramped.
💡 Smart tip: Prioritize desk depth as much as width — 24 to 30 inches of depth is what actually gives your monitor enough distance from your eyes.
⚠️ Mistake to avoid: Don’t choose the widest desk your room fits without considering depth. A wide but shallow desk still forces your monitor too close to your face.
12. Alternate Between Sitting and Standing
Even a perfectly ergonomic seated setup benefits from regular movement, since staying in any single position for hours puts static load on the same muscles.
Start with short standing intervals, around 20-30 minutes at a time, and build up gradually rather than standing for a full workday right away.
A height-adjustable desk makes this transition seamless, but even a manual standing desk converter accomplishes the same goal.
💡 Smart tip: Pair standing intervals with tasks that don’t require intense focus, like calls or email, so the transition doesn’t disrupt deep work.
⚠️ Mistake to avoid: Don’t stand in the same fixed posture as long as you’d sit. Standing still for hours creates its own strain — shift your weight and move periodically either way.
13. Position Task Lighting to Reduce Glare
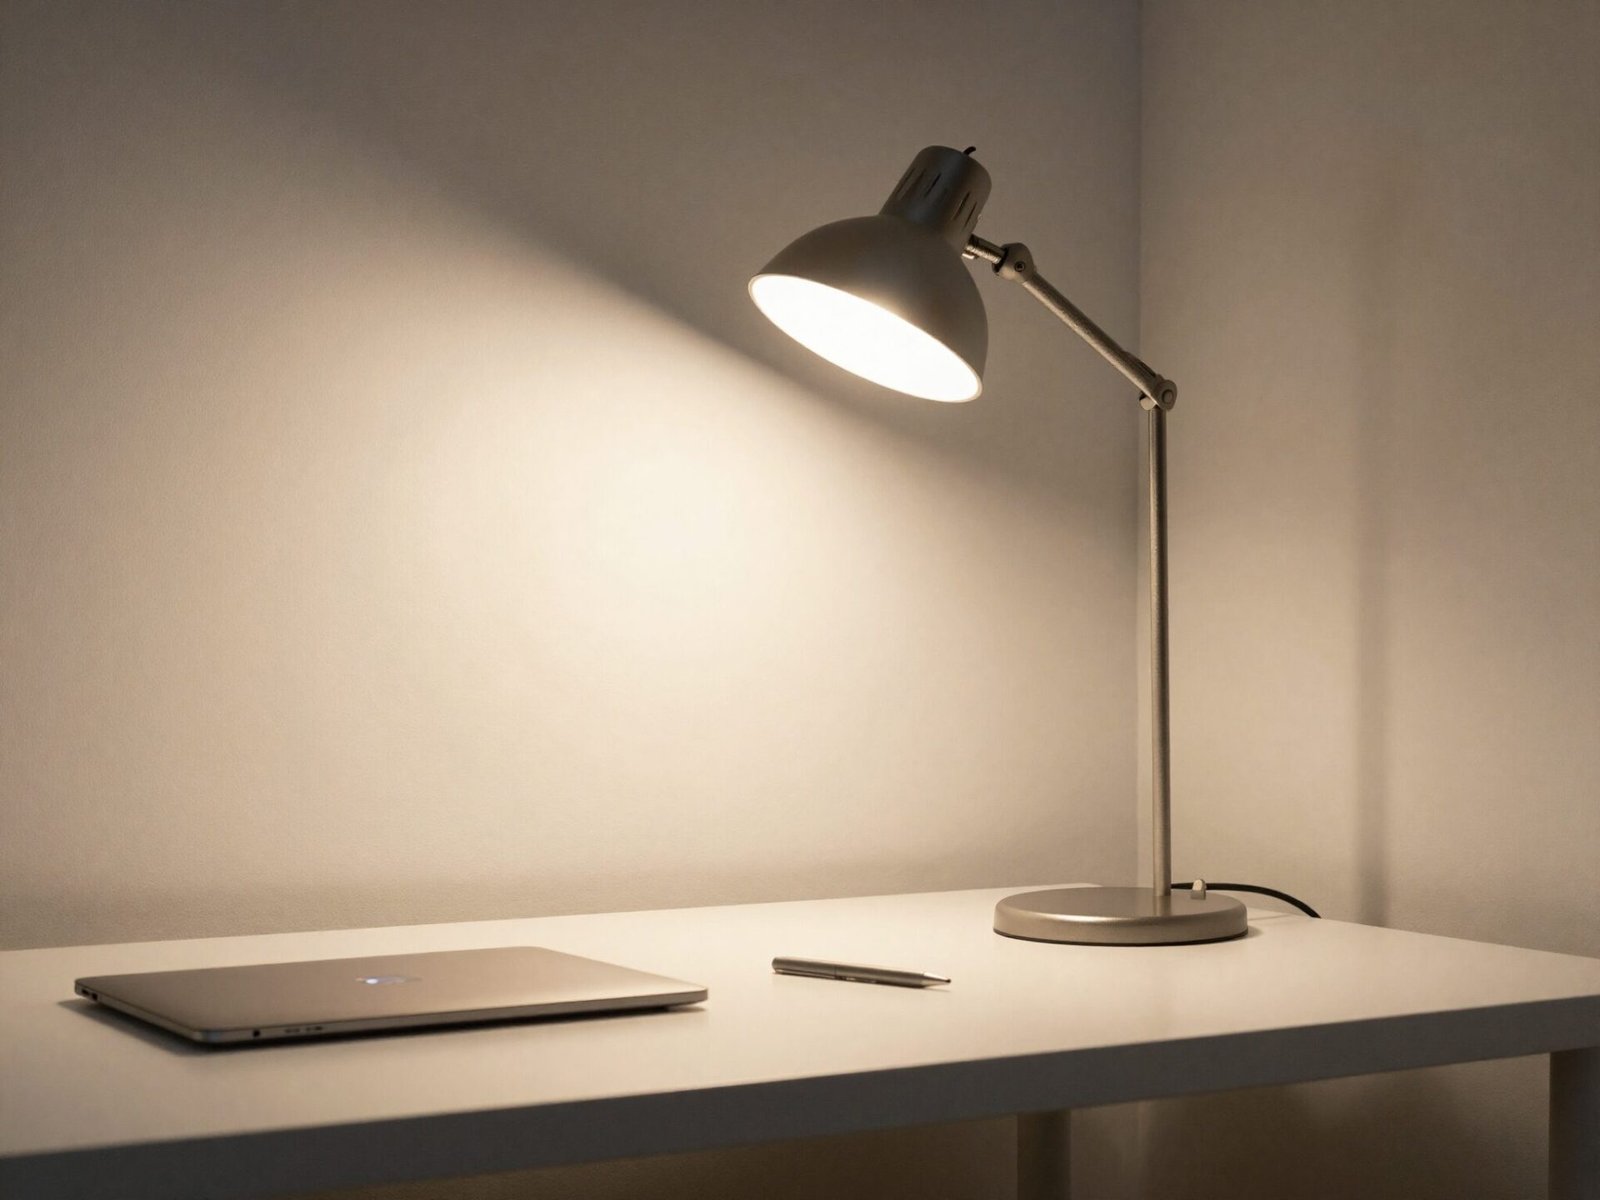
Lighting affects ergonomics more than most people expect. Poor lighting causes you to lean toward the screen or squint, both of which strain your neck and eyes over time.
Position task lighting to the side of your monitor rather than directly behind or in front of it, which minimizes glare on the screen.
Natural light is ideal, but position your desk perpendicular to a window rather than facing it directly to avoid competing brightness.
💡 Smart tip: Choose a warm-to-neutral bulb, roughly 3000-4000K, for task lighting — it reduces eye fatigue better than a cool, bluish white during long sessions.
⚠️ Mistake to avoid: Don’t position a bright lamp directly behind your monitor. It creates contrast glare that makes the screen harder to read, not easier.
14. Common Ergonomic Setup Mistakes
A few mistakes show up across nearly every poorly optimized home office, regardless of how much was spent on the furniture itself.
Working from a couch or bed occasionally is fine, but doing it as a daily default removes every one of the alignment benefits described in this guide.
Buying an expensive chair or desk without actually adjusting it to your body is nearly as common, and it wastes most of the ergonomic benefit the equipment was designed to provide.
💡 Smart tip: Revisit your setup every few months, especially after buying new equipment — one changed piece often throws off the alignment of everything else.
⚠️ Mistake to avoid: Don’t assume ergonomic furniture works correctly right out of the box. Nearly every chair and desk needs manual adjustment to actually fit your body.
Effort & Cost Snapshot
| Idea | Effort | Approx. Cost |
|---|---|---|
| 1. Chair Height Setup | Low | $0 (adjustment only) |
| 2. Desk Height for Elbows | Medium | $0–$500 (adjustable desk) |
| 3. Monitor Distance | Low | $0–$150 (monitor arm) |
| 4. Screen at Eye Level | Low | $0–$60 (riser) |
| 5. Dual Monitor Setup | Medium | $100–$300 |
| 6. Keyboard and Mouse Plane | Low | $0–$80 |
| 7. Footrest | Low | $20–$60 |
| 8. Laptop Stand and Keyboard | Low | $50–$150 |
| 9. Lumbar Support Check | Low | $0–$40 |
| 10. Armrest Adjustment | Low | $0 |
| 11. Desk Width Choice | Medium | $150–$600 |
| 12. Sit-Stand Alternation | Medium | $0–$500 |
| 13. Task Lighting | Low | $25–$80 |
| 14. Fixing Common Mistakes | Low | $0 |
Most of these adjustments cost nothing beyond a few minutes with the equipment you already own. Start with your chair and desk height, since everything else in this guide builds on those two numbers.
Give it a week before judging the results — ergonomic changes tend to feel unfamiliar at first, even when they’re objectively correct.
Continue Your Home Transformation
Explore the full collection of step-by-step eBooks and get the guide that fits the room you're working on.