Landscaping Ideas
Getting the xeriscaping right makes the biggest difference in how the space actually feels day to day. A well-planned xeriscaping balances function and style, and even small tweaks to your xeriscaping can transform the whole area.
If your water bill spikes every summer just trying to keep a thirsty lawn alive through the heat, you’re fighting a battle the climate was never going to let you win easily. Xeriscaping isn’t about giving up on a beautiful yard — it’s about designing one that actually matches the water your region naturally provides, instead of constantly compensating for what it doesn’t.
By the end of this article, you’ll have 14 real ways to build a landscape that stays lush and colorful through dry spells while using a fraction of the water a traditional yard demands.
Table of Contents
- 1. Replace Lawn With Native, Drought-Tolerant Planting
- 2. Build a Gravel Garden Where Turf Used to Be
- 3. Anchor the Yard With a Sculptural Focal Tree
- 4. Group Plants by Water Need With Hydrozoning
- 5. Guide Visitors Along a Curved Stone Path
- 6. Prove Xeriscaping Can Still Be Colorful
- 7. Swap Turfgrass for a Low-Water Ground Cover
- 8. Capture and Reuse Rainwater
- 9. Mulch Heavily to Lock In Moisture
- 10. Lean Into a Mediterranean-Style Planting Palette
- 11. Let Native Beds Flow Naturally Instead of Gridding Them
- 12. Choose Permeable Paving for Paths and Driveways
- 13. Automate Watering With Smart Drip Irrigation
- 14. Add a Dry Riverbed as a Functional Feature
- Effort & Cost Snapshot
1. Replace Lawn With Native, Drought-Tolerant Planting for Your Xeriscaping
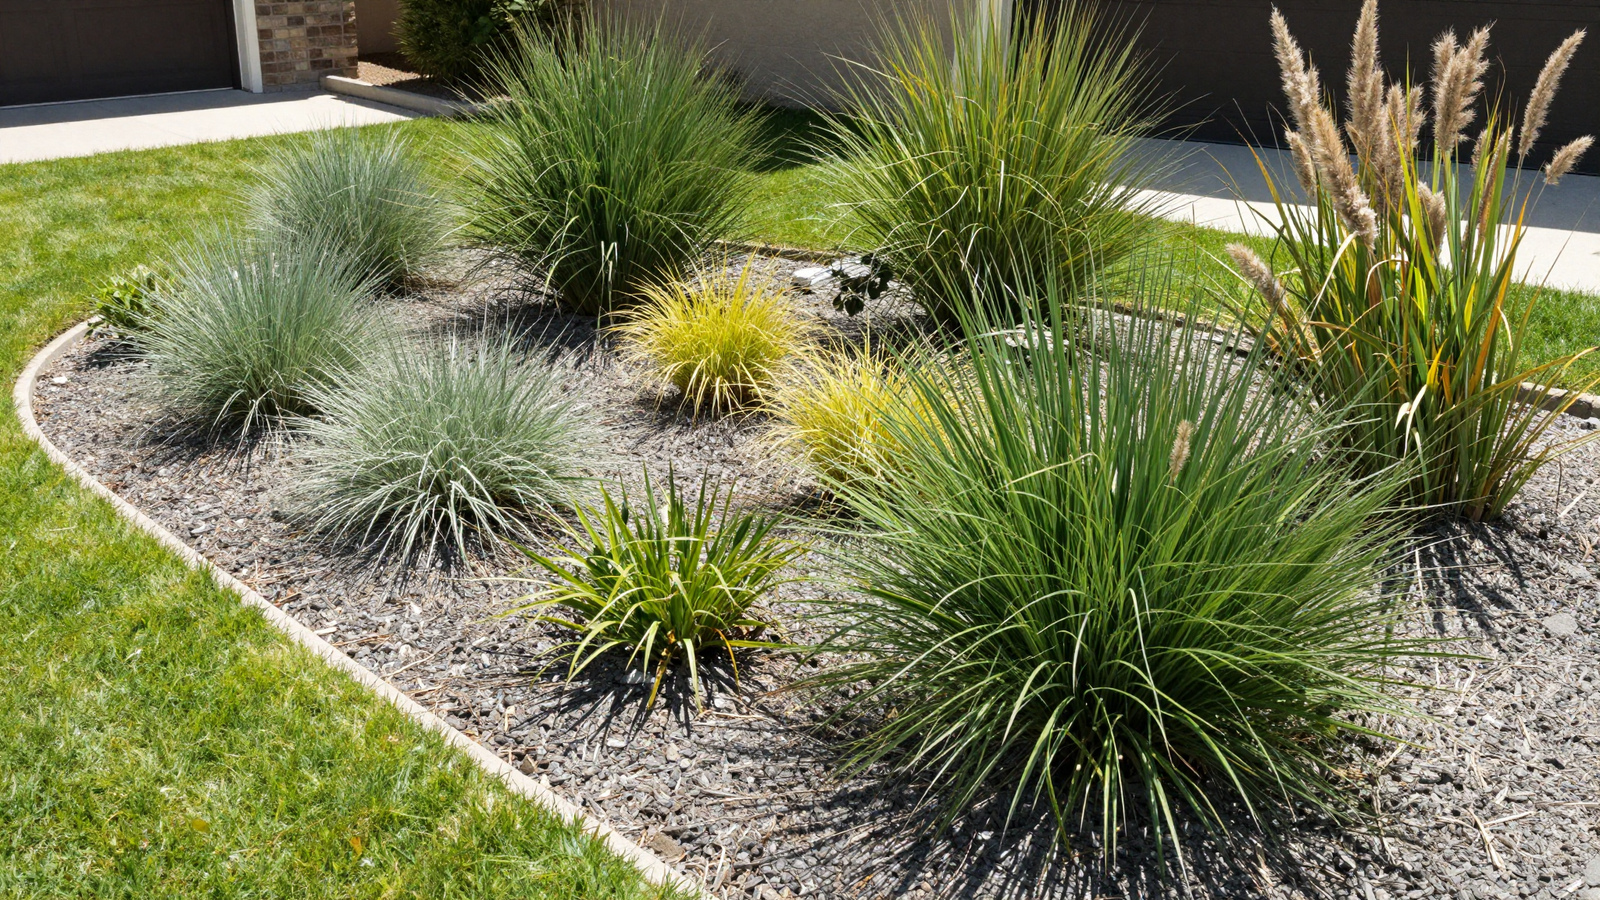
Swapping thirsty turfgrass for plants that are actually adapted to your region’s rainfall is the single biggest change most xeriscapes make, and it’s where the real water savings come from. Once established, native and adaptive plants typically need only occasional deep watering instead of a daily or weekly schedule.
💡 Smart tip: Keep new plantings watered consistently through their first one to two growing seasons; that establishment period is what builds the deep root systems drought tolerance depends on.
⚠️ Mistake to avoid: Assuming “drought tolerant” means zero water ever; even the toughest plants need help getting established before they can handle real neglect.
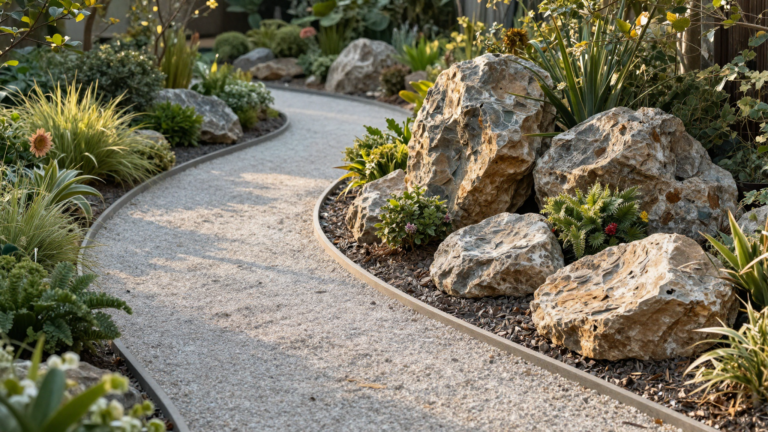
2. Build a Gravel Garden Where Turf Used to Be for Your Xeriscaping
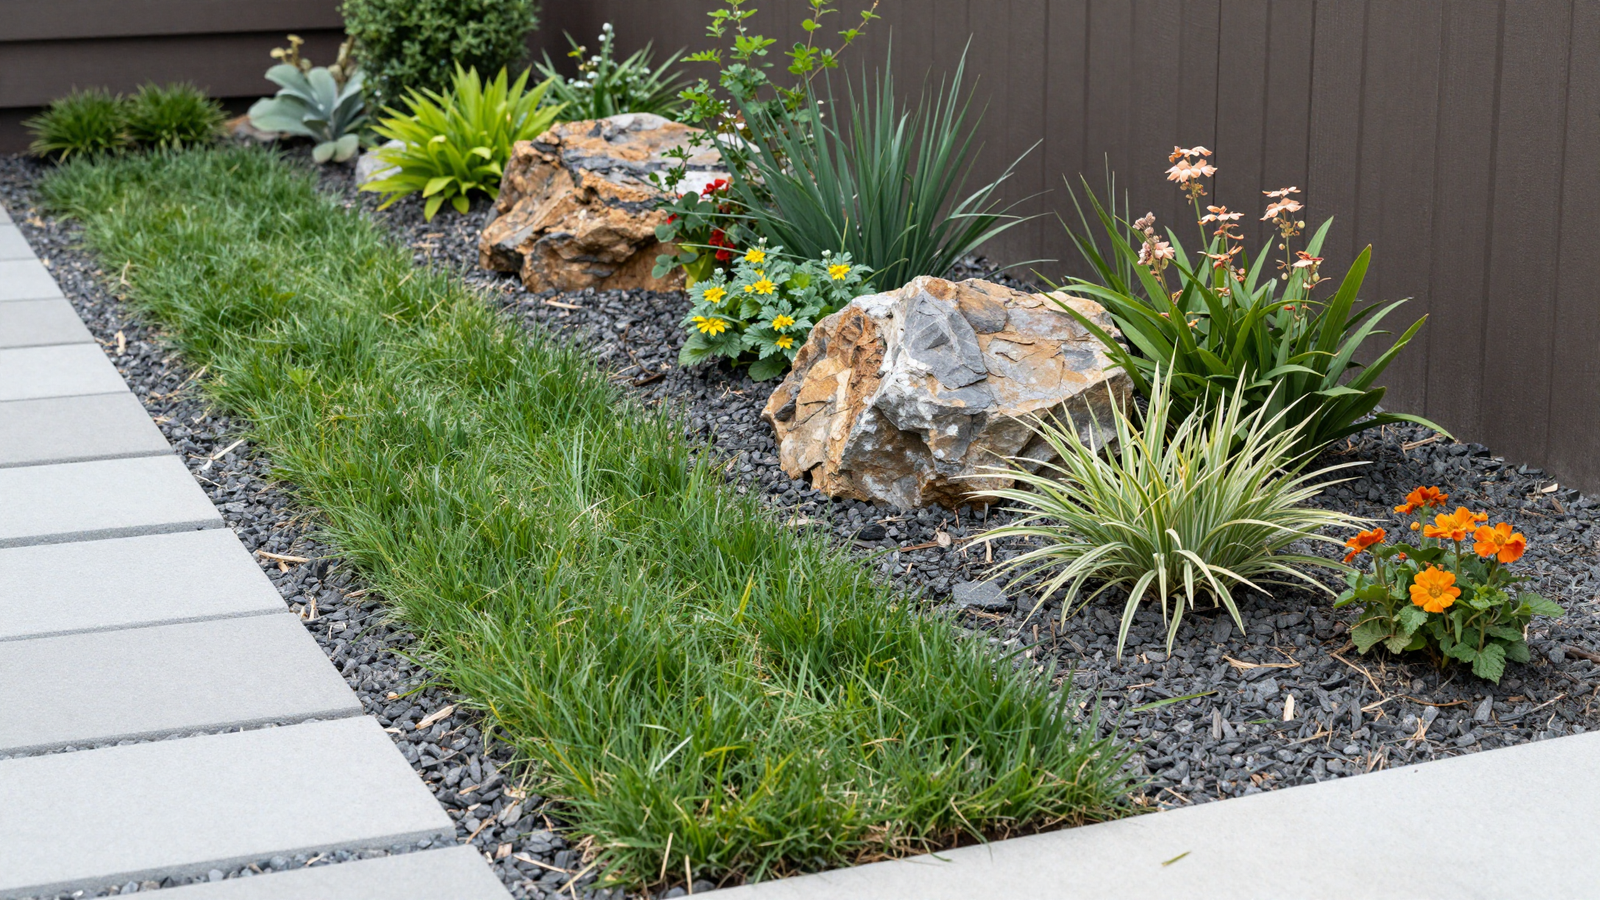
A gravel bed planted with drought-resistant perennials eliminates mowing entirely while giving the eye plenty of texture and movement to look at. Permeable gravel also lets rainfall soak straight into the soil instead of running off, which helps the whole yard manage water more efficiently.
💡 Smart tip: Lay a permeable landscape fabric beneath the gravel to cut down on weed growth without blocking natural drainage.
⚠️ Mistake to avoid: Choosing gravel that’s too fine or rounded for walking areas; it shifts underfoot and doesn’t compact into a stable surface.
3. Anchor the Yard With a Sculptural Focal Tree for Your Xeriscaping
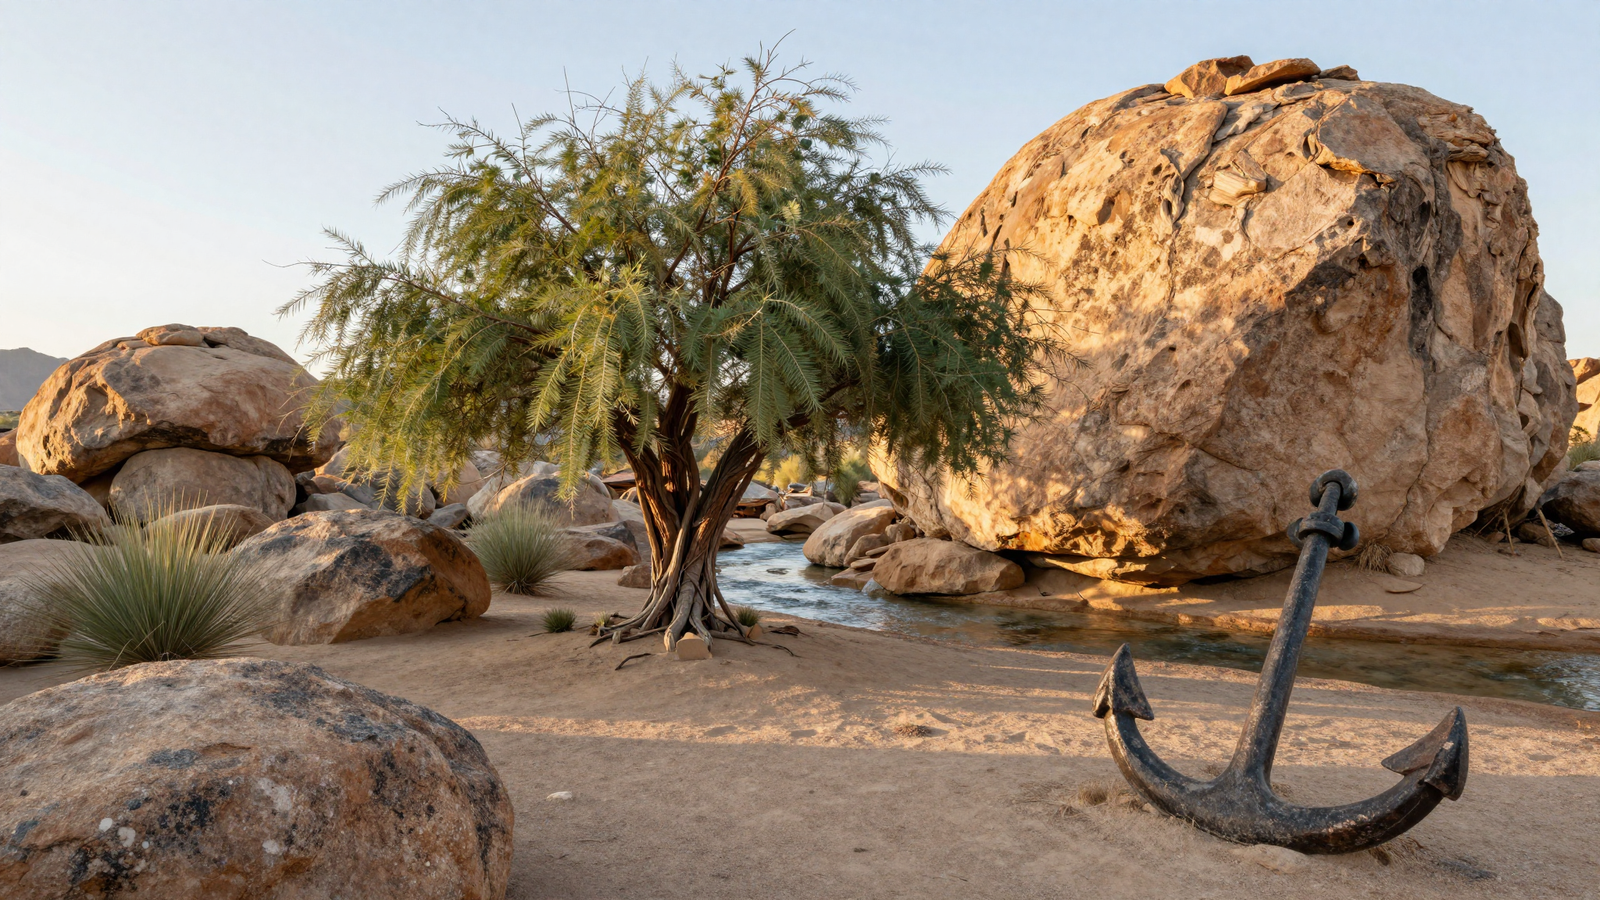
Every xeriscape benefits from one strong anchor point, and a naturally sculptural tree like a desert willow does that job beautifully while asking for very little water once established. Paired with ornamental boulders, it organizes the whole landscape around a single, deliberate focal point.
💡 Smart tip: Position the focal tree near the entryway or a central sightline from indoors, so it earns its visual weight from the angles you actually see most often.
⚠️ Mistake to avoid: Choosing a tree species without checking its mature spread; a beautiful focal point can quickly overwhelm a small yard if it wasn’t sized correctly from the start.
Loving These Ideas? Get the Step-by-Step Guide
Grab the full 5-day eBook and turn these ideas into a finished room.



4. Group Plants by Water Need With Hydrozoning
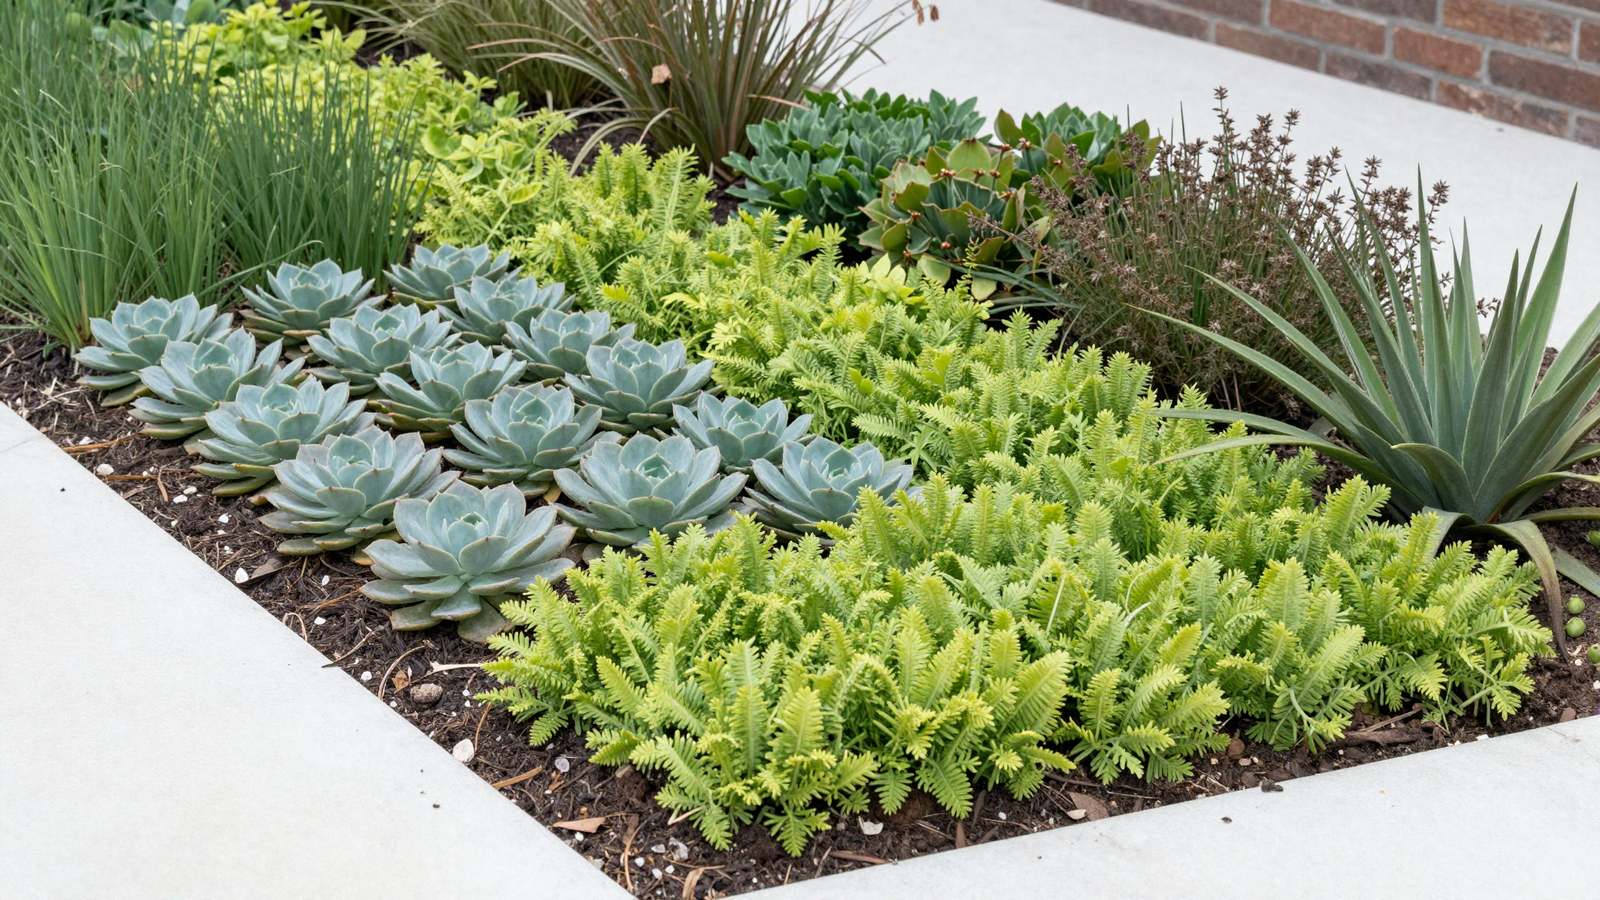
Hydrozoning simply means grouping plants with similar water needs together instead of scattering them randomly, so you’re never overwatering a drought-tolerant plant just to keep its thirstier neighbor alive. It’s one of the most practical planning principles in xeriscaping and costs nothing but a bit of upfront thought.
💡 Smart tip: Map your yard’s zones on paper before planting anything — mark full sun versus shade, and low points where water naturally collects versus higher, drier spots.
⚠️ Mistake to avoid: Mixing high and low water plants in the same irrigation zone; even well-chosen plants will struggle if the watering schedule doesn’t match their actual needs.
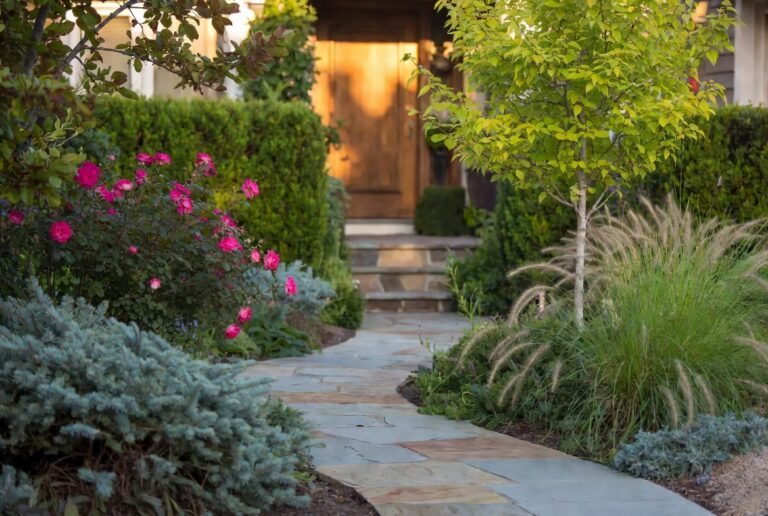
5. Guide Visitors Along a Curved Stone Path
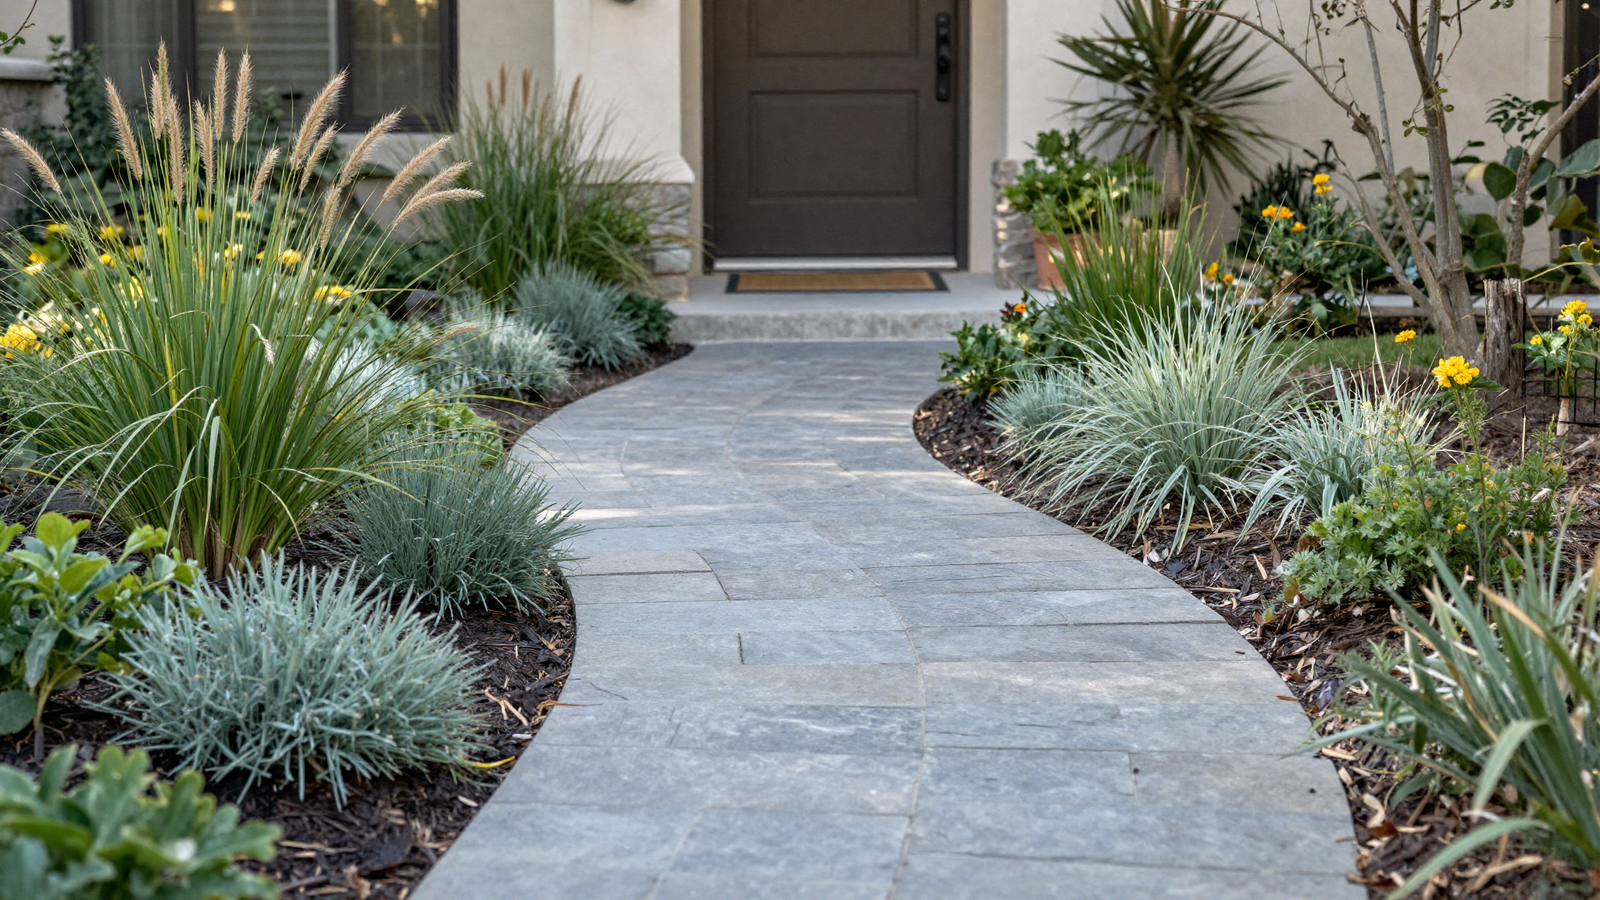
A curved stone path through layered planting gives a xeriscape the same sense of arrival and intention that a traditional lawn-and-flowerbed entry has, just without the water bill. Mixing low groundcovers, mid-height flowering plants, and taller grasses along the way keeps the walk visually interesting from the street to the front door.
💡 Smart tip: Vary plant height in three clear tiers — low, medium, tall — rather than scattering heights randomly, so the layered effect actually reads from a distance.
⚠️ Mistake to avoid: Making the path feel like an afterthought squeezed between beds; design it as a deliberate feature with its own width and material choice.
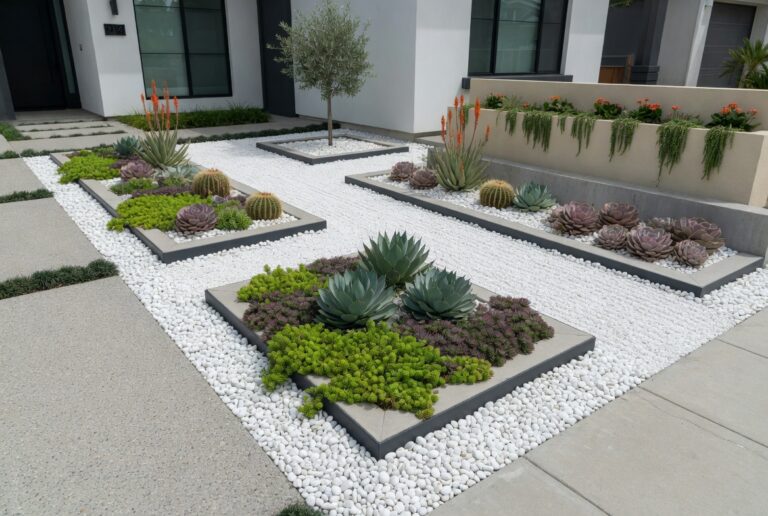
6. Prove Xeriscaping Can Still Be Colorful
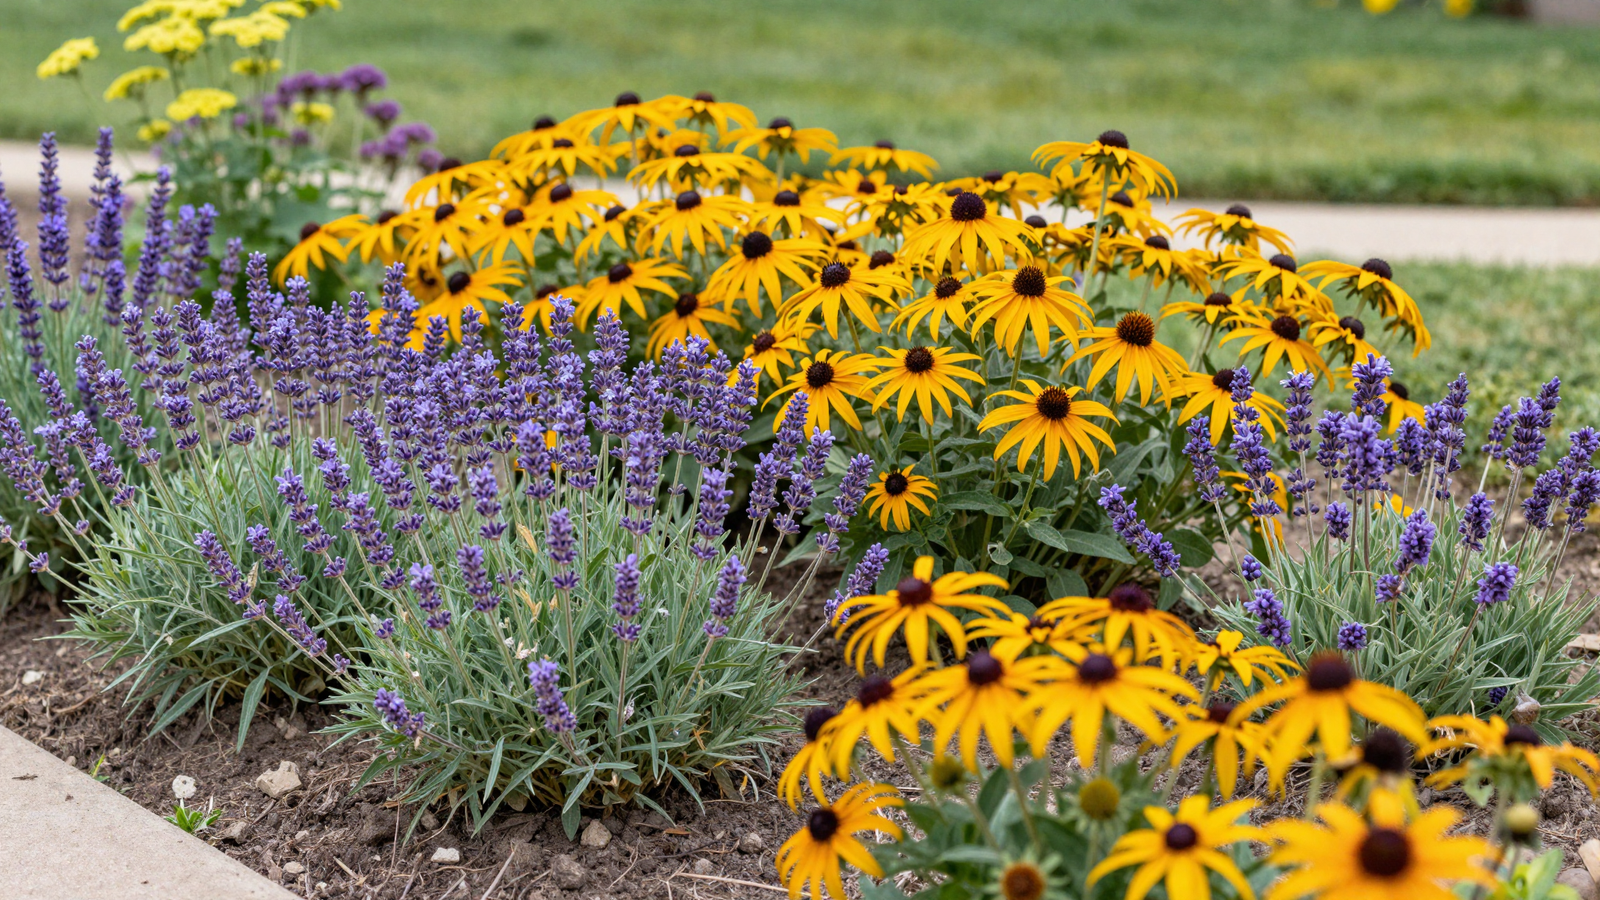
One of the biggest misconceptions about water-wise landscaping is that it has to be all gravel and cactus. Lavender, coneflower, yarrow, black-eyed Susan, and salvia all deliver genuine color and bloom through a full season while asking for a fraction of a traditional garden’s water.
💡 Smart tip: Choose a mix of bloom times across these species so something is flowering nearly continuously from spring through fall.
⚠️ Mistake to avoid: Overplanting for instant fullness; drought-tolerant perennials often need real room to spread as they mature.
7. Swap Turfgrass for a Low-Water Ground Cover
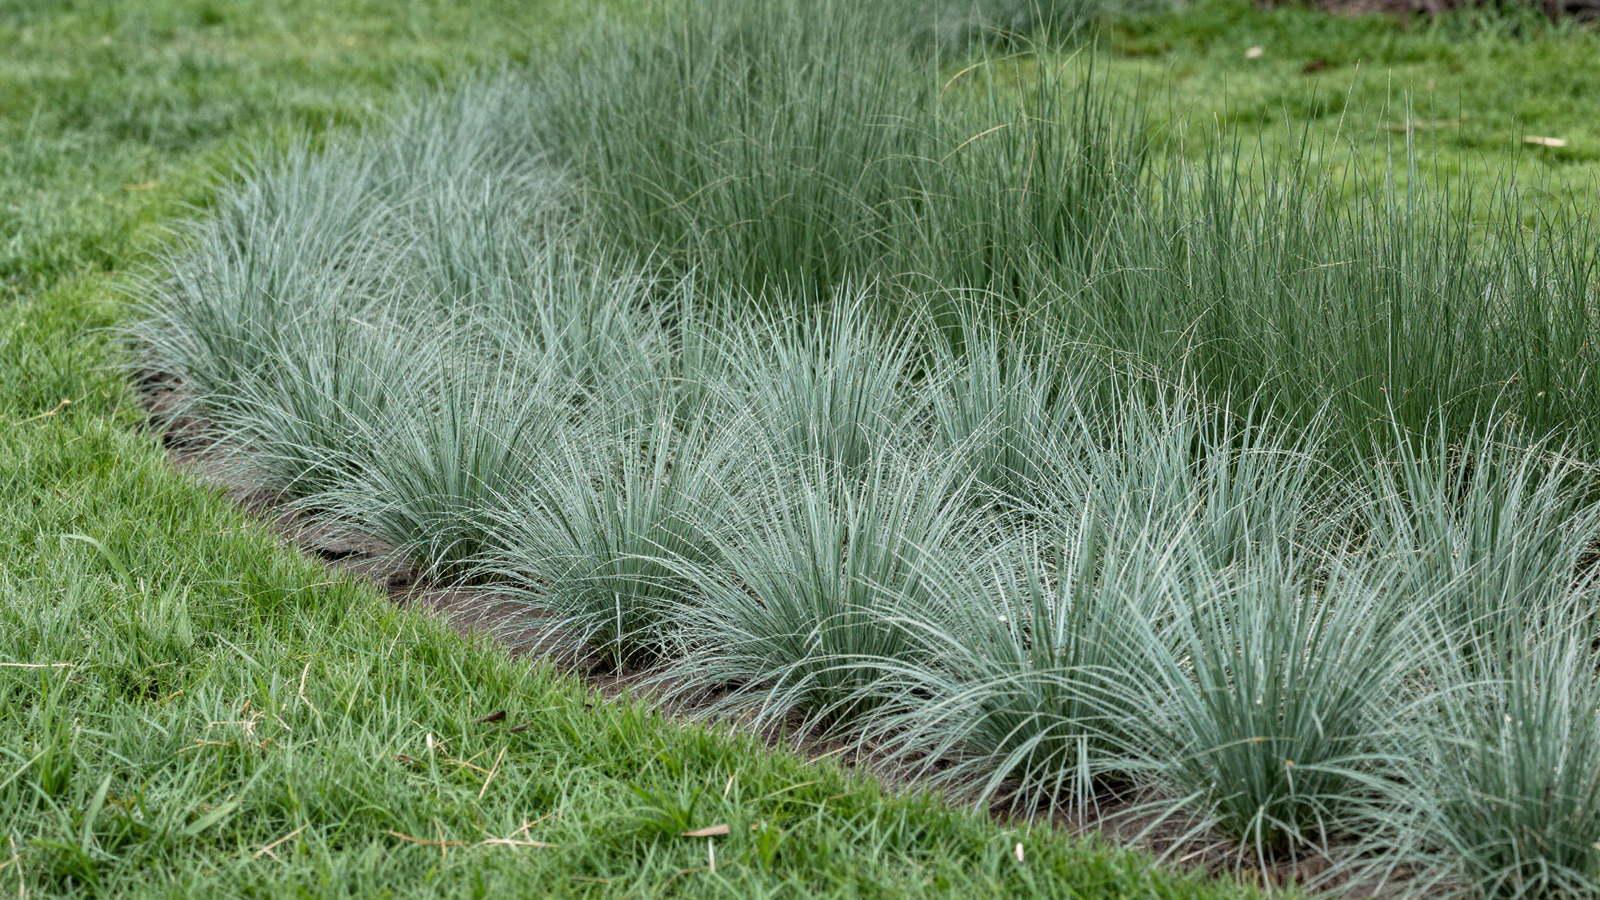
If you want to keep something that reads as “lawn” without the water demands of traditional turf, low-growing alternatives like sedge or buffalo grass offer a similar green groundcover with dramatically reduced irrigation needs. It’s a smaller shift than full bed conversion but still meaningfully cuts water use.
💡 Smart tip: Check which lawn alternative species are actually suited to your specific climate zone before installing; not every low-water grass performs the same everywhere.
⚠️ Mistake to avoid: Expecting a lawn alternative to handle the same heavy foot traffic as traditional turf; some varieties are more delicate underfoot than others.
8. Capture and Reuse Rainwater
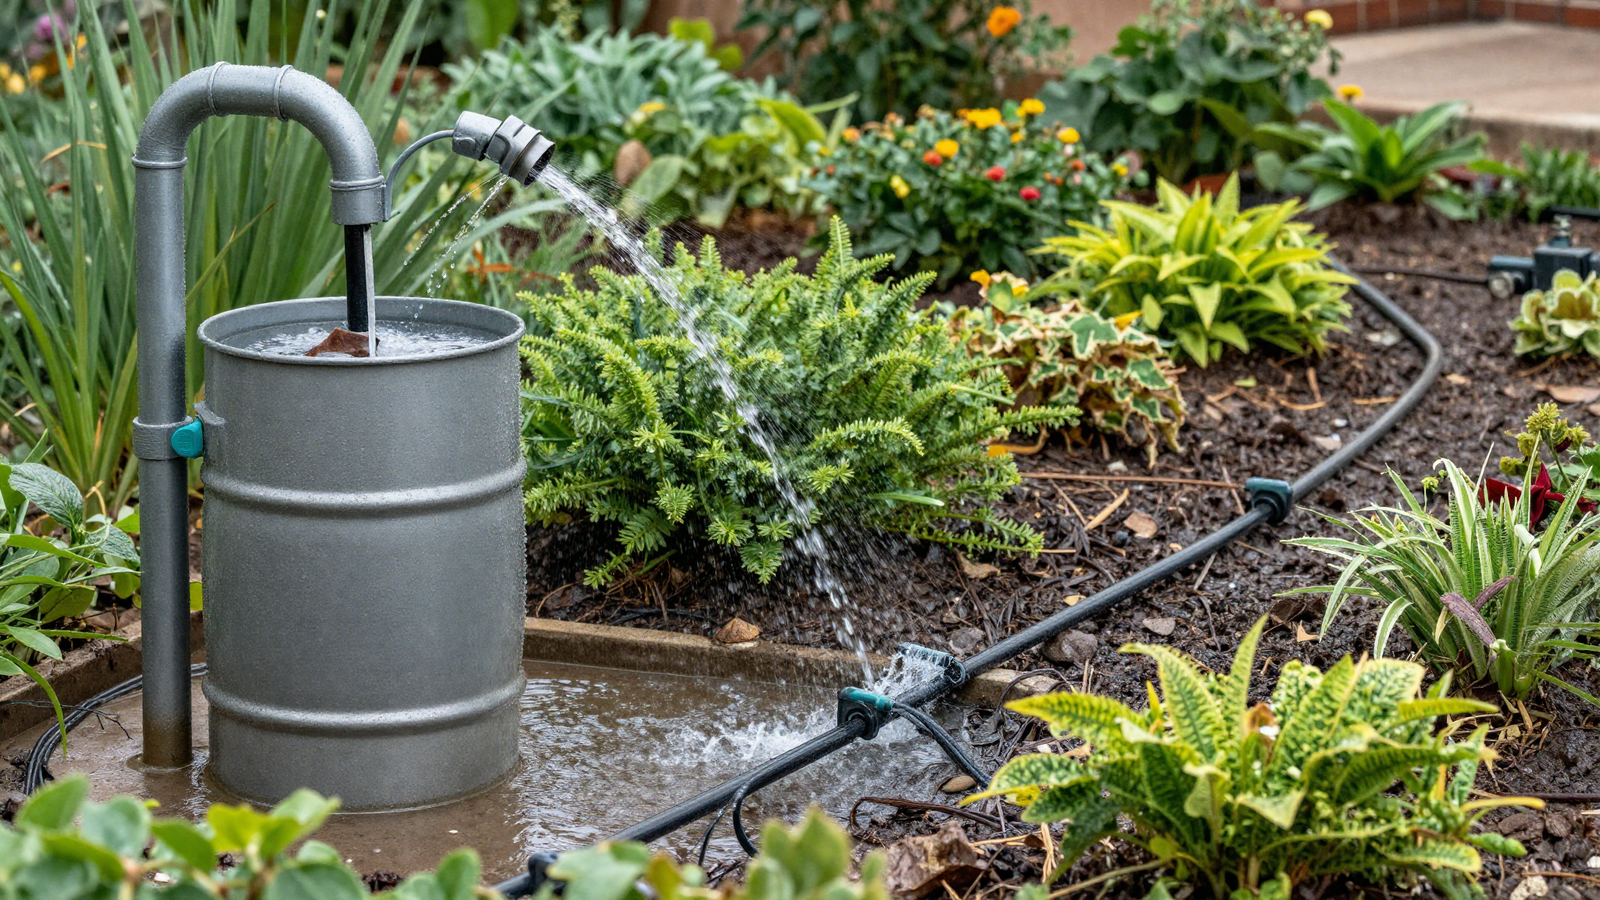
A simple rain barrel connected to a downspout captures water that would otherwise just run off into the street, giving you a free supplemental source for drip irrigation during dry stretches. It’s one of the most cost-effective additions to any water-wise landscape.
💡 Smart tip: Install a first-flush diverter on the system to keep roof debris out of the barrel before it fills.
⚠️ Mistake to avoid: Sizing the barrel too small for your roof’s actual runoff potential; even a modest roof section can fill a standard barrel after a single decent rain.
9. Mulch Heavily to Lock In Moisture
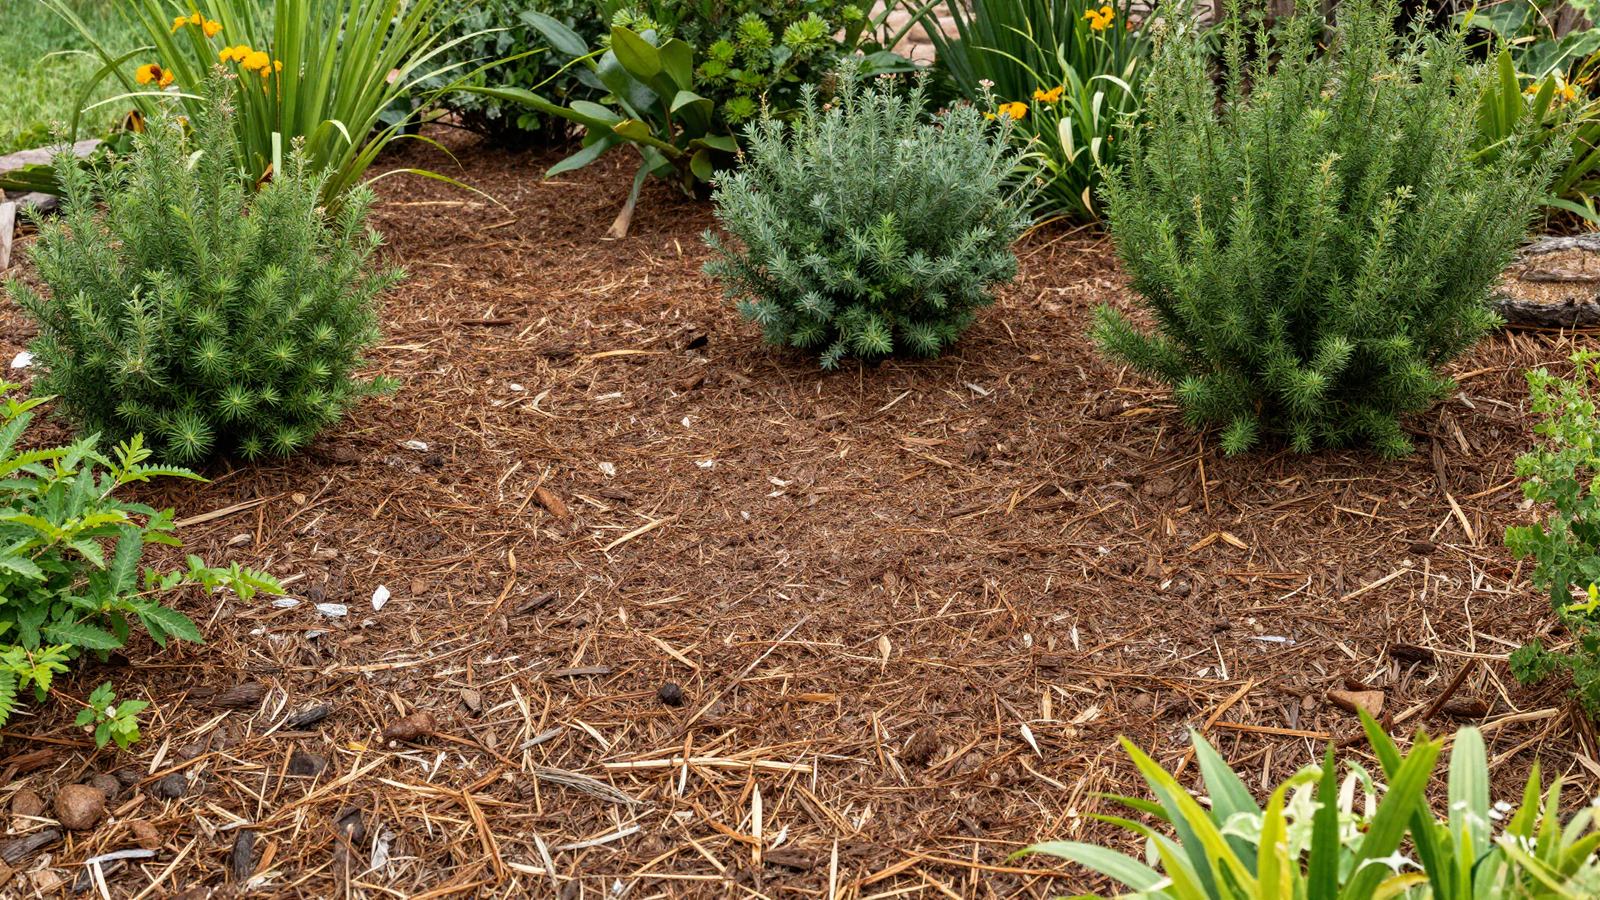
A thick layer of organic mulch does double duty in a xeriscape — it slows moisture evaporation from the soil and suppresses the weeds that would otherwise compete with your plants for the little water available. It’s one of the simplest, cheapest steps in the entire xeriscaping approach.
💡 Smart tip: Apply mulch two to three inches deep, keeping it pulled back slightly from plant stems and trunks to prevent rot.
⚠️ Mistake to avoid: Letting mulch break down without replenishing it; refresh the layer annually as it decomposes and thins out.
10. Lean Into a Mediterranean-Style Planting Palette
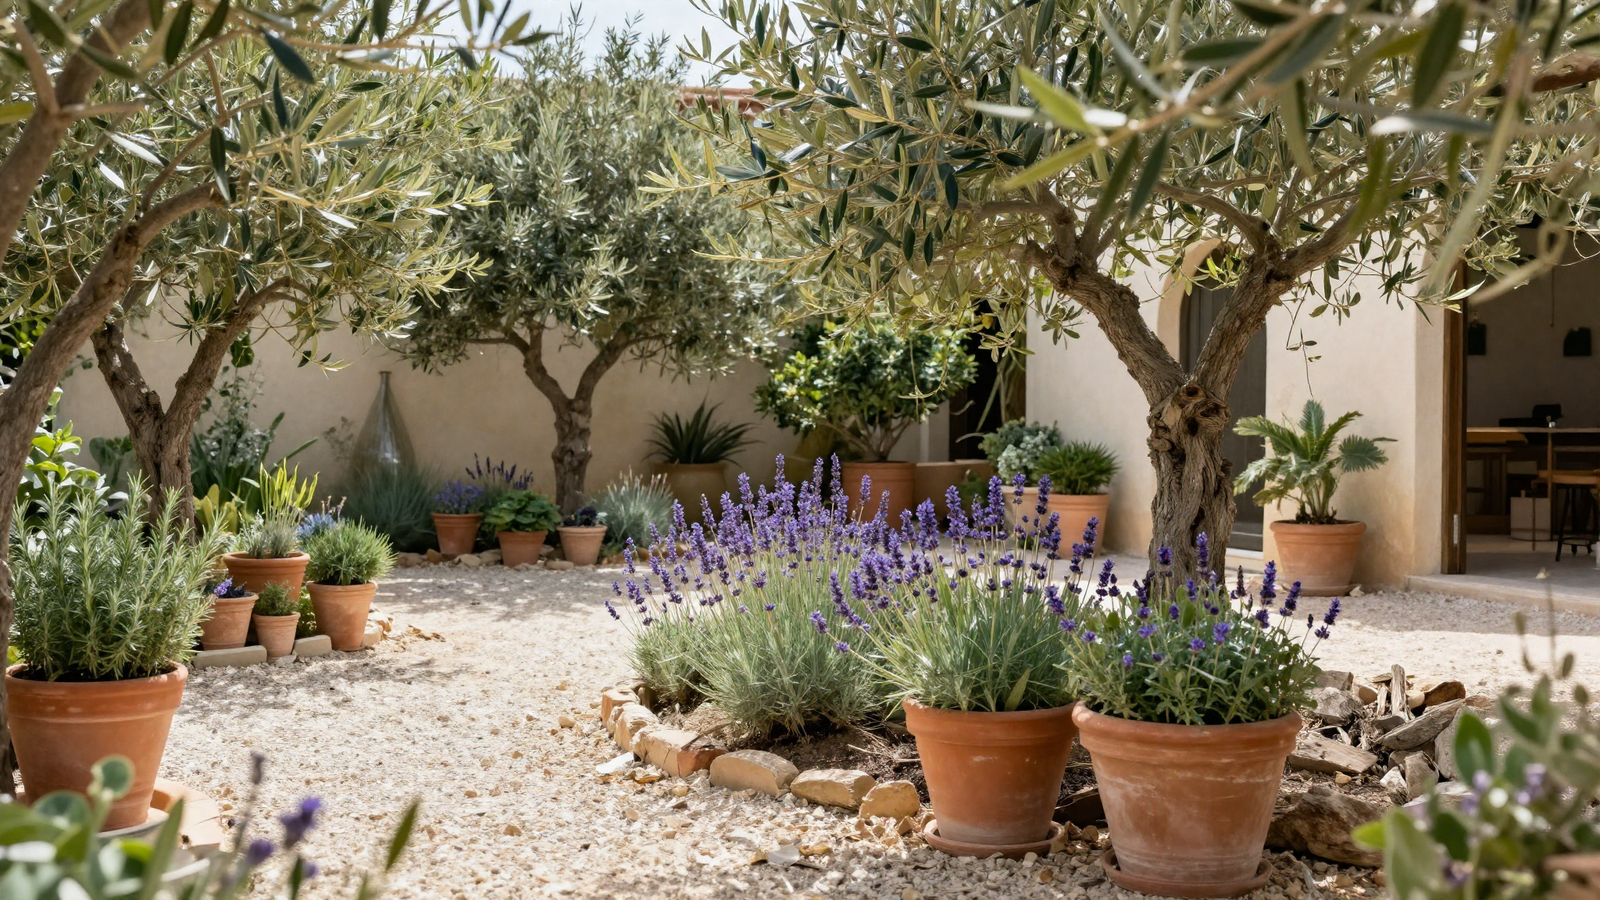
Olive trees, rosemary, and lavender paired with terracotta pots and gravel ground bring a sun-drenched, structured elegance that feels intentional rather than sparse. This planting style has genuinely thrived in low-water climates for centuries, which makes it one of the most proven xeriscape aesthetics available.
💡 Smart tip: Use terracotta pots for anything that needs slightly better drainage than the surrounding ground bed offers; the porous material helps prevent waterlogging.
⚠️ Mistake to avoid: Choosing Mediterranean plants without confirming your winter hardiness zone; some, like olive trees, need protection or substitution in colder climates.
11. Let Native Beds Flow Naturally Instead of Gridding Them
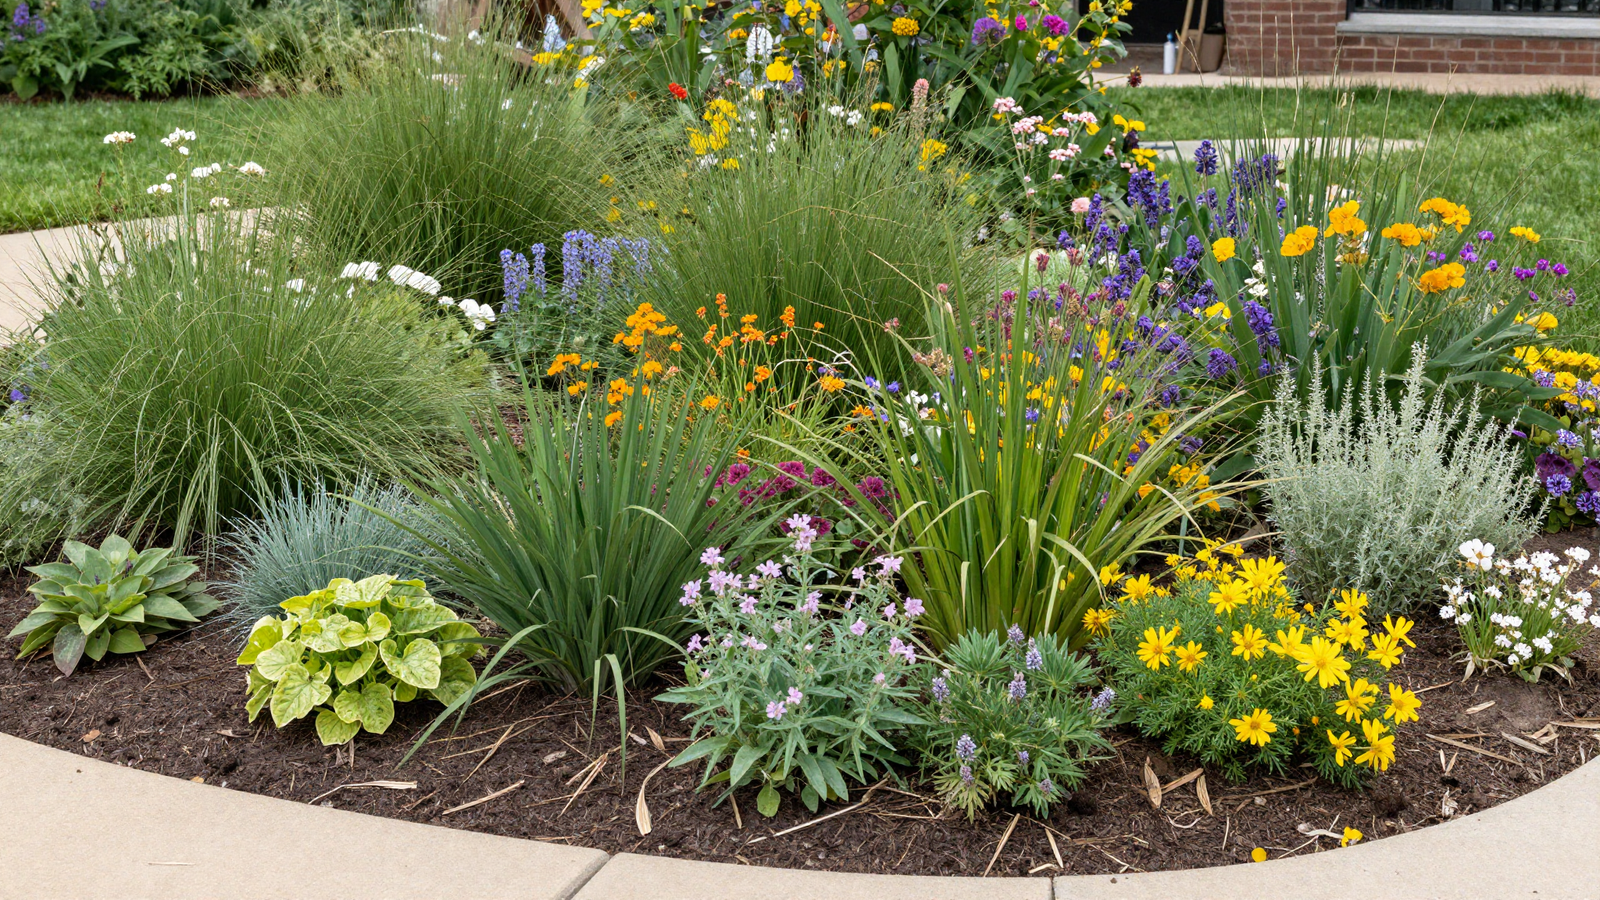
Rather than boxing native plants into rigid rectangular beds, letting the planting flow in organic, natural shapes actually mimics how these species grow in the wild. It reads as intentional wilderness rather than a garden trying too hard to look tidy.
💡 Smart tip: Use a garden hose to lay out flowing bed edges on the ground before digging; it’s the easiest way to test curves before committing.
⚠️ Mistake to avoid: Confusing “natural” with “untended” — flowing native beds still benefit from occasional editing to keep aggressive spreaders in check.
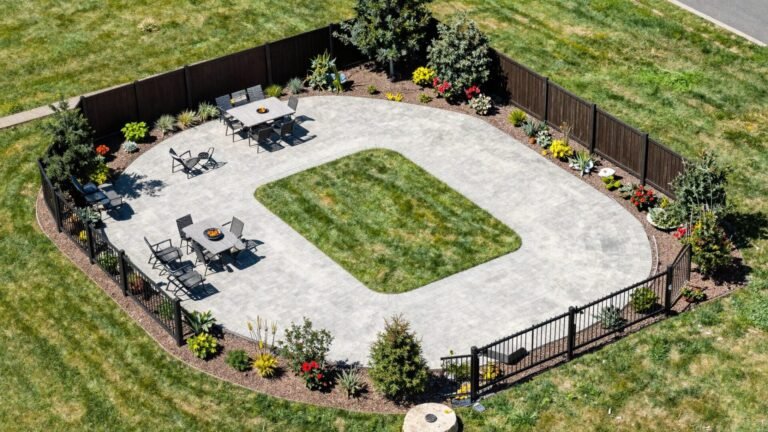
12. Choose Permeable Paving for Paths and Driveways
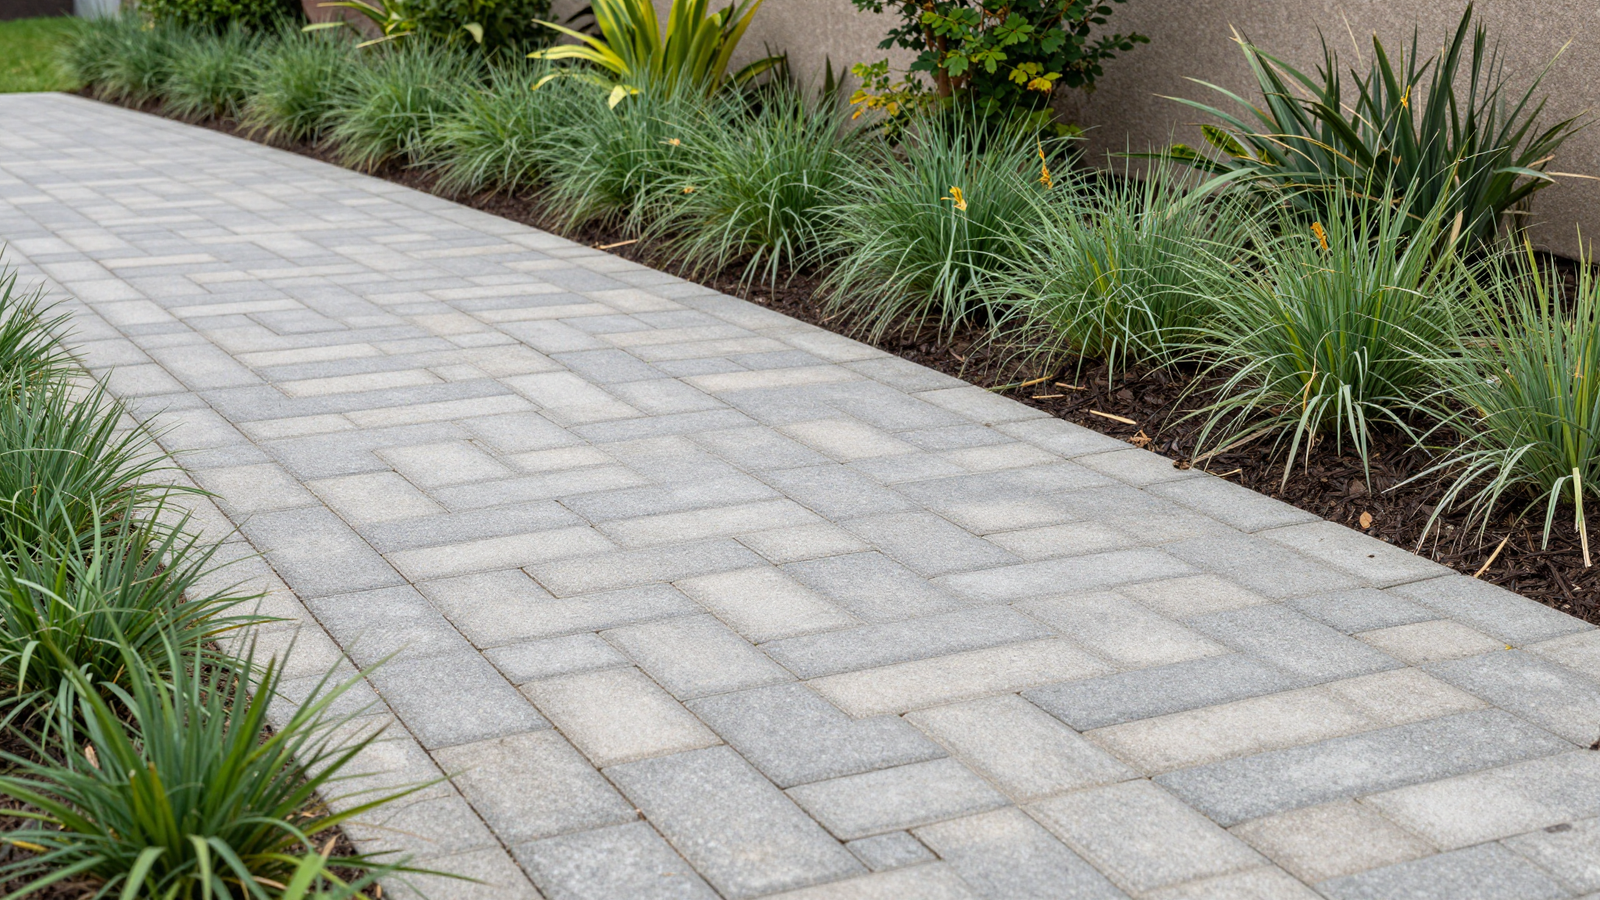
Standard solid concrete sends rainwater straight into storm drains, but permeable pavers let it soak directly into the ground where surrounding plants can actually use it. It’s a hardscape choice that works with your water-wise planting instead of undermining it.
💡 Smart tip: Check with your local municipality before installing; some areas offer rebates specifically for permeable paving as part of stormwater management programs.
⚠️ Mistake to avoid: Skipping the proper gravel sub-base beneath permeable pavers; without it, the surface settles unevenly over time.
13. Automate Watering With Smart Drip Irrigation
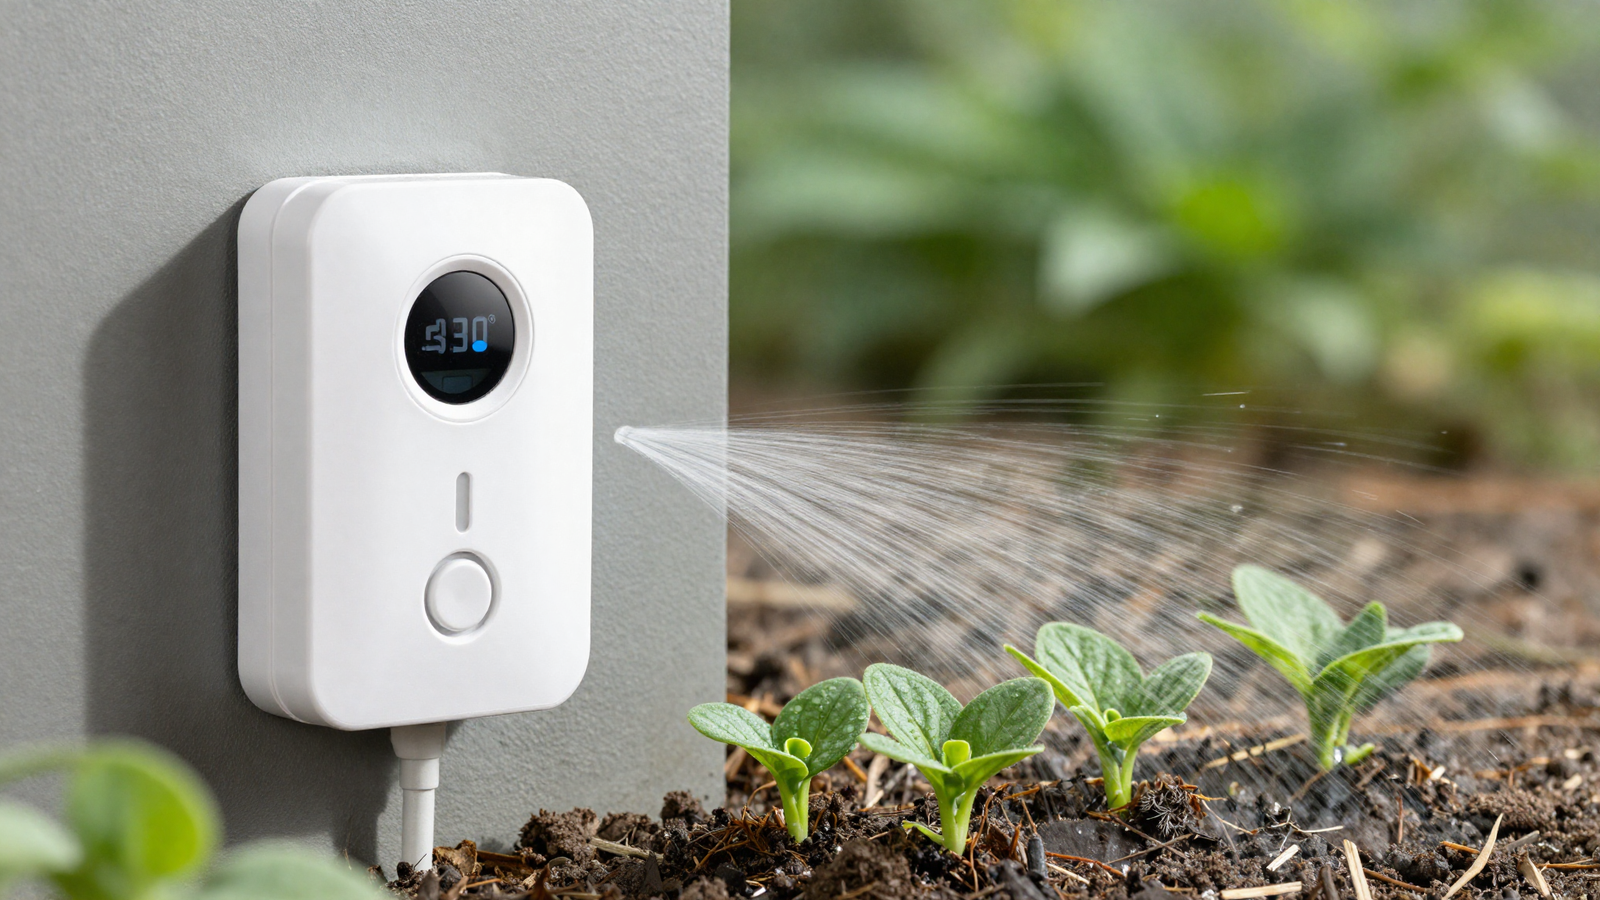
Drip irrigation delivers water directly to plant roots instead of spraying it broadly across the yard, which cuts evaporation loss dramatically compared to sprinklers. Pairing it with a smart, app-connected controller means watering adjusts automatically to actual weather instead of running on a fixed schedule regardless of recent rainfall.
💡 Smart tip: Start with one irrigation zone before expanding system-wide, so you can fine-tune settings for your specific soil and plant mix.
⚠️ Mistake to avoid: Setting a fixed daily schedule and ignoring the smart features entirely; that defeats the purpose of the technology and can still waste water during rainy stretches.
14. Add a Dry Riverbed as a Functional Feature
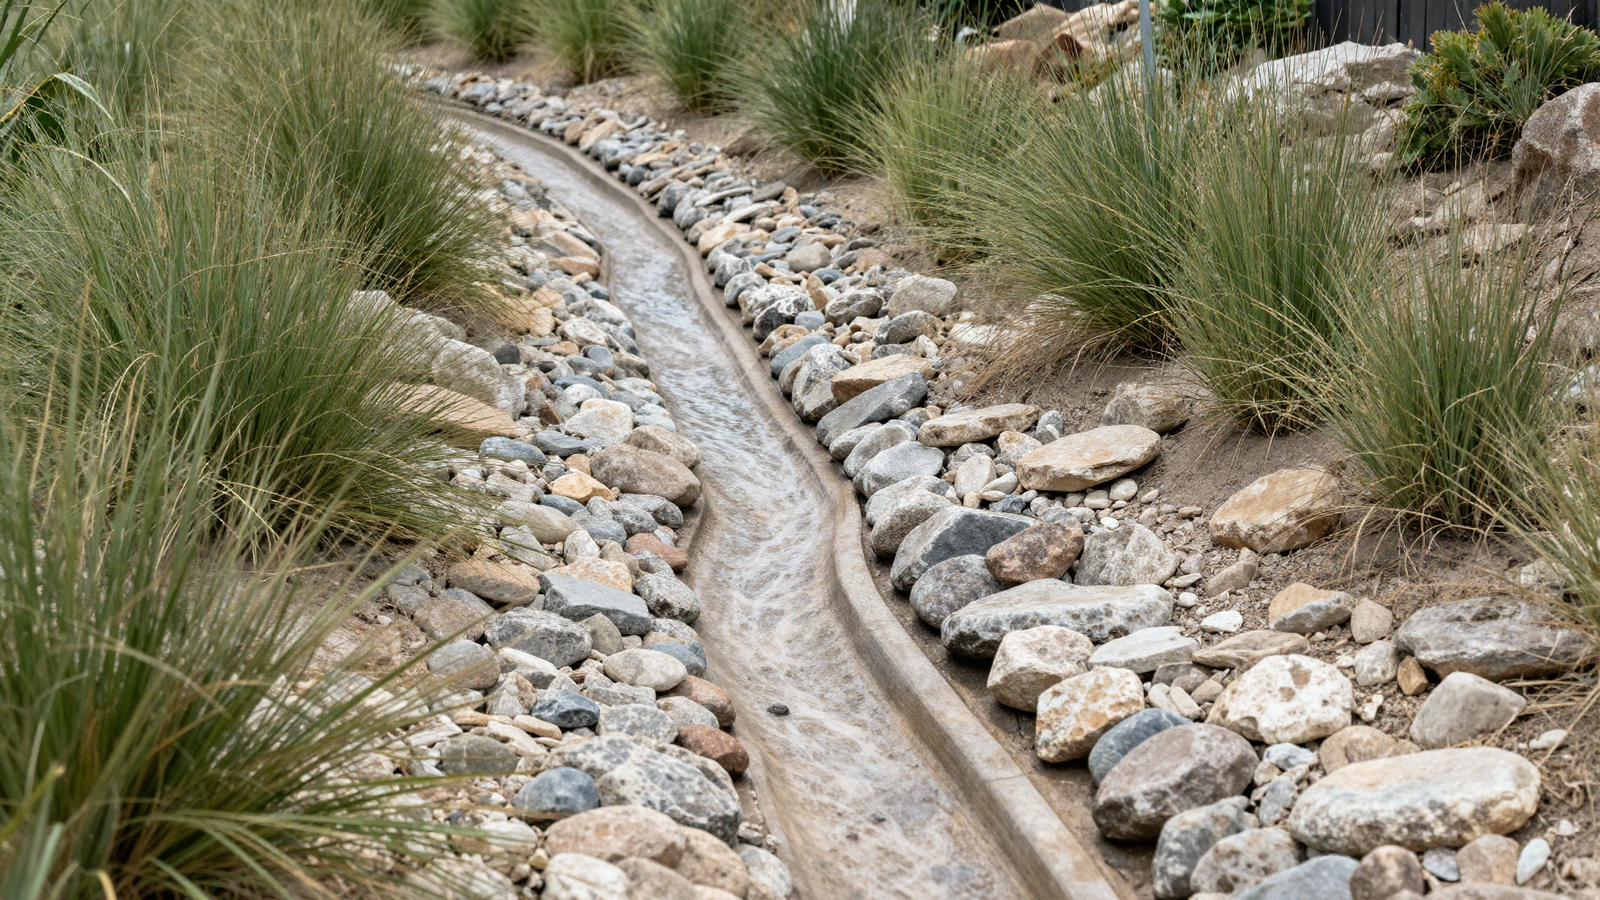
A dry riverbed made of rounded stones does real functional work by directing runoff safely away from the house, while also reading as a natural, sculptural landscape feature rather than plain drainage infrastructure. It’s a genuinely elegant way to solve a practical problem without hiding it.
💡 Smart tip: Vary stone size along the length of the riverbed — larger rocks at the edges, smaller gravel toward the center — to mimic how real water-worn channels naturally look.
⚠️ Mistake to avoid: Building the riverbed without confirming it actually follows your yard’s real drainage path; a purely decorative channel misses the functional benefit entirely.
Effort & Cost Snapshot
| Idea | Effort | Approx. Cost |
|---|---|---|
| 1. Native Drought-Tolerant Planting | Medium (DIY or pro) | $500–$3,000 |
| 2. Gravel Garden | Medium (DIY) | $400–$2,000 |
| 3. Sculptural Focal Tree | Medium (DIY planting) | $150–$800 |
| 4. Hydrozoned Planning | Low (planning only) | $0–$200 |
| 5. Curved Stone Path | Medium (DIY or pro) | $500–$2,500 |
| 6. Colorful Drought-Tolerant Bed | Low–Medium (DIY) | $150–$700 |
| 7. Low-Water Ground Cover | Medium (DIY or pro) | $300–$1,500 |
| 8. Rainwater Harvesting Barrel | Low (DIY) | $80–$400 |
| 9. Mulch Layer | Low (DIY, one afternoon) | $50–$250 |
| 10. Mediterranean Planting Palette | Medium (DIY) | $300–$1,500 |
| 11. Flowing Native Beds | Medium (DIY) | $200–$1,000 |
| 12. Permeable Paving | High (pro recommended) | $2,000–$8,000 |
| 13. Smart Drip Irrigation | Medium (DIY or pro) | $300–$1,200 |
| 14. Dry Riverbed Feature | Medium–High (DIY or pro) | $500–$2,500 |
A water-wise landscape doesn’t mean giving up color, texture, or curb appeal — it just means designing with your climate instead of constantly fighting it. Save this list to Pinterest so you can come back to it as you plan your own xeriscaped yard, one zone at a time.
Continue Your Home Transformation
Explore the full collection of step-by-step eBooks and get the guide that fits the room you're working on.