Shower sizing sits at the intersection of building code, industry guidelines, and personal comfort, and most articles online blur all three together without saying which is which.
This guide keeps them separate: what code actually requires, what the National Kitchen and Bath Association recommends for comfort, and what ADA accessibility standards demand when that matters.
Knowing the difference means you can make an informed choice instead of just copying a number you saw somewhere without knowing if it’s a legal minimum or a comfort recommendation.
1. Know the Code Minimum: 30×30 Inches
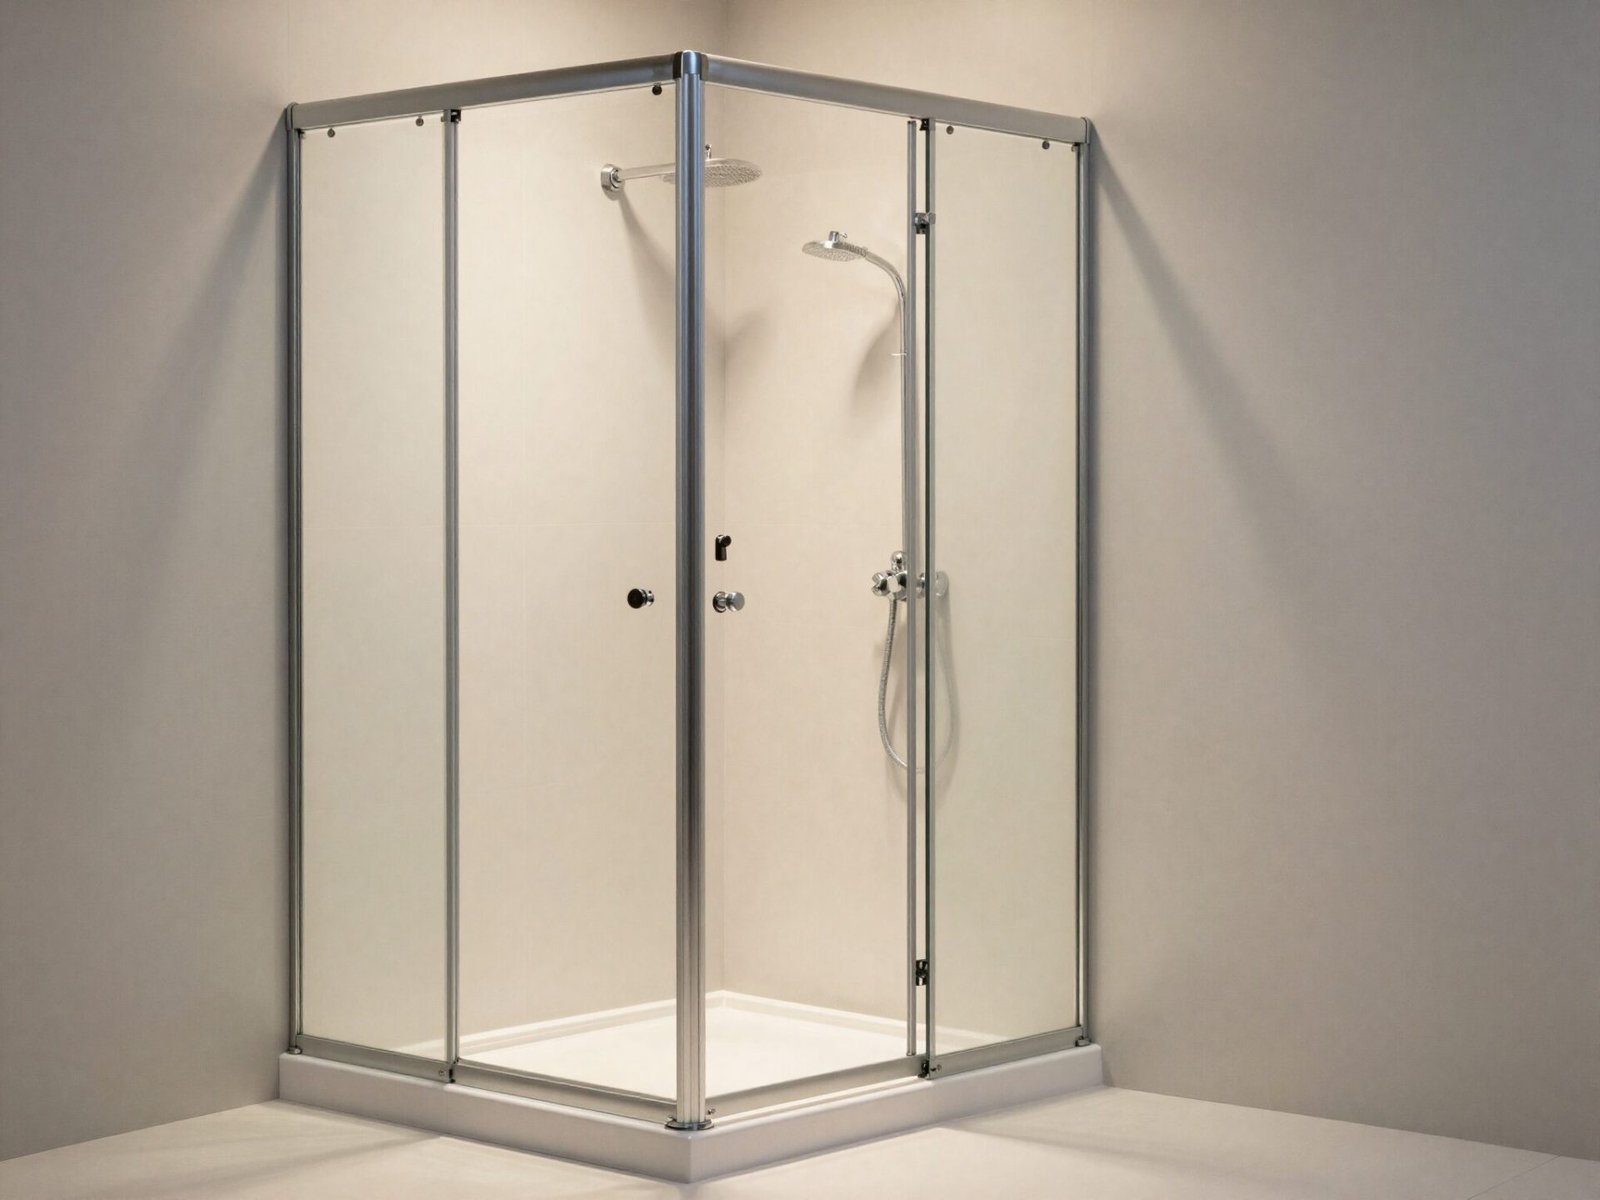
The International Residential Code sets 30×30 inches as the minimum finished interior shower dimension, working out to a minimum area of 900 square inches.
Anything smaller than this simply won’t pass a building inspection in most jurisdictions, making it a hard legal floor rather than a design suggestion.
This size technically works, but it’s tight enough that most people find it uncomfortable for regular daily use.
💡 Smart tip: Treat 30×30 as an absolute last resort for genuinely space-constrained bathrooms, not as a target size to aim for when you have any flexibility at all.
⚠️ Mistake to avoid: Don’t confuse this code minimum with a recommended size. It’s the legal floor, not what any designer would suggest if the room allows more.
2. Size Up to the NKBA Comfort Minimum: 36×36 Inches
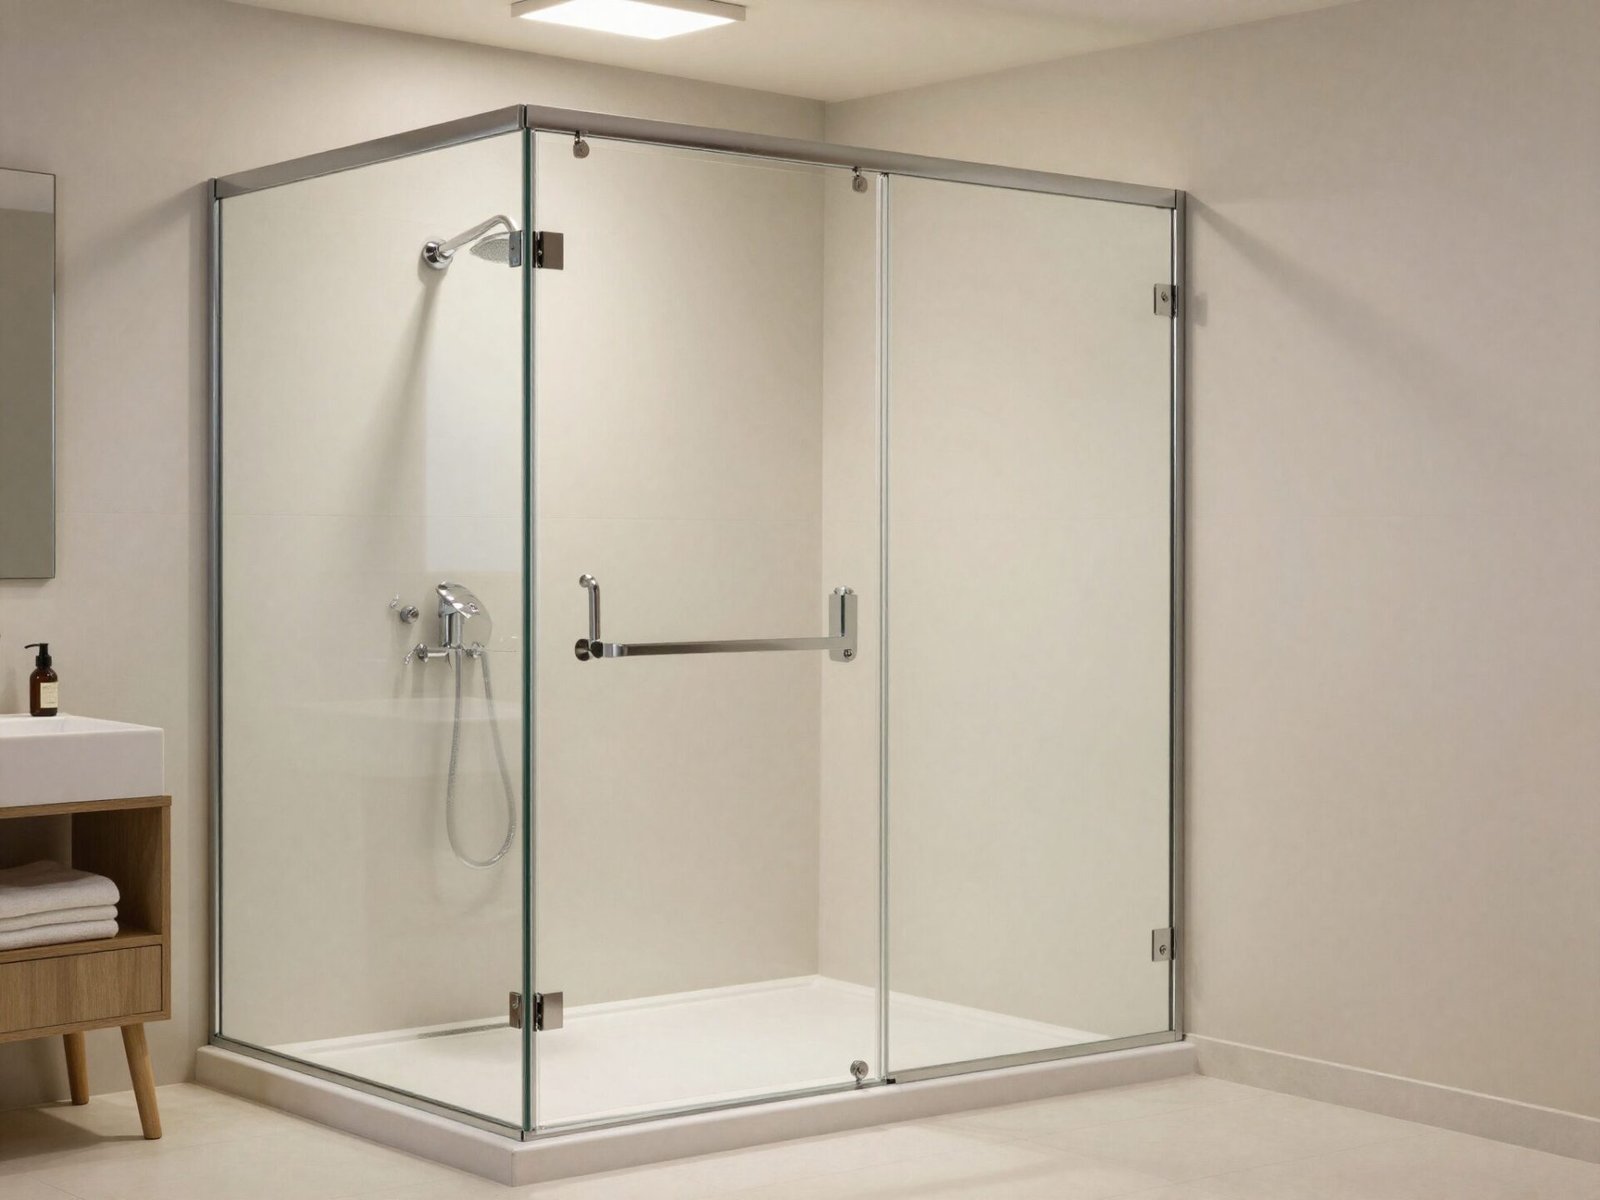
The National Kitchen and Bath Association recommends 36×36 inches as the practical minimum for a shower most people will actually enjoy using daily.
This size has become the most common shower dimension in U.S. homes, since it fits most bathroom layouts while still working with widely available prefab shower pans and wall kits.
At this size, an average adult has enough room to move and wash without bumping elbows against every wall.
💡 Smart tip: If you’re choosing between code minimum and this comfort size, the extra 6 inches on each side makes a noticeably larger daily difference than the numbers alone suggest.
⚠️ Mistake to avoid: Don’t assume 36×36 is oversized for a small bathroom. It’s considered the practical starting point, not a luxury upgrade, by most industry guidelines.
3. Plan 60×36 for a Primary Bath Walk-In Shower
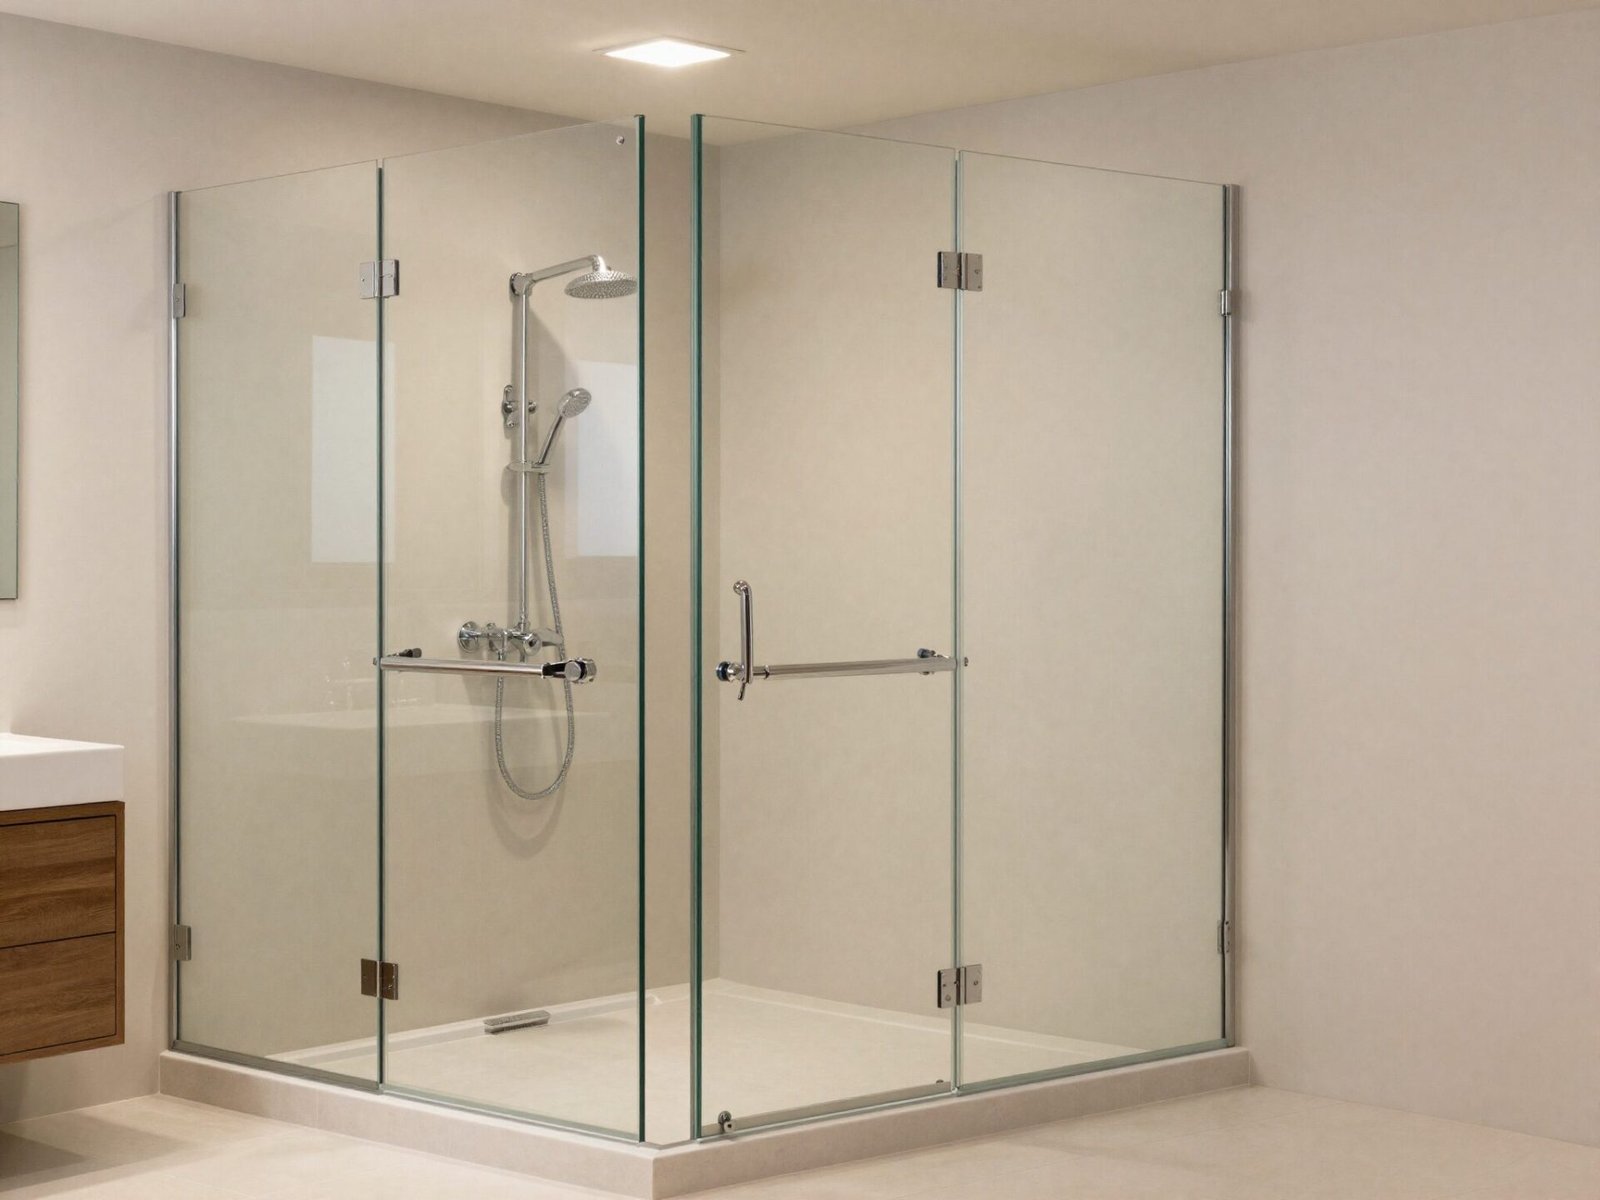
A 60×36 inch walk-in shower is the go-to size for primary bathrooms, and it’s also a natural fit when converting an existing tub into a shower, since it matches standard tub footprints.
This size gives genuine room to move, shave, or eventually add a small bench, without requiring a full custom build.
It sits comfortably between the compact comfort minimum and the larger dimensions reserved for two-person or heavily featured showers.
💡 Smart tip: If you’re converting a tub to a shower, measure your existing tub’s footprint first — a 60×36 replacement often avoids costly plumbing relocation.
⚠️ Mistake to avoid: Don’t assume every tub-to-shower conversion needs custom dimensions. Standard 60×36 sizing frequently matches existing tub plumbing exactly.
Loving These Ideas? Get the Step-by-Step Guide
Grab the full 5-day eBook and turn these ideas into a finished room.




4. Size a Two-Person Shower at 60×48 or Larger
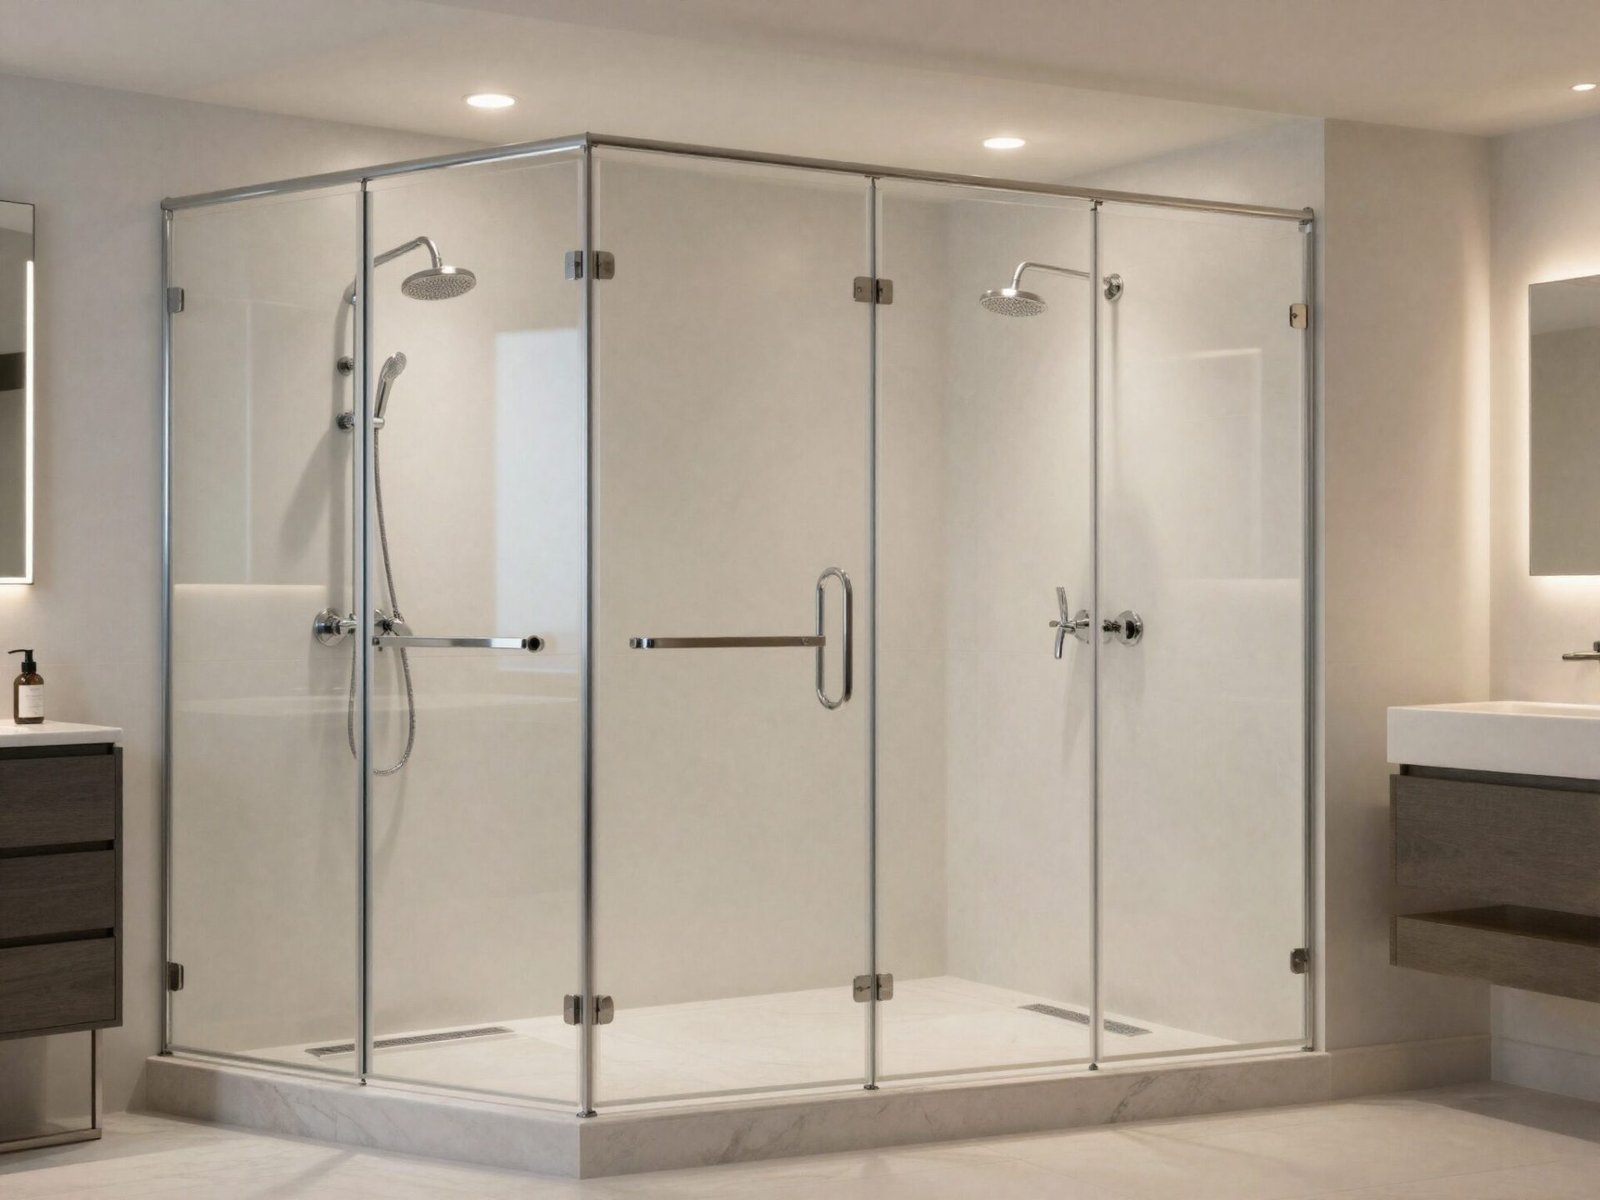
A shower meant for two people at once needs at least 60×48 inches, giving each person genuine personal space rather than a cramped shared stall.
If you want dual showerheads or a built-in bench alongside two-person use, 60×48 works far better than the bare minimum, since those features eat directly into usable standing room.
This size category is where showers shift from purely functional to genuinely spa-like, which explains its popularity in primary bathroom renovations.
💡 Smart tip: If a two-person shower is the goal, prioritize width over length first — side-by-side space matters more than extra depth for shared use.
⚠️ Mistake to avoid: Don’t try to fit two-person functionality into a 60×36 footprint. It technically holds two people, but comfortably operating side by side needs the extra width.
5. Leave 24-30 Inches of Clearance in Front
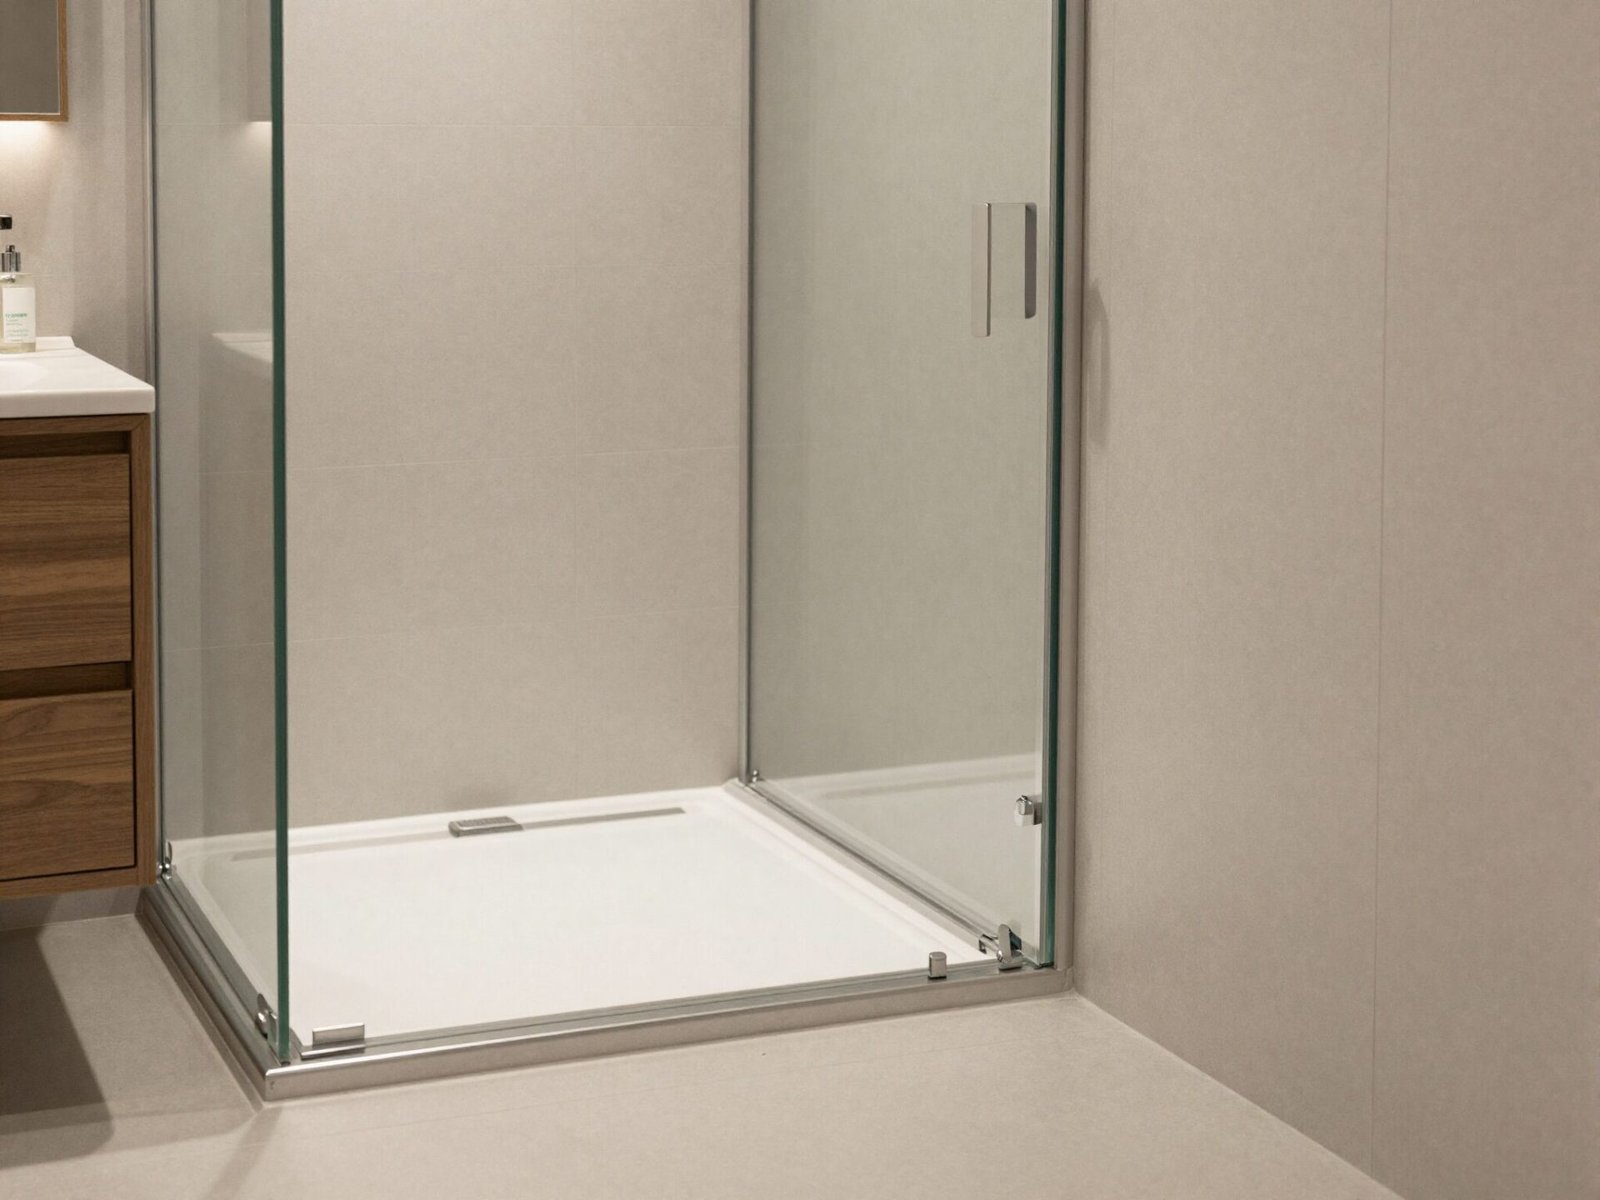
The IRC requires a minimum of 24 inches of clear floor space in front of any shower opening, while the NKBA recommends 30 inches for genuine comfort.
This clearance matters even more with hinged glass doors that swing outward, since the door itself temporarily occupies part of that space while opening.
Skipping this clearance is one of the most common oversights in DIY bathroom layouts, since it’s easy to focus on the shower’s footprint and forget the space needed just to enter it.
💡 Smart tip: If your layout uses a sliding or pivot door instead of a hinged swing door, you can work with clearance closer to the 24-inch code minimum without feeling cramped.
⚠️ Mistake to avoid: Don’t measure shower clearance from the enclosure’s frame alone. With a hinged door, account for its full swing arc, not just the closed footprint.
6. Set Ceiling Height at Minimum 80 Inches
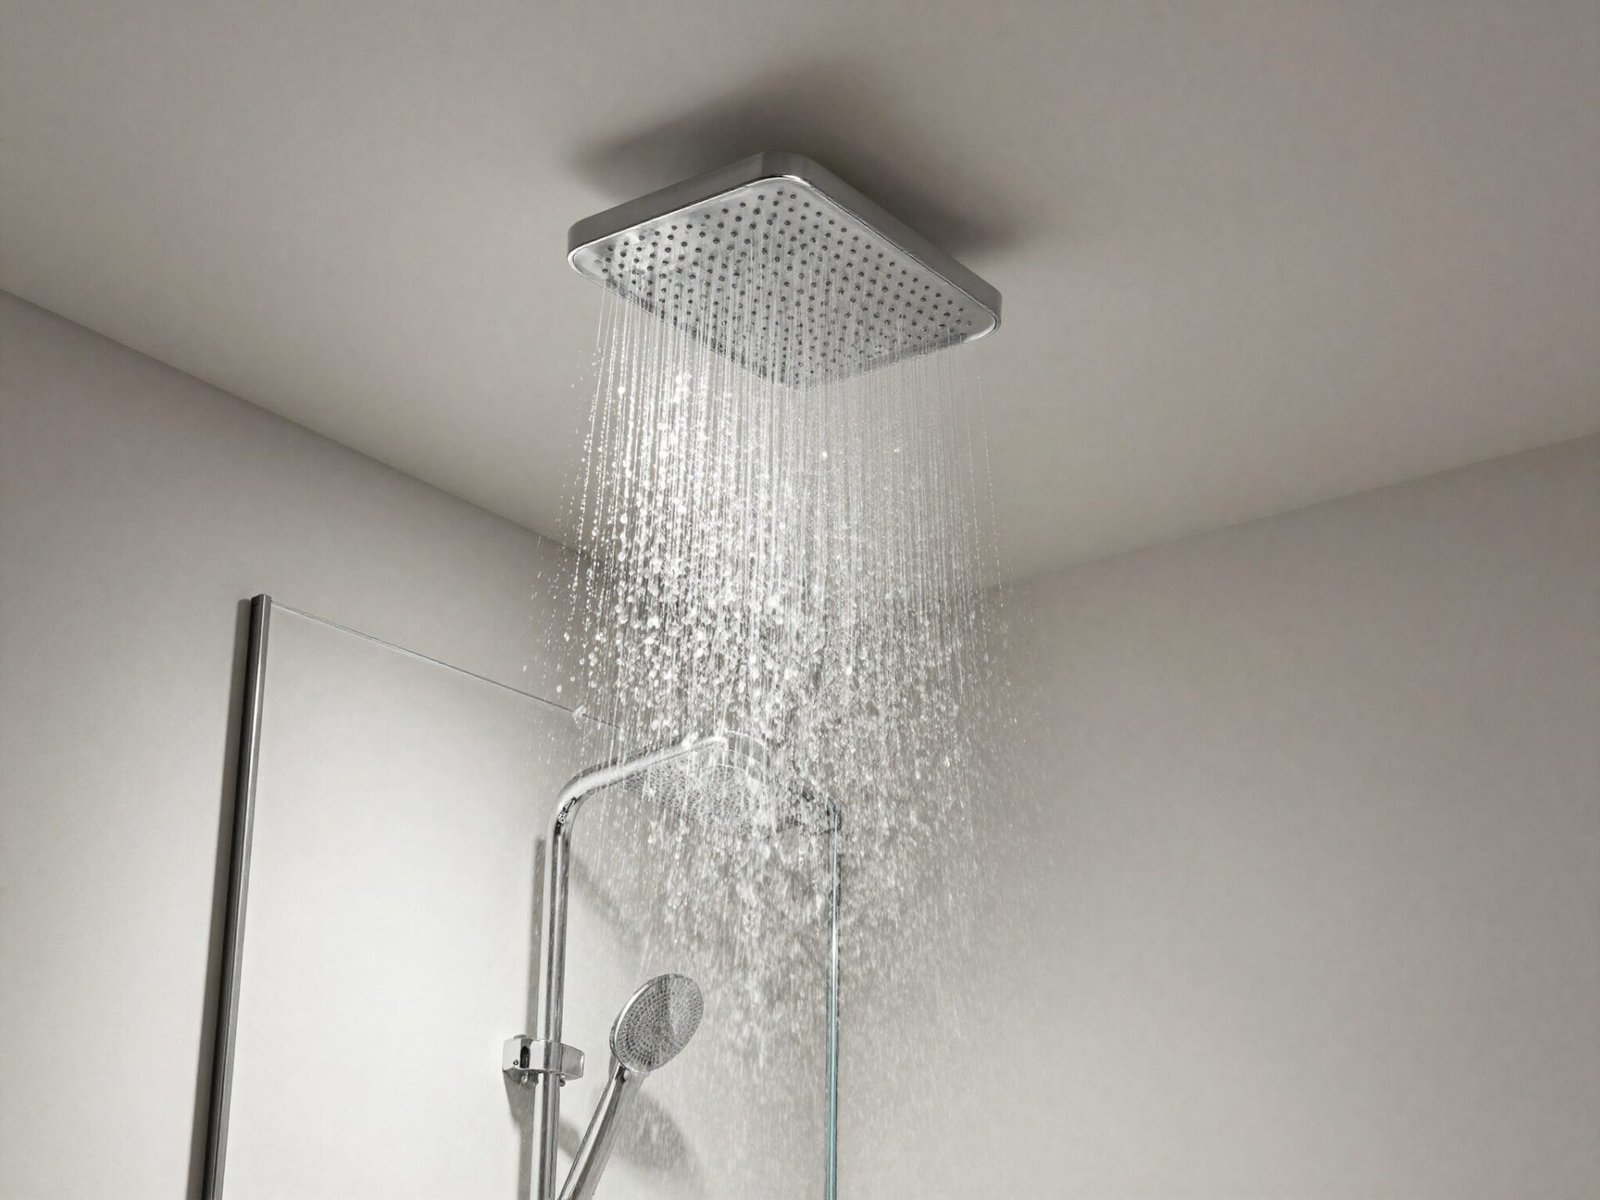
Experts recommend a minimum ceiling height of 80 inches for a walk-in shower, ensuring adequate headroom for the average adult without feeling enclosed.
This becomes especially important in attic conversions, basements, or under-stair bathrooms, where overhead clearance isn’t automatically guaranteed the way it is in a standard-height room.
Rain showerheads in particular benefit from extra height beyond this minimum, since they’re typically mounted higher than a standard fixed showerhead.
💡 Smart tip: Check ceiling height directly above your planned shower location specifically, not just the room’s tallest point, especially under any sloped ceiling.
⚠️ Mistake to avoid: Don’t finalize a shower footprint without confirming overhead clearance first. A well-sized floor plan can still fail if the ceiling above it is too low.
7. Add Room for a Built-In Bench (48×36 Minimum)
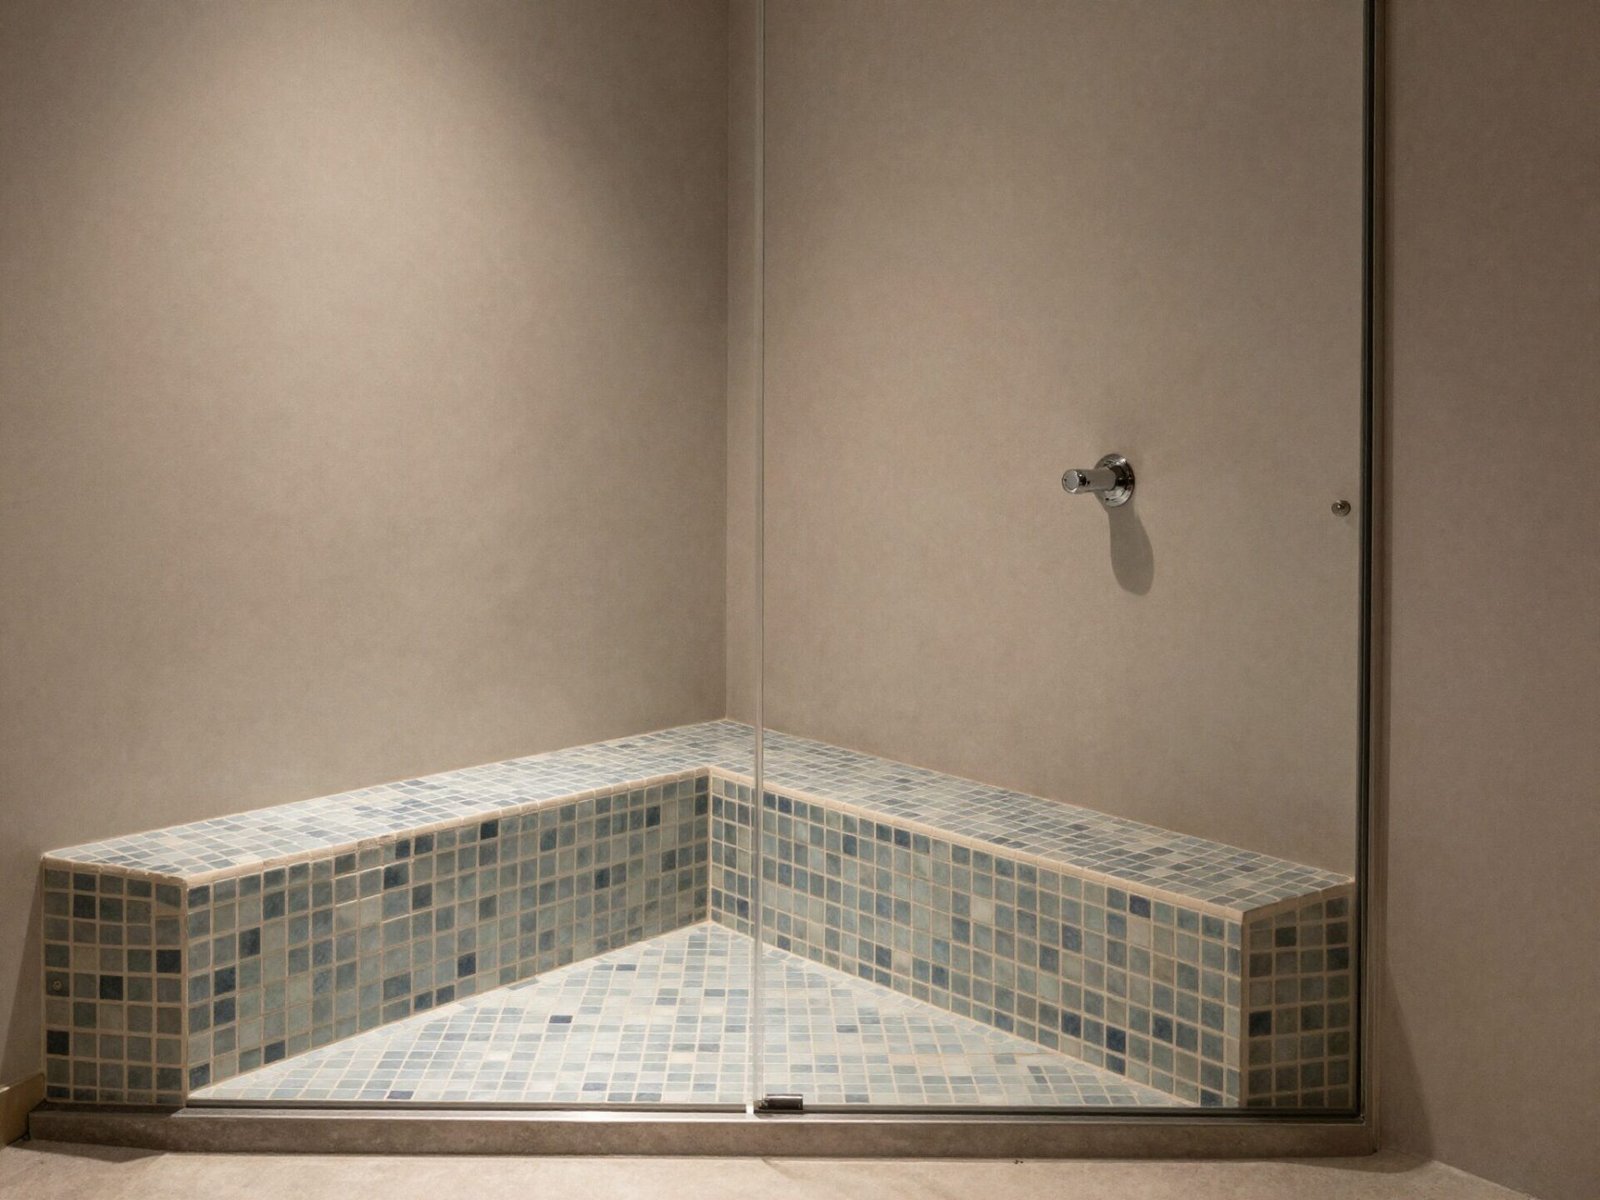
A built-in bench requires at least 48×36 inches of shower footprint to accommodate the seat without crowding the standing and showering area.
Benches add genuine value for shaving, aging-in-place planning, or simply a more relaxed shower experience, but they only work well when the shower is sized to support them from the start.
Retrofitting a bench into an undersized shower after the fact rarely produces a comfortable result.
💡 Smart tip: Plan bench depth at roughly 15-16 inches, standard seat depth, and confirm the remaining shower footprint still meets your comfort-size minimum after subtracting that space.
⚠️ Mistake to avoid: Don’t add a bench to a 36×36 shower without recalculating available standing room. The bench itself can shrink usable space below comfortable levels.
8. Account for Swing Door Clearance (22-36 Inches)
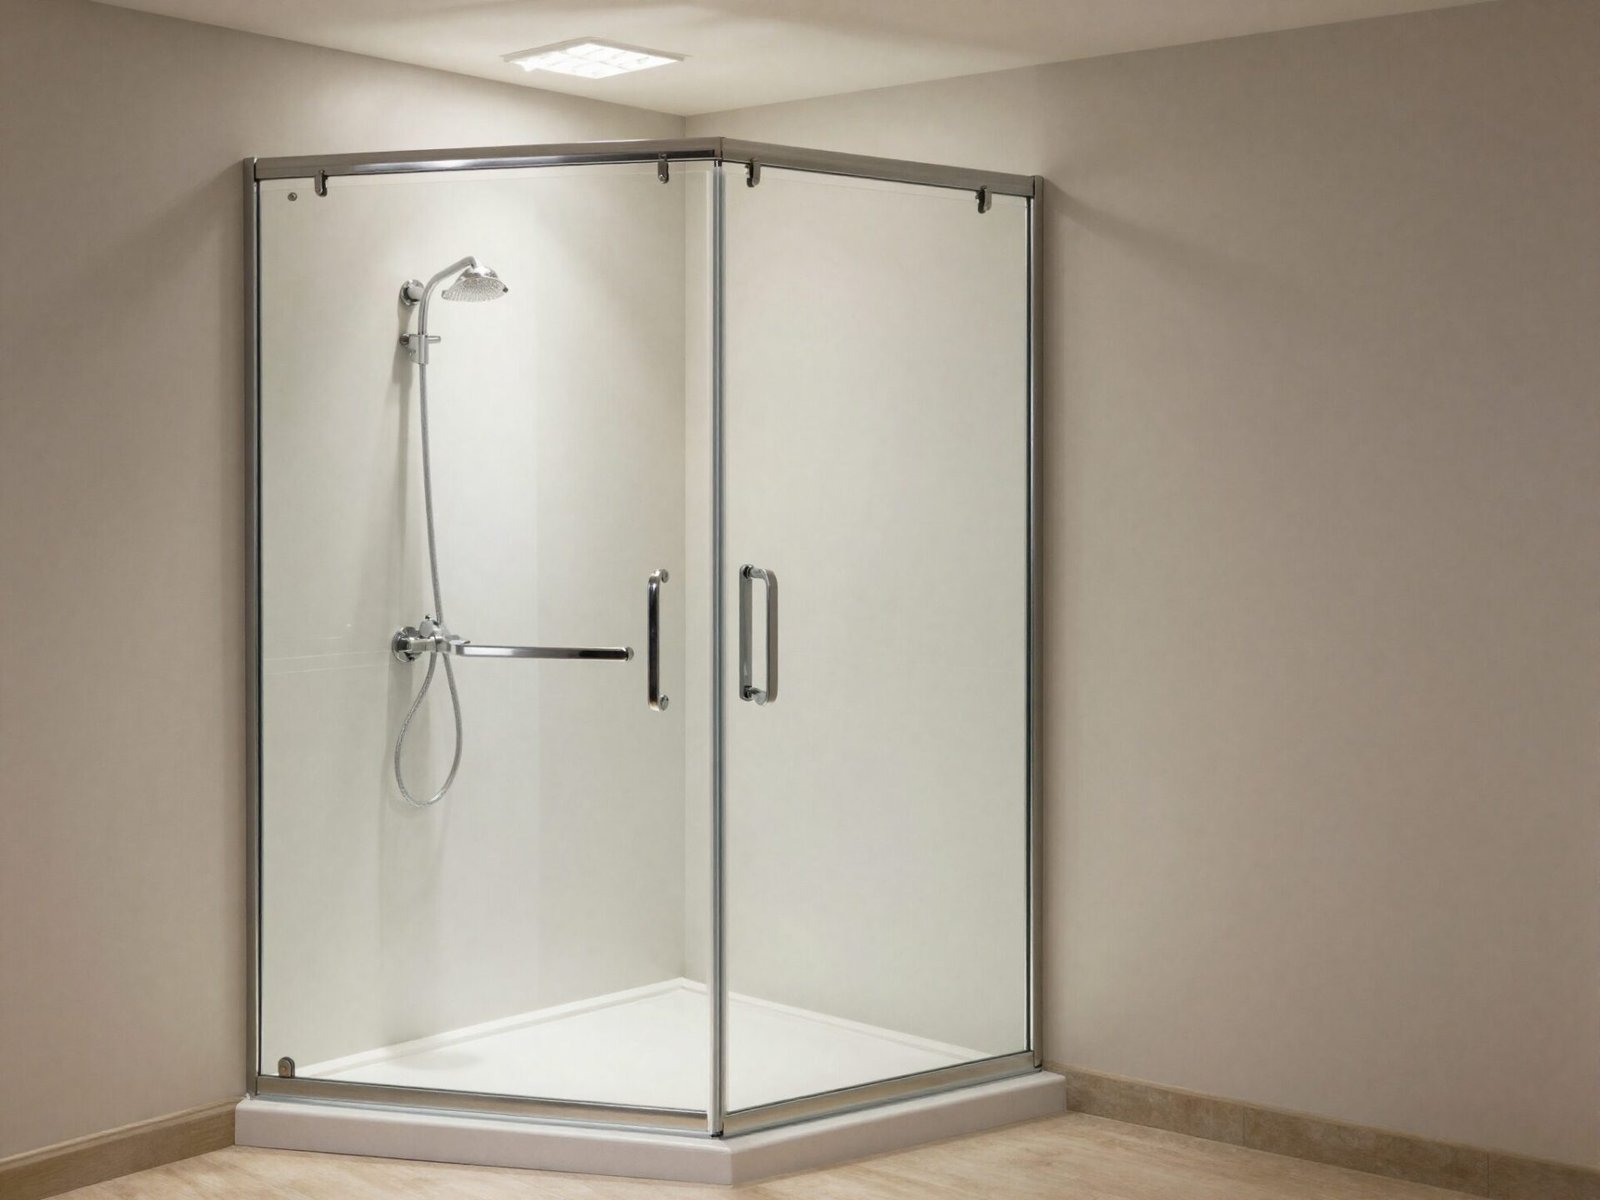
Swing doors typically run 22 to 36 inches wide, and each one needs genuine floor space to open fully without hitting a vanity, toilet, or opposite wall.
This is separate from the general shower entry clearance discussed earlier — it’s specifically about the door’s physical swing path within the bathroom itself.
Sliding doors and frameless pivot doors sidestep this issue entirely, which makes them a strong choice in bathrooms where floor space is already tight.
💡 Smart tip: In a small bathroom, compare a sliding door option against a swing door before finalizing your shower plan — the door type can be the deciding factor in an otherwise workable layout.
⚠️ Mistake to avoid: Don’t choose a wide swing door for a small bathroom without confirming its full arc doesn’t collide with the vanity or toilet.
9. Choose a Corner Shower for a Small Bathroom
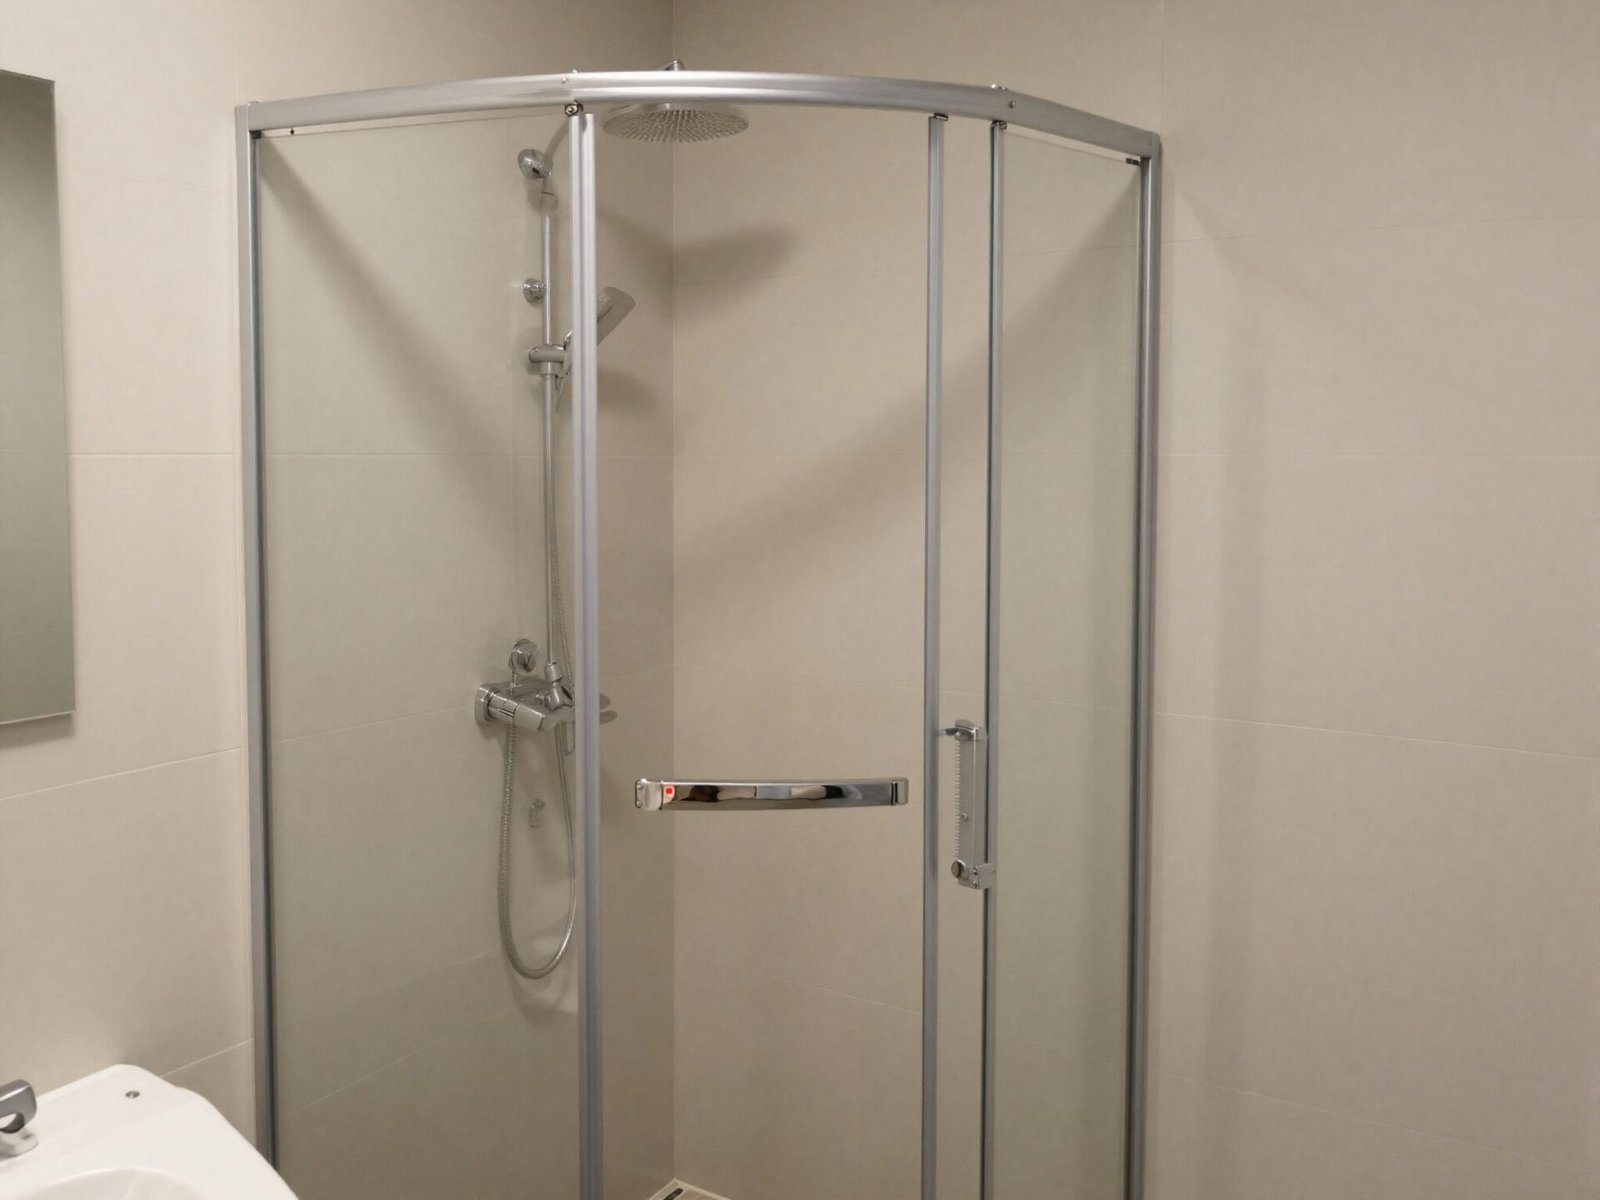
Corner showers conserve valuable floor space in a tight bathroom while still delivering a contemporary, open feel compared to a boxed-in tub-shower combo.
A 32×32 or 36×36 corner unit is typically the strongest choice for a small guest bathroom, since it keeps the center of the room open for the toilet and vanity.
This configuration also tends to simplify plumbing, since corner placement often aligns more naturally with existing supply lines in smaller homes.
💡 Smart tip: Pair a corner shower with a pivot or bi-fold door rather than a full swing door — it further reduces the clearance needed in an already tight room.
⚠️ Mistake to avoid: Don’t force a rectangular 60-inch shower into a small guest bathroom just because it’s the “better” size. A well-fitted corner unit beats an oversized shower that crowds everything else.
10. Plan ADA Transfer Shower Dimensions (36×48)
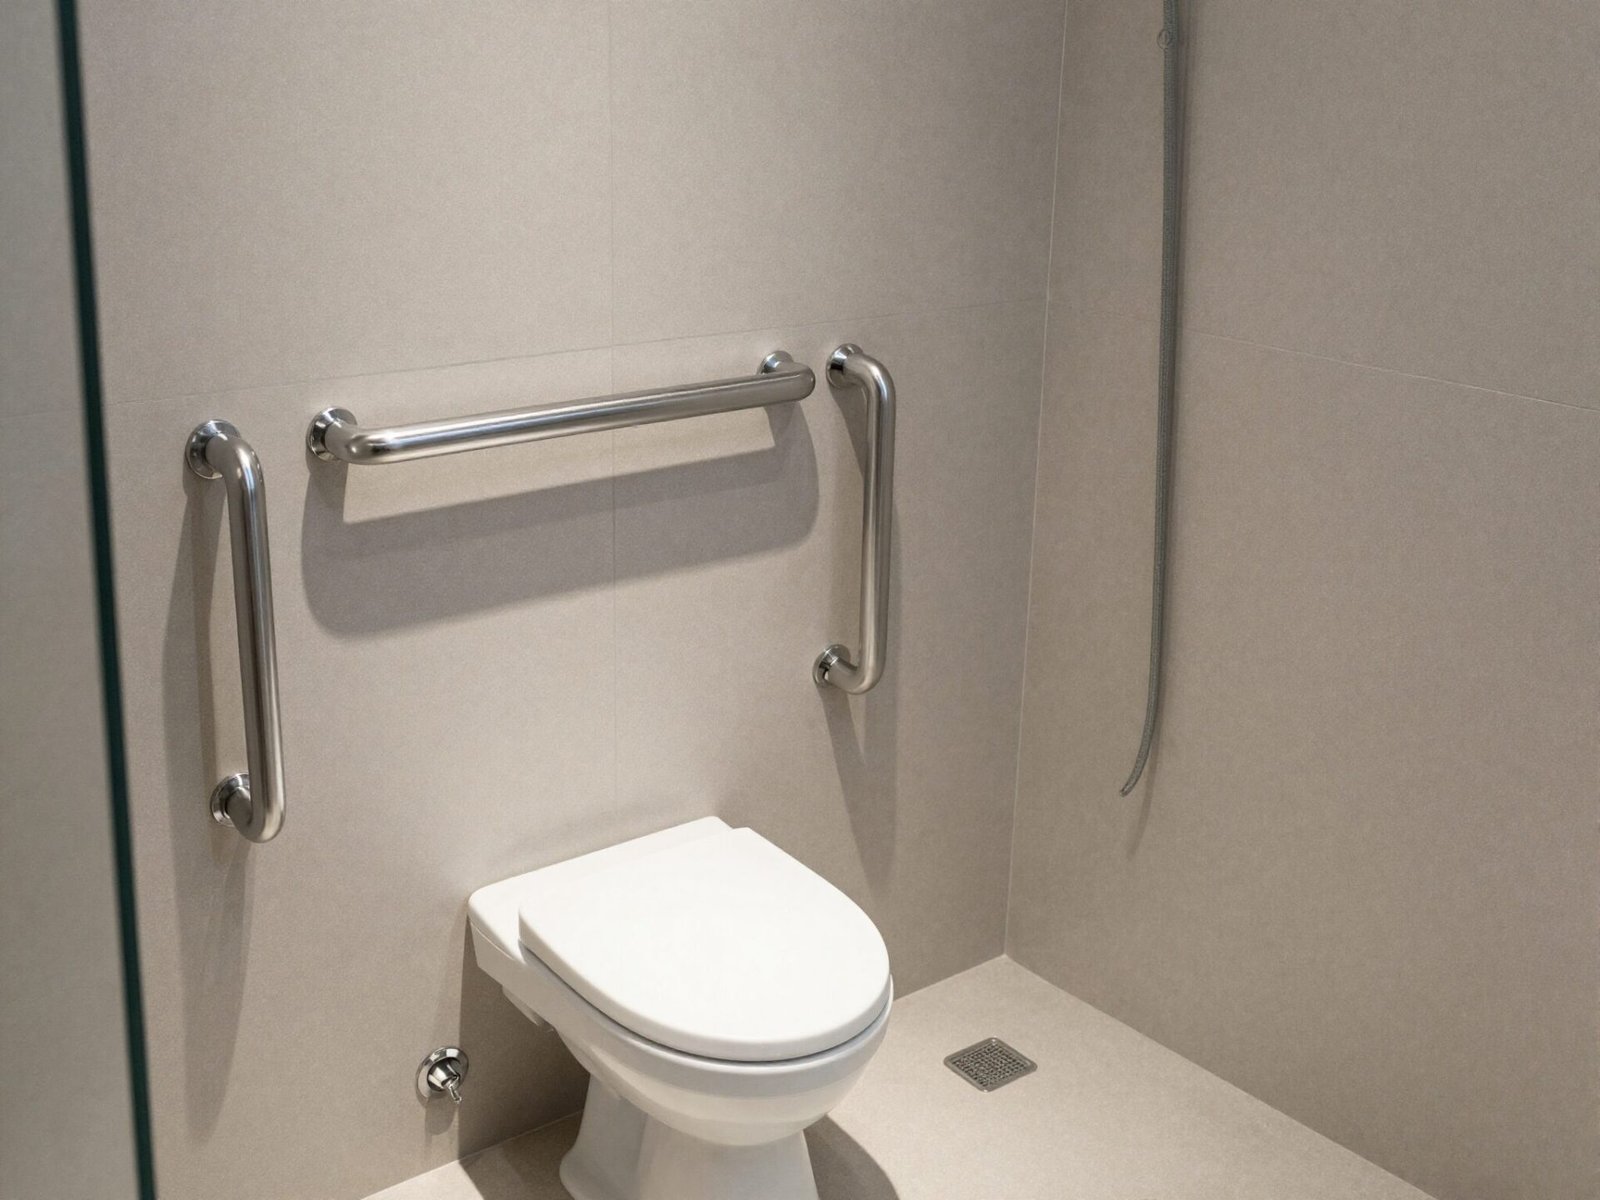
An ADA transfer shower requires a minimum clear floor space of 36 inches wide by 48 inches long, measured from the control wall.
This configuration is designed for wheelchair users to transfer directly onto a built-in shower seat, so the layout must allow a wheelchair to approach and align with that seat precisely.
Grab bars and a properly positioned seat are non-negotiable parts of this design, not optional additions.
💡 Smart tip: Position the control wall and showerhead within easy reach of the seated position, since a transfer shower’s entire layout depends on that relationship working correctly.
⚠️ Mistake to avoid: Don’t treat ADA dimensions as a rough guideline. These measurements are precise and exist specifically to make independent transfer genuinely possible and safe.
11. Plan ADA Roll-In Shower Dimensions (30×60)
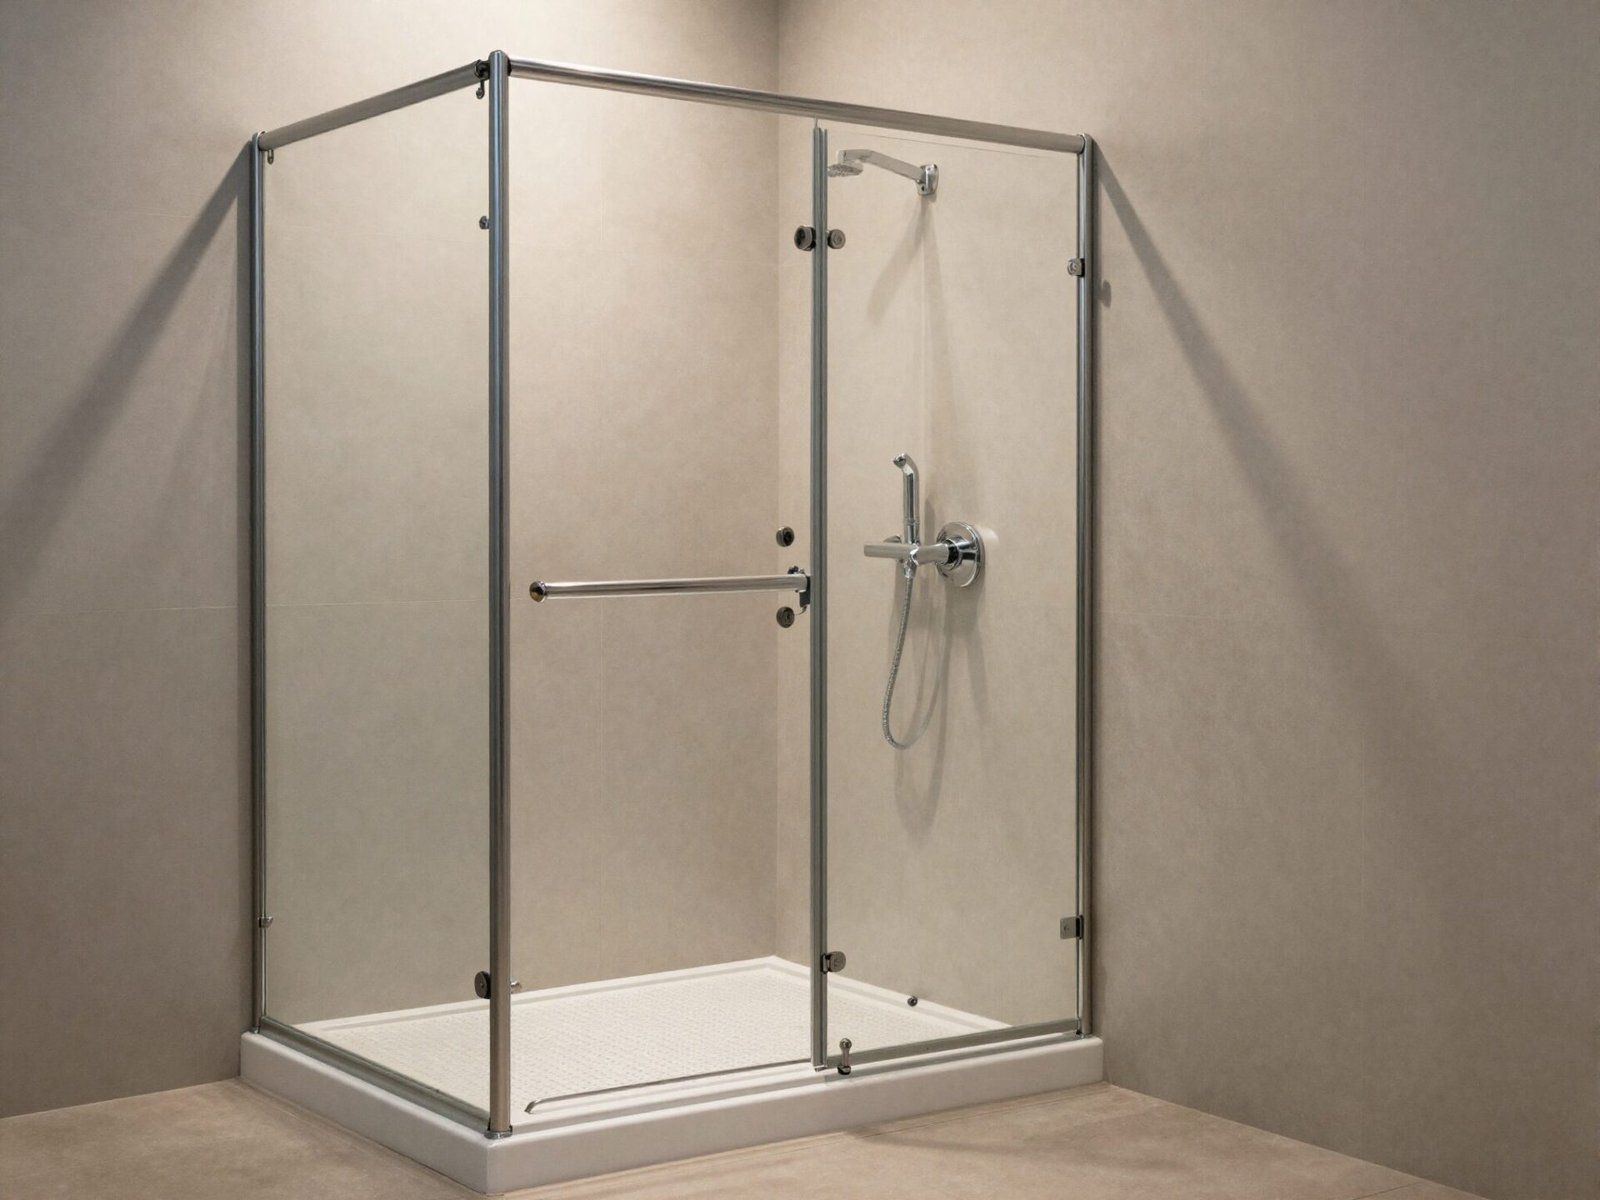
An ADA roll-in shower requires an adjacent clear floor space of 30×60 inches to accommodate a wheelchair maneuvering directly into the shower itself.
Unlike a transfer shower, this design allows a wheelchair user to roll straight in without transferring to a separate seat, which requires a curbless, zero-threshold entry.
This is a larger and more involved renovation than a transfer shower, but it offers the most independence for full-time wheelchair users.
💡 Smart tip: If aging-in-place is a future consideration rather than an immediate need, a curbless entry can often be built now even if other accessibility features are added later.
⚠️ Mistake to avoid: Don’t confuse roll-in and transfer shower dimensions. They serve different needs and use meaningfully different clear floor space requirements.
12. Position the Drain for Proper Water Flow
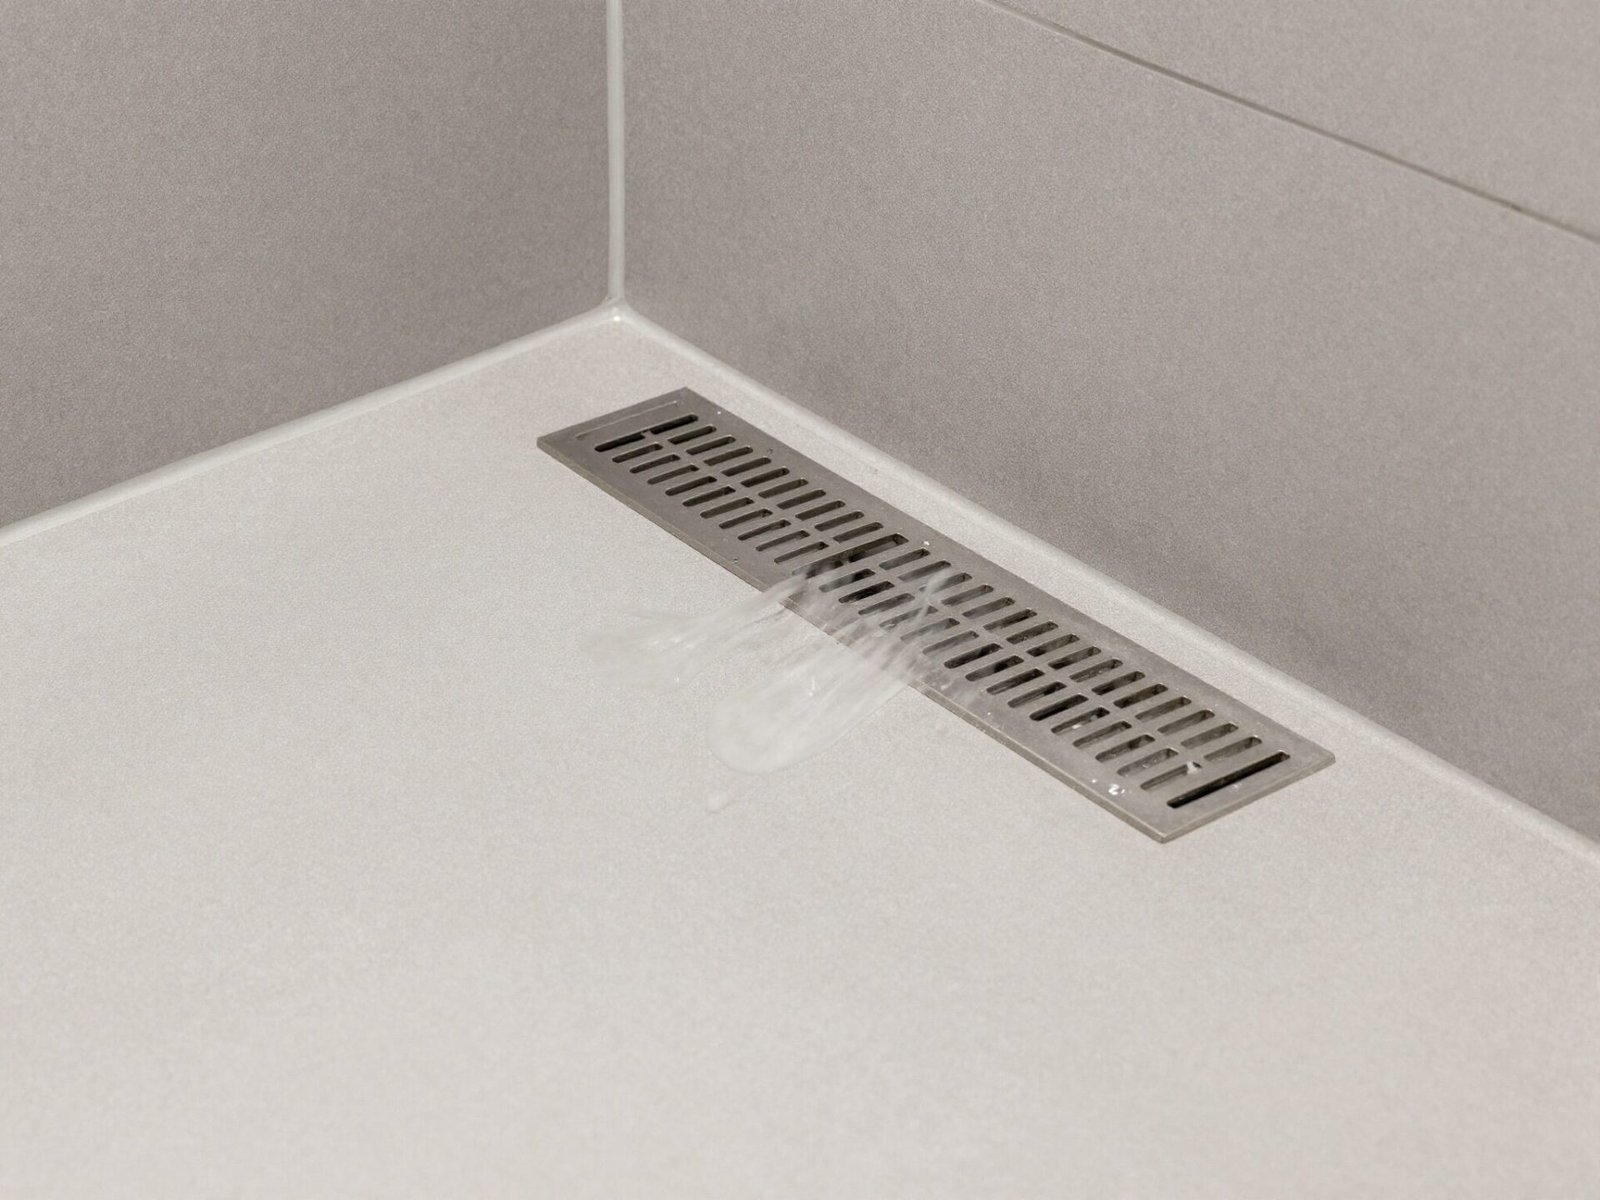
Drain placement affects both function and available floor space, with linear drains along the shower’s edge and central drains with sloped flooring being the two common solutions.
Keeping the drain near the center or toward the entry side helps prevent water from pooling in corners or near the door threshold.
Linear drains in particular take up extra edge space, which is worth factoring into your overall size calculation, especially in a smaller shower.
💡 Smart tip: In an existing bathroom, check current plumbing line locations before committing to a drain style — moving a drain significantly adds to renovation cost and complexity.
⚠️ Mistake to avoid: Don’t choose a drain style purely for aesthetics without confirming it works with your existing plumbing lines. Adjustments here can meaningfully affect the project budget.
13. Check Rain Showerhead Height Needs (80+ Inches)
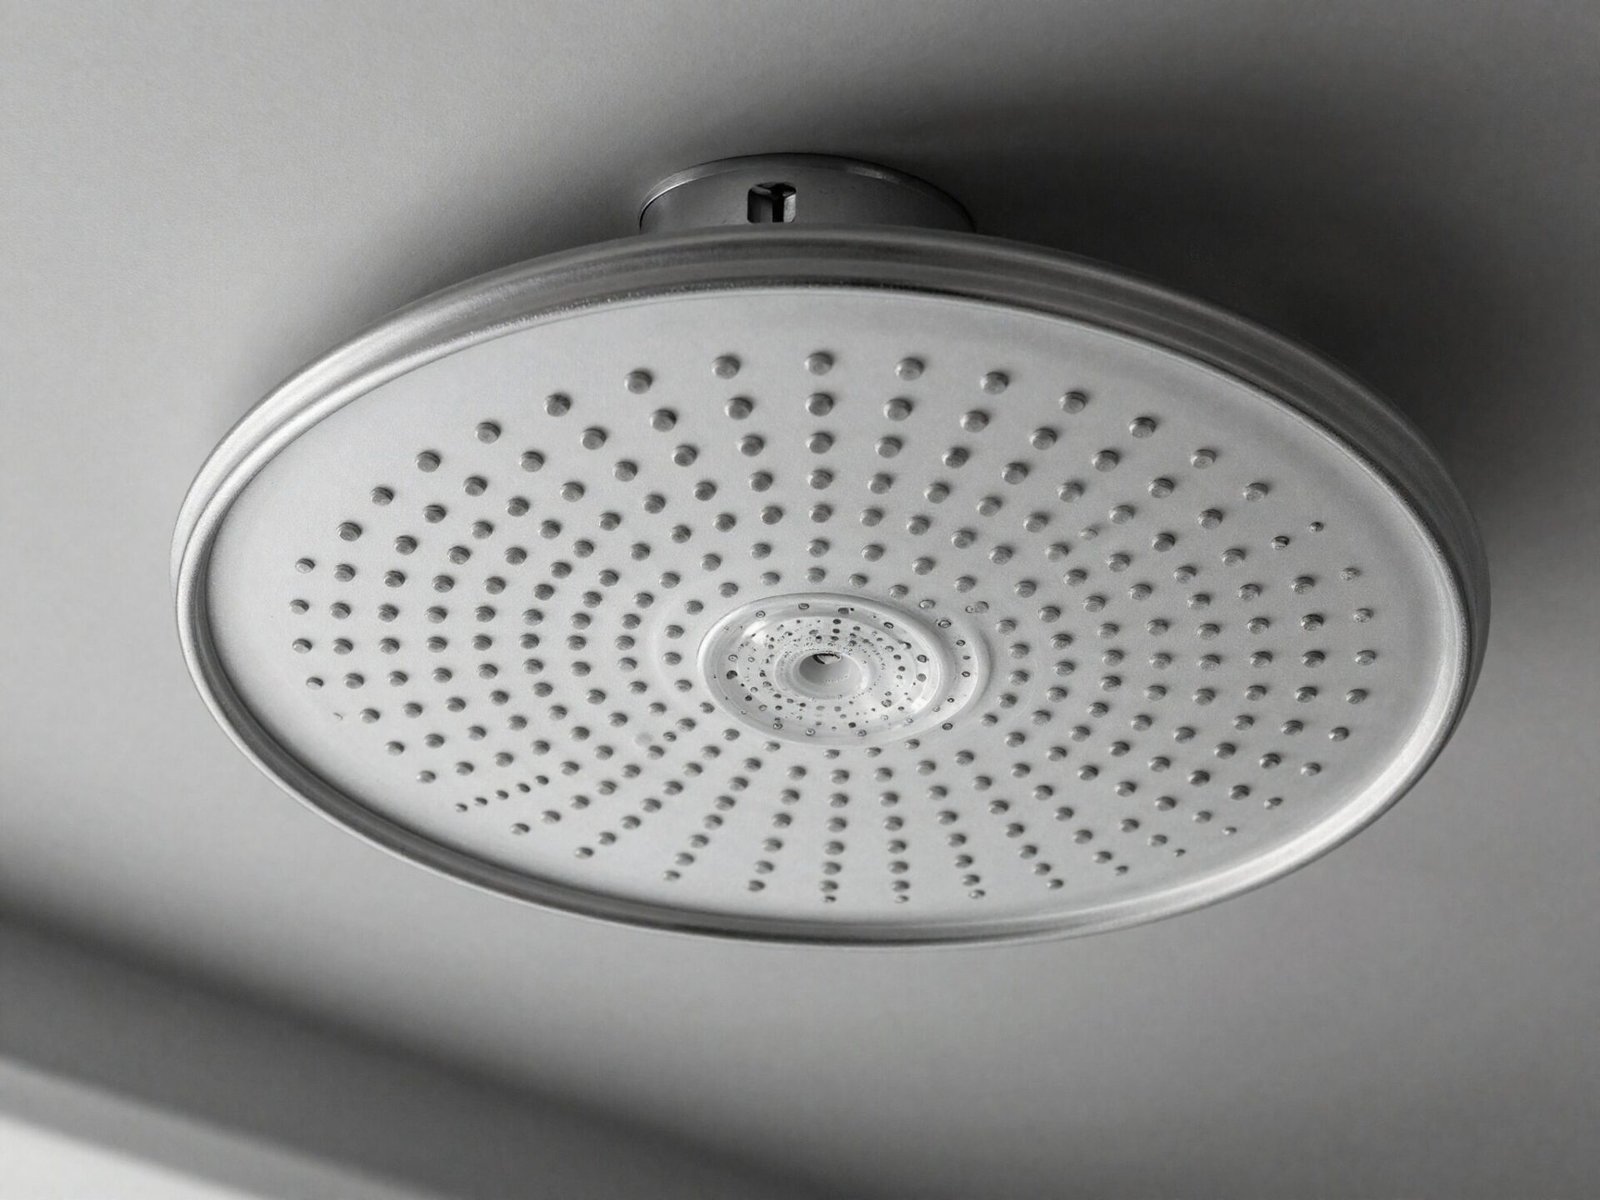
Rain showerheads work best with at least 80 inches of ceiling height, matching the same minimum recommended for walk-in showers generally.
Because rain showerheads mount directly overhead rather than at an angle from the wall, they’re more sensitive to ceiling height than a standard fixed or handheld showerhead.
In a room with exactly 80 inches of clearance, double check the actual fixture’s mounting depth, since some models extend further from the ceiling than others.
💡 Smart tip: If your ceiling height is right at the 80-inch minimum, choose a low-profile rain showerhead design to preserve as much real headroom as possible.
⚠️ Mistake to avoid: Don’t install a rain showerhead in a room with less than 80 inches of clearance without checking the specific fixture’s depth first. Taller users may find it uncomfortably close.
14. Common Shower Sizing Mistakes
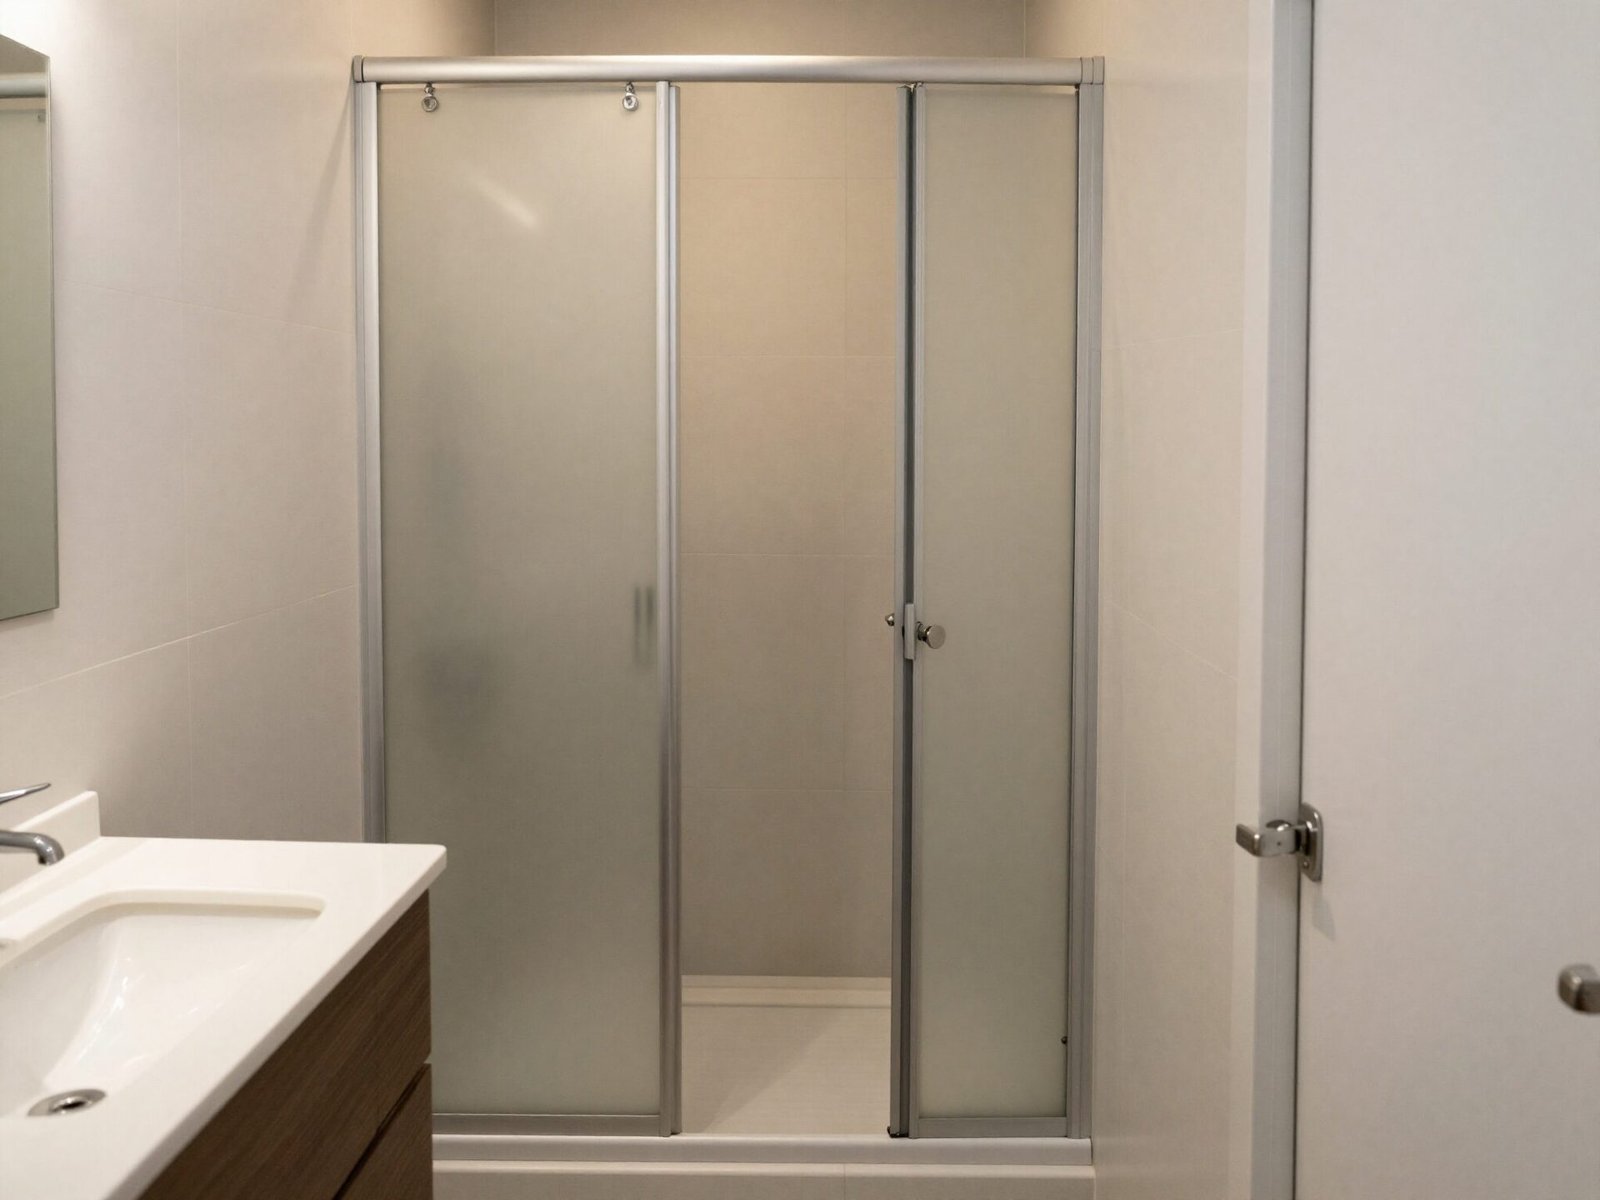
A handful of mistakes repeat across otherwise well-intentioned bathroom renovations, even ones planned with a professional.
Choosing shower size based purely on available floor space, without separately checking door swing and entry clearance, is the most frequent issue.
Confusing code minimums with comfortable, livable dimensions, and forgetting to verify ceiling height before finalizing plans, round out the most common errors.
💡 Smart tip: Treat every measurement in this guide as connected. Shower size, clearance, door type, and ceiling height all interact, so check them as one system rather than one at a time.
⚠️ Mistake to avoid: Don’t finalize a shower purchase or renovation plan around style alone. Confirm your full clearance window, including door swing and ceiling height, before committing to a size.
Effort & Cost Snapshot
| Idea | Effort | Approx. Cost |
|---|---|---|
| 1. Code Minimum (30×30) | Low | $800–$2,500 |
| 2. NKBA Comfort Size (36×36) | Medium | $1,200–$3,500 |
| 3. Primary Bath Size (60×36) | Medium | $2,000–$6,000 |
| 4. Two-Person Size (60×48+) | High | $3,500–$10,000 |
| 5. Entry Clearance Planning | Low | $0 |
| 6. Ceiling Height Check | Low | $0 |
| 7. Built-In Bench | Medium | $500–$1,500 extra |
| 8. Swing Door Clearance | Low | $0 (planning) |
| 9. Corner Shower (Small Bath) | Medium | $1,000–$3,000 |
| 10. ADA Transfer Shower | High | $3,000–$8,000 |
| 11. ADA Roll-In Shower | High | $5,000–$12,000 |
| 12. Drain Positioning | Medium | $300–$1,200 |
| 13. Rain Showerhead Height | Low | $100–$400 (fixture) |
| 14. Avoiding Sizing Mistakes | Low | $0 |
Every number in this guide traces back to either a building code, an industry design standard, or an accessibility requirement — none of it is arbitrary.
Start by identifying which category applies to your situation: code minimum, comfortable everyday use, or accessibility needs, then size from there.
Continue Your Home Transformation
Explore the full collection of step-by-step eBooks and get the guide that fits the room you're working on.