Curb Appeal
If your home looks its best only in daylight and basically disappears into the dark the moment the sun sets, you’re missing half the potential of your curb appeal. A single porch light or one bright floodlight isn’t lighting design — it’s just switching something on, and it flattens everything else about your home’s exterior into shadow.
By the end of this article, you’ll have 9 real ways to layer light across your yard and facade so your home looks just as considered at 9pm as it does at 9am.
Table of Contents
- 1. Uplight a Statement Tree
- 2. Add Low-Level Step Lights Along the Walkway
- 3. Hang a Pendant Light in the Branches
- 4. Spotlight a Textured Facade Wall
- 5. Flank the Front Door With Lantern Fixtures
- 6. Backlight Ornamental Grasses for Silhouettes
- 7. Keep Every Fixture on the Same Warm Temperature
- 8. Control It All Through One Smart System
- 9. Layer All the Elements Into One Cohesive Plan
- Effort & Cost Snapshot
1. Uplight a Statement Tree for Your Nighttime Lighting
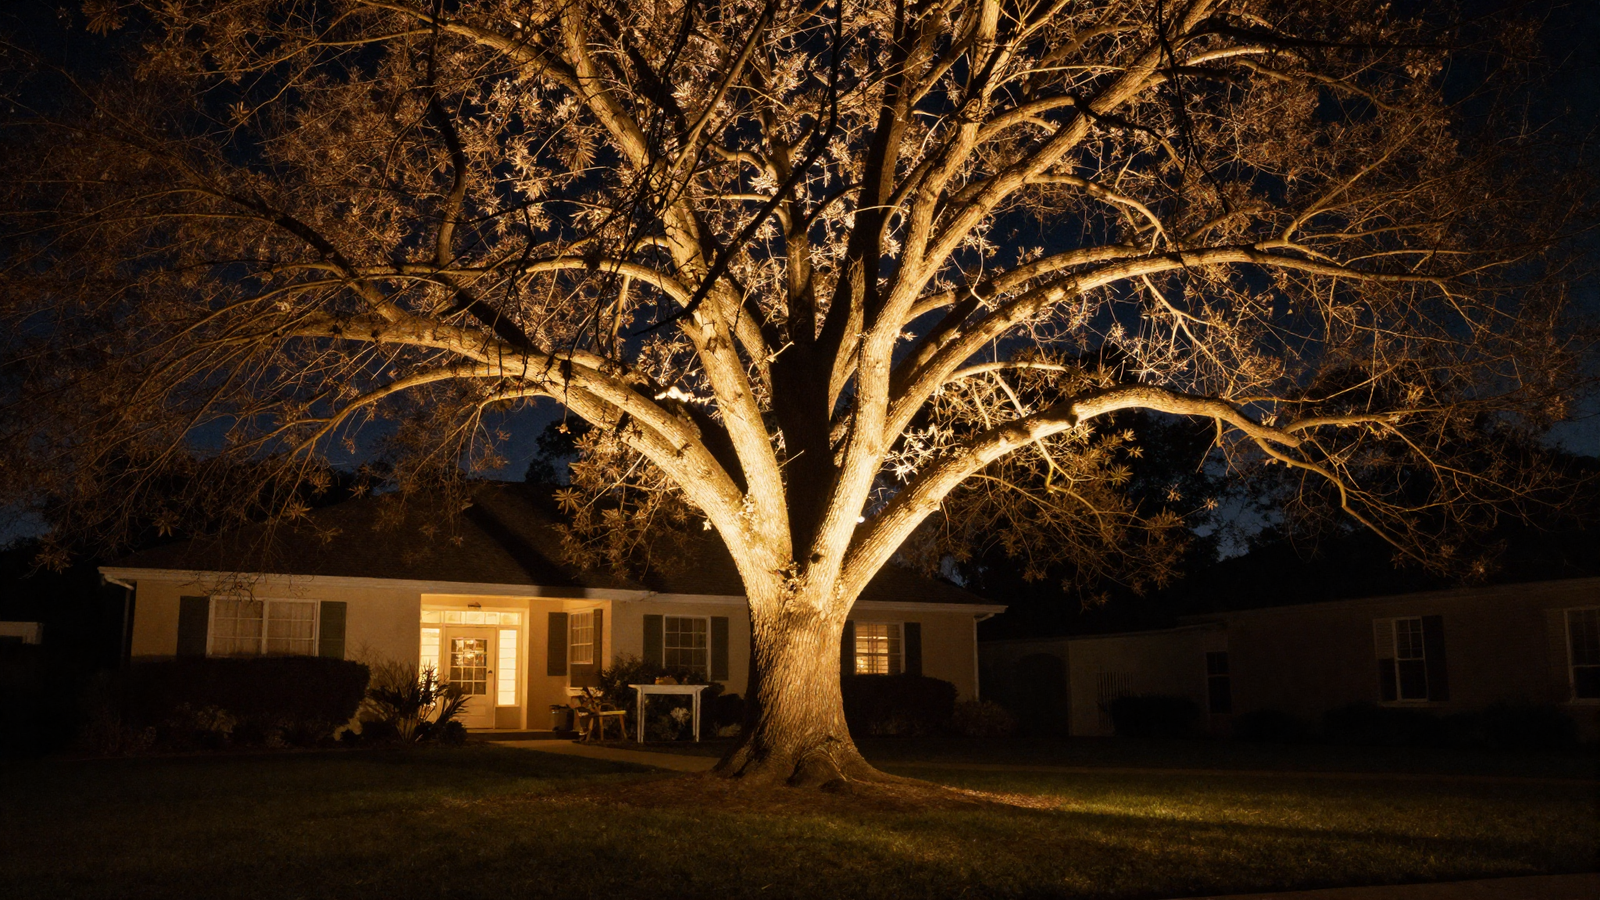
A single well-placed uplight beneath a mature tree creates dramatic shadow play across the trunk and canopy that a home never gets to show off during the day. It’s one of the highest-impact single fixtures you can add, turning a tree from background scenery into a genuine nighttime focal point.
💡 Smart tip: Angle the fixture slightly off-center from the trunk rather than dead-on; it creates more natural, varied shadow patterns through the branches.
⚠️ Mistake to avoid: Using a fixture that’s too bright for the tree’s size; oversized wattage washes out the branch detail instead of highlighting it.
2. Add Low-Level Step Lights Along the Walkway for Your Nighttime Lighting
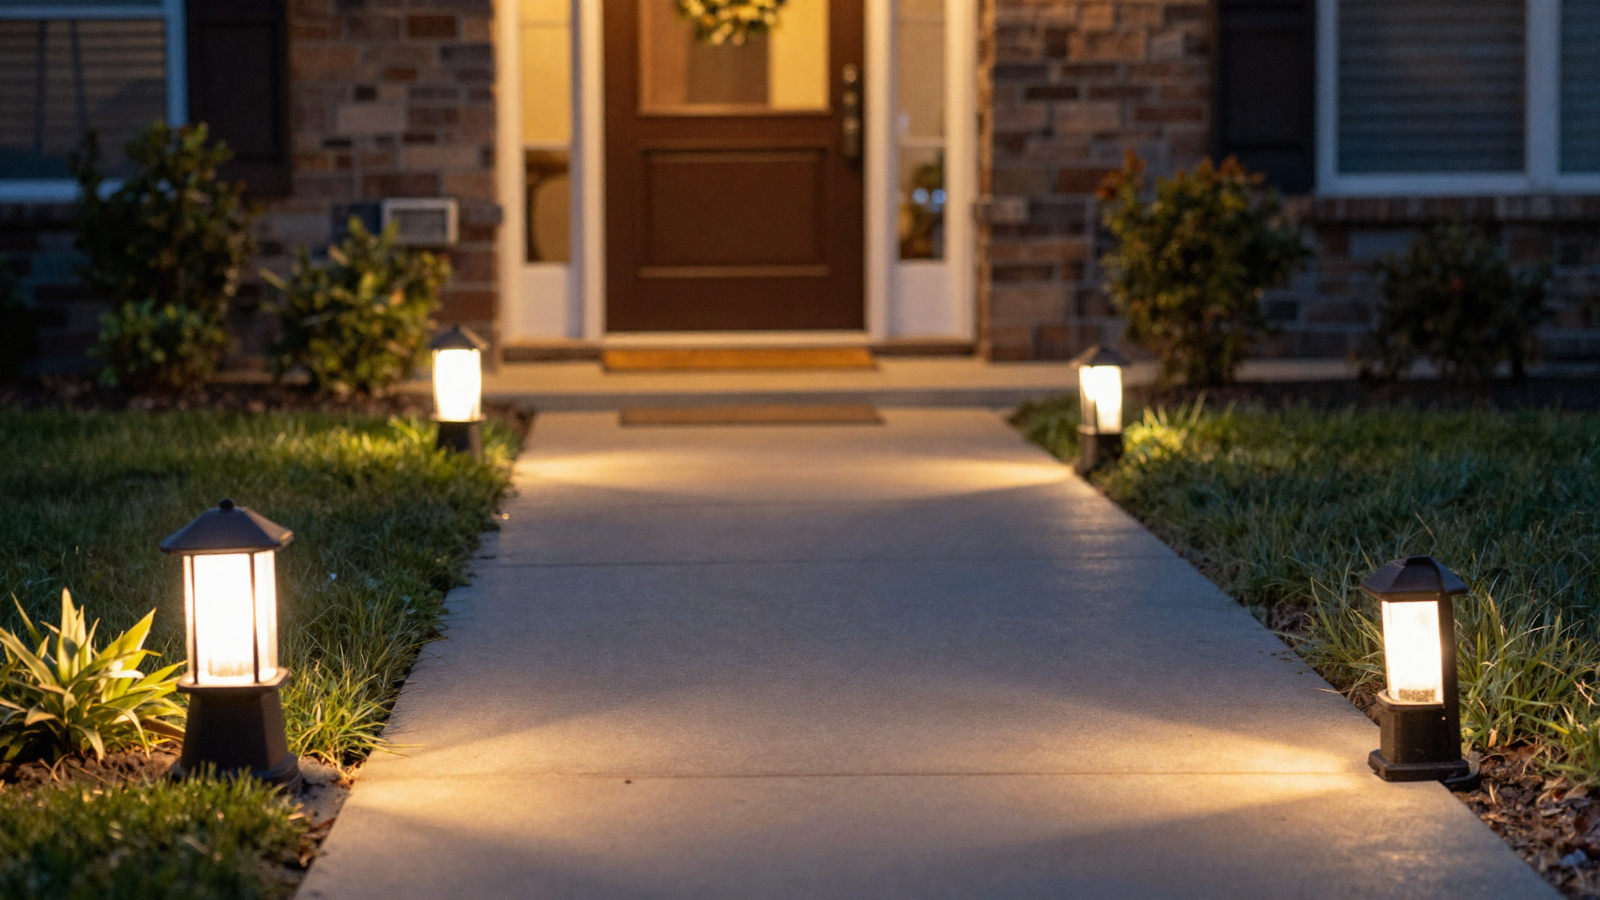
Ground-level path lights do double duty — they keep guests from tripping in the dark and they draw a clear, glowing line straight toward your front door. Set low and angled downward, they light the way without ever glaring into anyone’s eyes.
💡 Smart tip: Space fixtures roughly 6 to 8 feet apart along the path for even coverage without overlapping pools of light.
⚠️ Mistake to avoid: Choosing fixtures with exposed bare bulbs; a shielded or downward-facing design prevents glare and looks far more polished.
3. Hang a Pendant Light in the Branches for Your Nighttime Lighting
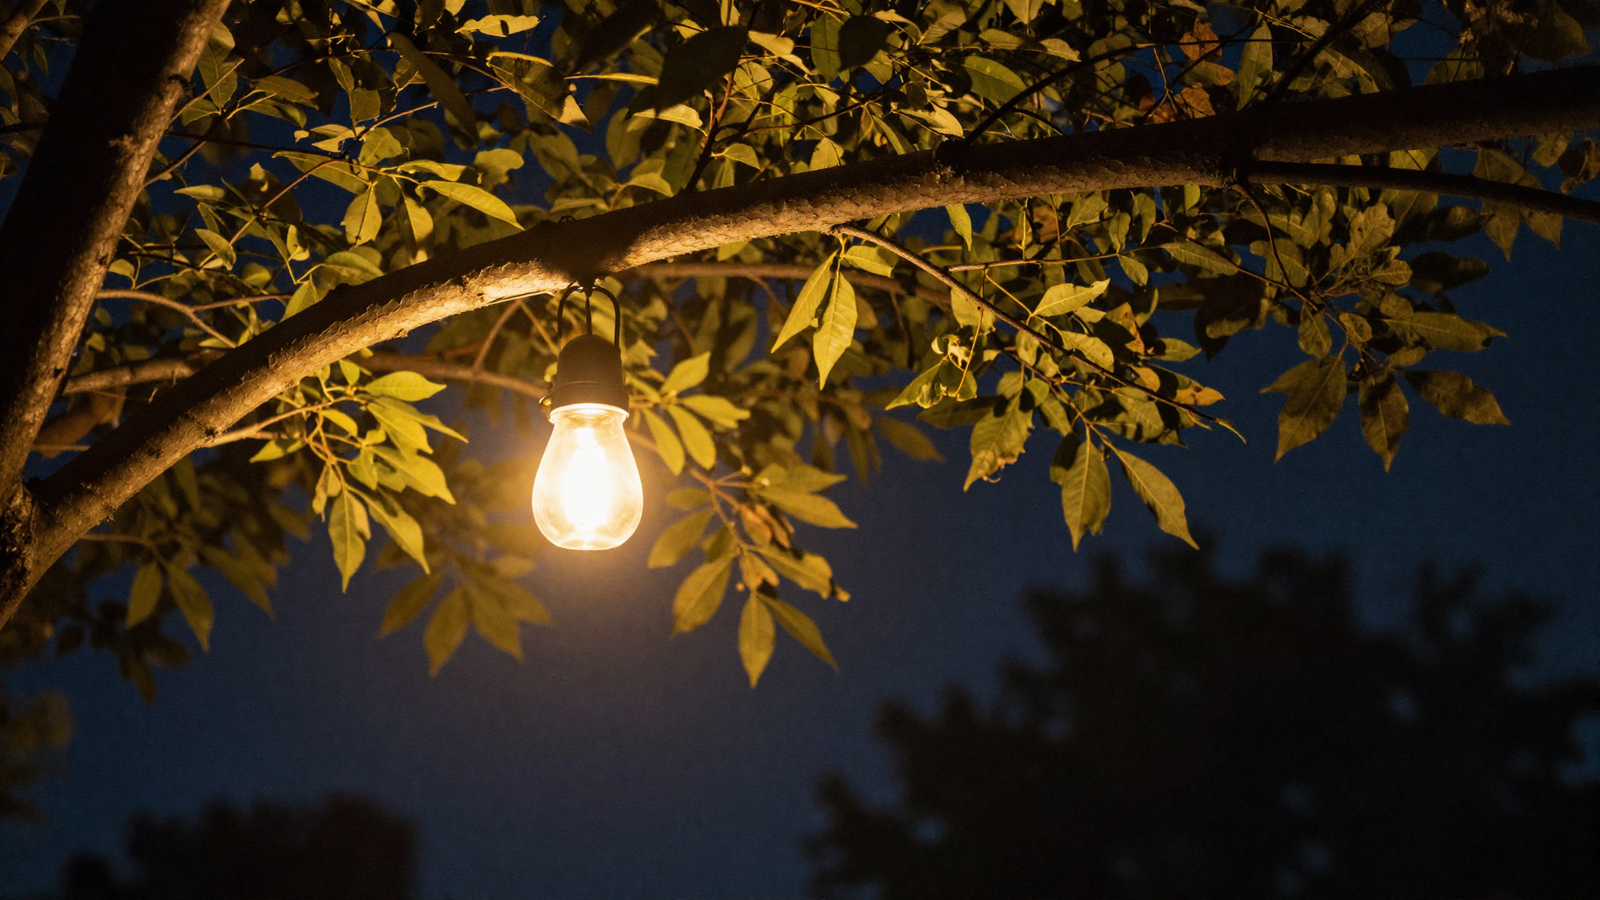
A single pendant fixture hung from a low branch adds a genuinely unexpected touch of drama that most front yards never think to try. It works best as one intentional surprise rather than a repeated element — a small detail visitors notice and remember.
💡 Smart tip: Choose a fixture rated for outdoor use with a warm, dim glow rather than a bright bulb — the goal is ambiance, not illumination.
⚠️ Mistake to avoid: Overloading branches with multiple pendants; one well-placed fixture reads as intentional, several starts to look cluttered.
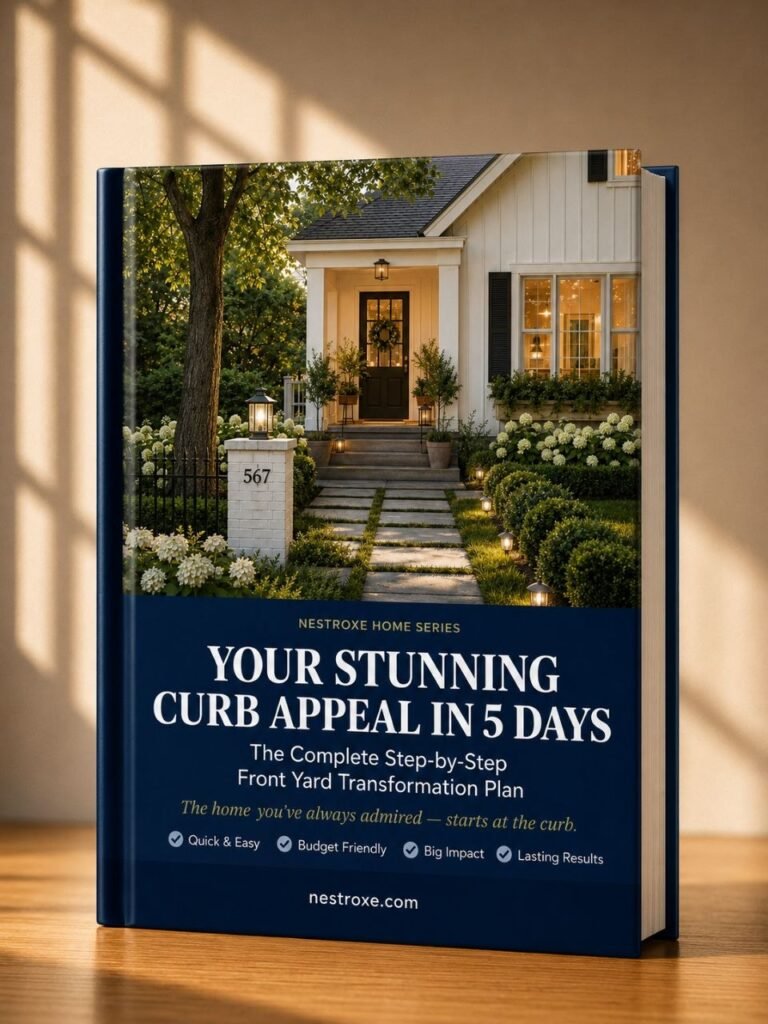
Loving These Ideas? Get the Step-by-Step Guide
Grab the full 5-day eBook and turn these ideas into a finished room.




4. Spotlight a Textured Facade Wall
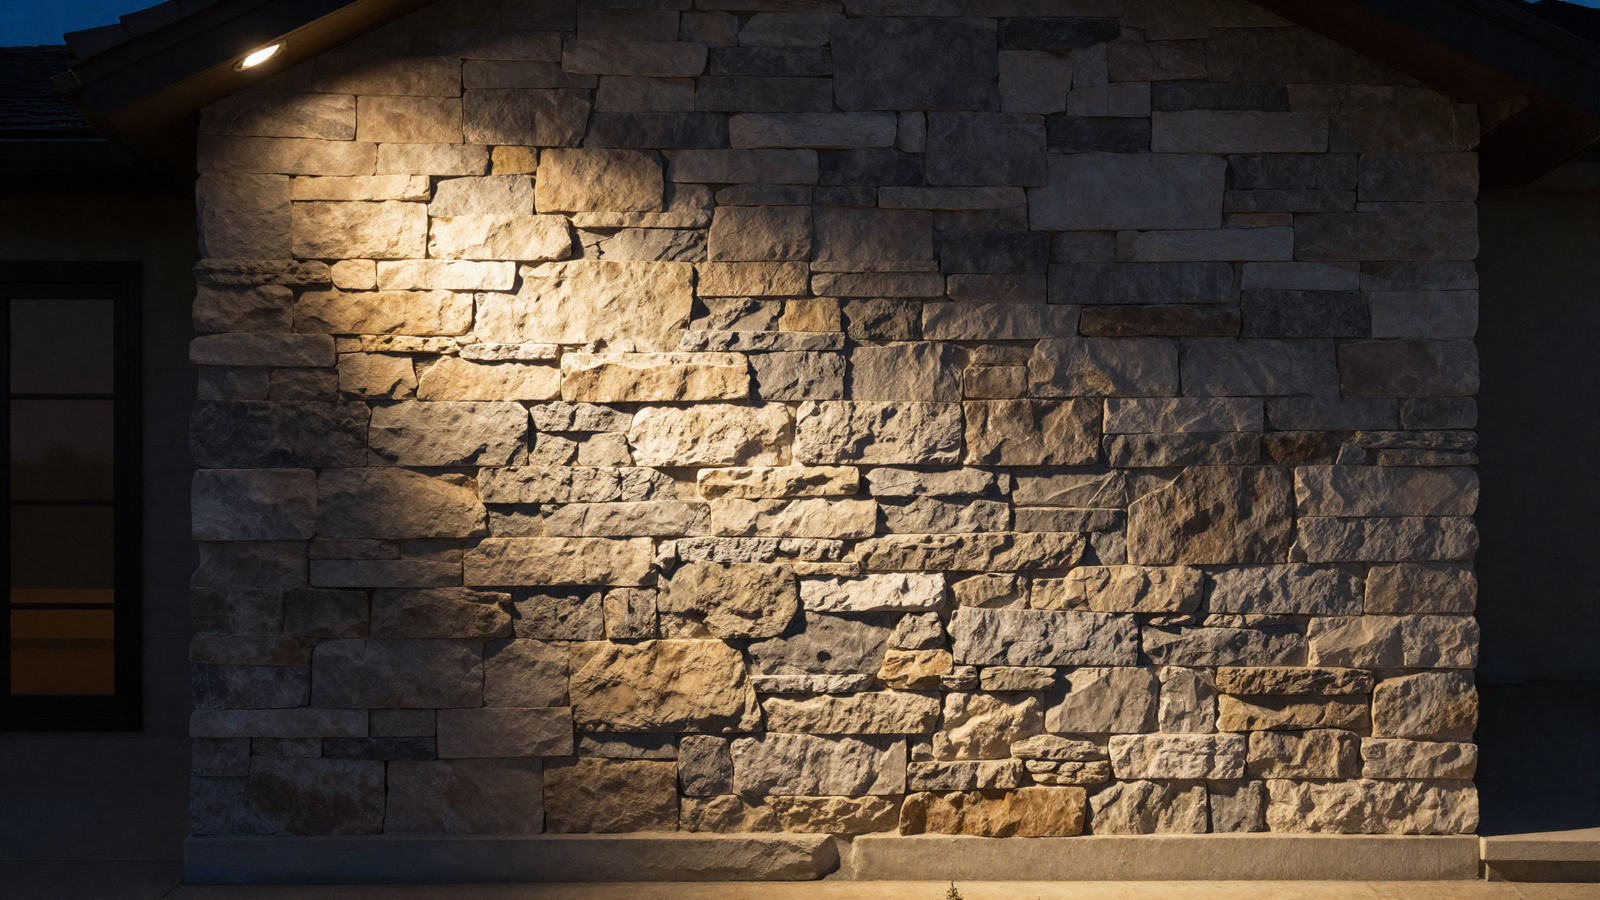
Textured materials like natural stone or brick come alive under a grazing spotlight, since raking light across a rough surface creates shadow and depth that flat, even lighting simply can’t produce. It’s a great way to draw attention to a facade upgrade you’re already proud of during the day.
💡 Smart tip: Position the spotlight close to the wall and angle it upward or across the surface, rather than straight-on, to maximize the shadow and texture effect.
⚠️ Mistake to avoid: Aiming the light directly at eye level from the street; keep it low or high enough that it highlights the wall without creating glare for passersby.
5. Flank the Front Door With Lantern Fixtures
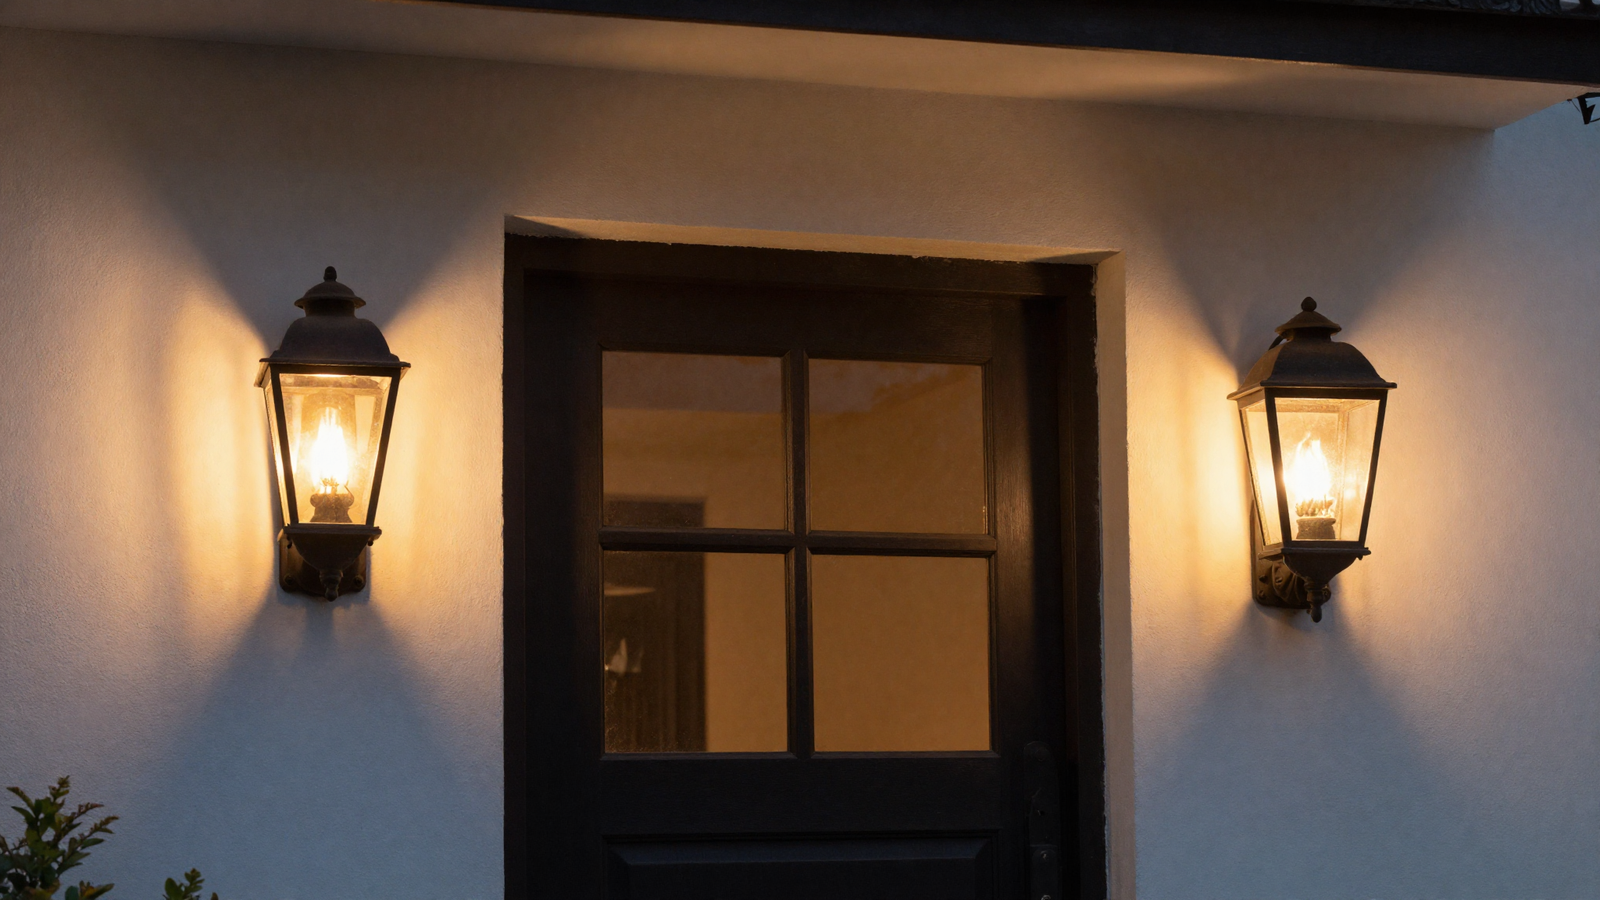
A pair of lantern-style fixtures on either side of the door brings a timeless, welcoming feel that a single overhead porch light can’t match on its own. The symmetry itself signals care and intention before a guest even reaches the doorstep.
💡 Smart tip: Mount fixtures at eye level, roughly 66 inches from the ground, for the most flattering and balanced proportion against a standard door.
⚠️ Mistake to avoid: Letting the fixtures go uncleaned for years; dust and cobwebs dull the glow of even well-chosen lanterns significantly.
6. Backlight Ornamental Grasses for Silhouettes
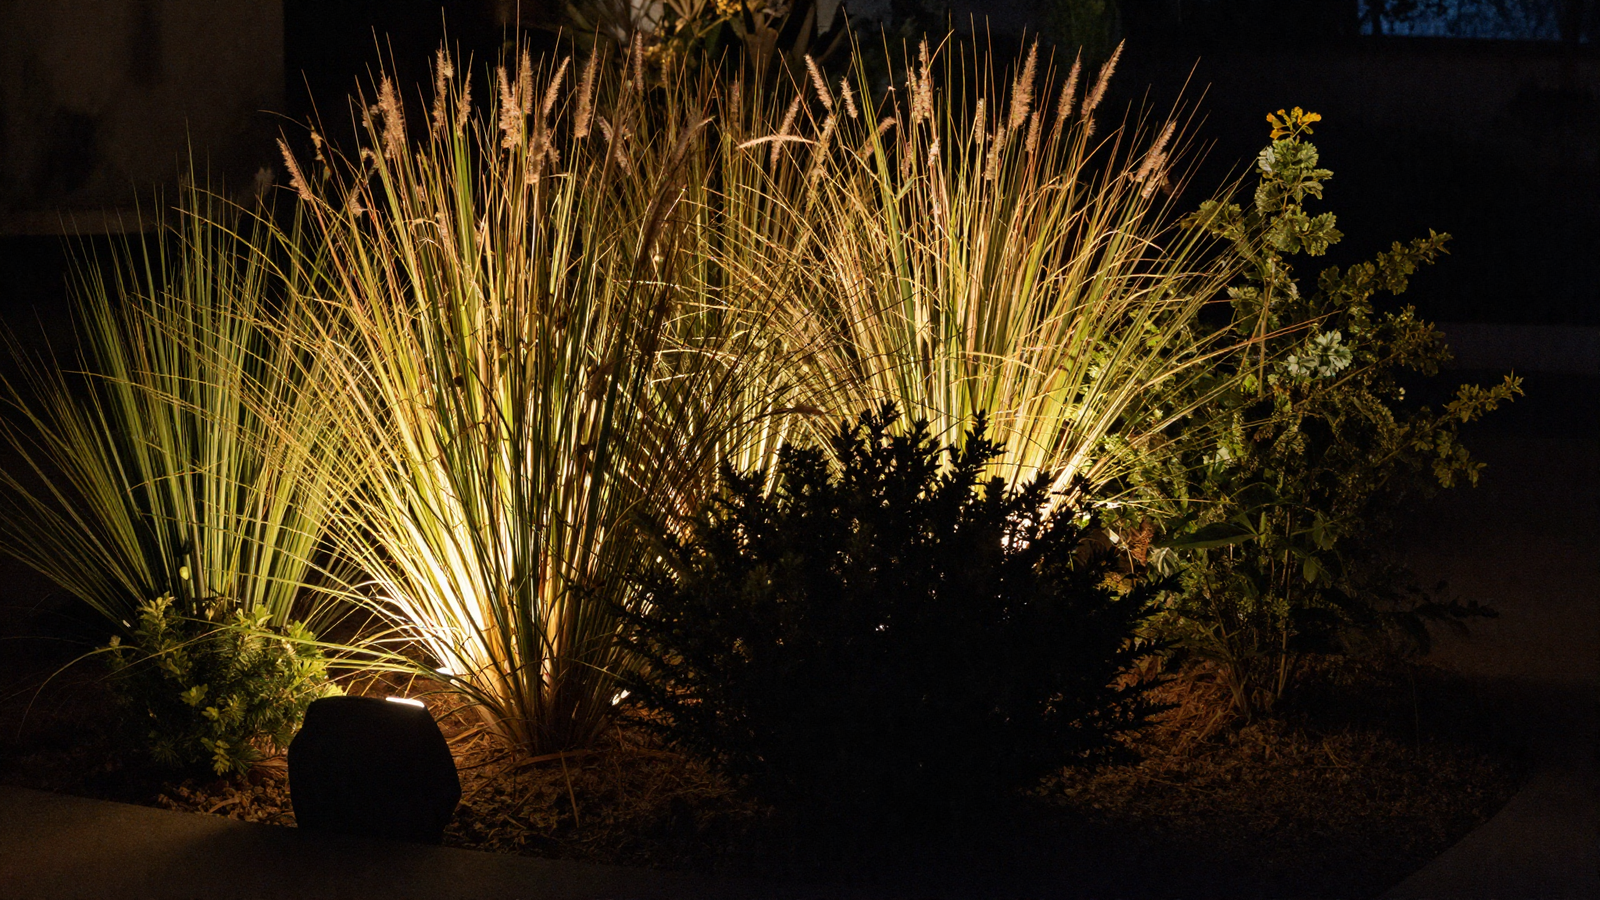
Placing a light source behind rather than in front of feathery plants like ornamental grasses creates soft, moving silhouettes instead of flat, front-lit foliage. It’s a subtler lighting technique that adds real depth and movement to a garden bed after dark.
💡 Smart tip: Use this technique for plants with fine, translucent texture — grasses, ferns, and airy perennials backlight far more effectively than solid, broad-leafed shrubs.
⚠️ Mistake to avoid: Placing the fixture too close to the plant base; back off a few feet so the light spreads and creates a fuller silhouette rather than one hot spot.
7. Keep Every Fixture on the Same Warm Temperature
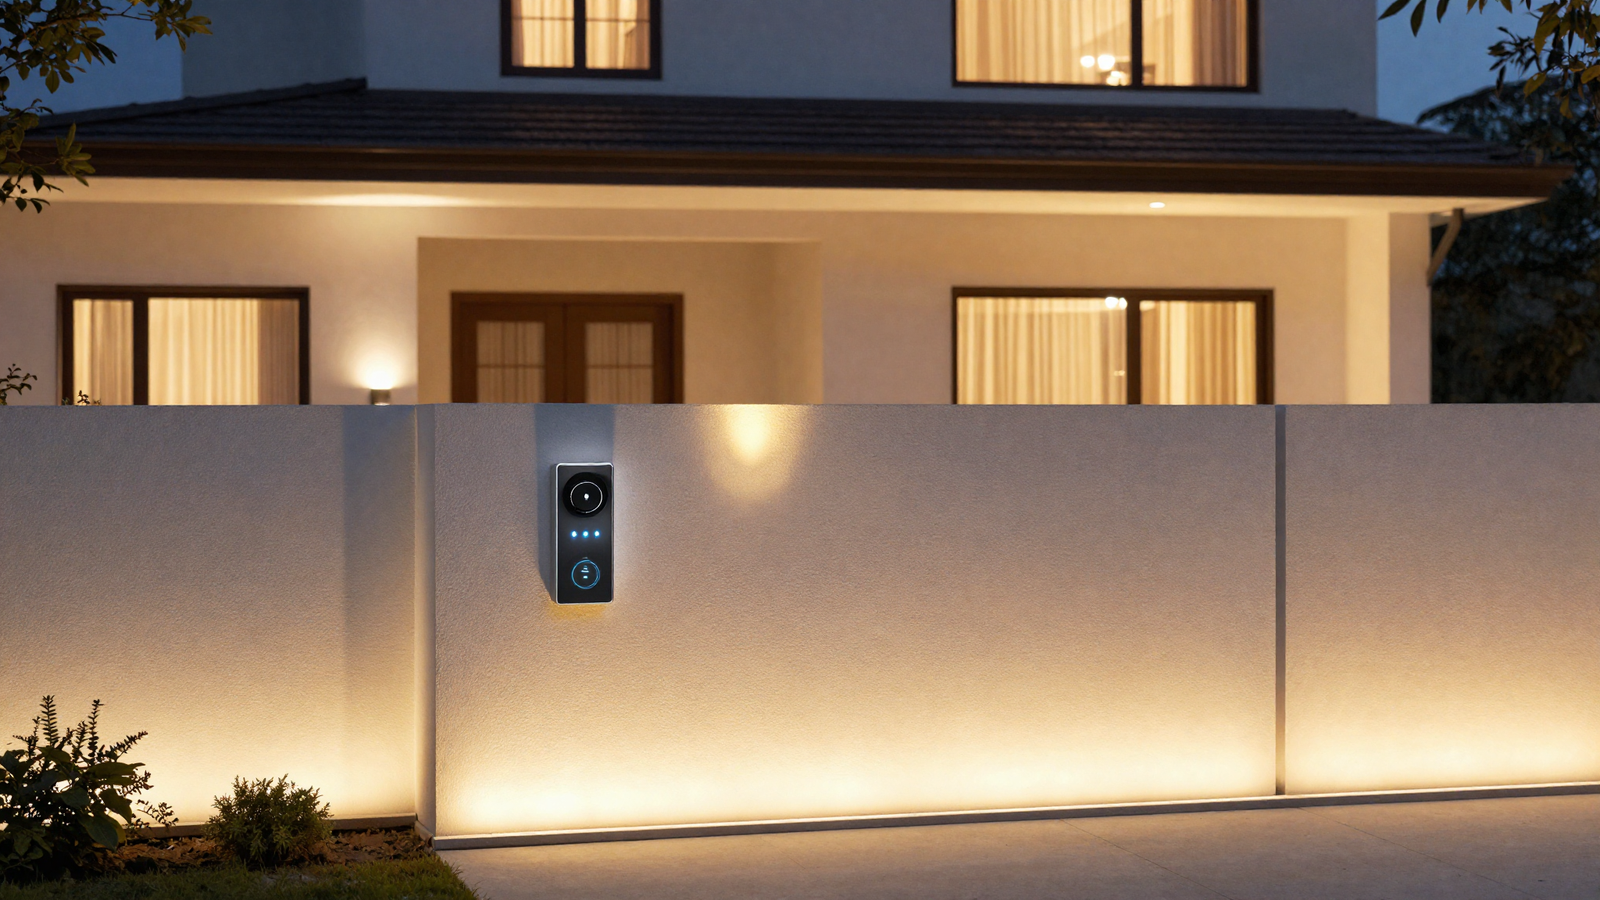
Mixing cool white bulbs on the porch with warm ones along the path creates a disjointed look, even if each individual fixture looks fine on its own. Sticking to a single warm range, typically 2700K to 3000K, keeps stone, brick, and wood tones looking rich rather than washed out or clinical.
💡 Smart tip: Check the Kelvin rating printed on the bulb packaging before buying, and keep a note of your chosen temperature so future replacements match exactly.
⚠️ Mistake to avoid: Assuming all “warm white” bulbs are identical; ratings can vary between 2200K and 3500K, and even that range is noticeable side by side.
8. Control It All Through One Smart System
Once you have multiple fixture types working together, a smart controller lets you adjust brightness and timing across the whole property from one app instead of juggling several separate switches and timers. It also makes seasonal adjustments, like earlier winter sunsets, effortless to manage.
💡 Smart tip: Group fixtures into zones — pathway, facade, tree, entry — so you can dim or brighten each area independently based on the occasion.
⚠️ Mistake to avoid: Choosing a system that isn’t weatherproof-rated for outdoor electronics; check the IP rating before installing any smart controller components outside.
9. Layer All the Elements Into One Cohesive Plan
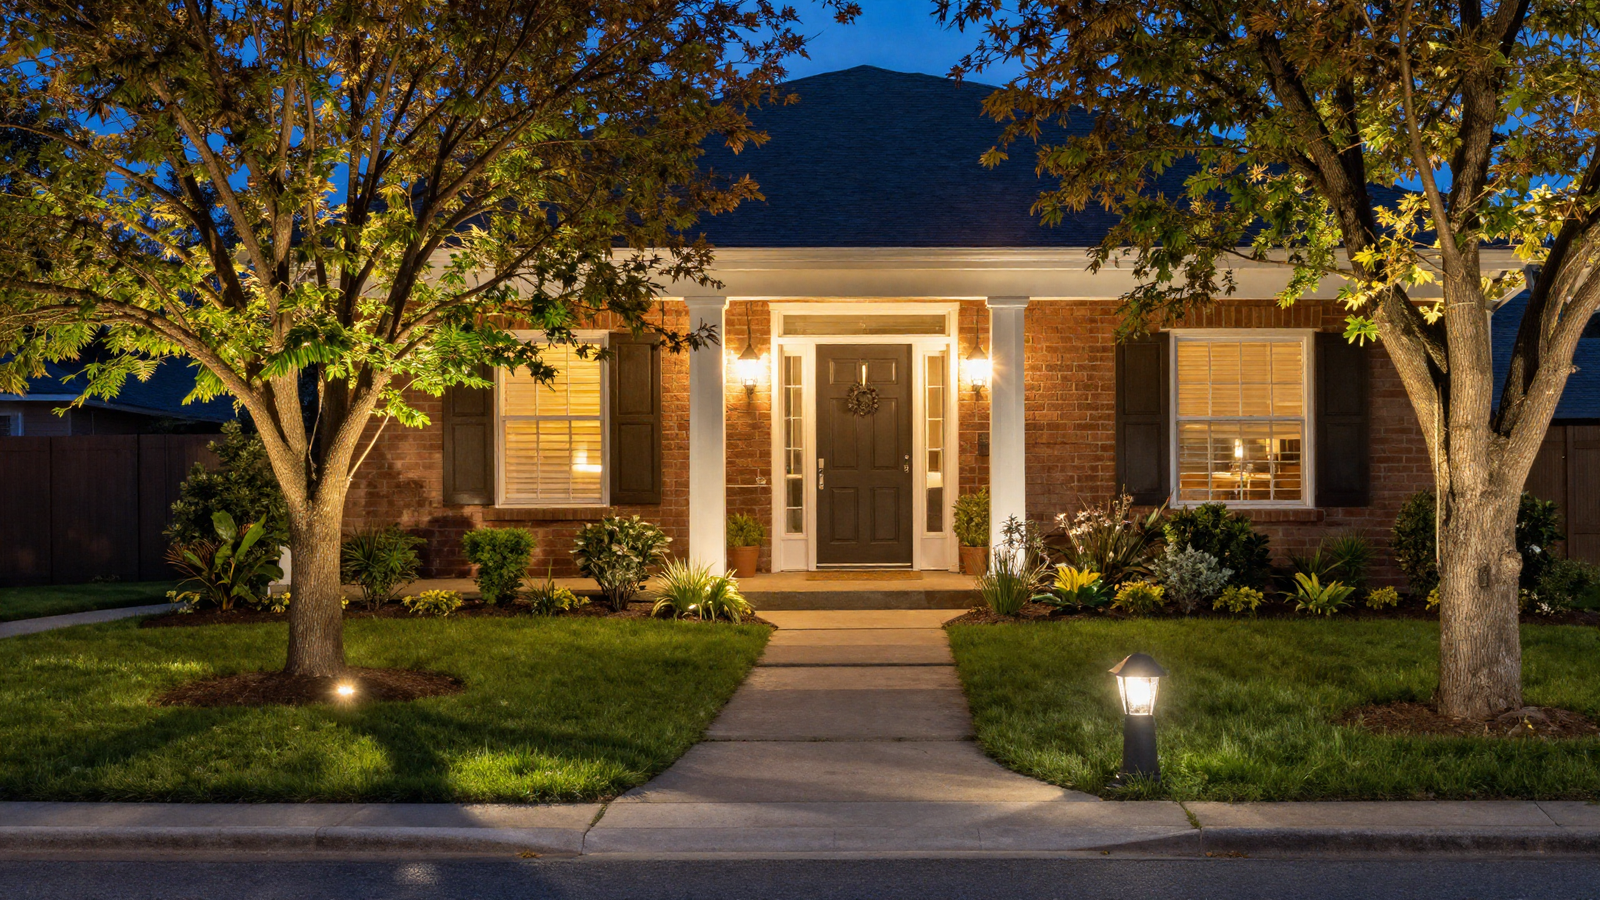
The real transformation happens when tree uplighting, path lights, and entry fixtures all work together instead of standing alone as separate decisions. Just like an interior room benefits from ambient, task, and accent lighting instead of one overhead fixture, a front yard reads as designed once every light source has a clear role.
💡 Smart tip: Walk the full front yard at dusk with your fixtures switched on before finalizing placement — problems like glare or gaps are far easier to catch in person than on paper.
⚠️ Mistake to avoid: Installing everything at once without testing; adding fixtures in stages lets you catch what’s actually needed versus what just seemed like a good idea on paper.
Effort & Cost Snapshot
| Idea | Effort | Approx. Cost |
|---|---|---|
| 1. Tree Uplighting | Low–Medium (DIY) | $40–$200 |
| 2. Walkway Step Lights | Low (DIY) | $60–$300 |
| 3. Tree Pendant Light | Low (DIY) | $30–$150 |
| 4. Facade Spotlight | Medium (DIY or pro) | $80–$400 |
| 5. Entry Lantern Fixtures | Low (DIY) | $100–$500 |
| 6. Backlit Ornamental Grasses | Low–Medium (DIY) | $50–$250 |
| 7. Consistent Warm Bulb Temperature | Low (planning + bulb swap) | $20–$100 |
| 8. Smart Lighting Control System | Medium (DIY or pro install) | $200–$800 |
| 9. Full Layered Lighting Plan | Medium–High (DIY or pro) | $400–$2,000 |
Great curb appeal doesn’t clock out at sunset — with a few layered fixtures and a consistent warm glow, your home can look just as intentional at night as it does in daylight. Save this list to Pinterest so you can plan out your own nighttime lighting, one fixture at a time.
Continue Your Home Transformation
Explore the full collection of step-by-step eBooks and get the guide that fits the room you're working on.