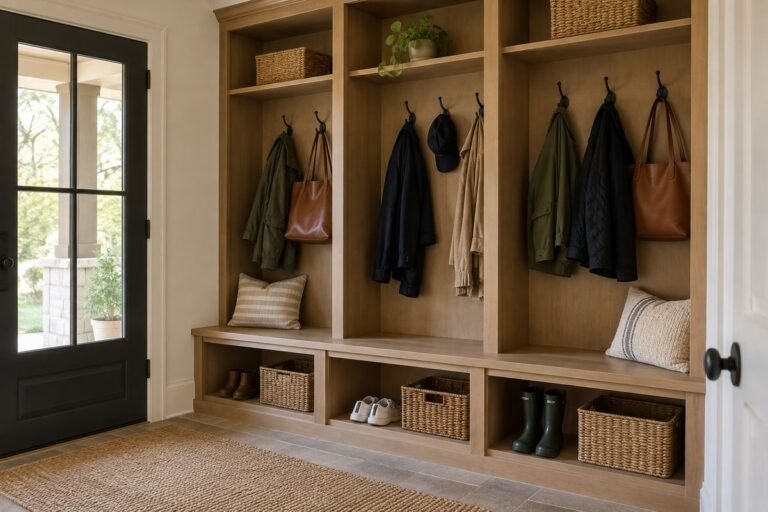
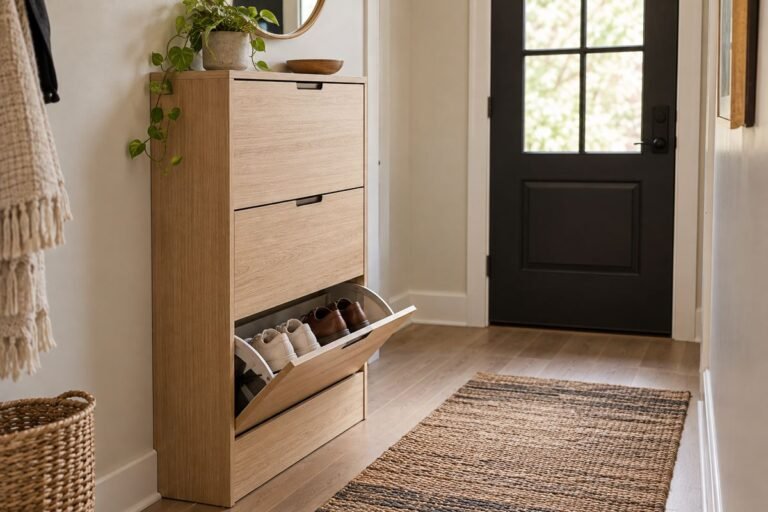
Small pantry organization without drilling starts with the shelves and space you already have. Removable bins, freestanding organizers, and a few clear categories can make everyday food easier to find without a pantry renovation.
These 20 ideas cover individual zones and useful storage tools. Choose the ones that match your actual shelf measurements and shopping habits; you do not need every organizer to create a pantry that works.
The original AI-generated images illustrate design concepts. They are not photographs of tested products or measured installations.
Test Small Pantry Organization With the Next Grocery Restock
Begin with one shelf and the packages normally bought for it. Put older suitable stock at the front, then try adding the next usual shop without hiding labels or forcing the door closed. For example, a bin can make breakfast portable while a tall handle prevents it from clearing the shelf above. Keep enough space for the hand that lifts it, and review the category before purchasing a matching set.
1. Begin Small Pantry Organization With an Everyday Shelf

Arrange the foods you use most often on one shelf that is easy for you to reach. Group breakfast, lunch, and cooking basics in separate removable containers, with a little clear space between them. A simple arrangement is easier to maintain than filling every opening with another organizer.
Start by removing expired food and measuring the shelf. Keep heavier items lower and leave enough room to lift a container without tilting it. This layout uses existing shelves; the bins make the categories portable without changing the pantry itself.
2. Use a Hook-On Door Rack for Light Items
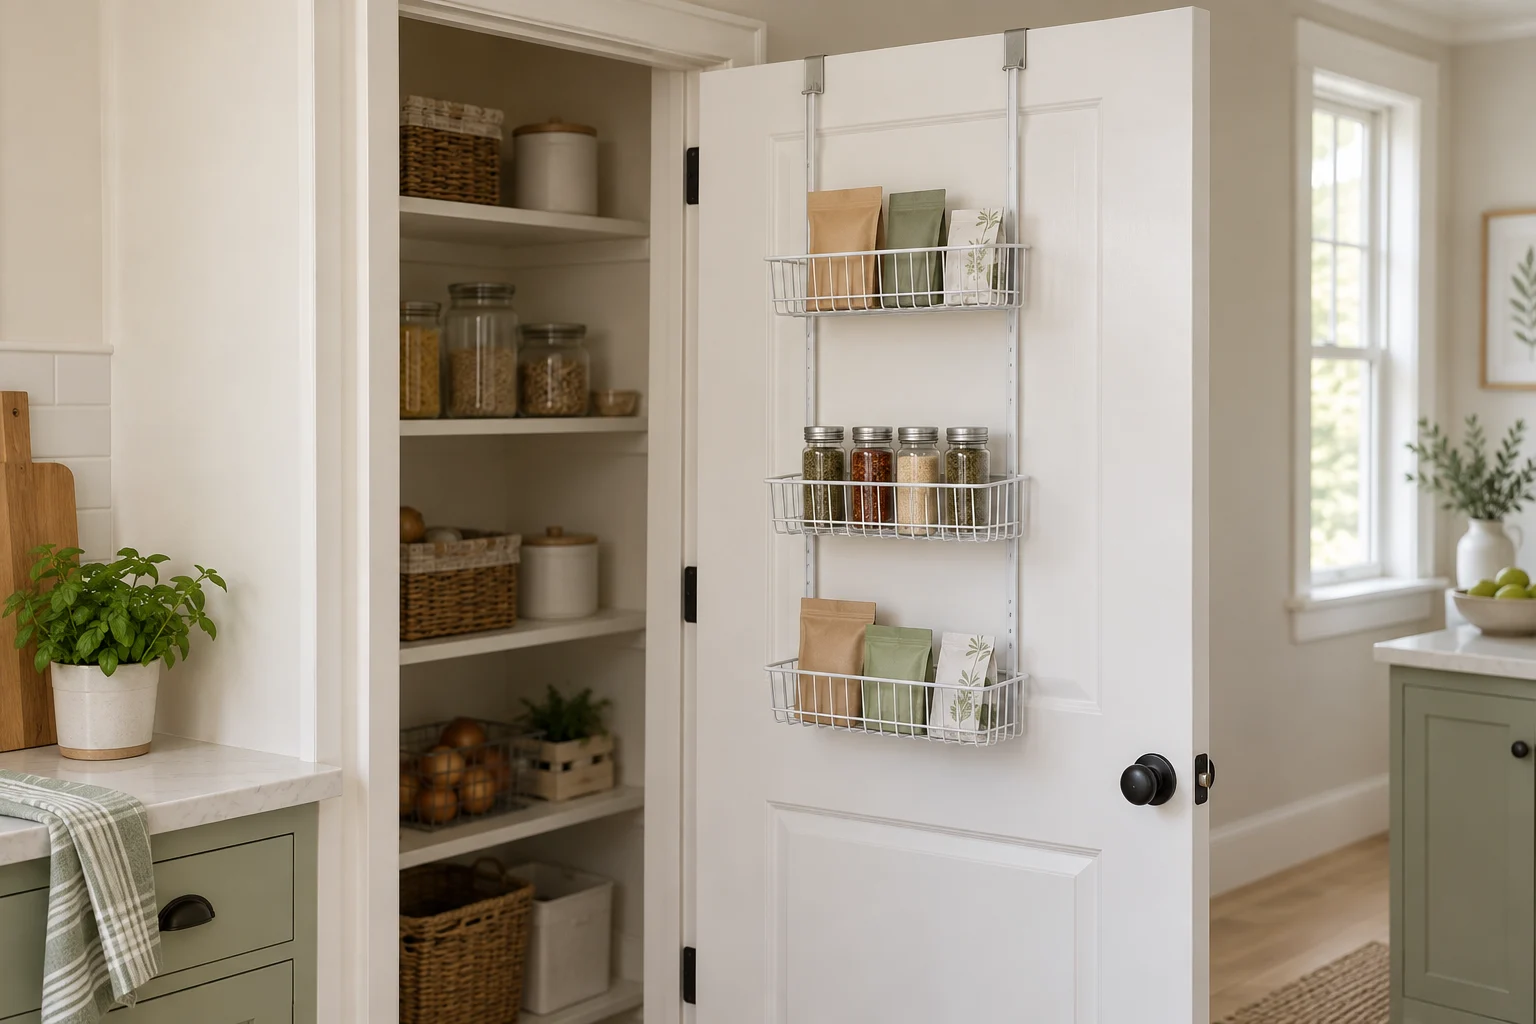
A shallow rack designed to hang over a pantry door can hold seasoning packets and other small items. Choose a model with hooks intended for your door rather than adapting a wall-mounted rack. Keep the contents light and evenly distributed so the door remains comfortable to use.
Check door thickness, top clearance, permitted load, and the space behind the closed door. Follow the rack instructions, including any supplied protective pads or stabilizers. Try closing the door gently before stocking it; a rack that catches the frame or shelf edges is the wrong fit.
3. Slide One Basket Beneath a Shelf

A slide-on basket can use a shallow gap below an existing shelf for lightweight packets or napkins. Choose one with support arms designed to fit the shelf thickness. A single basket keeps the added storage easy to see without creating a complicated hanging stack.
Check the load and installation instructions before using it, and make sure the arms do not interfere with items above. Avoid stacking or linking baskets unless the product explicitly supports that arrangement. Keep the shelf below accessible and leave room to pull each packet out.
4. Make Breakfast a Pull-Out Bin

Collect oatmeal packets, cereal portions, and sealed breakfast snacks in a shallow handled bin. Keep their fronts facing the opening so you can check what is left without removing everything. The bin can travel to the counter for a busy morning, then return to its own space.
Measure the usable shelf depth and allow room for your hand on the handle. Use the smallest bin that holds a realistic amount of breakfast food. Keep cereal boxes beside it when they are too tall, rather than forcing them into an overcrowded container.
5. Keep Baking Supplies in a Carryable Kit

Put baking powder, vanilla, measuring spoons, and small topping jars in one sturdy removable container. A dedicated kit makes it easier to bring the essentials to your work surface. Keep large flour and sugar containers beside the kit instead of making the whole container too heavy to carry.
Choose a bin with handles you can comfortably grip and keep bottle lids secure. Return clean tools and sealed packages after baking. Separating the portable small supplies from heavier ingredients preserves the convenience of a kit without creating an awkward load.
6. Raise Cans in Small Pantry Organization
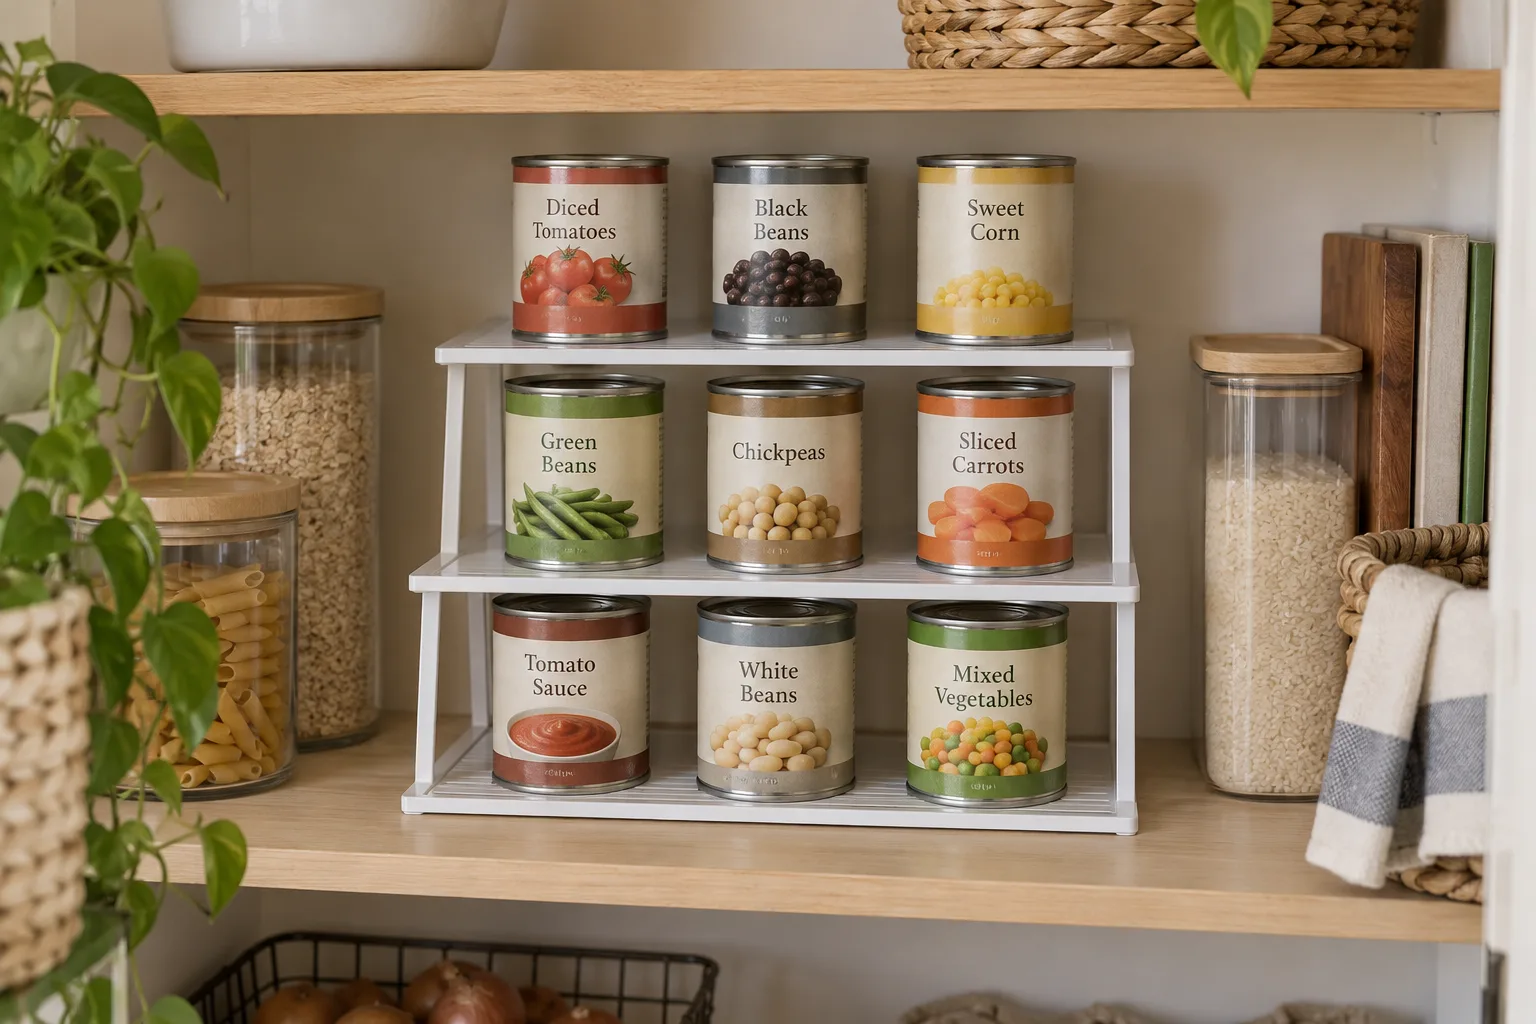
A tiered riser helps you see the cans at the back instead of discovering them during a full clear-out. Put a modest number of cans on each step, with the labels facing forward. A freestanding riser supplies the height without adding holes to the shelf or wall.
Check the riser dimensions and permitted load, including the clearance above the top row. Use stable cans of similar height and avoid stacking several cans on each other. Leave space at the front so you can lift a can down without knocking the neighboring row.
7. Give Small Spice Jars Their Own Steps

Use a compact stepped organizer for the spice jars that disappear behind taller packages. Similar jar sizes make the arrangement easier to scan, but matching containers are optional. The useful change is seeing the back row and giving each frequently used spice a predictable place.
Measure the tallest jar on the highest step before choosing a shelf. Keep the jars upright with readable labels and leave enough space to lift them out. If the organizer makes a shelf feel crowded, move rarely used spices to a separate small bin.
8. Turn Condiment Bottles Toward You

A rimmed turntable can bring small condiment bottles at the back of a shelf into view. Arrange shorter bottles toward the outside and keep the group light enough to rotate easily. The raised rim helps define the zone, although it does not replace careful placement or secure lids.
Measure the usable shelf width and depth before buying a round organizer. Test the full rotation with the door open and check that bottles do not strike the shelf above. Wipe occasional drips promptly so this convenient zone does not become a sticky collection of forgotten sauces.
9. Divide Tiny Packets on a Small Turntable
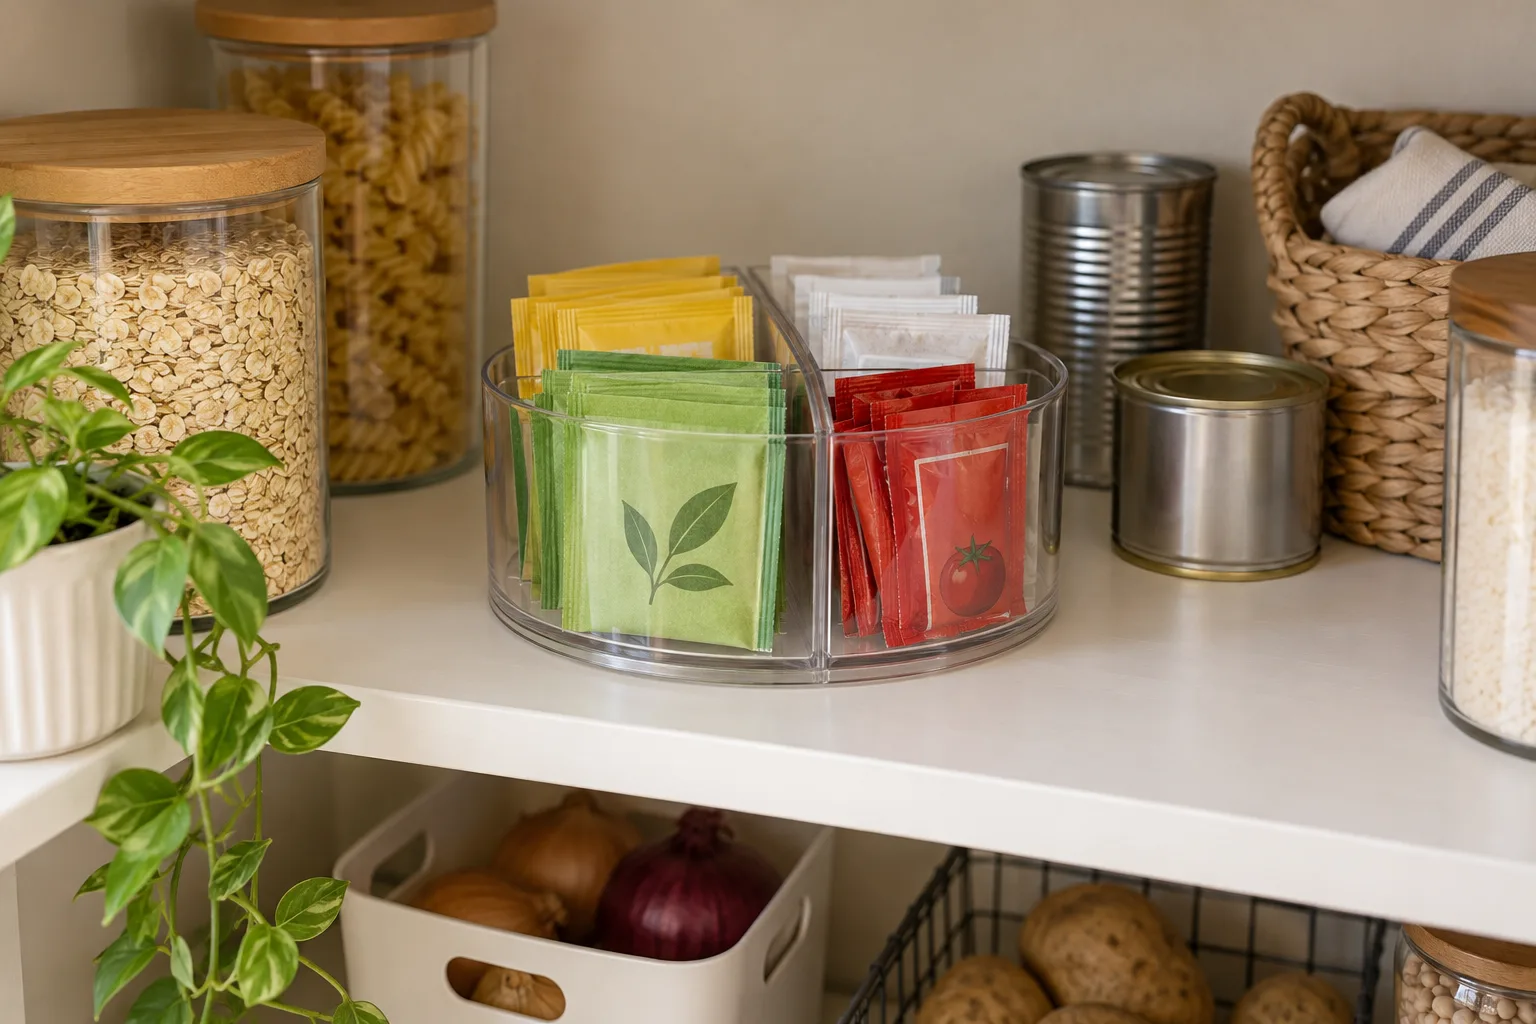
Tea sachets, sauce packets, and small snack portions can spread across a shelf surprisingly quickly. A divided turntable keeps a few separate categories together while letting you bring each one to the front. Use it for genuinely small packages rather than tall bags that lean into neighboring compartments.
Choose shallow compartments that suit the packet sizes you already buy. Leave enough room for a fingertip to retrieve one item. Refill each section from existing stock instead of repeatedly mixing new packets into the bottom, where older ones are easy to overlook.
10. Add Freestanding Drawers for Loose Packets

Small freestanding drawers can contain packets that tumble when you pull a basket out. Use a separate drawer for tea, baking sachets, or individually wrapped snacks. Clear fronts make it easier to check the contents while keeping the shelf above available for a different category.
Use a unit designed to stack securely and stay within its load guidance. Check that each drawer opens fully before stocking it. Put heavier contents in the lower drawers and avoid tall improvised stacks, especially where the pantry door or a nearby person could knock them.
11. Stack Front-Opening Bins for Light Snacks
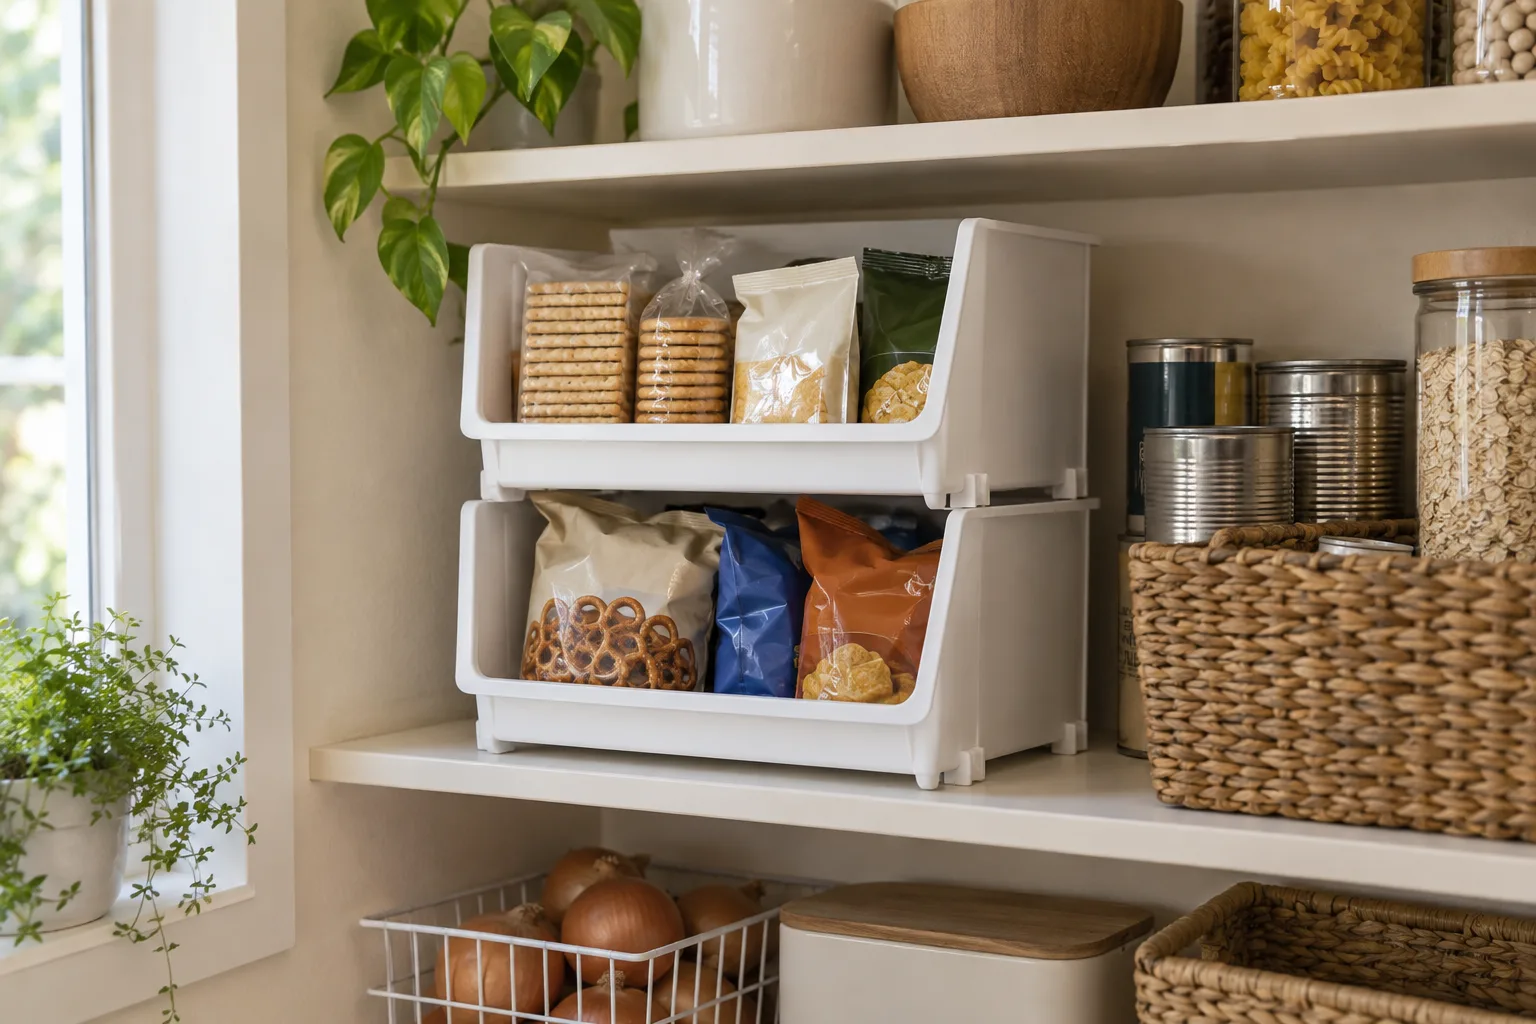
Front-opening bins make lightweight snacks accessible without lifting the container above them. Use a small stack to separate snack types or household preferences. The openings should face the pantry entrance, with the contents kept below the rim so the stack remains easy to browse.
Choose bins that are explicitly designed to stack and check their load limits. Test reach and door clearance before settling on the final arrangement. A short stable stack is more useful than a tall tower that blocks the shelf or makes the top category difficult to reach.
12. Use Shelf Liners in Small Pantry Organization

A nonadhesive liner can give small containers a flatter surface on an existing wire shelf. Choose a liner made for the shelf style and trim it to the usable area as directed. It can help bottles sit more steadily and stop tiny packets from slipping through the gaps.
The liner does not increase the shelf load capacity or repair damaged shelving. Keep the original shelf supports clear, and choose a material you can lift out for cleaning. Confirm that the liner stays flat before placing bottles on it; curled edges can create a new inconvenience.
13. Corral Cooking Oils in a Narrow Tray
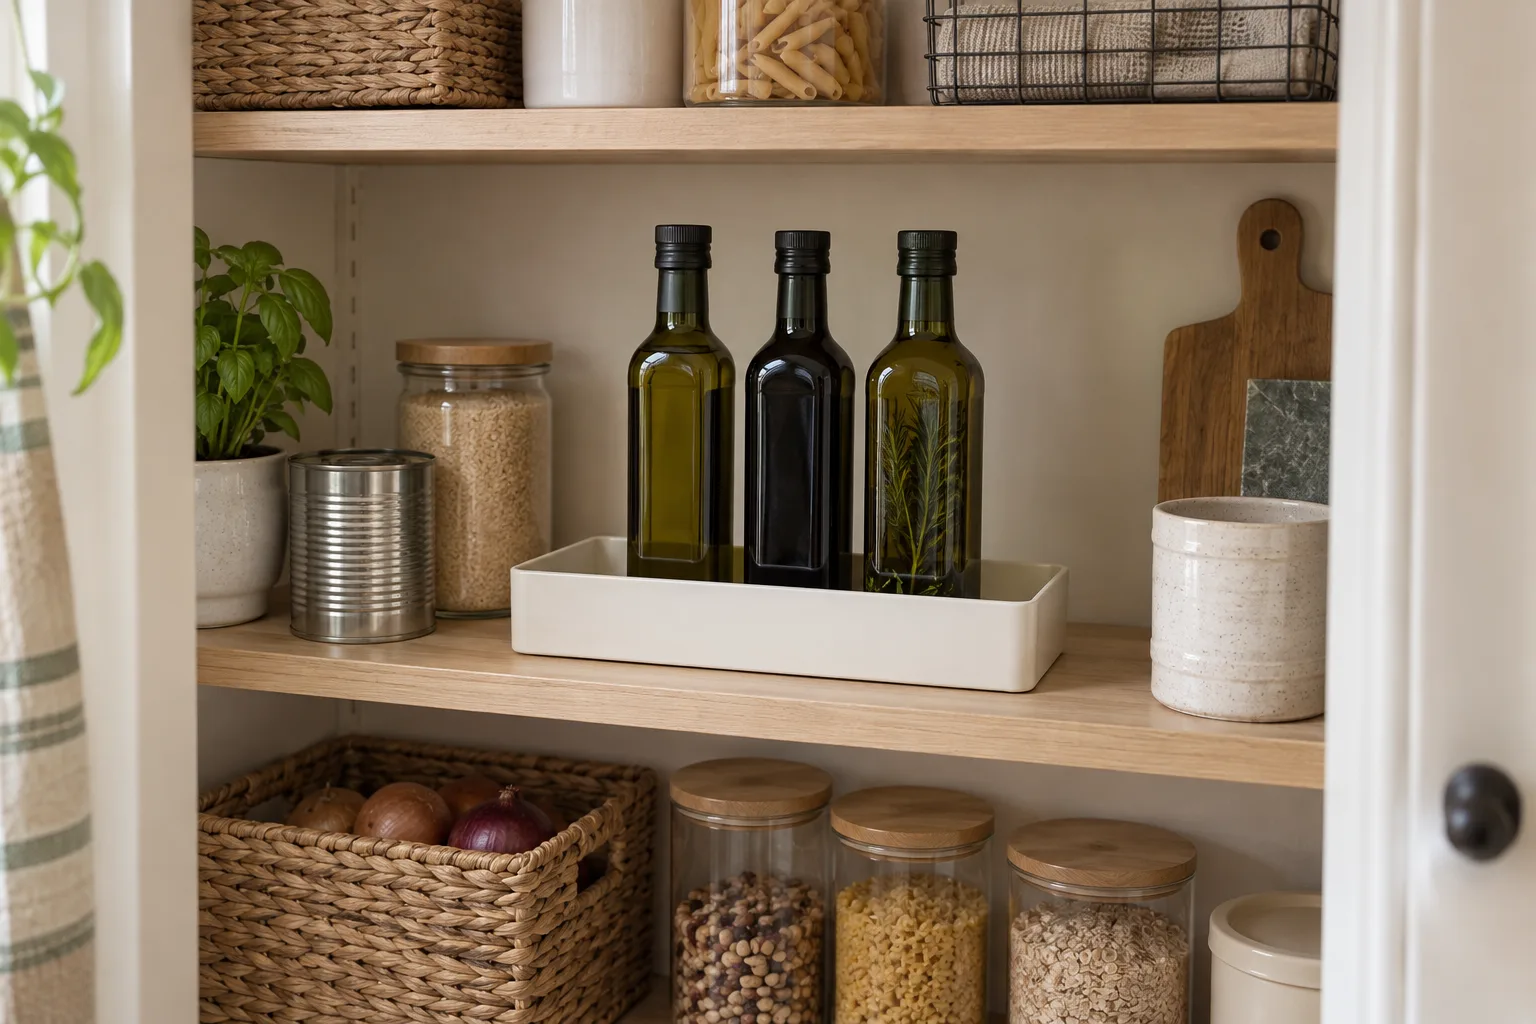
A shallow washable tray defines a small home for cooking oil and vinegar. Keep the bottles upright and use a tray that fits their bases without crowding them. The tray makes a drip easier to spot and keeps the cooking category together when you clean the shelf.
Choose a shelf where you can lift bottles safely and check the weight before moving a full tray. Store oils according to their package instructions and away from an unsuitable heat source. Leave a little space around the tray so a tall bottle is easy to grasp.
14. Give Each Bin a Clear Category Label
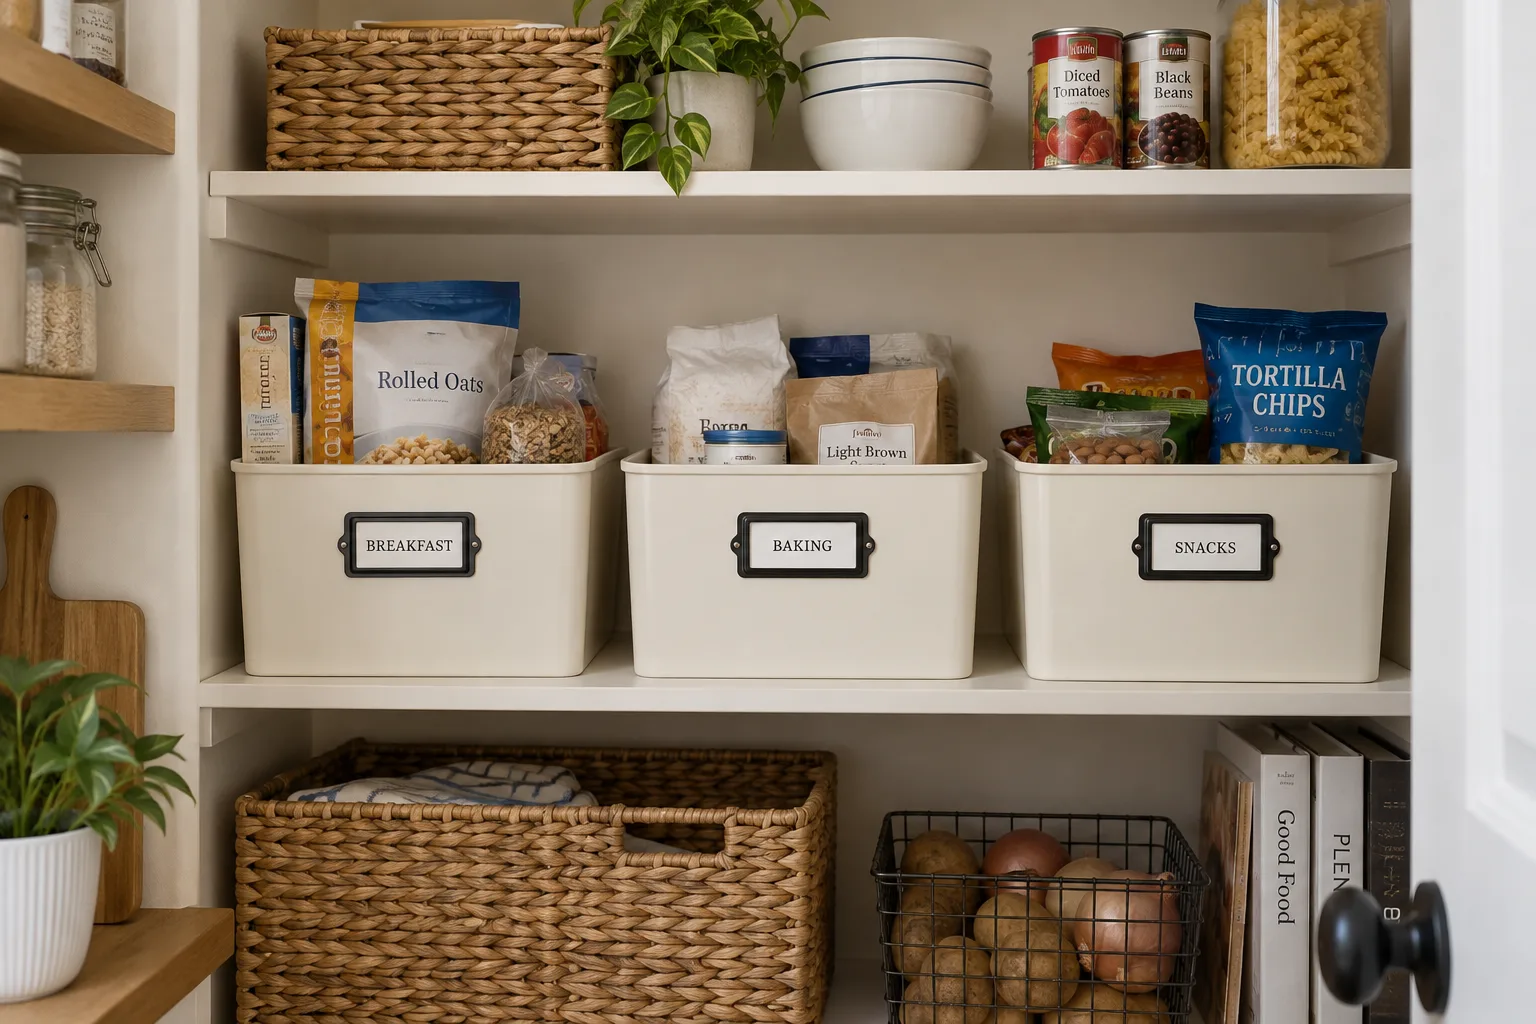
Simple category labels help everyone return food to the same place. Use holders suited to your existing bins, or label slots already built into a container. Start with broad names such as breakfast, baking, and snacks, rather than creating a detailed system that is difficult to remember.
Make the labels large enough to read from the pantry opening and easy to change as your habits shift. Follow the holder instructions and keep the label on the bin rather than the pantry wall. A label should explain the contents, not compensate for a container that is too deep to see into.
15. Keep Small Pantry Organization Use-First Food Visible

Reserve a small basket for unopened food that should be used soon, following the package dates and storage instructions. Place it where you notice it before taking another item from the back. The basket turns a quick stock check into a visible reminder during everyday meal planning.
Move only a few suitable items into this zone and check them regularly. It is a rotation aid, not a way to extend safe storage or rescue spoiled food. Keep refrigerated products in their required location rather than putting them in the pantry for the sake of the system.
16. Limit Backstock to One Defined Container

Keep spare sealed packages in one clearly defined container, separate from the food currently in use. A visible boundary makes it easier to check stock before shopping. When the bin is full, pause and review what is already there rather than extending the backstock zone across another shelf.
Choose a size that reflects how much food your household can realistically use. Put heavier spare packages on a suitable lower shelf and keep package dates visible when possible. A separate backstock bin works best alongside a quick check of the everyday categories before each grocery trip.
17. Put Heavy Bulk Packages in a Low Basket

A sturdy lower basket gives larger rice, pasta, or flour packages a defined home. Keep the original packages closed and arranged so you can see which one is open. Using a lower suitable shelf avoids storing heavy packages above eye level and preserves convenient space for lighter daily items.
Check the shelf and basket load limits, and avoid filling the basket beyond a weight you can manage. You do not need to lift the full basket to use it; remove an individual package when appropriate. Keep floor-level storage dry and follow the food packaging instructions.
18. Park a Small Cart Beside the Pantry

A slim freestanding cart can hold a modest overflow category when the pantry shelves are genuinely full. Use it for one purpose, such as breakfast extras or sealed drink packages. Park it in a measured spare nook rather than turning a busy kitchen route into another storage area.
Check the occupied footprint, handles, wheel position, and drawer or door movement around the cart. Use wheel locks when supplied and follow its loading instructions. If there is no clear parking space, reduce the pantry contents instead of adding a cart that makes the kitchen harder to use.
19. Reuse a Sturdy Box for Sealed Sachets

An ordinary sturdy box can sort sealed sachets before you spend money on matching organizers. Remove loose flaps as appropriate and group the packets upright so you can browse them. This simple trial helps you learn which categories need a container and which already work well on the shelf.
Use a clean dry box in good condition and keep food in its original sealed packaging. Replace the box if it becomes damp or difficult to wipe around. Choose a shallow size that fits the shelf, and avoid hiding several layers of packets where older stock cannot be seen.
20. Leave Small Pantry Organization Room for Restocking
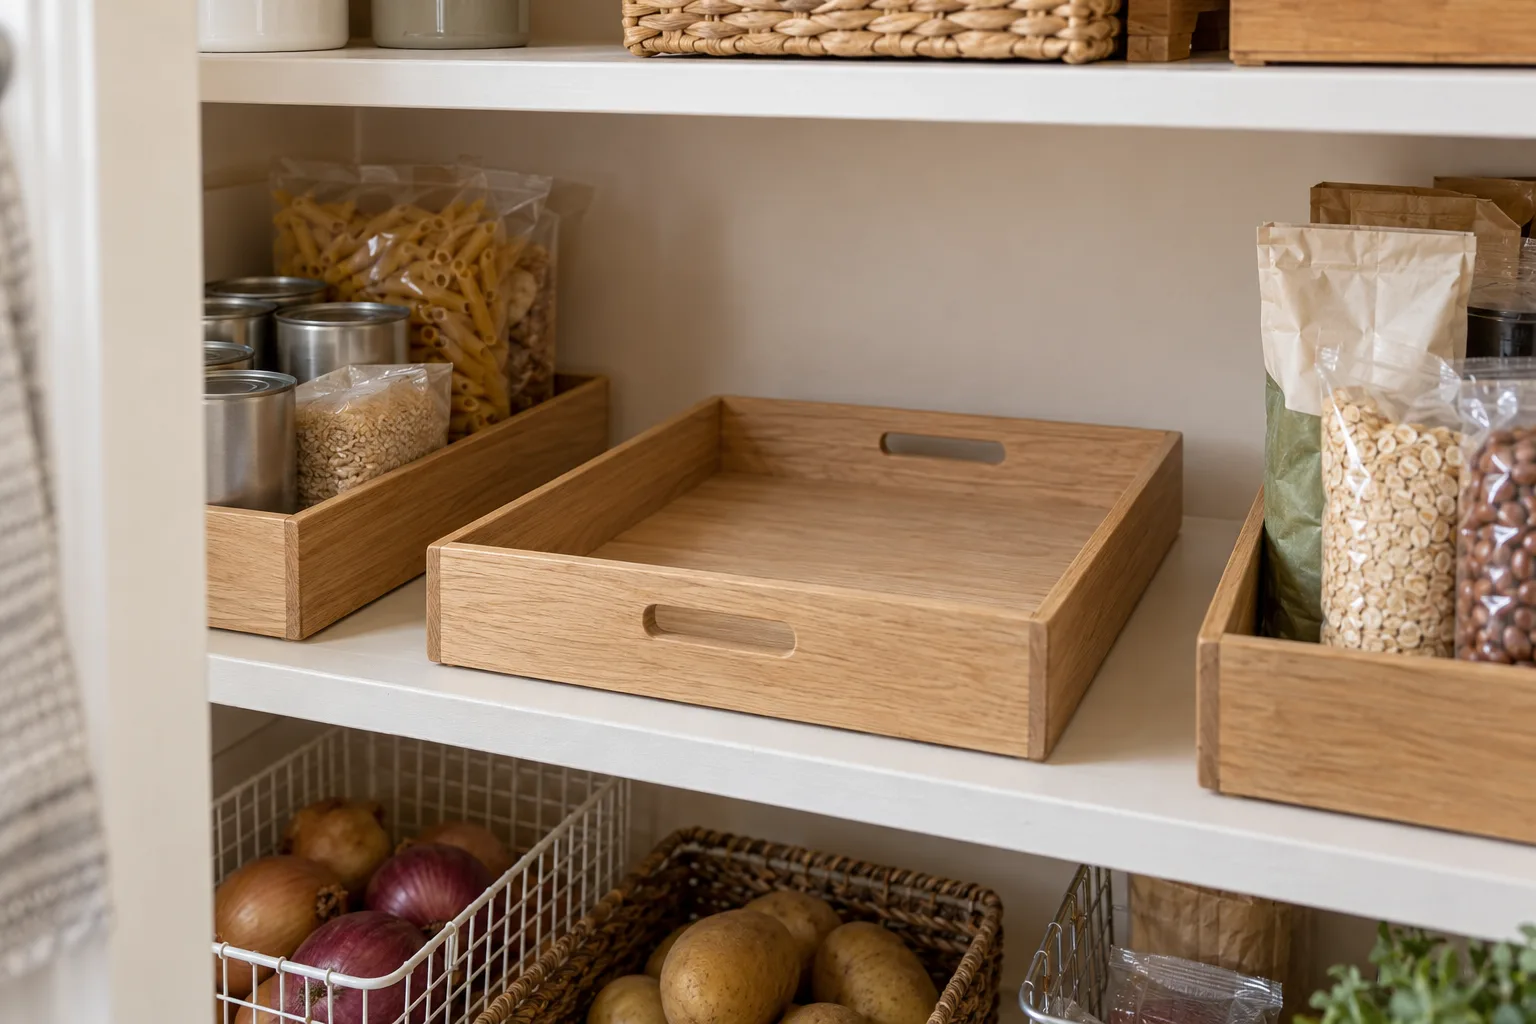
Leave a small clear area or empty tray near the pantry opening as a temporary landing place when restocking. It gives you room to compare dates, put older packages in front, and return loose items to their categories. The breathing space is part of the storage plan.
Clear the tray after each restock rather than letting it become a permanent miscellaneous pile. If the shelf cannot spare that area, use the nearby counter briefly and put it away afterward. A pantry that is slightly less full is often easier to maintain than one organized to its absolute capacity.
Compare Six Useful Organizer Types
| Organizer | Useful for | Check before adding |
|---|---|---|
| Removable bins | Portable food categories | Shelf depth and comfortable carrying weight |
| Tiered risers | Seeing cans and spice jars | Top-row clearance and permitted load |
| Hook-on door racks | Light packets and small items | Door thickness, closing clearance, and hook instructions |
| Under-shelf baskets | A small amount of lightweight food | Shelf thickness and the basket support arms |
| Turntables | Small bottles or divided packets | Full rotation with the contents in place |
| Freestanding drawers | Containing loose packets | Safe stacking and room to open each drawer |
Measure First, Then Start With One Zone
Record the usable shelf width, depth, and height, plus the pantry door movement. Choose a single problem to solve first, such as hidden cans or scattered snacks. Try containers you already own before buying a complete matching set.
Check each organizer’s installation and load instructions. For example, IKEA’s clip-on basket guidance includes extra fastening guidance when baskets are combined; a single hanging basket is not permission to build an unsupported stack. The Elfa door and wall rack instructions distinguish the over-door approach from installation methods that require wall fixing.
In a rental, follow your lease and check any attachment requirements. No-drill describes the method, rather than a guarantee that every product fits every door or leaves every surface unchanged. Keep food packaging dates and storage directions visible when changing the layout.
For more planning help, explore pantry depth and spacing guide, pantry organization ideas guide. Keep the useful categories and leave enough space to maintain them.
Small Pantry Organization and Food Storage
Keep small pantry organization separate from food-safety decisions: a new container or category label does not change required storage conditions. Retain package guidance and review appropriate food-storage advice. FDA: storing food safely.
Optional digital guide for this topic
If you prefer a structured workbook, explore this related paid guide.