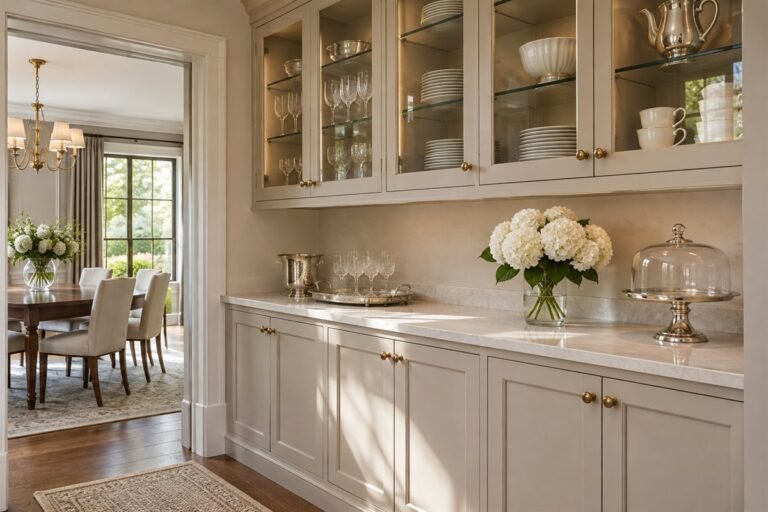
Walk in pantry ideas should bring the whole room together: useful storage walls, a workable entrance, appropriate surfaces and light where supplies are handled. Start with the room and its contents before choosing a complete collection of jars. A single well-planned wall can be a better starting point than shelving fitted into every available gap.
These 22 original concepts compare complete arrangements and room finishes. They complement our detailed pantry-depth, door and small-organization guides rather than replacing those individual checks. Use the wall-by-wall brief below to explain the project clearly before ordering cabinetry or decorative materials.
Contents
- 1. Start with one complete shelving wall
- 2. Use an L-shaped return for a second clear role
- 3. Give each side of a U-shaped pantry a purpose
- 4. Compare parallel runs as one occupied room
- 5. Pair a deeper storage run with a shallower companion
- 6. Make the back-wall counter a deliberate pause
- 7. Put a landing surface near the entrance
- 8. Use full-height closed storage on one elevation
- 9. Balance open upper shelves with closed lower cabinets
- 10. Let an existing window define the storage boundaries
- 11. End one shelf run before a difficult corner
- 12. Use adjustable bays within a clear wall composition
- 13. Use the back panel to connect mixed contents
- 14. Combine painted cupboards with one clear wood relationship
- 15. Keep a dark base beneath a lighter upper wall
- 16. Concentrate stronger color in one bounded bay
- 17. Contain tile within a useful counter field
- 18. Keep a wall pattern above the busiest storage
- 19. Light the shelf faces as well as the center
- 20. Choose a ceiling fitting that leaves the room useful
- 21. Separate appliance parking from an operating station
- 22. Keep the floor and entrance part of the finished design
Define the pantry room before choosing its decorative layer
Record the room, entrance, windows, fixed services and intended contents. Decide which walls should hold open shelves, closed storage or a clear surface. Keep applicable access, support, equipment and installation requirements explicit. A pantry design does not change a food product’s required storage: USDA notes that some canned foods still require refrigeration, so follow the actual label.
Choose the arrangement through the room’s main conflict
- The center becomes tight with two full runs: Compare one wall or a shallower companion before adding more storage.
- Several categories need different interiors: Give each wall or bay a named role before drawing repeated shelves.
- Shopping lands on every surface: Choose one useful temporary landing position and keep it clear.
- The pantry is visible from the kitchen: Compare the full doorway view with the interior elevation.
1. Start with one complete shelving wall

A single storage wall can make a compact room easier to read than shelving wrapped around every surface. Give that wall a complete arrangement, with the useful shelves and any closed compartments chosen together. Leave the other side available for movement rather than treating it as wasted space. The amount stored should follow the real collection, not the number of shelves that can be drawn.
Compare the one-wall version before committing to another run.
2. Use an L-shaped return for a second clear role

An L can give one wall to everyday supplies and the return to a different group, such as serving pieces. Establish the corner connection before designing the two elevations separately. Decide where one run stops or becomes shallower so the inner corner remains understandable. A room can look complete with two related walls even when their shelf openings are not identical.
Give the shorter return a named role before extending the storage.
3. Give each side of a U-shaped pantry a purpose

A U-shaped arrangement becomes more useful when the three sides do different work. One might hold visible supplies, another provide a clear surface and the third contain closed storage. Compare all three around the actual room and its entrance. Wrapping identical deep units around every side can produce an impressive elevation while leaving the center less convenient than expected.
Sketch the three wall roles before choosing the matching finish.
4. Compare parallel runs as one occupied room

Parallel runs can suit a room with useful length, provided the space between them supports the real users and open storage. Draw the room with a drawer or basket pulled out rather than reviewing only closed fronts. Include turning with the ordinary shopping load. If the complete arrangement becomes awkward, compare one storage wall or a shallower companion rather than adding more hardware.
Evaluate the narrowest occupied position before finalizing the second run.
5. Pair a deeper storage run with a shallower companion

Two facing sides do not need equal depth. A substantial cabinet run may hold larger equipment while a shallower companion keeps smaller supplies visible. Design the different roles together so the contrast looks intentional. Confirm usable interiors and retrieval independently; outside cabinet dimensions do not establish what fits inside. This can be a useful comparison where a symmetrical layout consumes too much of the room.
Choose the two roles first, then review their full footprints together.
6. Make the back-wall counter a deliberate pause

A clear back-wall counter can give the room a visual pause and a temporary place to sort a grocery delivery. Keep its intended task explicit so it does not become another permanent storage shelf. Compare the counter with the side runs and any overhead units. Its support, finish and care should suit the actual use rather than being selected only as an attractive focal point.
Leave the working part empty in the room drawing and protect that space during stocking.
7. Put a landing surface near the entrance

A short landing surface near the entrance can reduce the need to carry everything to the far end before sorting it. Compare this with a back-wall counter through the way shopping actually arrives. Keep the door movement and carrying route independent of the surface. Choose one location that serves the task instead of adding counters wherever a gap appears.
Rehearse arriving with the normal shopping bags before choosing the position.
8. Use full-height closed storage on one elevation
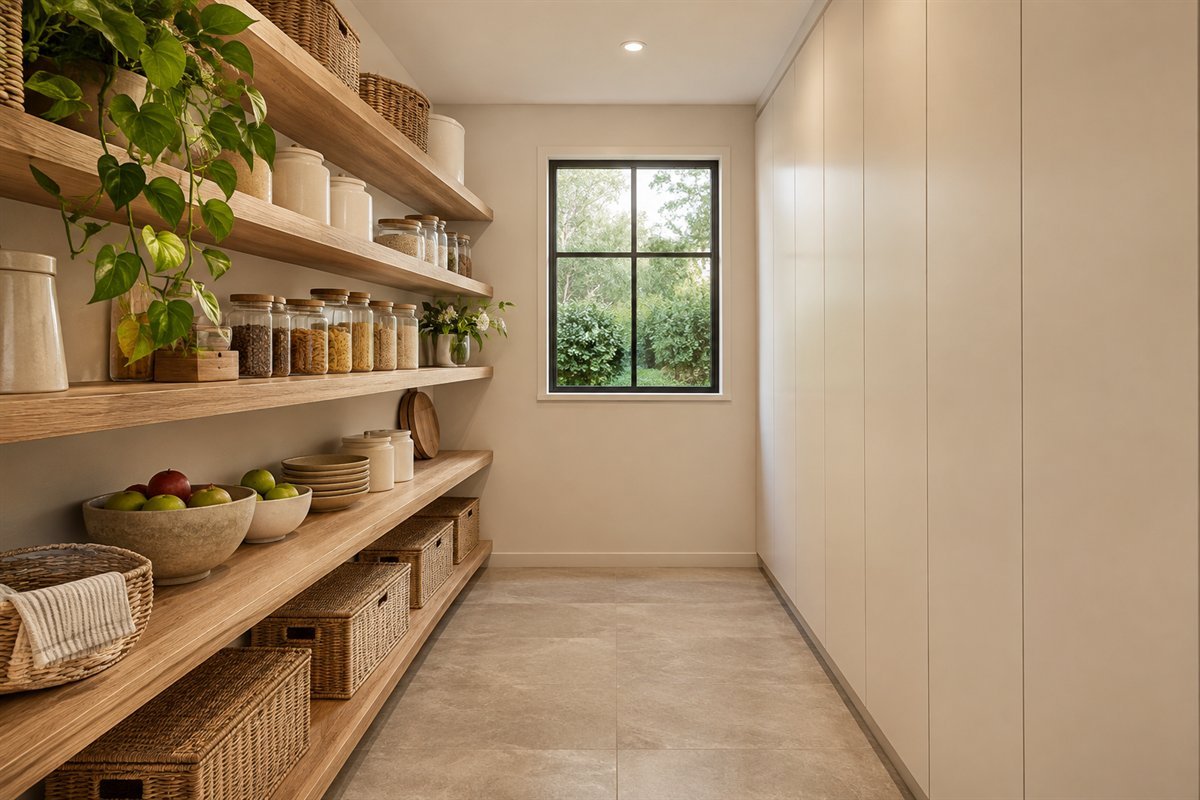
One closed elevation can contain a visually mixed collection while the other walls remain lighter in appearance. Plan each usable compartment from its contents and access, including the doors when open. Tall fronts do not make upper contents easy to reach. Follow the complete cabinet system’s installation and stability guidance and choose an appropriate reach strategy for occasional storage.
Draw the closed front and the usable interior as separate decisions.
9. Balance open upper shelves with closed lower cabinets
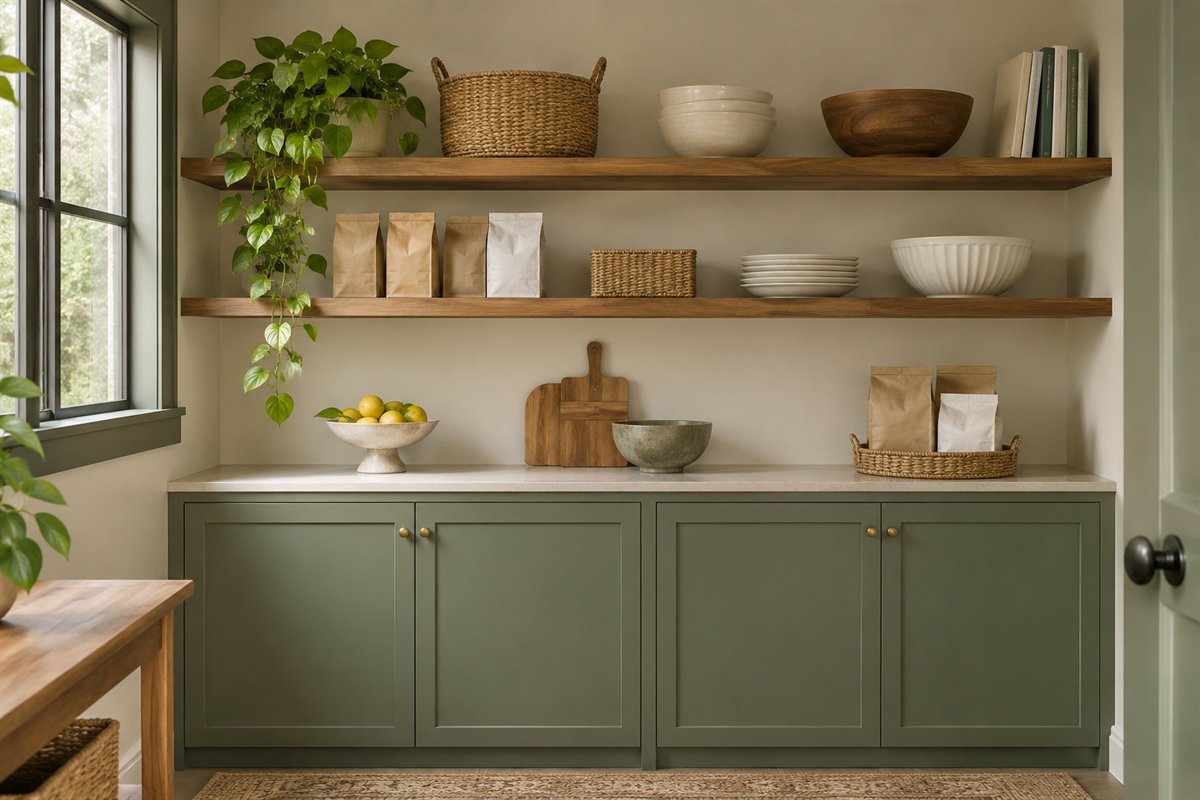
Open shelves above lower cupboards can divide the elevation into visible and concealed roles. Decide what needs to remain easy to scan and what benefits from a closed compartment. Keep the counter from becoming an unplanned third layer of permanent contents. The relationship can feel deliberate even when the shelf spacing differs from the rhythm of the lower doors.
Choose the visible collection before deciding how many open shelves are useful.
10. Let an existing window define the storage boundaries

An existing window is a boundary to resolve rather than an obstacle to hide behind shelves. Keep its operation, access and any other applicable requirements clear, then compose the adjoining runs around it. Compare the room’s light and actual food-storage conditions independently of its attractive view. A window can interrupt the shelf rhythm without making the room look unfinished.
Record the window’s complete working area before drawing the surrounding cabinetry.
11. End one shelf run before a difficult corner

A deliberate end can be easier to use than a deep continuous corner. Compare the actual corner with the supplies it would hold and the movement needed to remove them. Finish the exposed end as part of the elevation so the decision looks considered. Avoid treating an awkward gap as a reason to buy another organizer before deciding whether that corner needs storage at all.
Give the corner a retrieval test before extending both runs into it.
12. Use adjustable bays within a clear wall composition
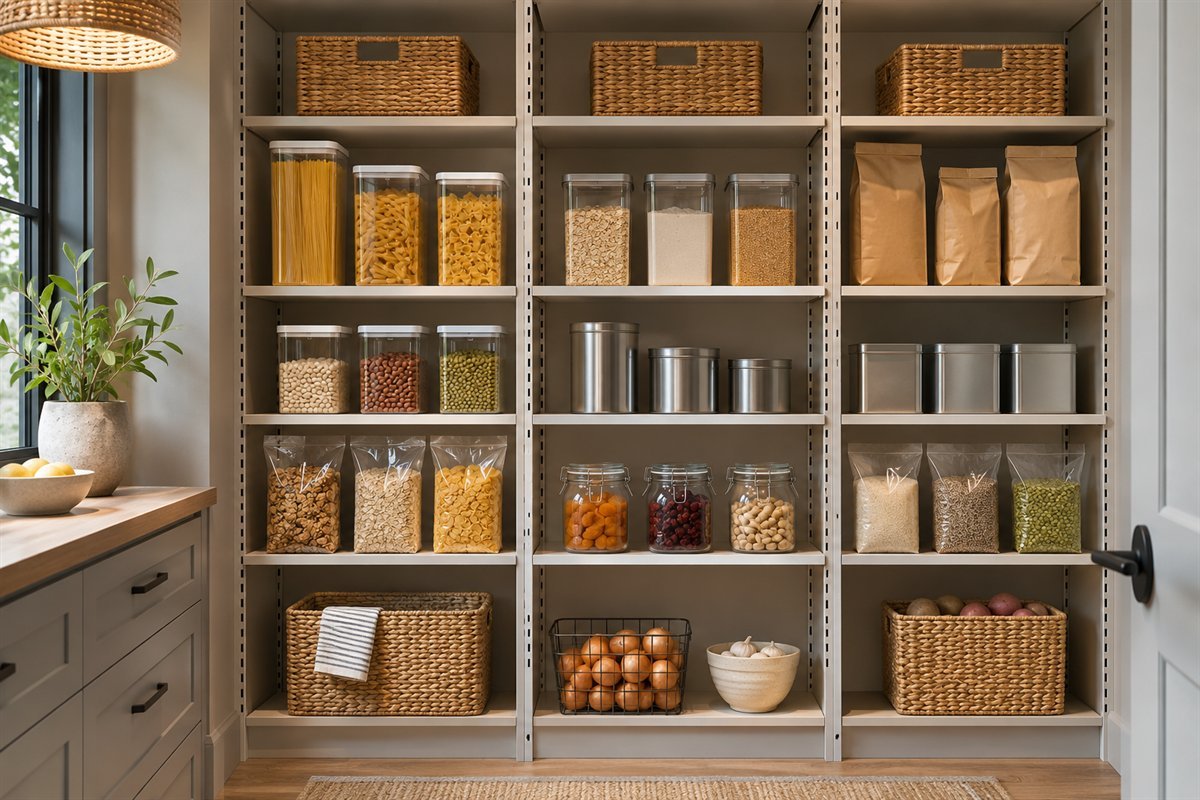
Adjustable shelving can help a wall follow changing contents where the complete system permits it. Keep the bay rhythm clear while varying useful openings within each one. Confirm the supports, shelf construction and load information for the actual components. A photograph of repeated shelves does not specify a safe span or load, and moving a shelf should remain within the system’s instructions.
Keep the system details with the room brief rather than recording only the preferred finish.
13. Use the back panel to connect mixed contents

A quieter continuous back panel can connect contents that differ in color and shape. Compare it with the actual shelf fronts and cabinet finish rather than choosing it as an isolated paint square. The view will change once supplies are stocked, so judge a sample behind representative items. The aim is a considered background, not a requirement that every package disappear.
Review the panel with real contents in front of it before finishing the whole wall.
14. Combine painted cupboards with one clear wood relationship
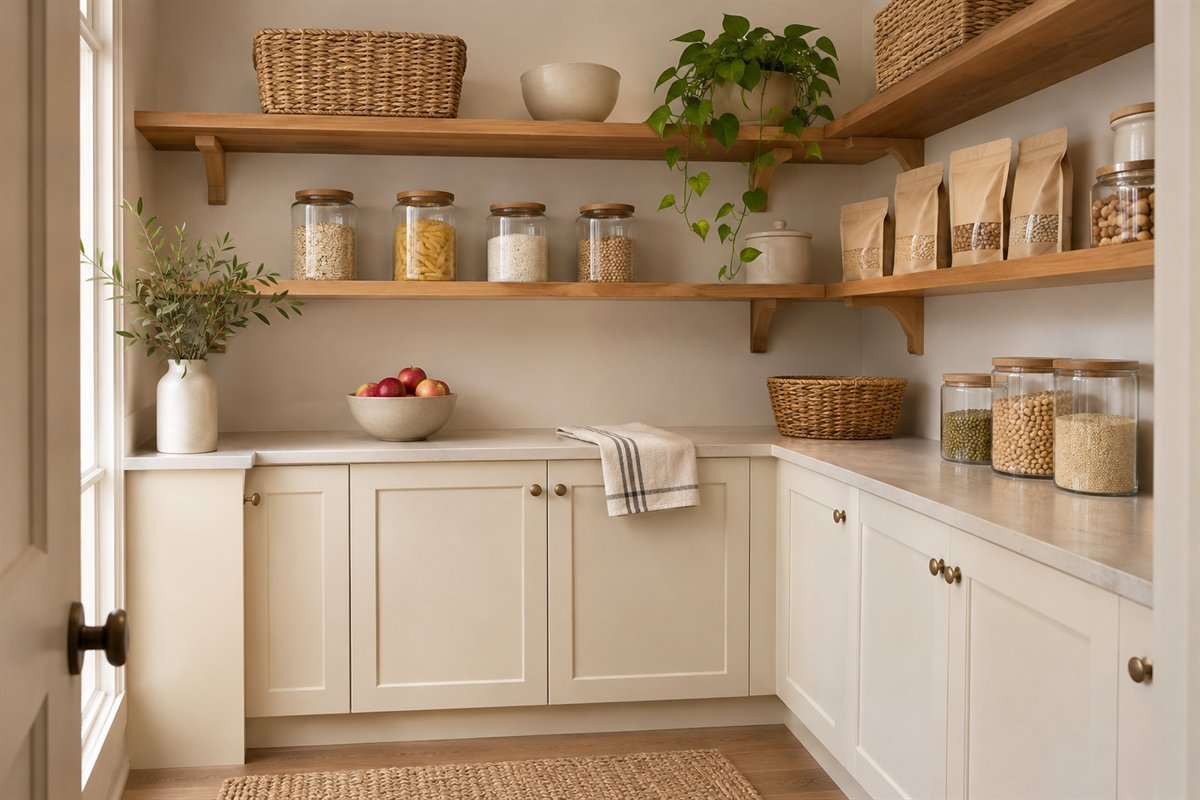
Painted cupboards and a wood shelf run can provide contrast without adding another strong pattern. Choose the wood relationship beside the actual floor and any retained kitchen finishes. Keep the construction and care requirements separate from the visual decision. A wood-like illustration cannot identify a coating or tell you which finish is appropriate for stored supplies and cleaning.
Compare the largest finish samples together under the intended room lighting.
15. Keep a dark base beneath a lighter upper wall
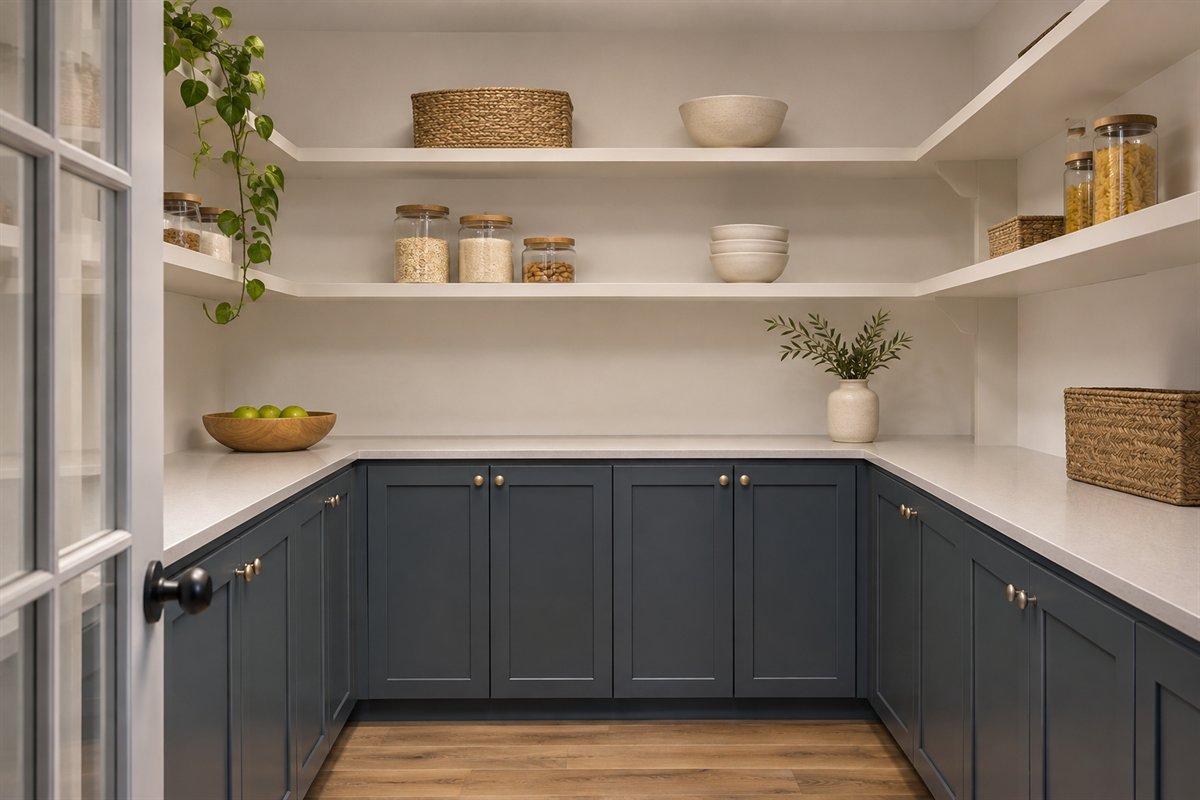
A darker lower run can anchor a room whose upper shelves hold varied packages. Compare the contrast with the real floor and the view through the doorway. Let the upper background remain quiet if the lower color is already strong. This is a composition option rather than a promise that a particular palette makes a small pantry larger.
View the proposed dark front from the adjoining kitchen as well as inside the pantry.
16. Concentrate stronger color in one bounded bay

One bounded bay can carry a stronger color while the rest of the room relates to the kitchen. Use a real edge, such as a cabinet side or complete panel, to make the boundary clear. Compare the color behind the stored contents rather than only on an empty wall. Choose the actual coating and preparation for the surface, following its product guidance.
Test one complete sample group before expanding the accent to another wall.
17. Contain tile within a useful counter field

A tiled counter field can add a deliberate material change without covering every wall. Decide where the tile stops at side panels, shelves or adjoining finishes before choosing the pattern. Compare the actual surface, grout, edge and care needs together. Tile’s appearance alone does not establish waterproofing or make a pantry counter suitable for a different type of work.
Resolve the complete field and its exposed edges before ordering the decorative tile.
18. Keep a wall pattern above the busiest storage

A limited upper wall can hold pattern without placing it behind every package. Compare a full repeat with the cabinet elevation and the doorway view. Choose the actual wallcovering for the surface, cleaning and room conditions, following its instructions. Keep the pattern secondary if the stored contents already provide a busy mixture of shapes and colors.
Use a real sample and check the termination beside the shelf or cabinet.
19. Light the shelf faces as well as the center

A bright center floor does not necessarily make the shelf faces easy to read. Compare the lighting with the shelves stocked and the user standing in the normal position. Keep fitting location, glare, wiring and product requirements within an appropriate complete design. An attractive strip of light in a concept image is not an electrical installation specification.
Check the real package information from the intended retrieval position before settling the lighting.
20. Choose a ceiling fitting that leaves the room useful
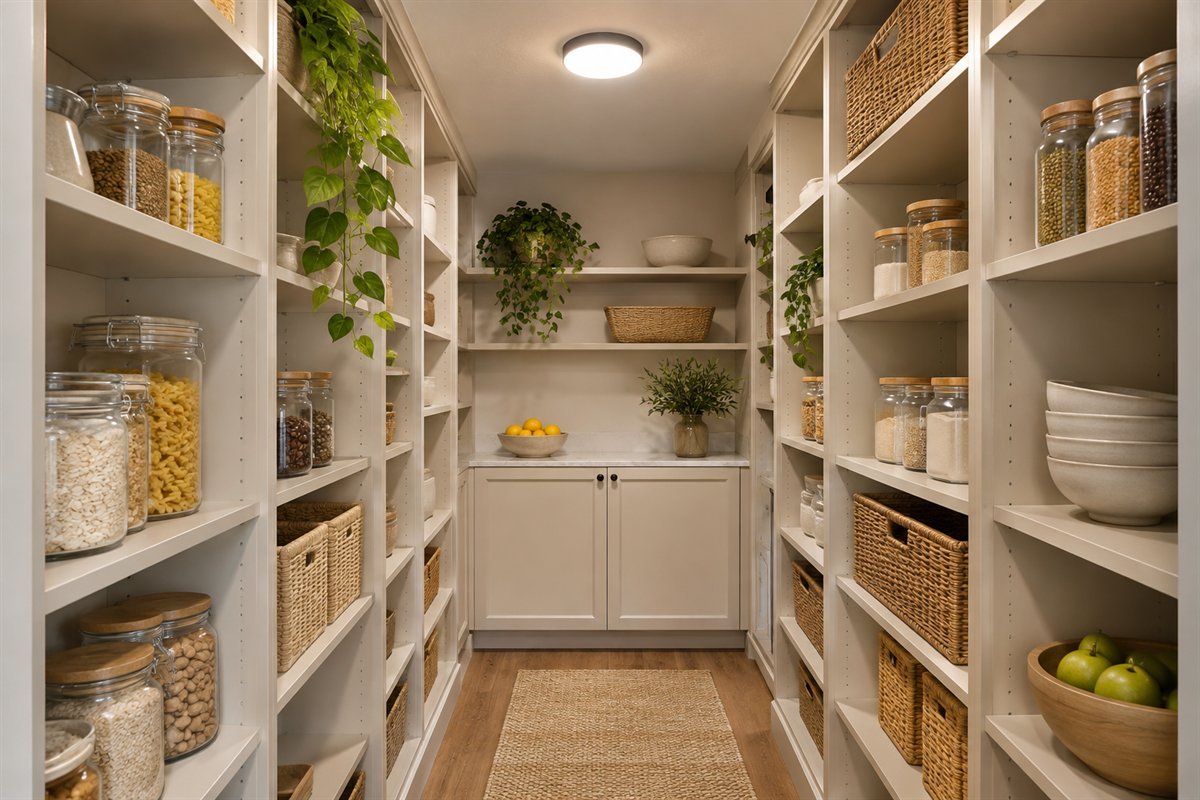
A compact ceiling fitting can leave attention on the cabinetry and keep the overhead composition simple. Compare the actual fitting with the ceiling, storage and room access rather than choosing a decorative pendant first. Plan suitable installation and the light needed for the task. A more elaborate fixture is optional when it serves the room without complicating its ordinary use.
Record the ceiling and complete fitting position in the same room brief as the storage.
21. Separate appliance parking from an operating station

A pantry can provide a parking place for equipment that is used elsewhere. Compare the actual appliance, accessories and manageable removal route with the compartment. Keep storage and operation as separate briefs. An appliance garage, outlet or attractive counter does not by itself establish suitable ventilation, clearances or safe operation; follow the exact equipment and installation guidance for any working station.
Label the planned compartment as storage in your own brief unless a complete operating arrangement has been resolved.
22. Keep the floor and entrance part of the finished design

Review the room from the kitchen before finalizing the floor, threshold and entrance. A related material or color can connect the spaces, while a distinct finish can mark the pantry deliberately. Choose the real floor through its specification, care and installation needs. Then check the door and storage in use; a connected appearance should still support an ordinary arrival with shopping.
Use the detailed pantry-door guide below for the entrance mechanism instead of choosing it only from the closed view.
An original wall-by-wall pantry project brief
Create one room page and one page for each wall that will change. The room page records the actual shape, entrances, windows, fixed equipment, services and the movement that must remain useful. The wall pages describe the storage and finish relationships. Keep unresolved technical questions visible rather than hiding them inside an attractive inspiration board.
For each wall, make five entries: its job, contents, proposed components, finish boundaries and unresolved requirements. A wall’s job might be visible daily supplies, closed equipment storage or a clear sorting surface. List representative real contents before choosing the number of doors or shelves. This makes the elevation a response to the household rather than an empty pattern waiting to be filled.
Next, connect the walls through the corners. Record which run stops first, where an exposed cabinet side needs a finish and how a counter meets the next elevation. A short intentional end can be easier to resolve than an inaccessible deep corner. Review the room with the appropriate fronts open and with a shopping load in transit. Use the linked depth-and-spacing guide for individual shelf measurements rather than treating this concept gallery as a construction plan.
For finish boundaries, draw where the paint, back panel, tile or wallcovering begins and ends. Include the shelf front, exposed edge, counter and adjoining floor in the comparison. Put real samples together under the intended room lighting. Decide which surface should lead visually and which should remain quieter behind stocked shelves. Record the actual product and care information before ordering.
For unresolved requirements, list the particular question and who or what will answer it. Examples include cabinet restraint, loaded shelf support, a suitable substrate, window access, a lighting installation or exact appliance operating requirements. A concept photograph cannot settle these. Keep food-storage directions separate from the design choice and retain the information needed to identify and use each supply appropriately.
Finish by choosing the first complete wall to resolve. A project may be phased where the systems and installation allow it: confirm the working room, complete the main run, use it with representative contents and then review the need for a return. Preserve the measurements, samples and decisions from that phase. Expansion should answer a real remaining need rather than follow automatically because another wall is still plain.
Three room briefs that lead to different designs
For a compact room, compare one complete storage wall with a clear route and a modest entrance-side landing surface where it fits. For a room with two useful adjacent walls, compare an L with different roles on its long run and return. For a room visible from an open kitchen, compare a quieter closed elevation with a limited open section. These are hypothetical composition briefs, not prescribed minimum dimensions or accessibility standards.
The manufacturer references below show storage systems used in different pantry arrangements. Study them for the relationship between shelving, cabinets and a work surface, then choose actual products through their own instructions. Do not transfer a marketing claim about food preservation, unlimited hook loads or environmental benefits to an untested installation.
Is a U-shaped walk-in pantry always the best use of space?
No. Compare it with one-wall, L-shaped and parallel arrangements using the complete occupied room. More shelving is useful only when the contents remain manageable and the room works in use.
Should a walk-in pantry include a counter?
Choose a counter when it has a named task and fits the room. A temporary sorting surface can be useful; another surface covered in permanent contents may not resolve the original problem.
Should all pantry walls use the same storage?
No. Different walls can serve visible supplies, closed equipment storage or a clear surface. Coordinate the finishes while choosing each interior around its actual contents.
Can I run a small appliance inside a pantry cabinet?
Storage is separate from operation. Use the exact appliance and installation guidance to resolve ventilation, heat, clearances and electrical requirements. A cabinet or added outlet alone does not establish a suitable operating station.
Do matching jars make food suitable for pantry storage?
No. Follow the actual food label and retain relevant information. USDA notes that not all canned products are shelf stable; a decorative container does not change refrigeration requirements.
A practical next step
Choose the room arrangement first, give each elevation a clear role and compare actual finish samples with the contents in place. A considered walk-in pantry joins storage, movement and a coherent doorway view without requiring every wall to be filled.
Work through pantry shelf depth and spacing measurements. Compare pantry doors with their actual opening movement. Organize existing pantry shelves without drilling.
Images are original AI-generated pantry design concepts, not measured construction plans, exact manufacturer products or verified food-storage installations. The wall-by-wall brief and room comparisons are original planning aids. Follow actual food labels, product instructions and appropriate project requirements.
Sources and care references
- IKEA: pantry arrangements and flexible storage examples
- IKEA: relationships between pantry shelving, cabinets and a work surface
- USDA FSIS: shelf-stable food and refrigeration labels
Optional digital guide for this topic
If you prefer a structured workbook, explore this related paid guide.