Ask anyone with a frustrating pantry what’s wrong with it, and the answer is rarely “not enough shelves.” It’s almost always depth: shelves so deep that items vanish into the back and get forgotten.
Professional cabinet and closet designers work from a fairly narrow, well-tested range of depth and spacing numbers, refined specifically to keep every item visible and reachable.
This guide walks through those real measurements, sourced from cabinet makers and closet designers, so you can diagnose exactly what’s wrong with your current pantry or plan a new one correctly from the start.
1. Choose 12-16 Inches of Depth for a Reach-In Pantry
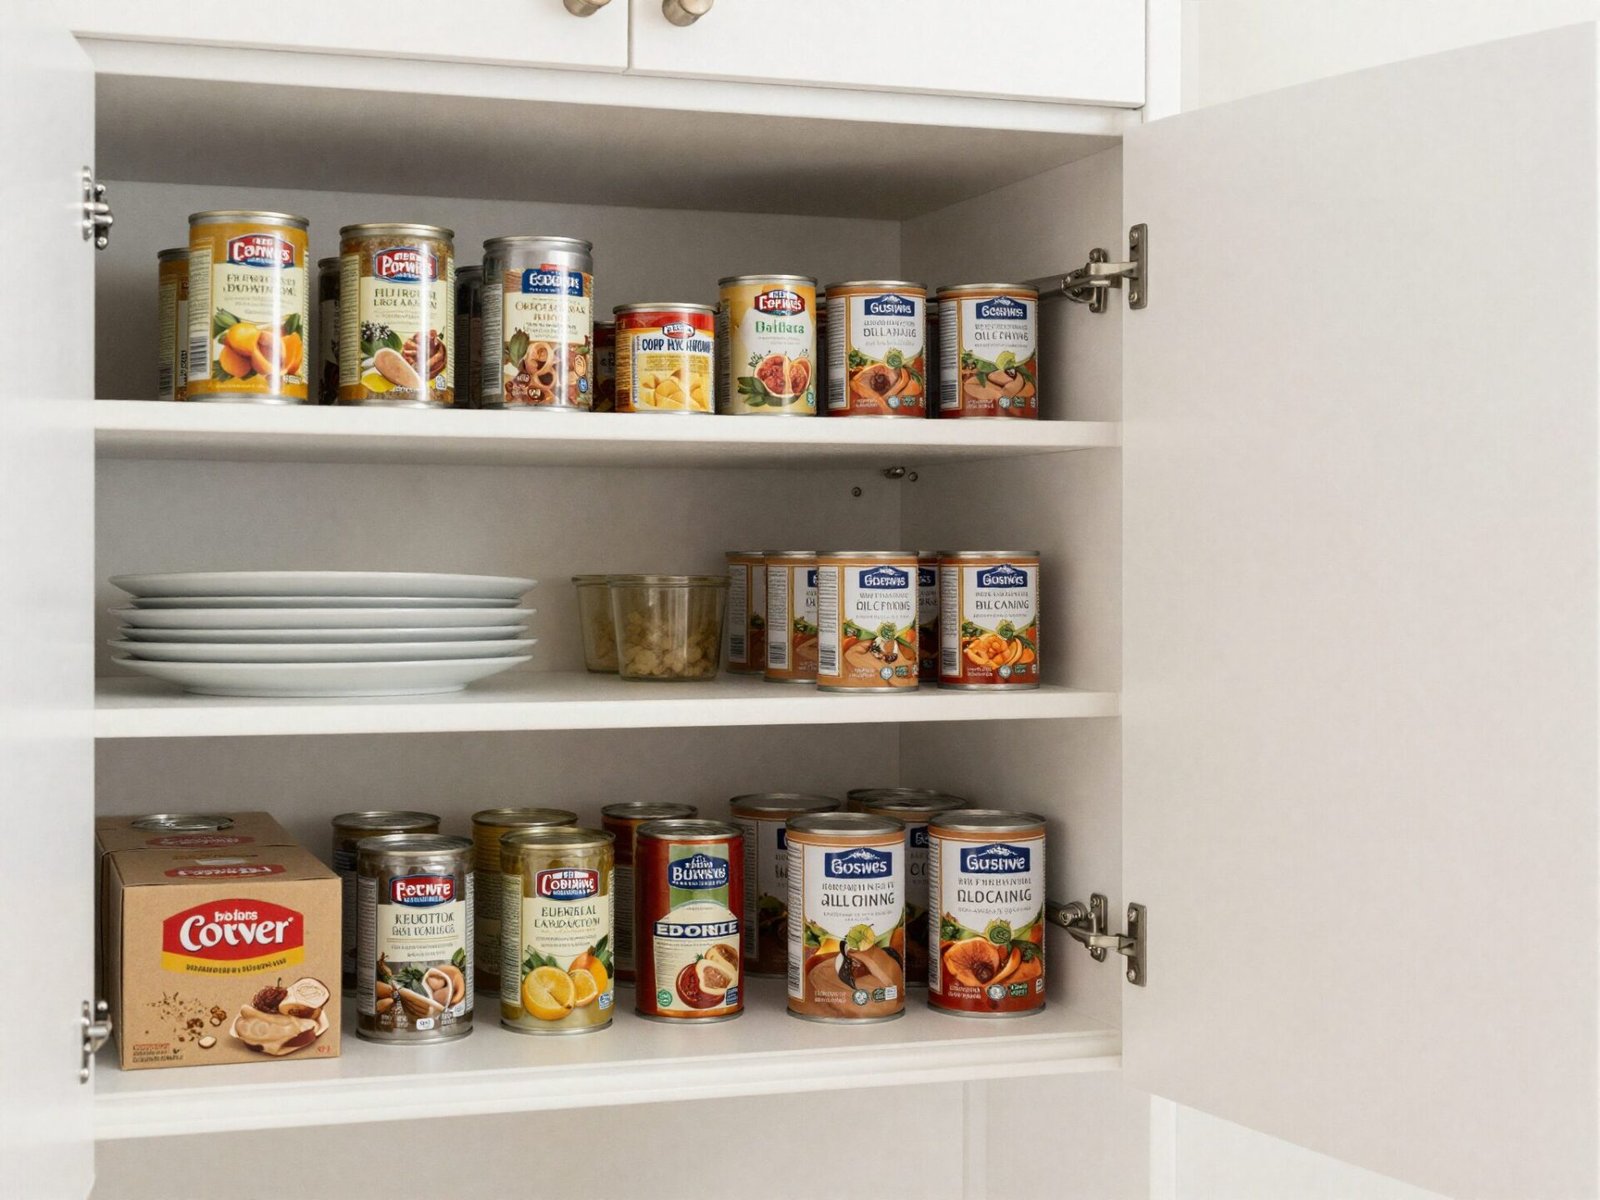
For a standard reach-in pantry or freestanding cabinet, 12-16 inches of shelf depth is the range cabinet professionals return to again and again.
At this depth, you can see everything at a glance, and nothing gets buried behind something else.
This shallower depth trades some raw storage volume for genuine visibility, which is almost always the better trade in a pantry you access daily.
💡 Smart tip: If you’re building new shelving, 12 inches is the safer minimum for canned goods and boxed items specifically, since it matches most standard packaging depth.
⚠️ Mistake to avoid: Don’t stretch a reach-in pantry’s shelves past 16 inches just to add storage volume. Beyond that depth, visibility drops fast for this pantry type.
2. Go Deeper (16-20 Inches) for a Walk-In Pantry
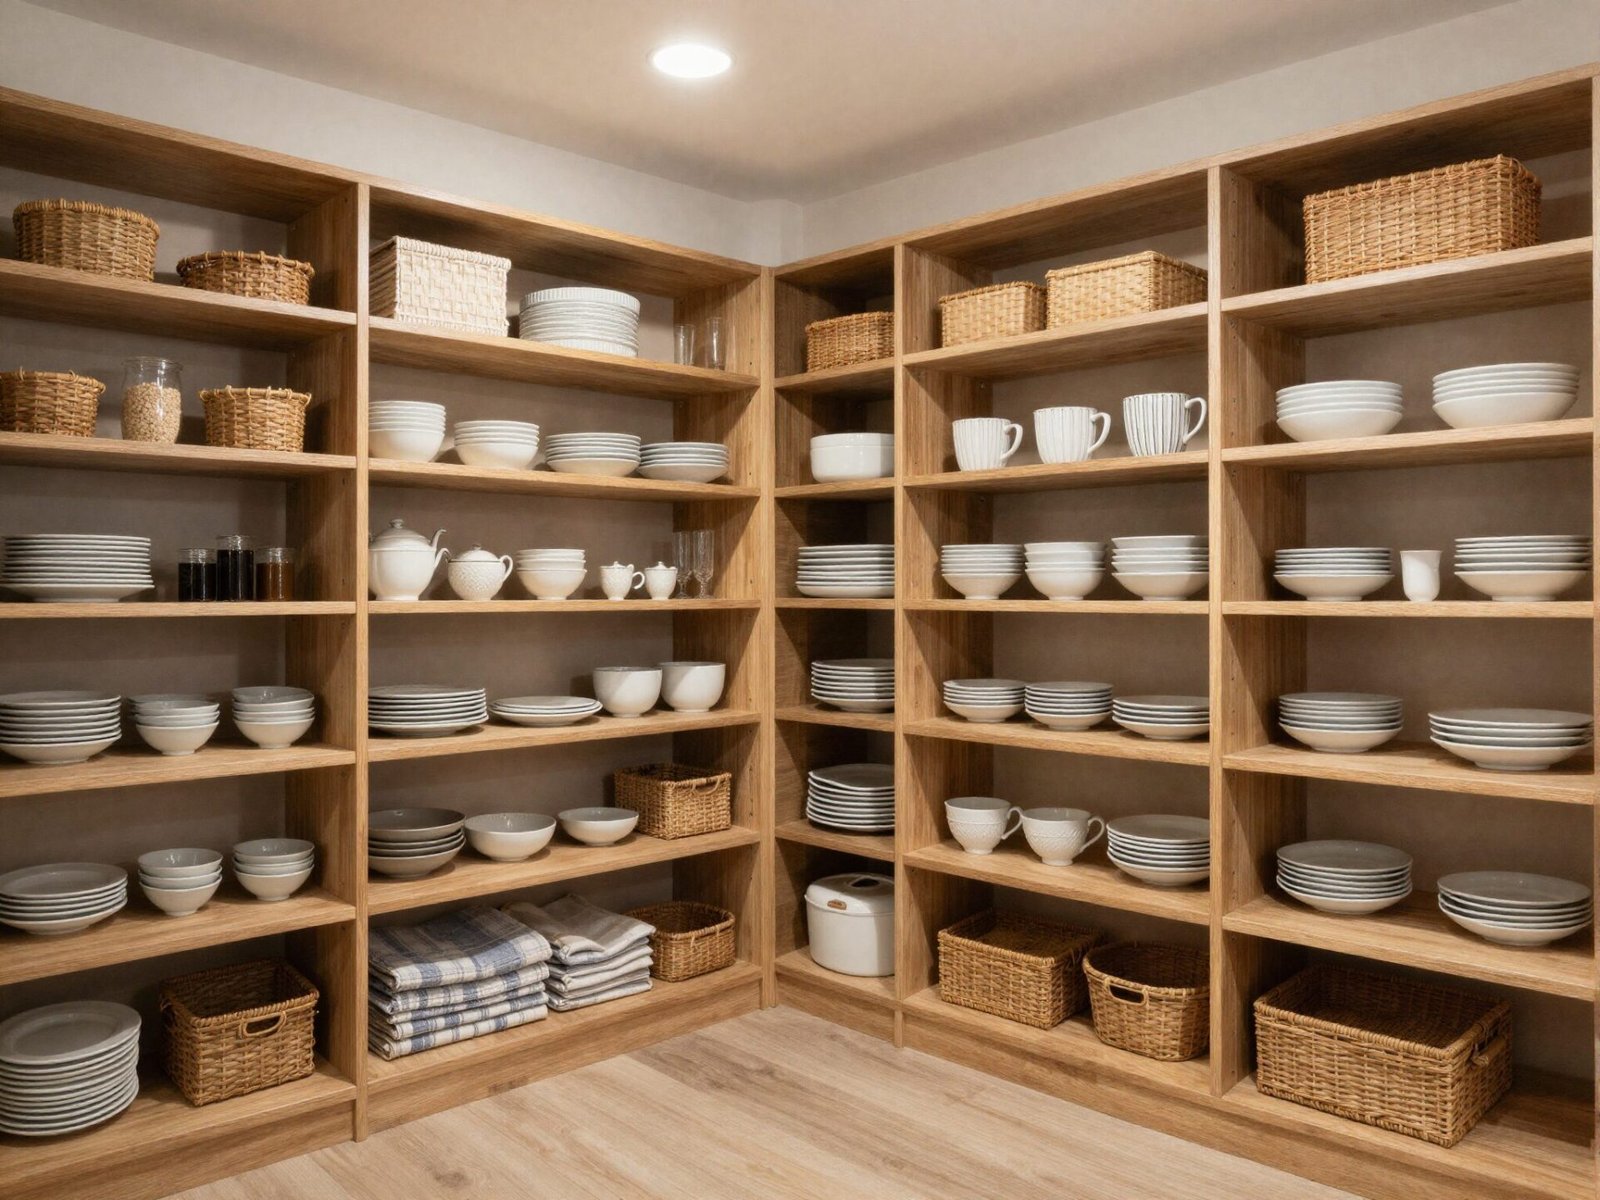
A walk-in pantry can support deeper shelving, typically 16-20 inches, since you can physically step inside and reach items rather than pulling everything toward you from a doorway.
This extra depth translates directly into more storage capacity without sacrificing the accessibility a reach-in pantry depends on.
Butler’s pantries and dedicated storage rooms can push to 20-24 inches, but only when paired with organization tools that solve the visibility problem that depth creates.
💡 Smart tip: If your walk-in pantry is large enough, mix depths by wall — 16 inches near the entry for daily items, deeper shelving further back for bulk or occasional-use storage.
⚠️ Mistake to avoid: Don’t assume “walk-in” automatically means “go as deep as possible.” Even with room to step inside, unmanaged depth beyond 20 inches still buries items.
3. Keep Spice Shelves to 6 Inches Deep
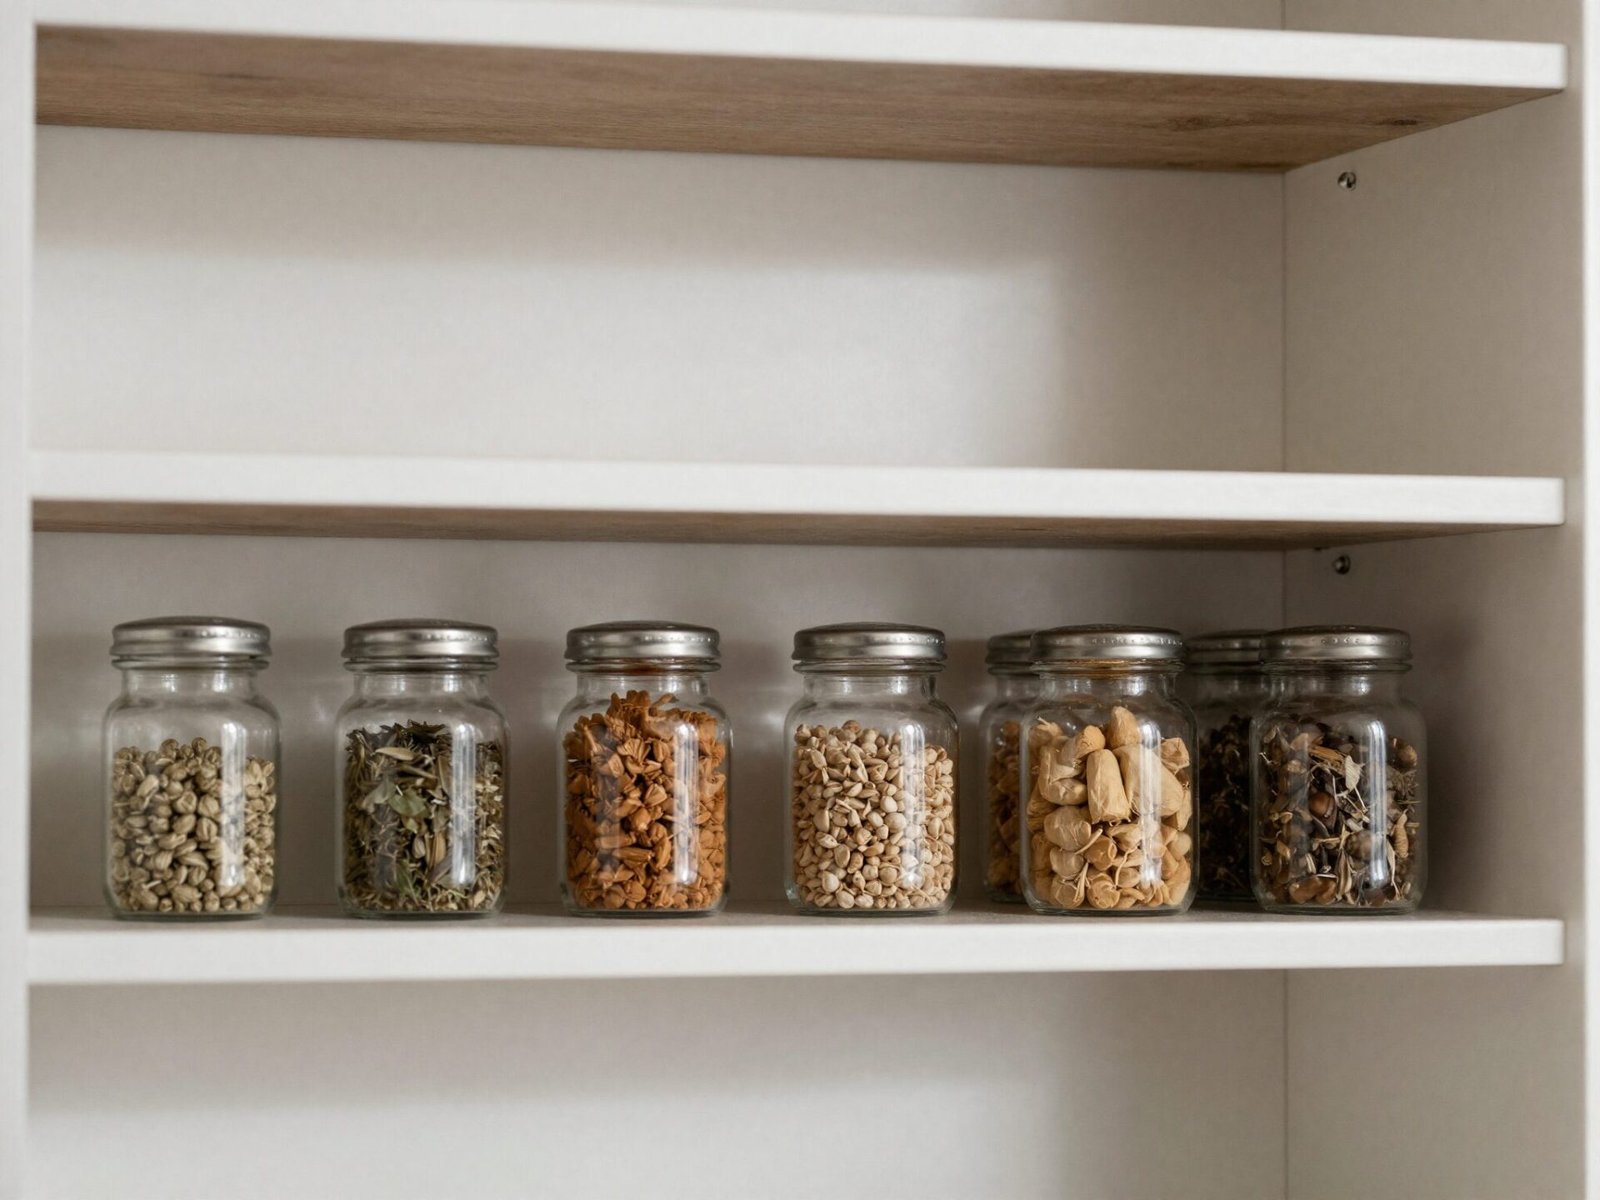
Spice jars are small enough that a full 12-16 inch shelf wastes most of its depth on empty air behind a single row of jars.
A dedicated spice shelf at roughly 6 inches deep keeps every label facing forward and visible, without any jars hiding behind others.
This is one of the easiest wins in pantry planning, since a shallow shelf insert or riser can retrofit this depth into an existing deeper shelf.
💡 Smart tip: Add a shallow shelf riser specifically for spices even within a deeper pantry system, rather than redesigning the whole unit around one category of small items.
⚠️ Mistake to avoid: Don’t store spices on a standard 12-16 inch shelf without a riser or organizer. Jars in the back row become invisible almost immediately.
Loving These Ideas? Get the Step-by-Step Guide
Grab the full 5-day eBook and turn these ideas into a finished room.




4. Space Shelves 12-15 Inches Apart for Most Items
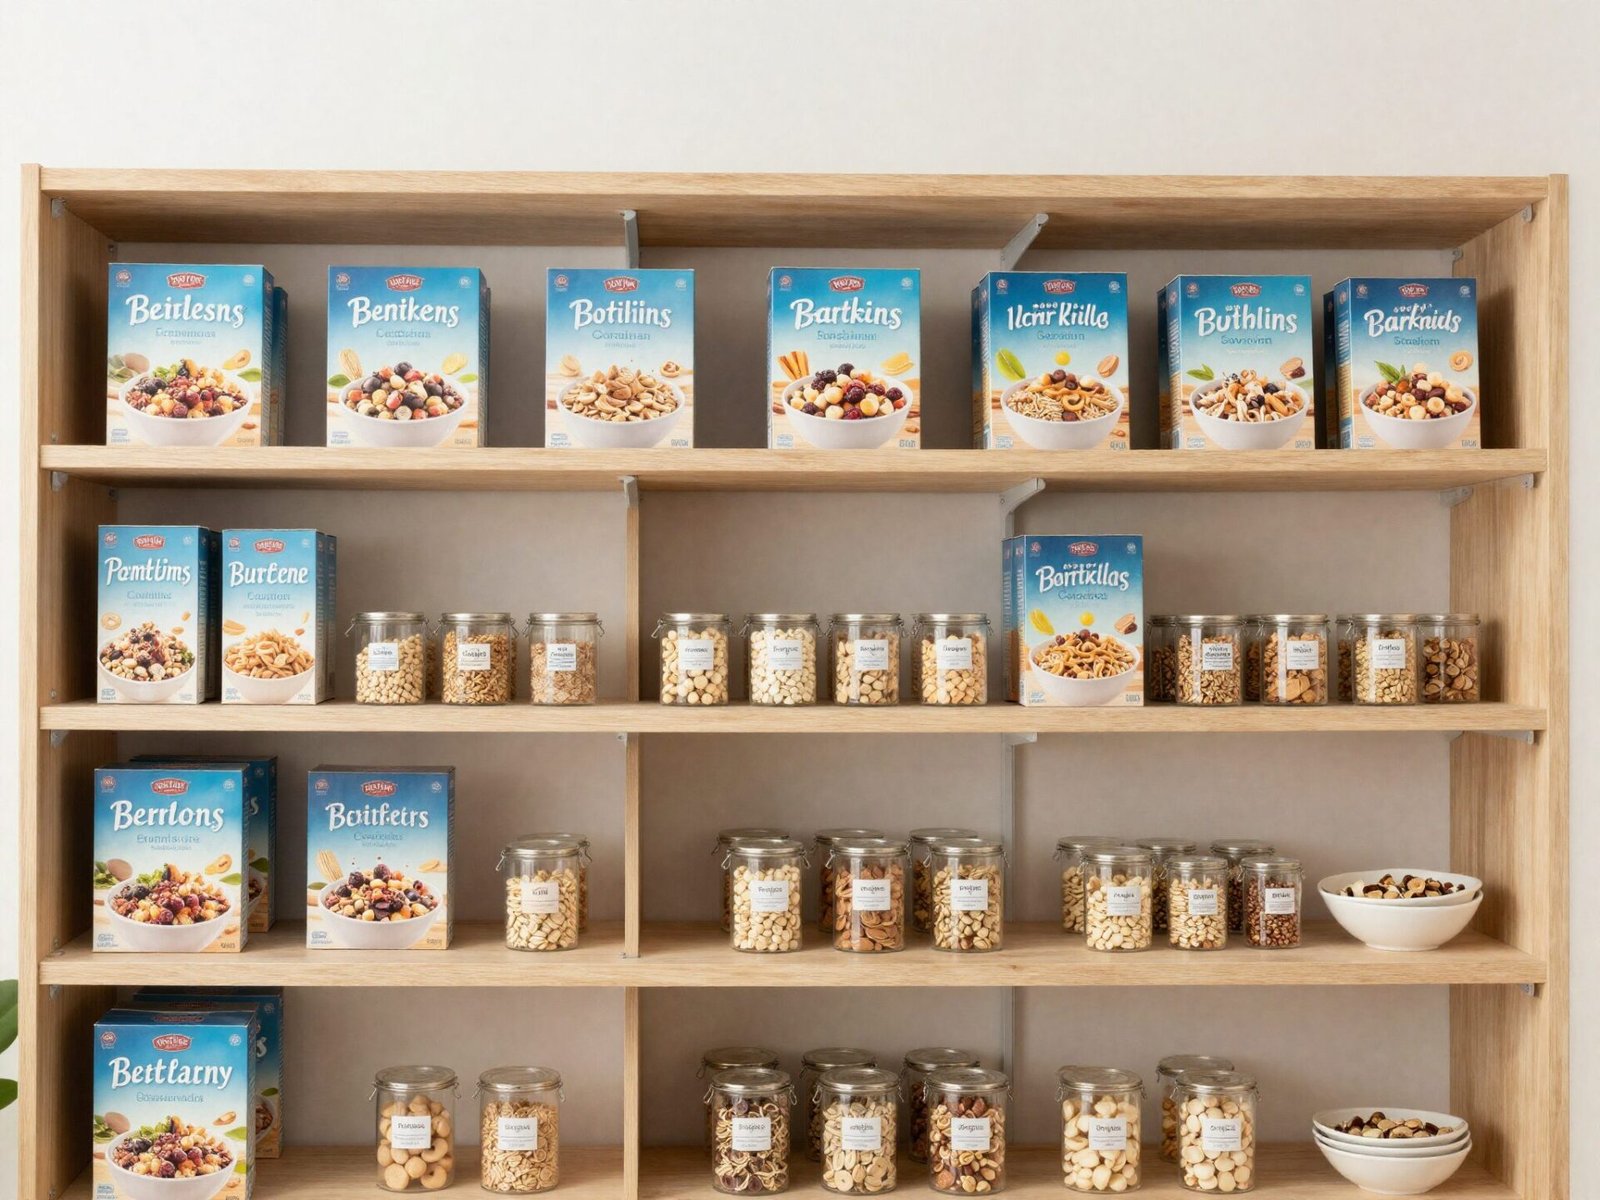
For general pantry items, boxed cereal, canisters, and standard packaged goods, 12-15 inches of vertical spacing between shelves works for most households.
This range gives enough headroom for typical box heights without wasting excess air above shorter items.
Cans specifically need less clearance, since a standard can is only a few inches tall, so this spacing leaves comfortable room even when stacking two cans deep.
💡 Smart tip: Add roughly 2 inches beyond your tallest item’s height when setting shelf spacing, so you can tip or slide boxes in and out without scraping the shelf above.
⚠️ Mistake to avoid: Don’t space every shelf at a uniform 12 inches regardless of contents. A shelf holding tall cereal boxes needs more headroom than one holding only cans.
5. Widen Spacing to 18-24 Inches Near the Bottom for Bulk Items
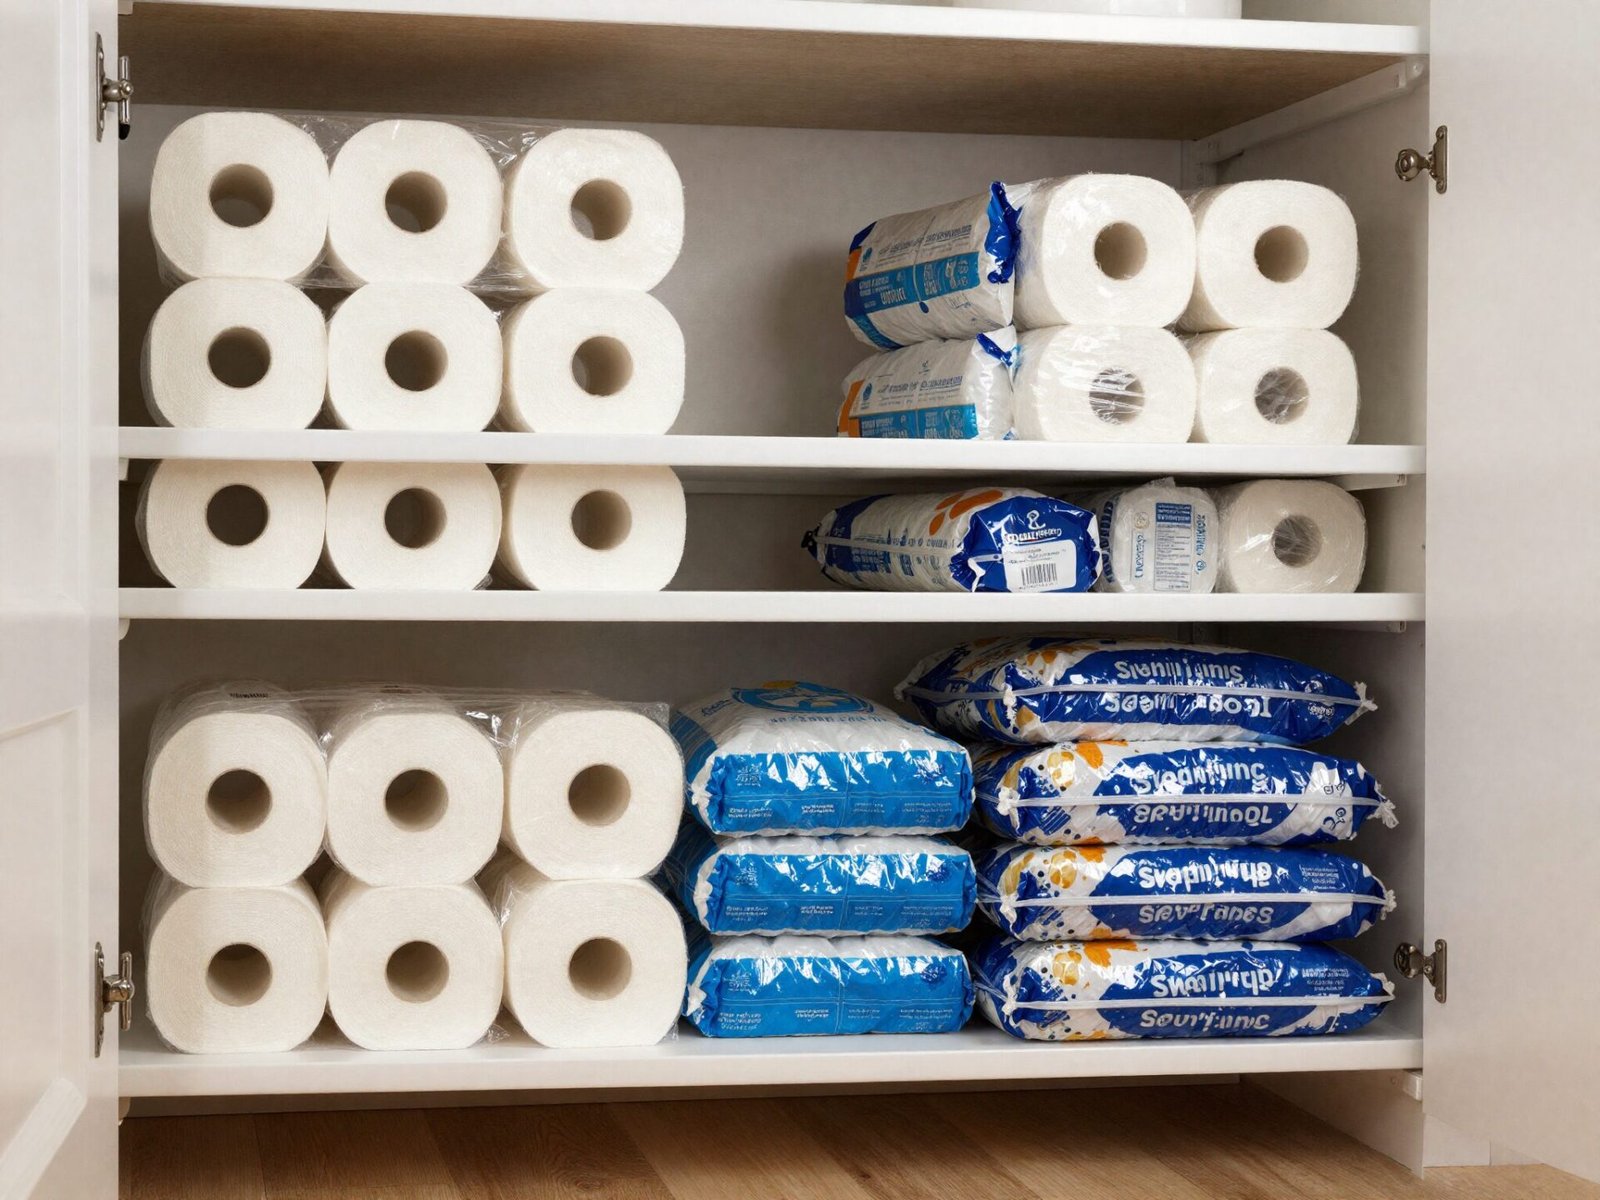
Lower shelves are the natural home for bulky, heavier items, paper towel multipacks, large bags of rice, pet food, or small appliances.
These items need real headroom, so widen spacing to 18-24 inches specifically on the bottom shelf or two, even if the rest of the pantry uses tighter spacing above.
Keeping heavier items low also makes practical sense for stability and easier lifting, regardless of the depth or spacing question.
💡 Smart tip: Reserve your widest spacing for whichever shelf sits closest to the floor, since that’s where the bulkiest, heaviest items naturally belong.
⚠️ Mistake to avoid: Don’t apply your standard 12-15 inch spacing to the bottom shelf if you regularly store bulk items there. It will constantly feel too tight.
6. Start the Lowest Shelf 20-24 Inches Off the Floor
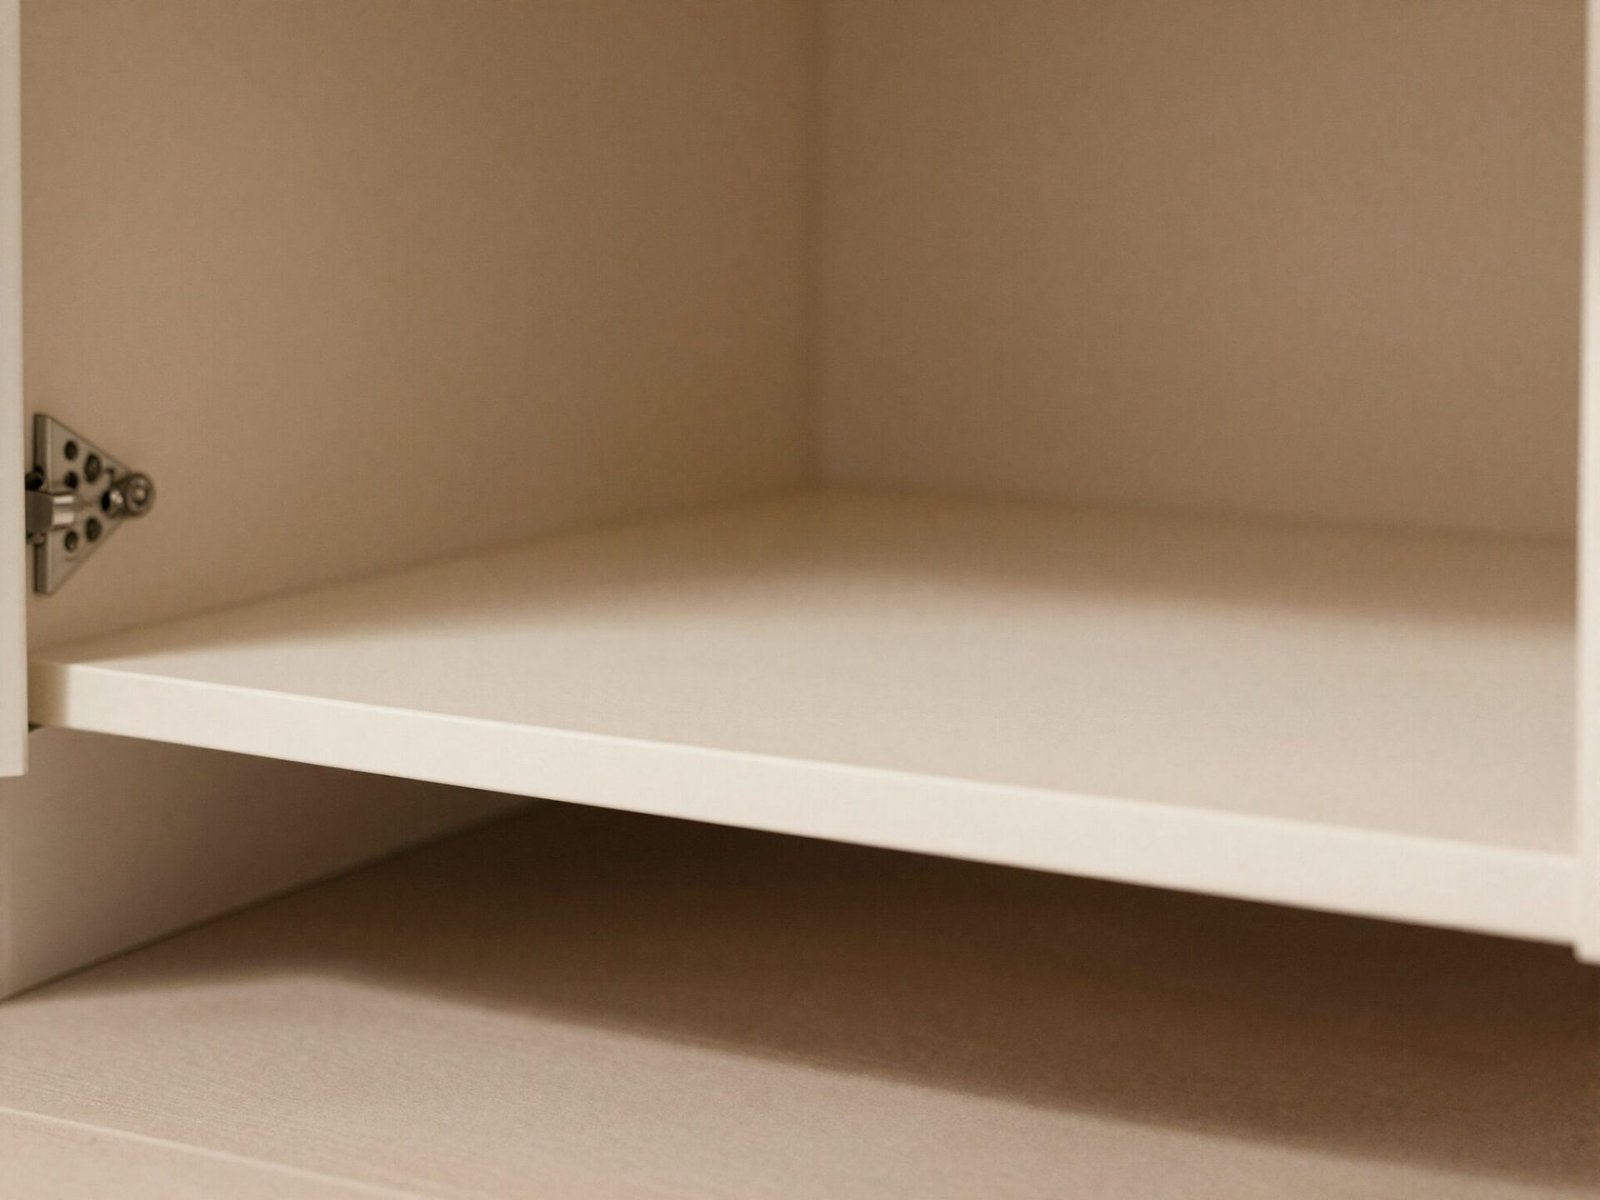
Rather than starting shelving right at floor level, professional layouts typically raise the lowest shelf to 20-24 inches off the ground.
This creates a dedicated floor-level zone for the tallest, bulkiest items, like large paper towel cases or pet food bags, that don’t fit comfortably on any shelf at all.
It also keeps the lowest actual shelf at a height you can access without fully bending down or kneeling.
💡 Smart tip: Use the floor-level zone beneath your lowest shelf for items you buy in bulk but use infrequently, since it’s the least convenient spot to reach repeatedly.
⚠️ Mistake to avoid: Don’t install a shelf directly at floor level without leaving this buffer zone. You’ll lose the ability to store your tallest floor-standing items entirely.
7. Reserve the Top Shelf for Lighter, Less-Used Items
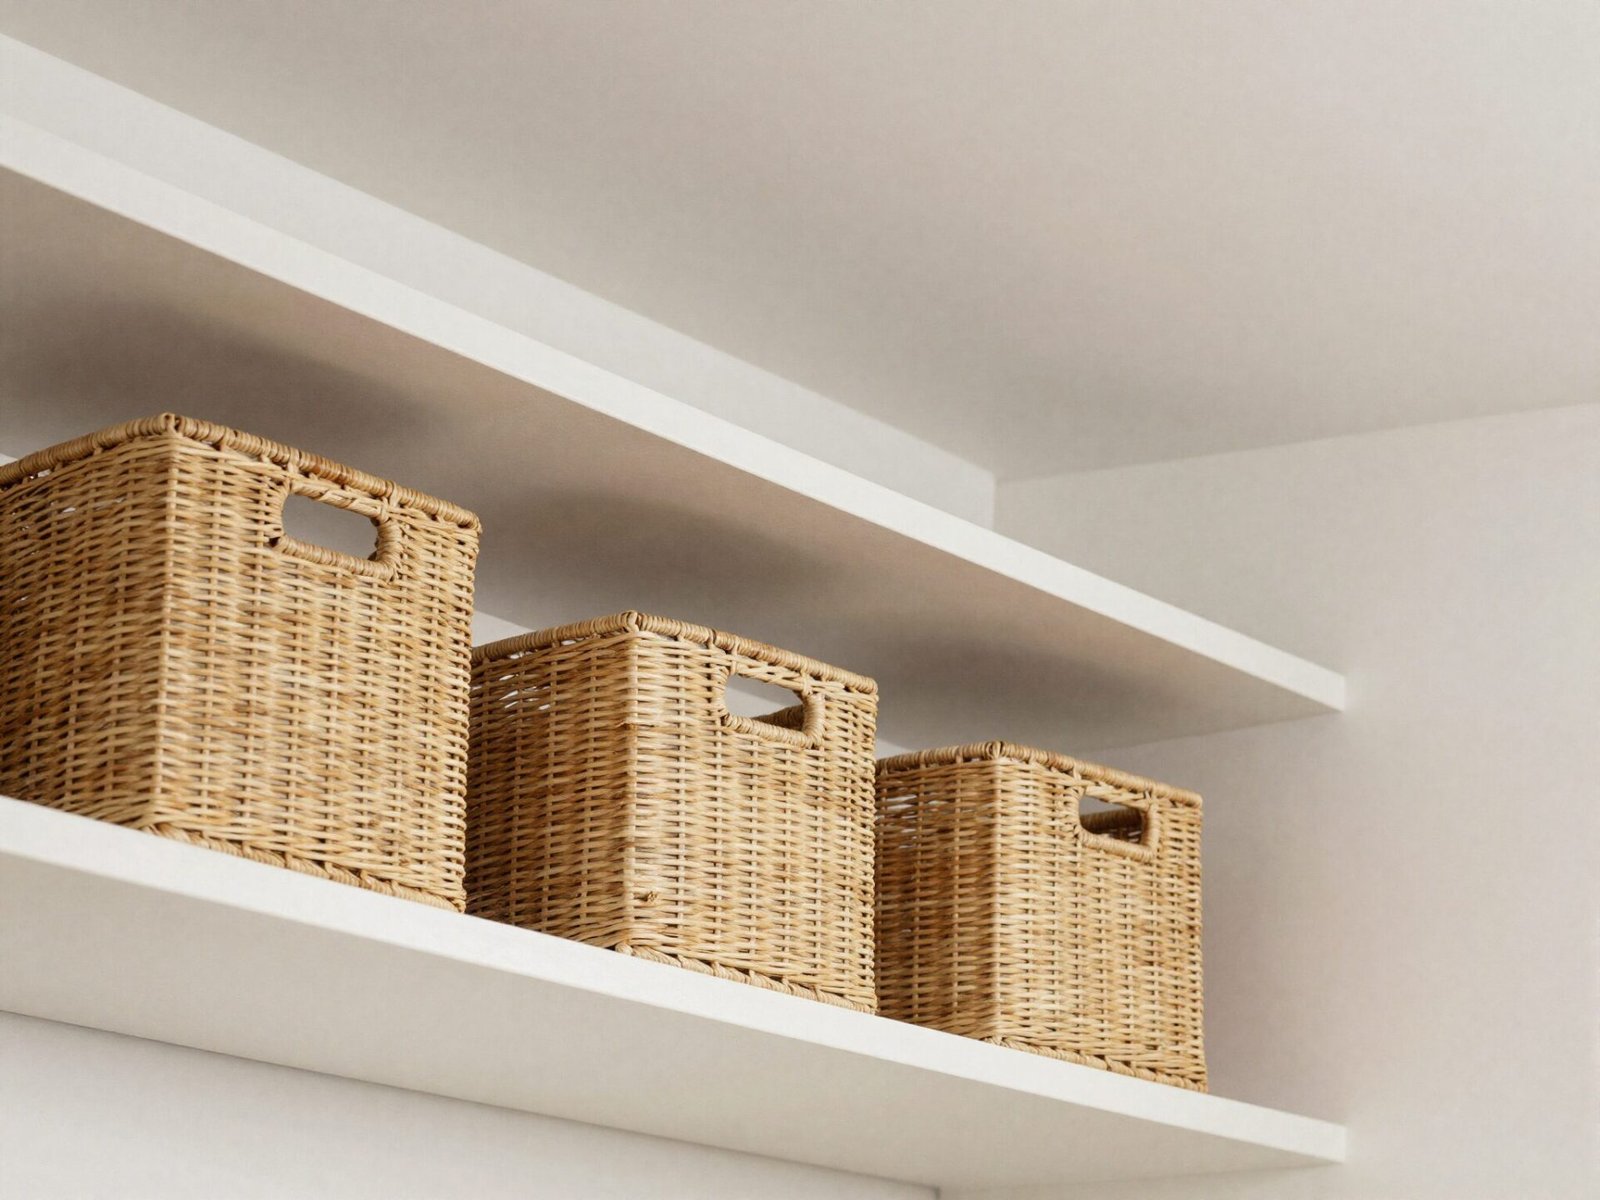
High shelves near the ceiling suit lighter, less frequently accessed items, since reaching them typically requires a step stool.
These top shelves can also run slightly shallower than the rest of the pantry, around 10-12 inches, since deep storage at that height becomes genuinely hard to see and reach safely.
Baskets or bins work especially well here, letting you pull an entire lightweight container down at once instead of reaching item by item.
💡 Smart tip: Use clear or labeled bins on the top shelf specifically, since anything stored there is, by nature, harder to visually scan than eye-level storage.
⚠️ Mistake to avoid: Don’t store heavy items on the top shelf just because there’s space. The combination of height and weight creates a real safety risk when reaching or lifting down.
8. Leave a 36-44 Inch Walkway in a Walk-In Pantry
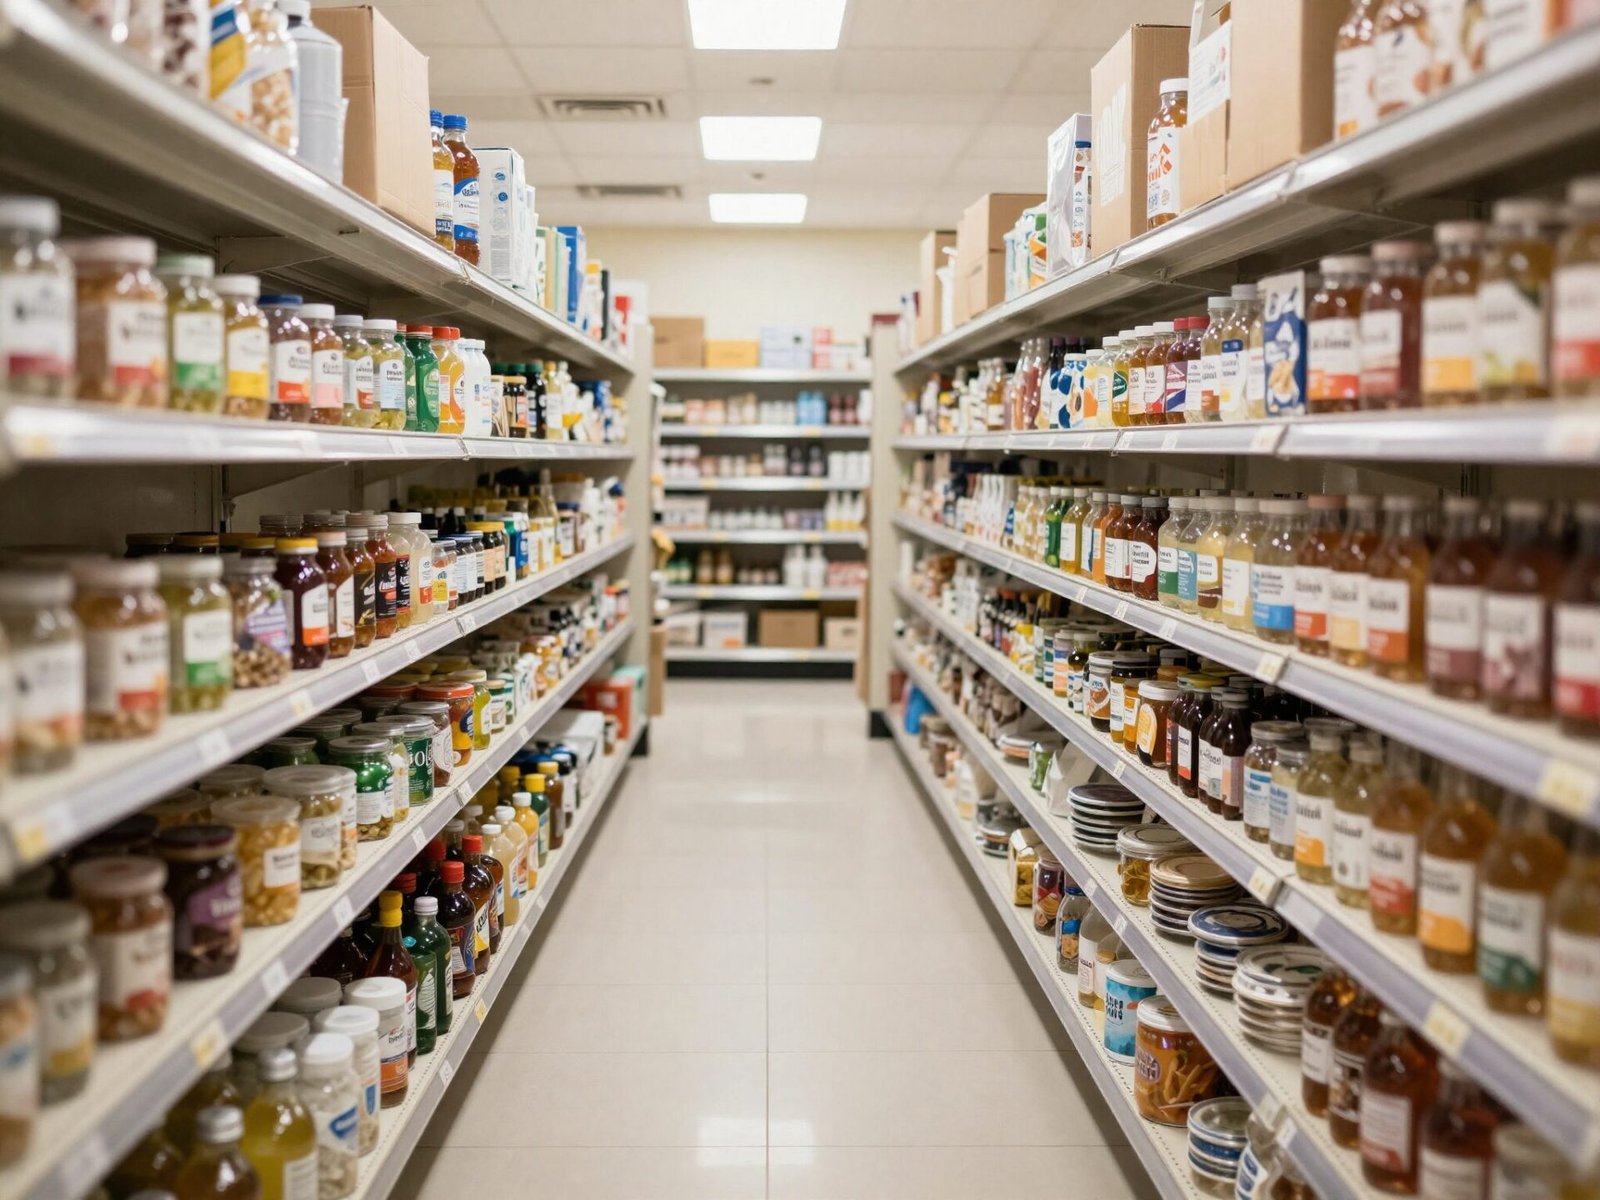
A walk-in pantry needs a genuine walkway between opposing shelves, not just enough gap to squeeze through sideways.
Thirty-six inches is the commonly cited minimum, while 44 inches is recommended for comfortable navigation, especially if you’re often carrying groceries in both directions.
This measurement directly limits how deep your shelving can go on both sides once the overall room width is fixed.
💡 Smart tip: Measure your total pantry width first, then subtract your desired walkway to see how much depth is actually available on each wall of shelving.
⚠️ Mistake to avoid: Don’t maximize shelf depth on both walls without checking the resulting walkway. A pantry with excellent shelves but a 24-inch aisle is genuinely uncomfortable to use.
9. Avoid Shelves Deeper Than 20 Inches Without a Plan
Once shelf depth passes 20 inches, most pantry owners agree that items in the back become genuinely hard to access, regardless of how carefully the front is organized.
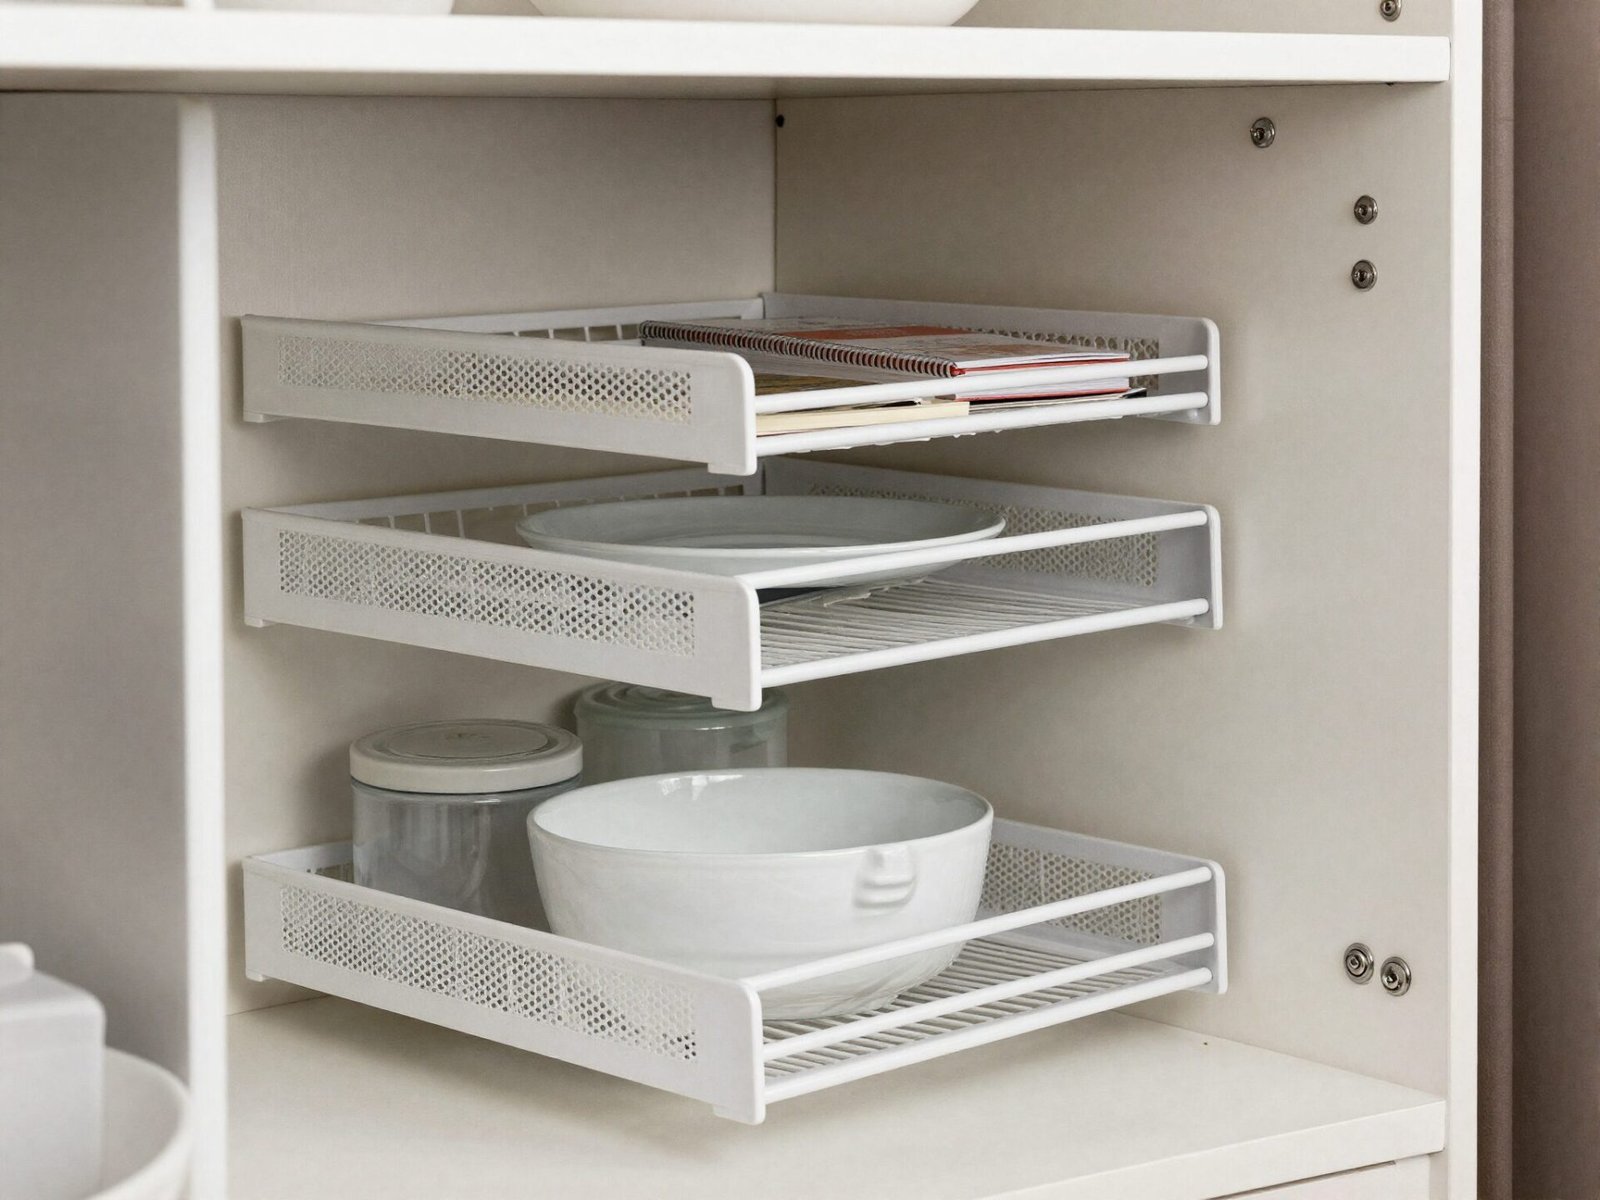
If your pantry’s existing shelves are already this deep, a tiered riser adds a stepped surface that keeps back-row items visible instead of hidden behind the front row.
This is a retrofit solution rather than an ideal starting point, but it meaningfully improves an already-built deep pantry without any construction.
💡 Smart tip: Place your least-used items at the very back of a deep shelf, and reserve the front, visible portion for anything you reach for regularly.
⚠️ Mistake to avoid: Don’t build new shelving deeper than 20 inches without also budgeting for risers, pull-outs, or turntables. Depth alone, without an accessibility tool, guarantees forgotten items.
10. Add a Lazy Susan for Deep Corner Cabinets
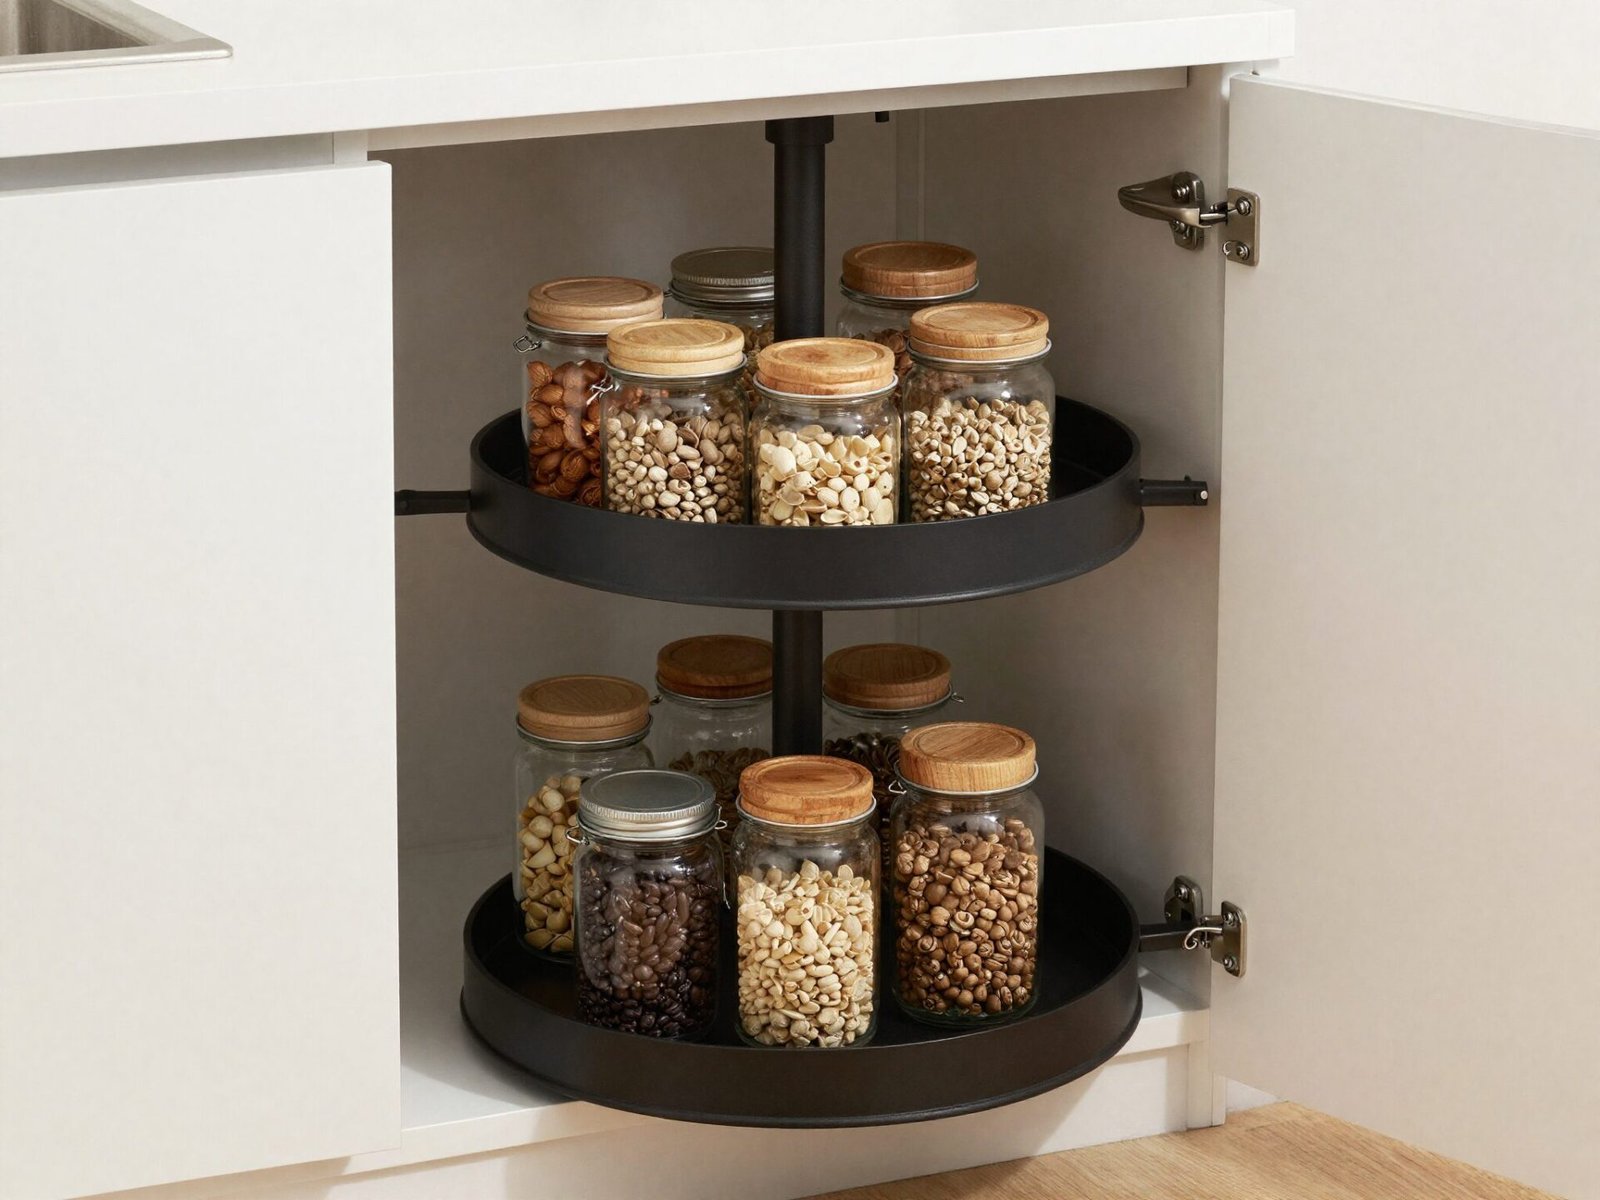
Corner cabinets are the deepest, hardest-to-reach spaces in most kitchen layouts, since their true depth extends well beyond what a straight shelf’s front edge suggests.
A rotating lazy Susan turns that entire awkward depth into genuinely accessible storage, since everything comes to you with a simple spin rather than requiring a reach into the dark.
This single addition often transforms a corner pantry cabinet from the most avoided storage spot into one of the most used.
💡 Smart tip: Choose a full-circle turntable over a half-moon design for a true corner cabinet — it uses the entire available depth rather than leaving a wasted section behind the shelf front.
⚠️ Mistake to avoid: Don’t leave a deep corner cabinet as fixed, non-rotating shelving. It’s consistently the least-used storage in a kitchen without some kind of rotating or pull-out solution.
11. Add Pull-Out Drawers for Shelves Over 16 Inches
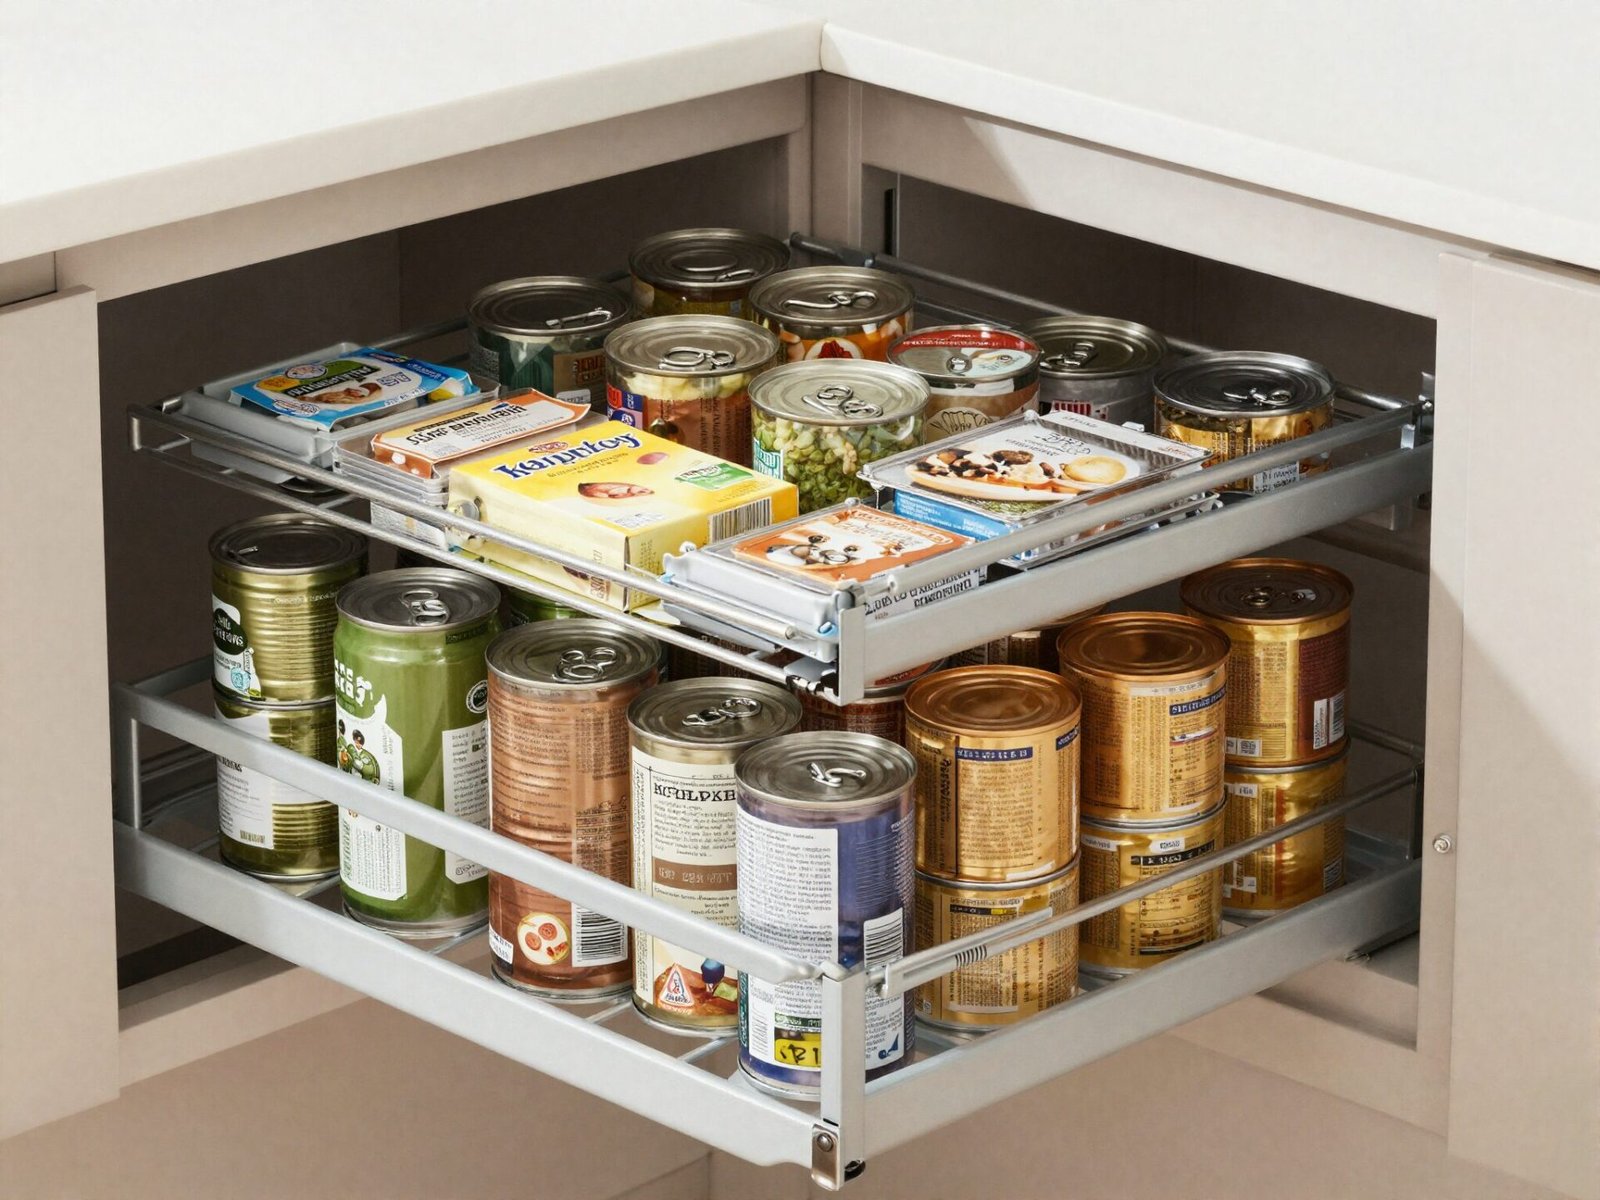
Pull-out drawers solve the depth-visibility problem directly by bringing the entire shelf toward you instead of asking you to reach into a fixed, static space.
Any shelf deeper than 16 inches is a strong candidate for this upgrade, since that’s roughly where fixed shelving starts to hide items reliably.
These drawers cost more than fixed shelving to install, but they eliminate the “forgotten item at the back” problem almost entirely.
💡 Smart tip: Prioritize pull-out conversions for your most-used pantry zones first — daily staples benefit more from this upgrade than rarely accessed seasonal storage.
⚠️ Mistake to avoid: Don’t install pull-out drawers throughout an entire pantry if budget is limited. Target the deepest, most problematic shelves first for the best return on the investment.
12. Use an Over-the-Door Organizer for Spices
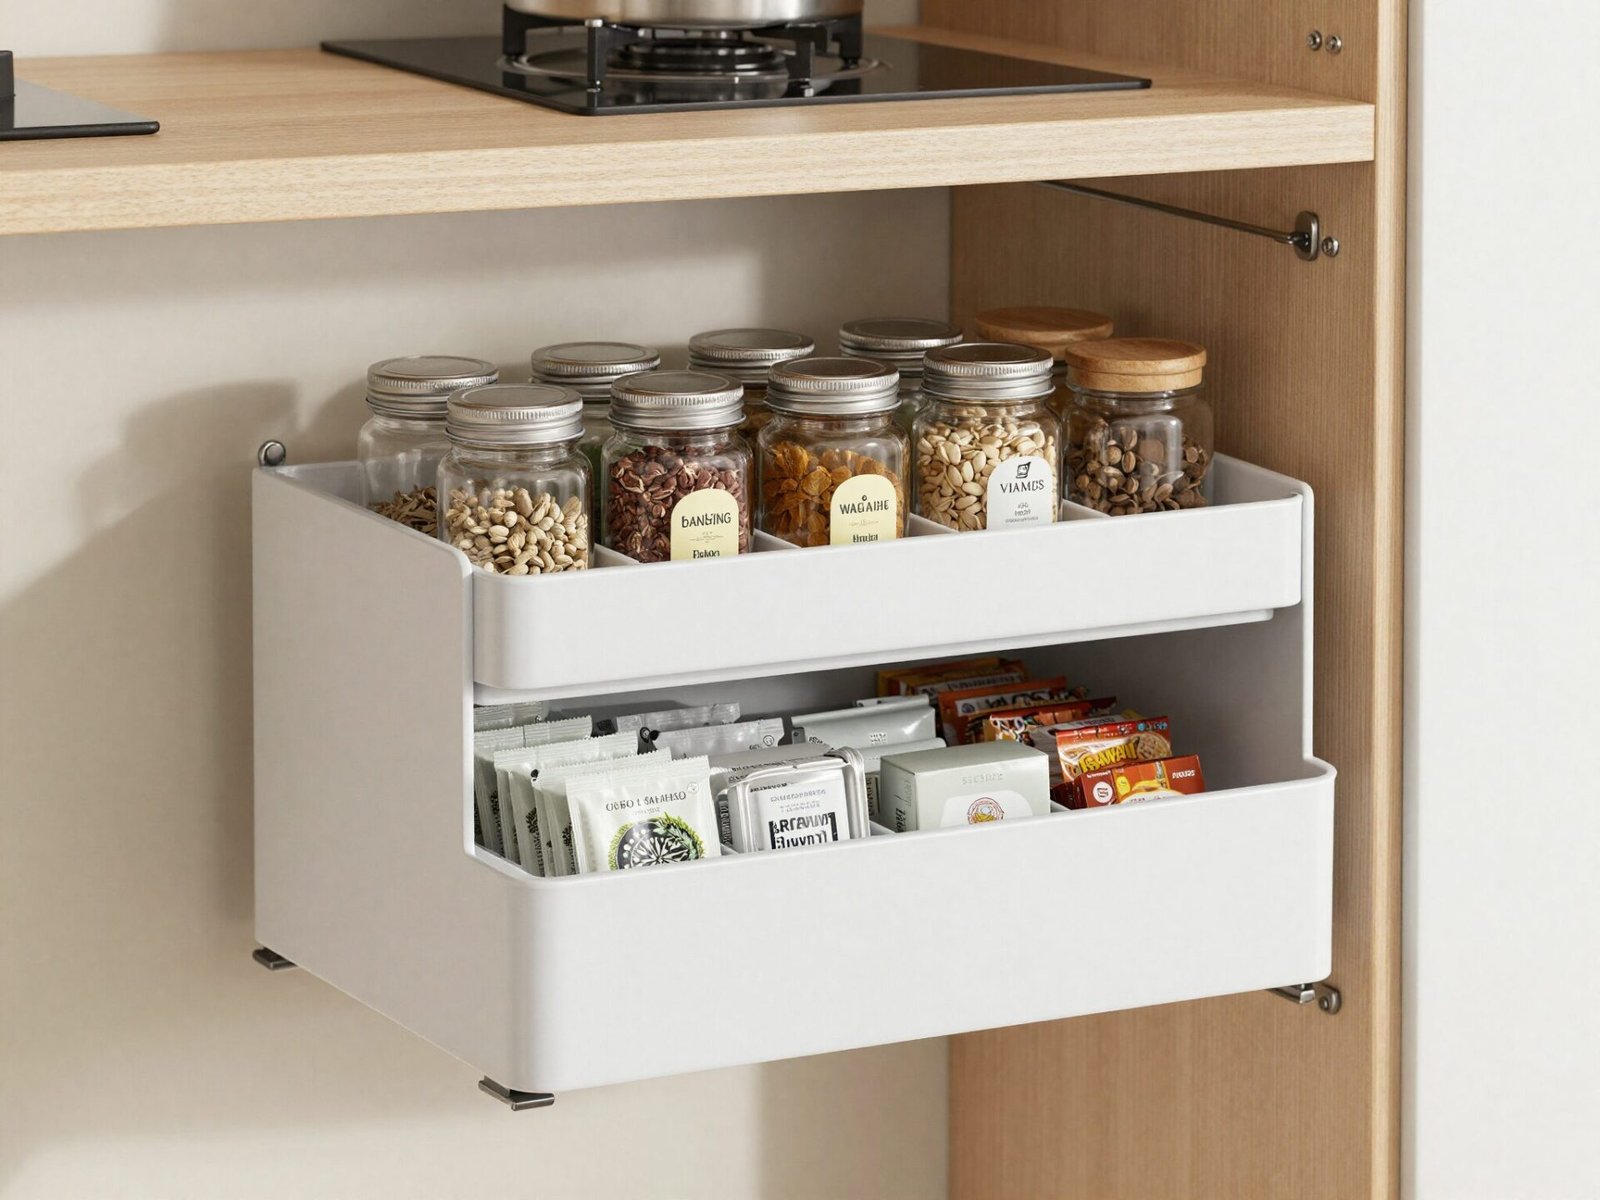
The back of a pantry door is genuinely unused space in most kitchens, and an over-the-door organizer converts it into real, functional storage.
This spot works particularly well for spices, small packets, and baking supplies, all of which are lightweight enough not to strain typical door-mounted hardware.
It also frees up interior shelf depth for larger items, since the smallest, most fiddly items move to a completely separate storage zone.
💡 Smart tip: Measure your door’s swing clearance before installing an over-the-door organizer, since a deep unit can interfere with the door closing fully against interior shelving.
⚠️ Mistake to avoid: Don’t overload a door-mounted organizer with heavy jars or cans. These systems are designed for lightweight items, not bulk storage.
13. Common Pantry Shelving Mistakes
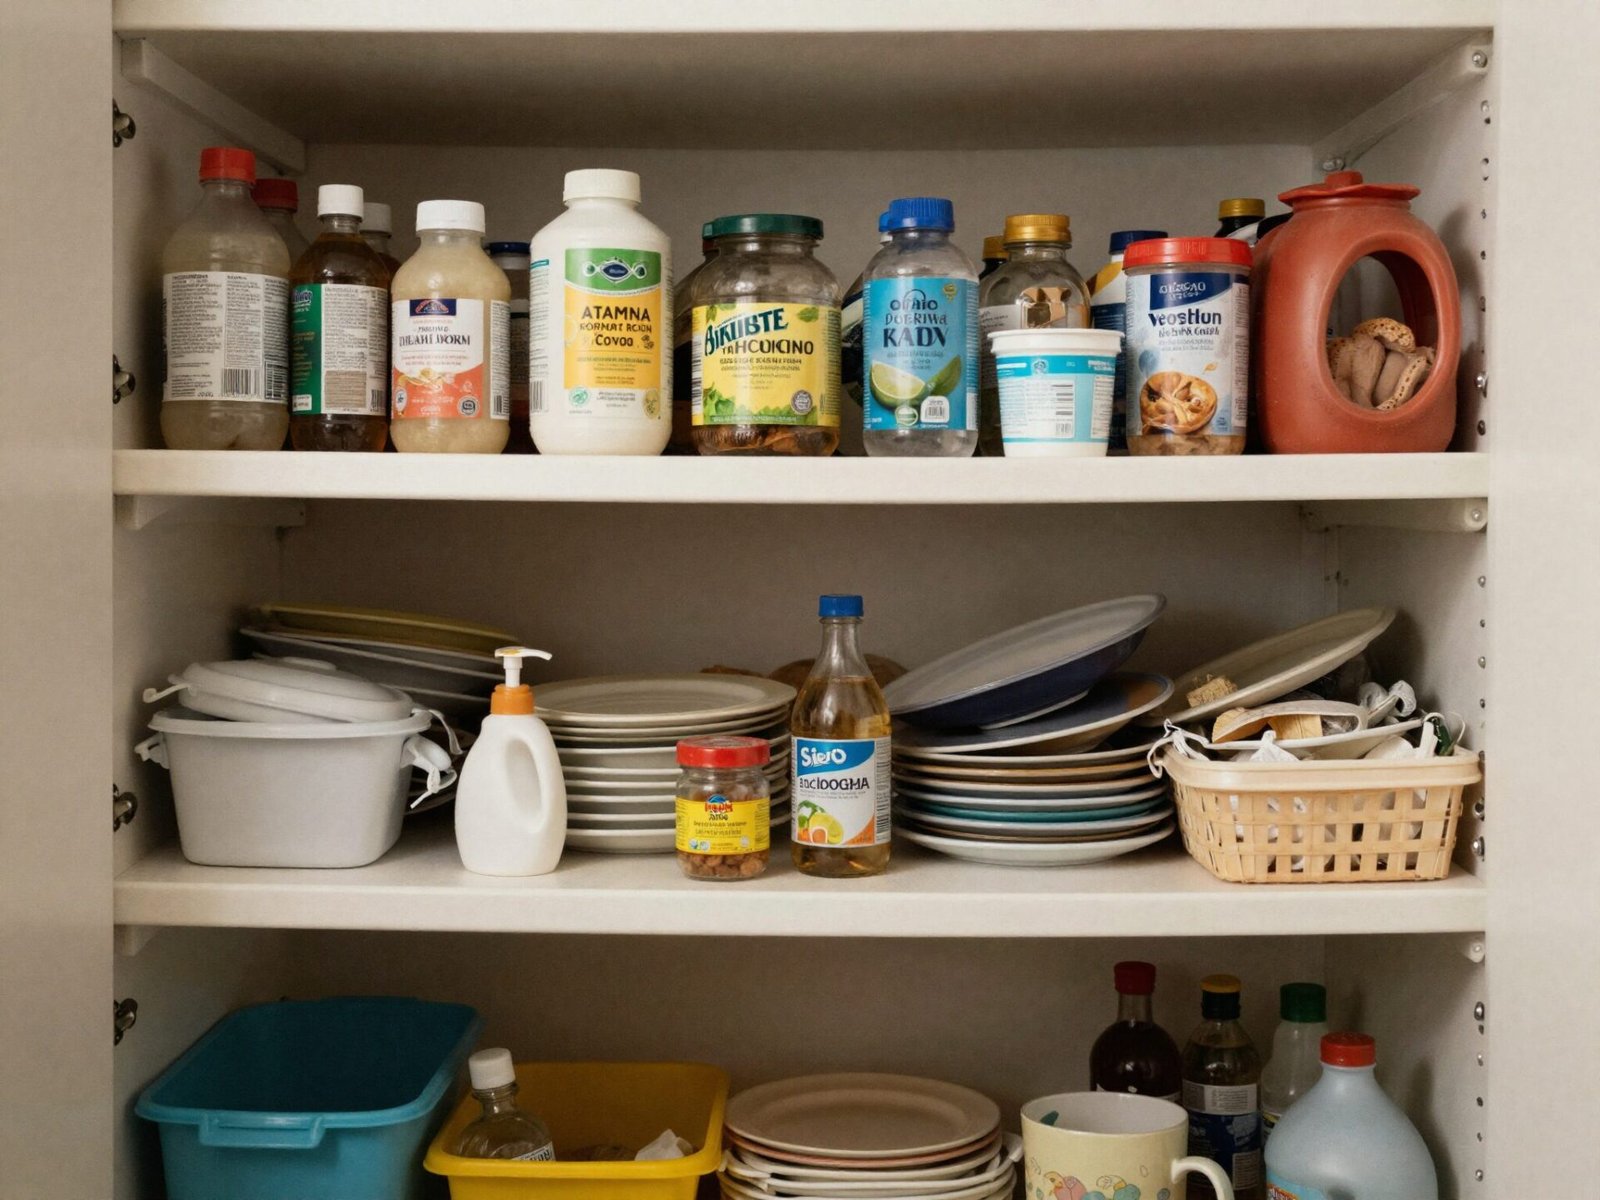
A handful of mistakes explain most frustrating pantries, and nearly all of them trace back to depth and spacing decisions made without these numbers in mind.
Building every shelf at a single uniform depth, regardless of what’s actually stored there, is the most common — spices don’t need the same depth as bulk paper goods.
Skipping any kind of pull-out, riser, or turntable solution on shelves deeper than 20 inches is a close second, guaranteeing that some portion of the pantry stays permanently out of sight.
💡 Smart tip: Walk through your pantry and sort items by how often you actually use them before finalizing any shelf plan — frequency of use should drive placement more than category alone.
⚠️ Mistake to avoid: Don’t finalize a pantry design around available space alone. Match depth and spacing to what you’re actually storing, or the same visibility problems will return within months.
Effort & Cost Snapshot
| Idea | Effort | Approx. Cost |
|---|---|---|
| 1. Reach-In Pantry Depth | Medium | $150–$600 |
| 2. Walk-In Pantry Depth | Medium | $300–$1,200 |
| 3. Spice Shelf Depth | Low | $20–$80 |
| 4. Standard Shelf Spacing | Low | $0 (planning) |
| 5. Bulk-Item Bottom Spacing | Low | $0 (planning) |
| 6. Raised Lowest Shelf | Low | $0 (planning) |
| 7. Top Shelf for Light Items | Low | $20–$60 (bins) |
| 8. Walk-In Walkway Width | Low | $0 |
| 9. Managing Deep Shelves | Medium | $30–$100 (risers) |
| 10. Corner Lazy Susan | Medium | $50–$200 |
| 11. Pull-Out Drawers | High | $200–$800 |
| 12. Over-the-Door Organizer | Low | $25–$70 |
| 13. Avoiding Common Mistakes | Low | $0 |
Every number in this guide costs nothing to apply beyond a tape measure and some planning before you build or reorganize.
Start with depth — get that right for each zone of your pantry, and spacing, walkway, and every other decision falls into place more easily around it.
Continue Your Home Transformation
Explore the full collection of step-by-step eBooks and get the guide that fits the room you're working on.