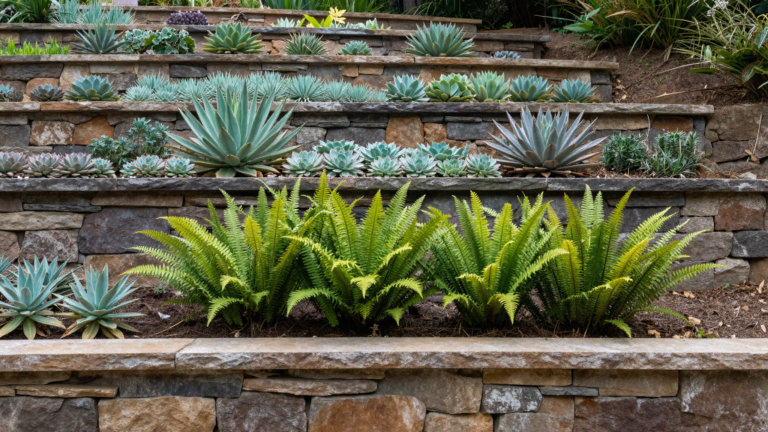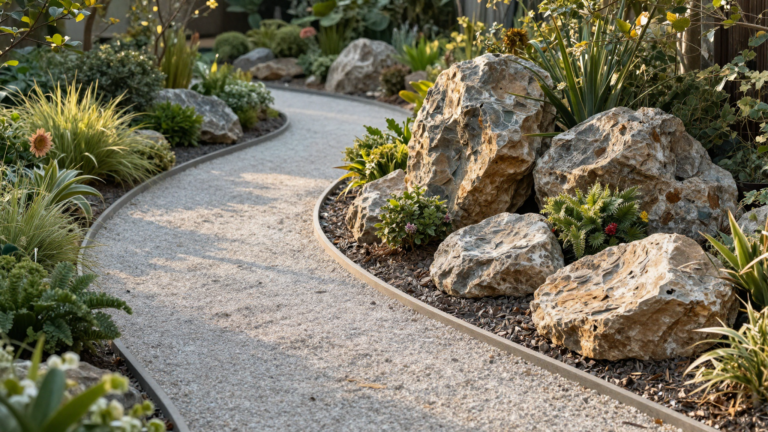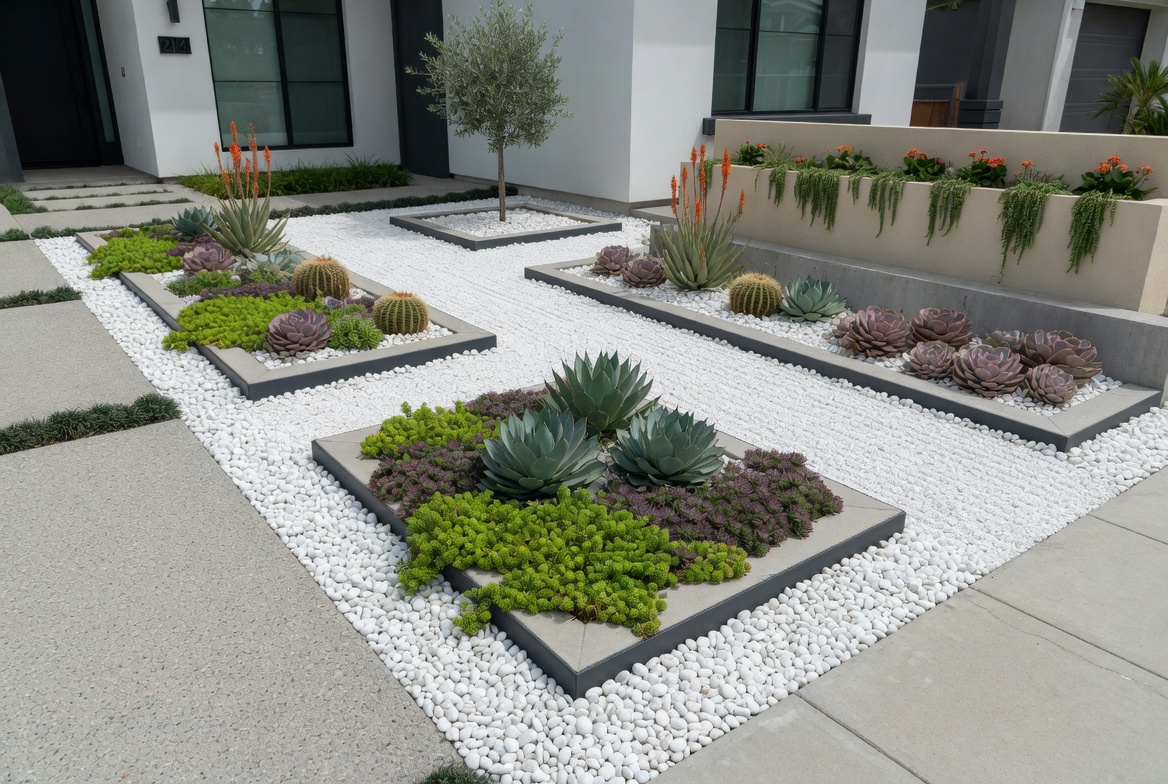
White rock is most useful when it gives a defined part of the garden a clear purpose: an accent around pavers, a contained non-planted strip or a deliberate contrast beside suitable planting. Compare its walking surface and upkeep with organic mulch before covering a large area. These 20 ideas show where a small, well-contained use can be easier to manage.
Images are illustrative design concepts, including AI-generated scenes.
Choose white stone, gravel or organic mulch by the job
University of Minnesota Extension distinguishes organic mulch, which breaks down and adds organic matter, from stone or gravel, which does not. It also notes that stone can increase soil temperature. Use those differences when deciding whether you need a decorative mineral surface or a planting-bed mulch.
| Garden job | Option to compare | Question to settle |
|---|---|---|
| Frequently replanted bed | Organic mulch | How will plants and soil be worked? |
| Decorative non-planted strip | Contained white stone | Where will leaves and displaced pieces collect? |
| Main walking route | A stable purpose-designed path surface | Does it suit wheels, footwear and upkeep? |
| Small visual accent | A sample of white stone beside the fixed materials | Is the contrast pleasant in direct sun? |
1. Compare White Rock Landscaping With Organic Mulch
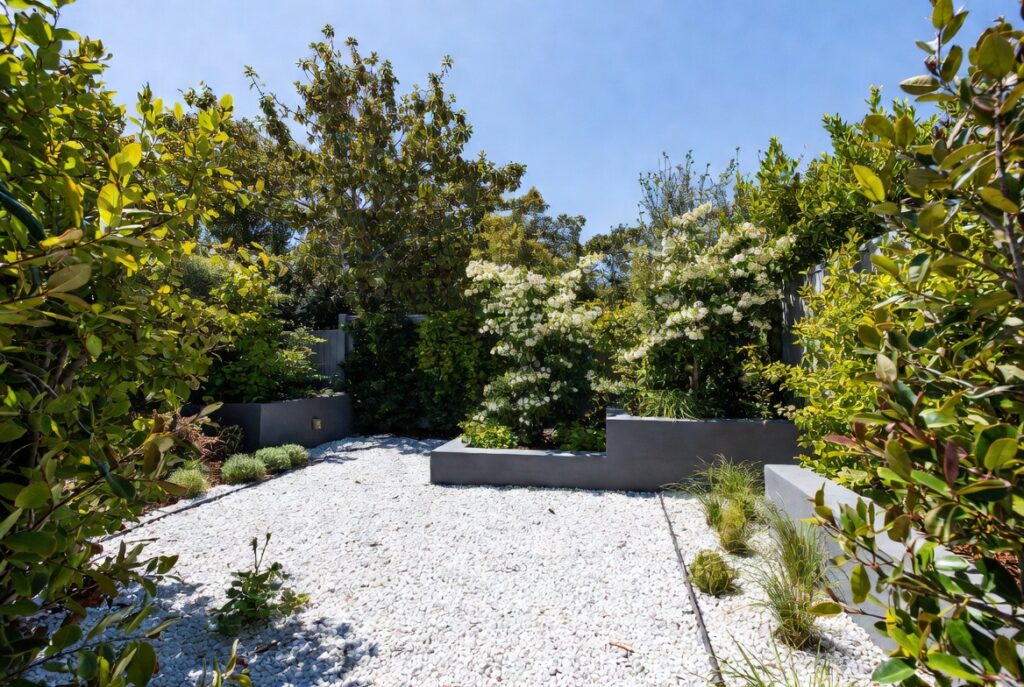
Separate planting performance from visual contrast. In a bed that is replanted frequently, imagine lifting or moving the stone every time the soil is worked. A contained accent beside the bed may deliver the white detail while keeping the main planting area easier to manage.
Try this: Trial the material in one contained area before expanding it.
2. Choose a Suitable Walking Surface
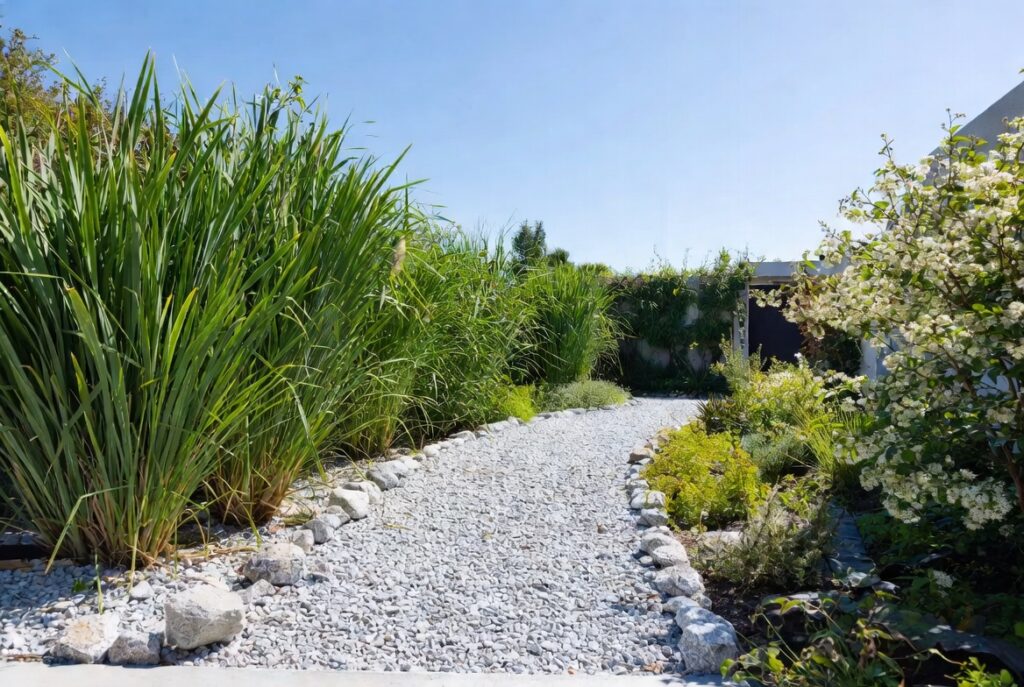
Stone size, shape and the prepared base affect how a path feels underfoot. Loose decorative rock may be unsuitable for the route or its users. Compare a firm alternative where wheeled access, frequent walking or stability matters.
Try this: Walk on an installed sample using your usual footwear.
3. Separate a Decorative Dry Creek From Drainage Work
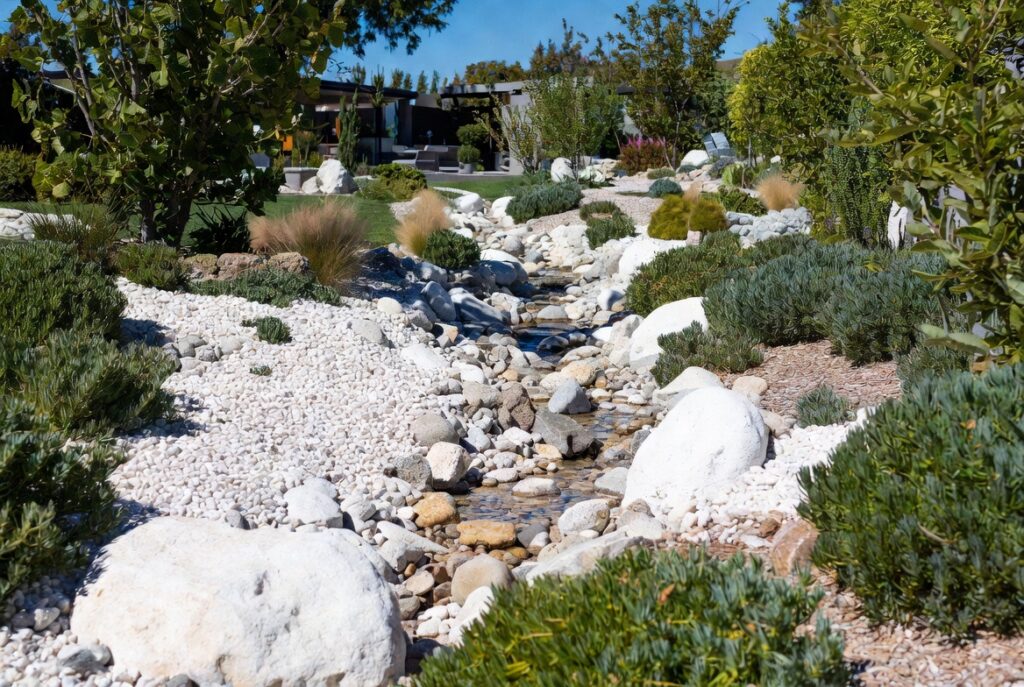
A shallow arrangement of stones can provide a visual line through a bed. If it must carry runoff, its size, route and outlet need a site-specific design. Do not redirect water toward buildings or neighboring land for a decorative effect.
Try this: Observe existing water movement before changing the ground.
4. Match Succulents to Climate and Exposure
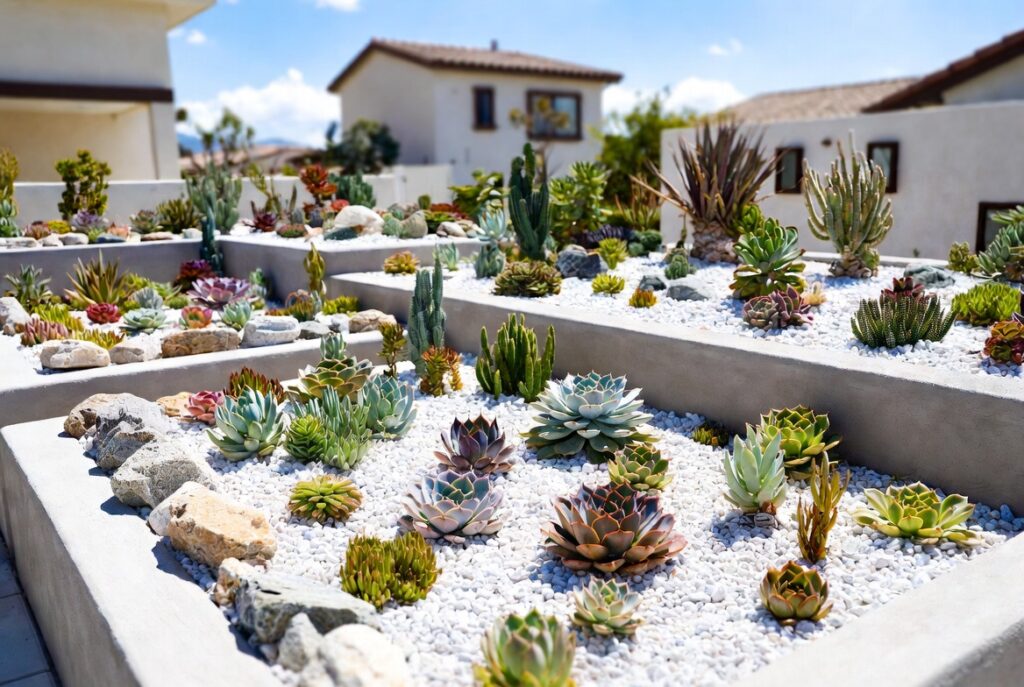
A pale stone surface can provide contrast to sculptural leaves. Select plants for local winters, summer heat and soil conditions. The same succulent display will not suit every region or remain outdoors through every season.
Try this: Check the mature spread before filling gaps with stone.
5. Keep a Restrained White Rock Landscaping Composition
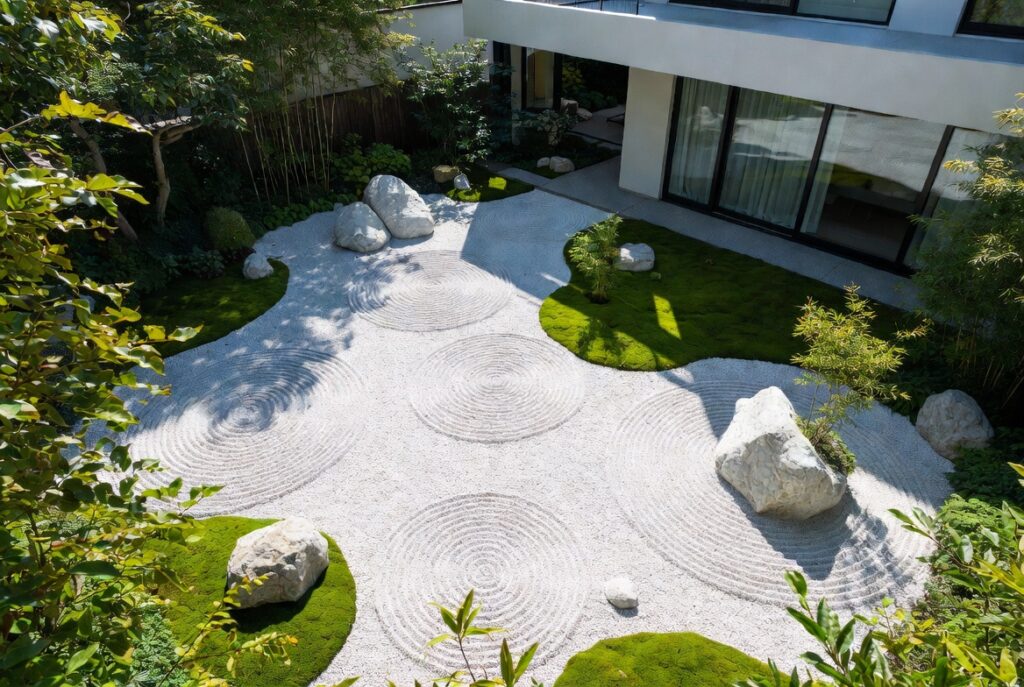
Use a limited group of stones, plants and a clear route rather than filling every gap with another feature. Consider where the garden will be viewed from the house. An informal label such as Zen does not determine the material’s suitability.
Try this: Leave some visual space around the main feature.
6. Keep Stone Away From Tree Trunks
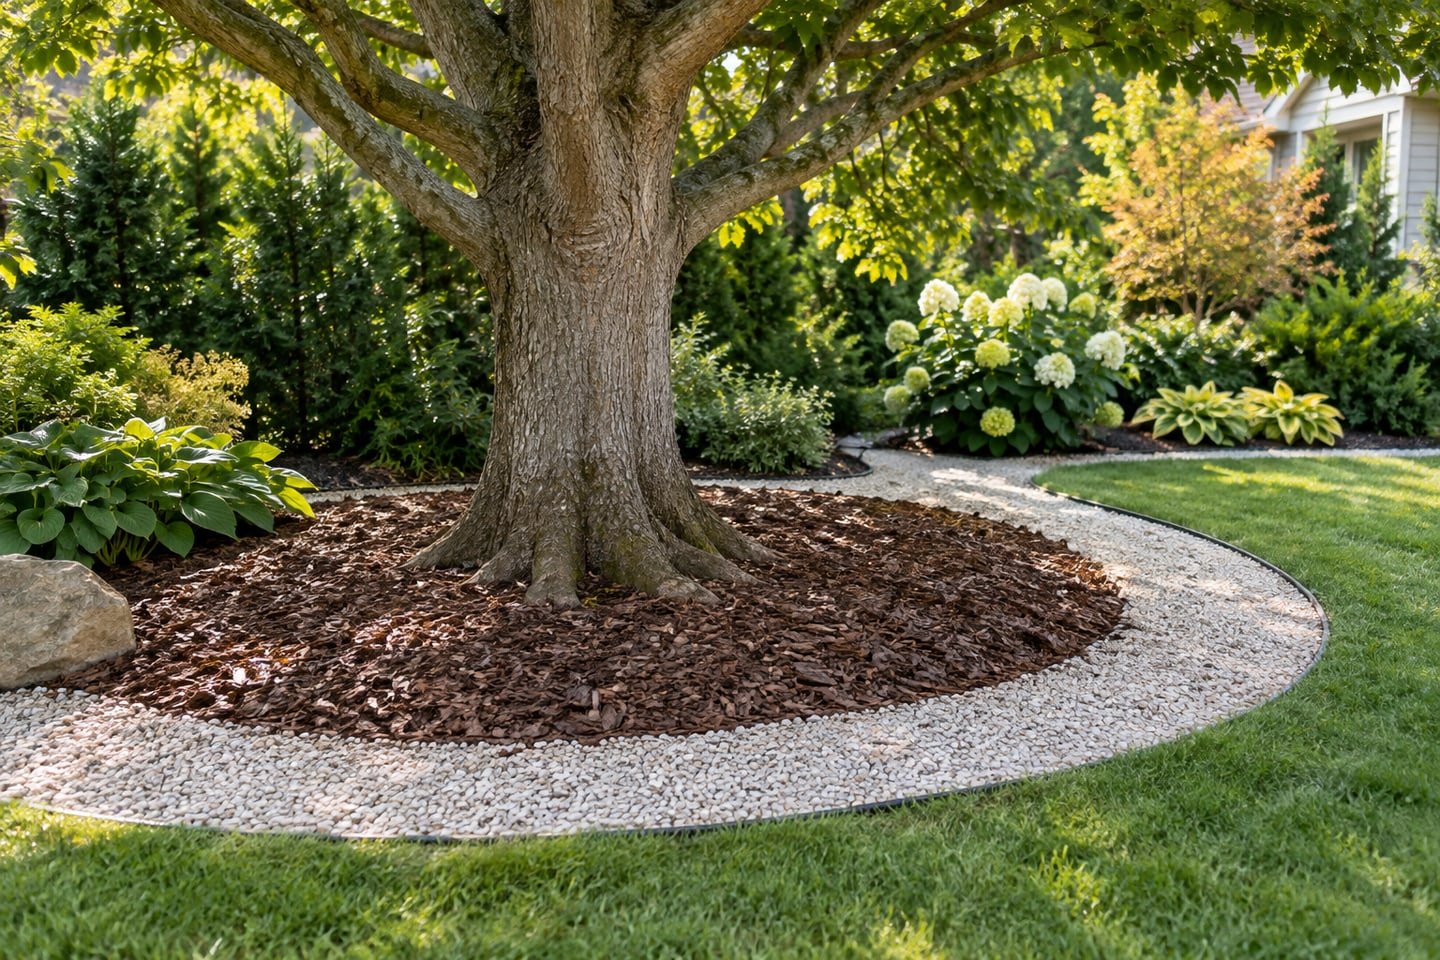
Respect the existing root flare and avoid raising the grade against a tree. A separate edged gravel border can sit beyond an appropriate planting or mulch area. Seek tree-specific advice before changing soil or coverings around established roots.
Try this: Do not pile decorative material against bark.
7. Make the Lawn Edge Easy to Maintain
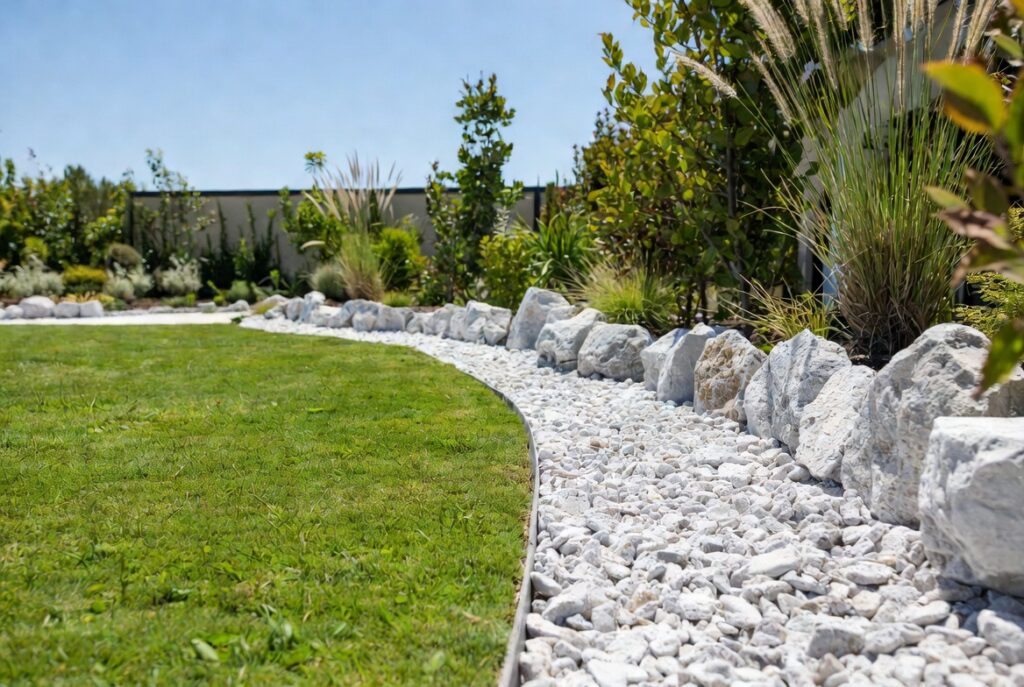
Draw the lawn edge as a maintenance line, not just a curve. Check how mowing, trimming and leaf removal will work beside it. A clearly contained strip is easier to assess than scattered stones that gradually move into turf and make ordinary garden work awkward.
Try this: Check the mower route before setting the border.
8. Use Dark Pavers to Mark a Route
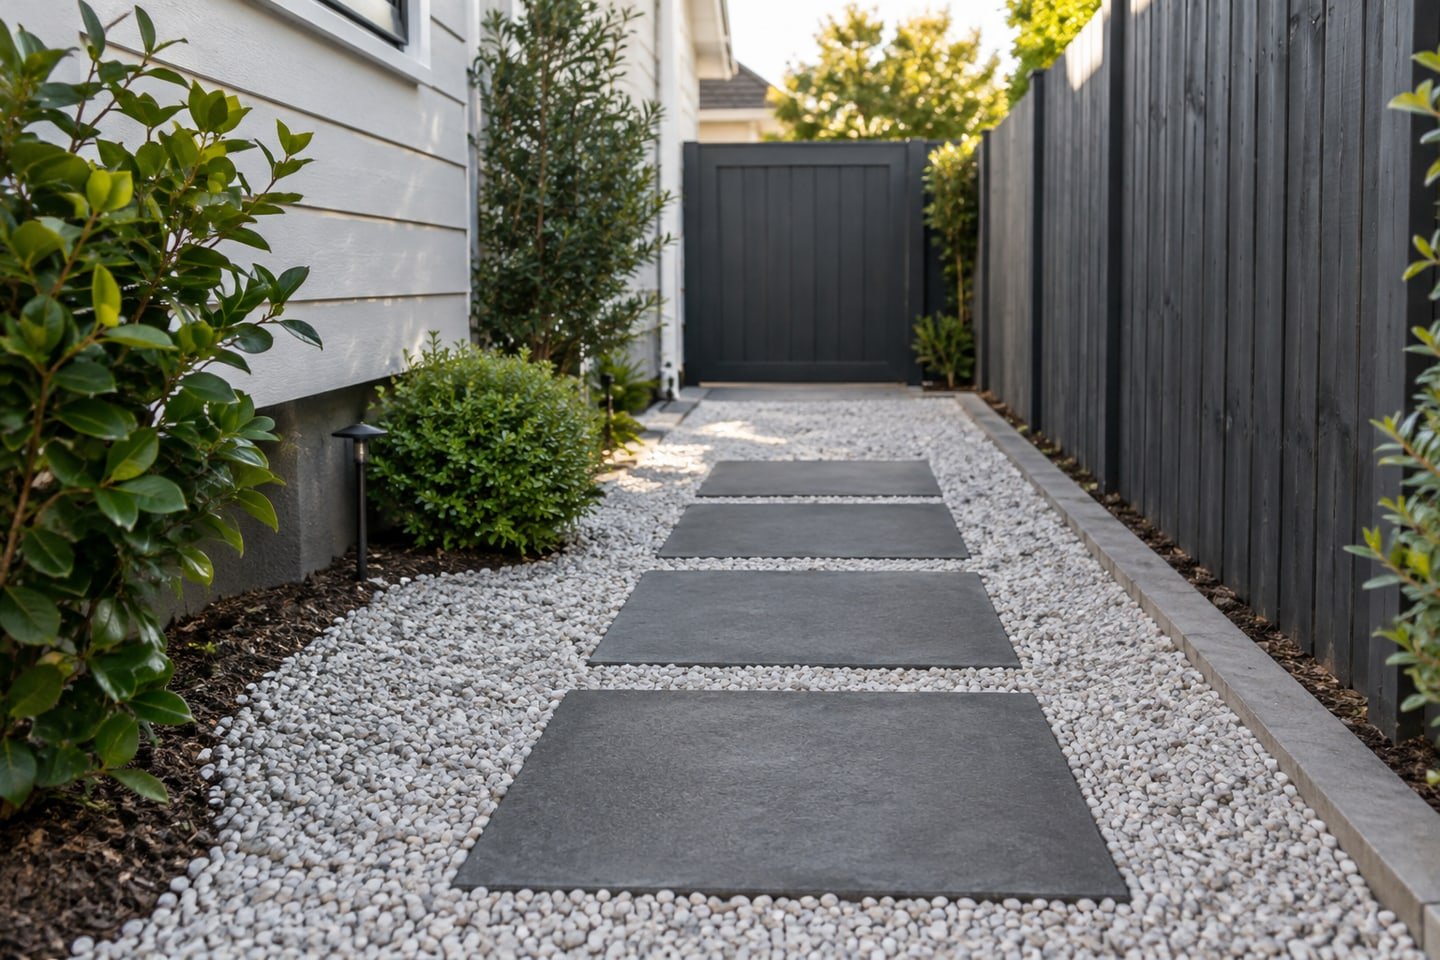
A simple sequence of darker pavers can stand out against pale gravel. Plan their support, spacing and level for the route’s users. Avoid choosing an oversized checkerboard pattern when a direct, comfortable path would serve the garden better.
Try this: Keep the route legible from both ends.
9. Aim Lighting at the Useful Surface
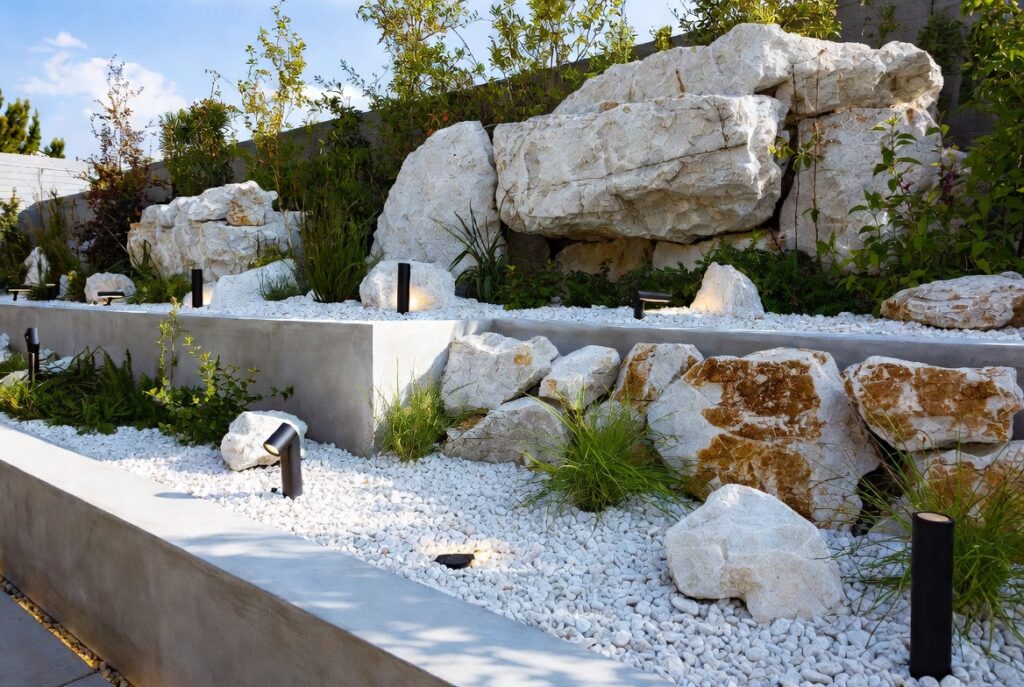
Pale stones can reflect light strongly. Use restrained, shielded fixtures aimed at a route or task rather than washing the entire bed in brightness. Choose equipment and installation suitable for the outdoor position.
Try this: Look for glare from the path and nearby windows.
10. Build a Coastal-Inspired Palette Selectively
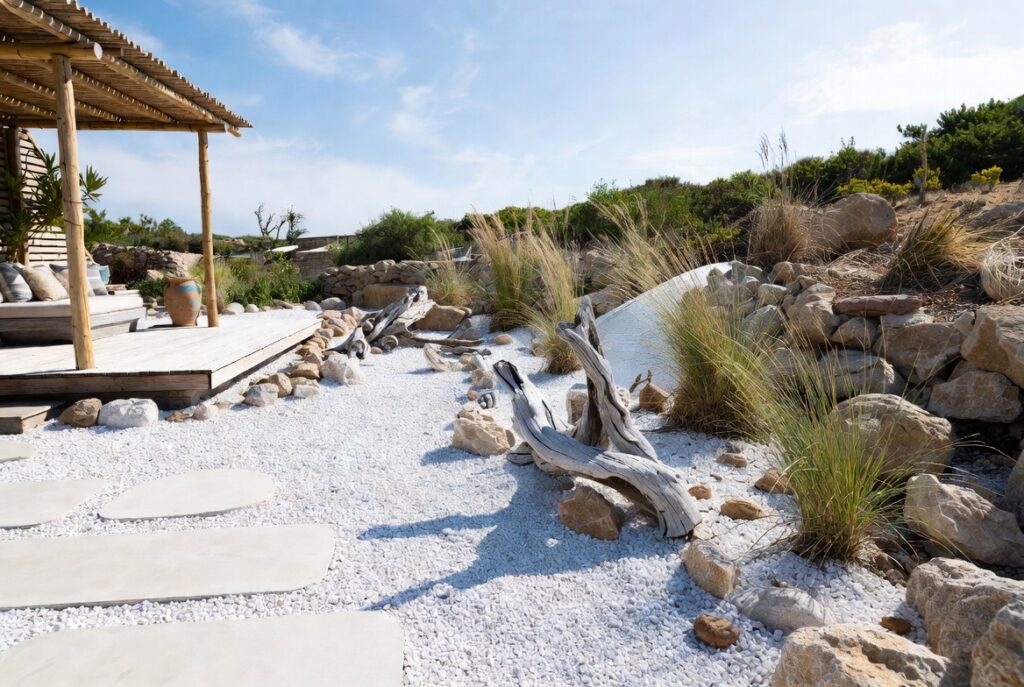
White gravel can work with weathered timber, soft foliage and a simple bench. Adapt the plants to the actual site rather than copying a seaside photograph inland. Consider wind and salt exposure where they are real conditions.
Try this: Repeat one material rather than adding many nautical objects.
11. Use White Rock Landscaping Contrast in a Small Area
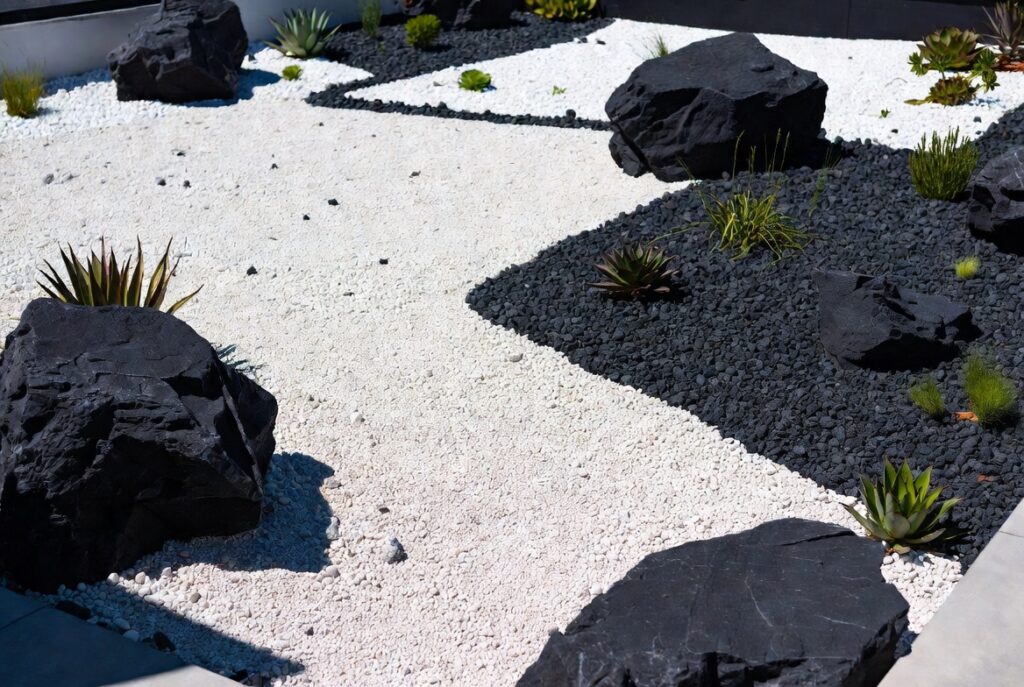
Begin with one small area beside an existing paver or dark container. View a real stone sample in sun and shade, wet and dry. The color name alone does not show how the stone will relate to pale walls or whether the contrast feels too sharp.
Try this: Start with a sample arrangement inside a defined border.
12. Provide Access Around a Water Feature
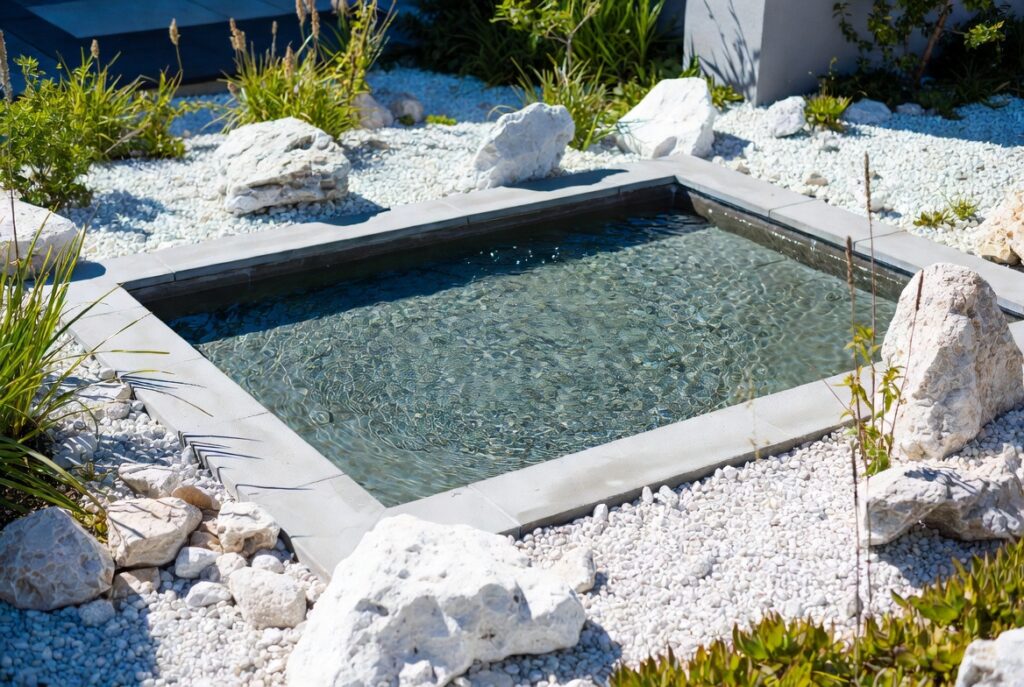
Keep loose stone from entering drains, pumps or the water itself. Leave a firm place to stand for cleaning and servicing. Consider access to the water separately from the decorative stone treatment.
Try this: Confirm the service route before finishing the surrounding bed.
13. Assess a Shaded Corner Before Brightening It
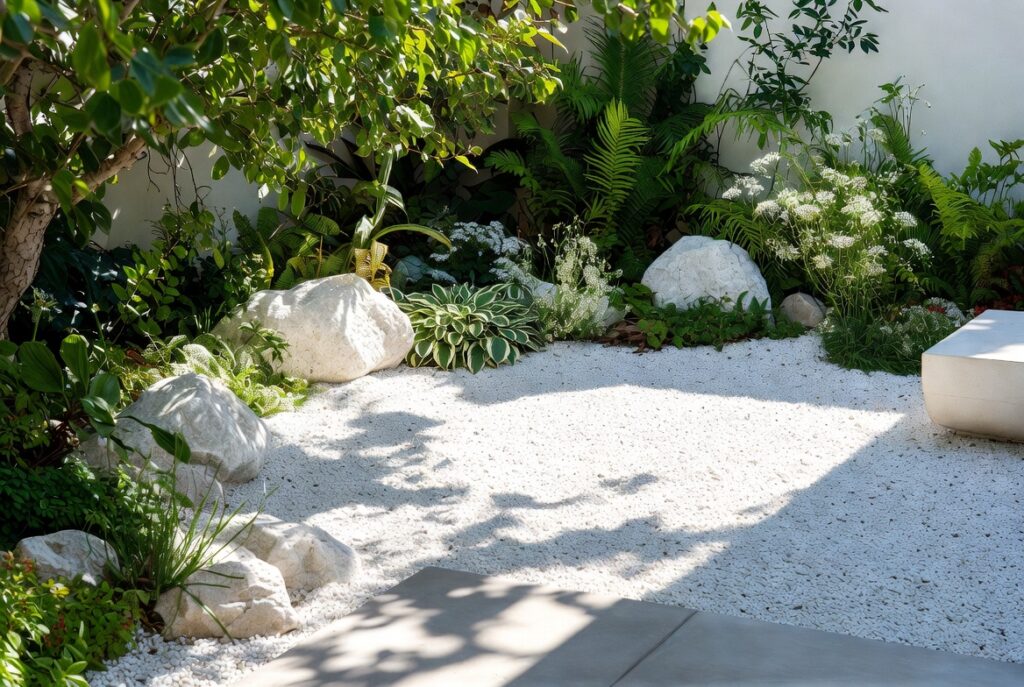
Pale stones can change the appearance of shade, but they do not provide the light needed by sun-loving plants. Check moisture, fallen leaves and the existing roots. Choose materials that remain practical when debris collects.
Try this: Choose the planting first and the decorative covering second.
14. Check the Stone Type Before Buying
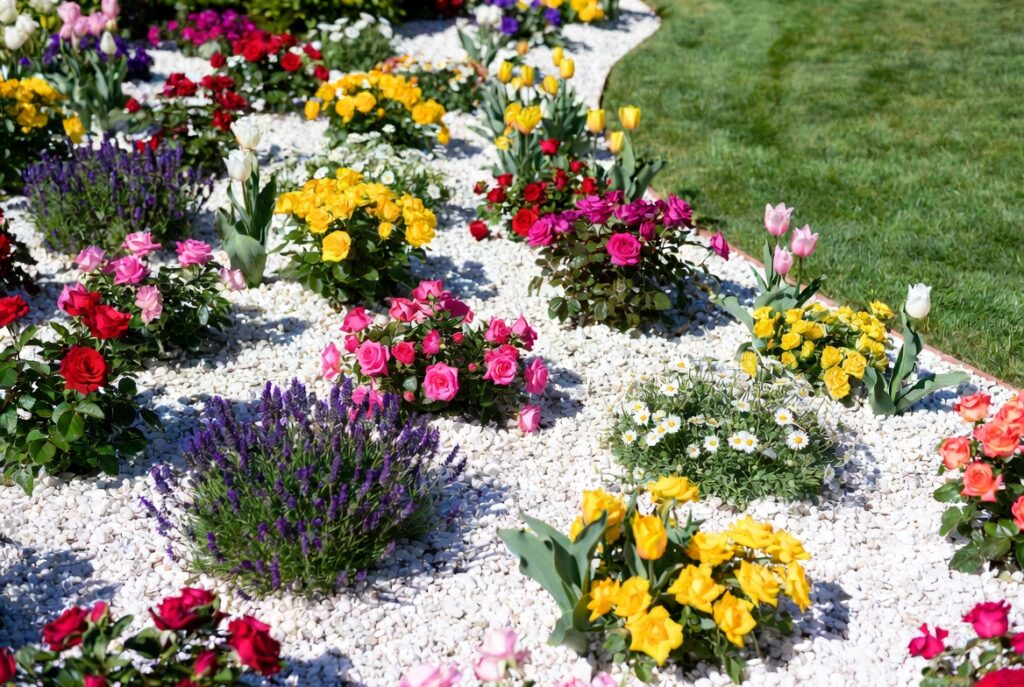
Ask the supplier for the stone type, size range and whether the batch matches the sample. Compare a handful with the intended edging and paving. Record whether the quote is by volume or weight so the quantity calculation and delivery order use the same units.
Try this: Keep the product details with the garden plan.
15. Place Containers on Stable Supports
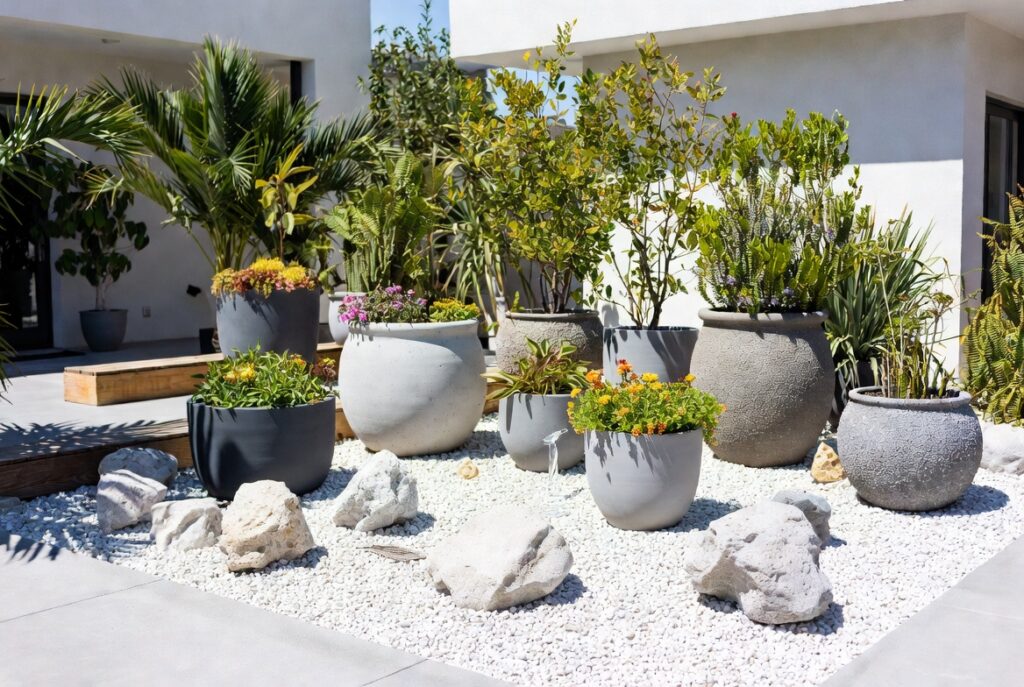
A gravel bed can connect a group of pots visually, but each container still needs stable support and a suitable drainage arrangement. Leave access to lift, water and inspect the pots. Avoid trapping a container where it cannot be moved.
Try this: Test stability before filling a large container.
16. Treat a Slope as a Site Problem First
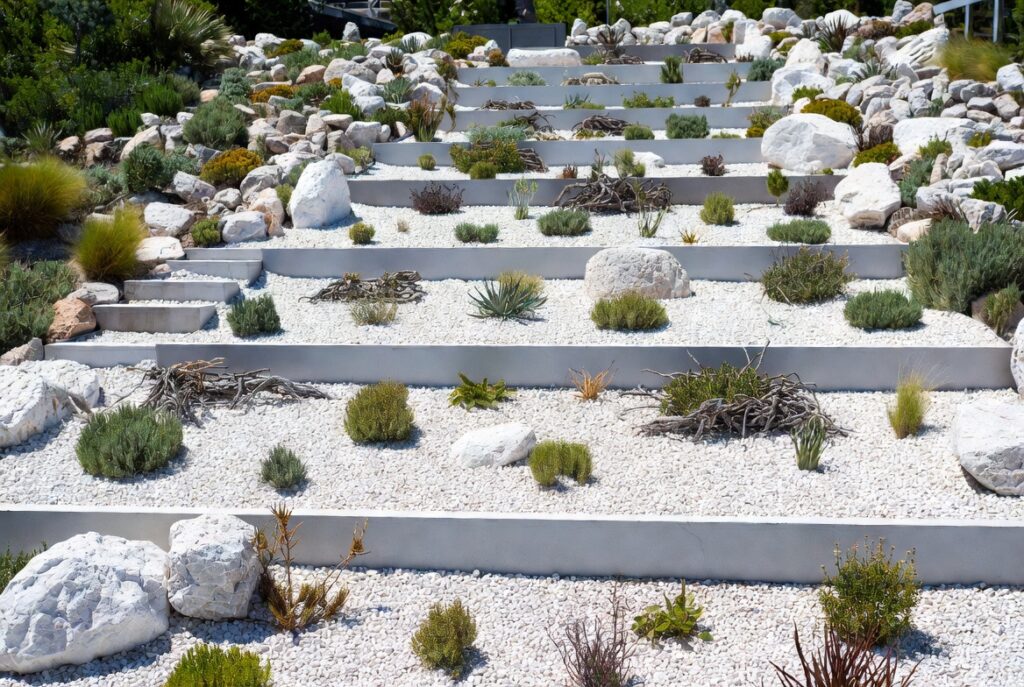
Investigate a sloping area before treating white stone as the finish. Ask how loose material will be contained and how water moves through the site. A decorative surface cannot settle an unresolved erosion or retaining problem; keep those decisions separate in the project brief.
Try this: Do not judge slope performance from a finished photograph.
17. Contain Gravel Beside a Driveway
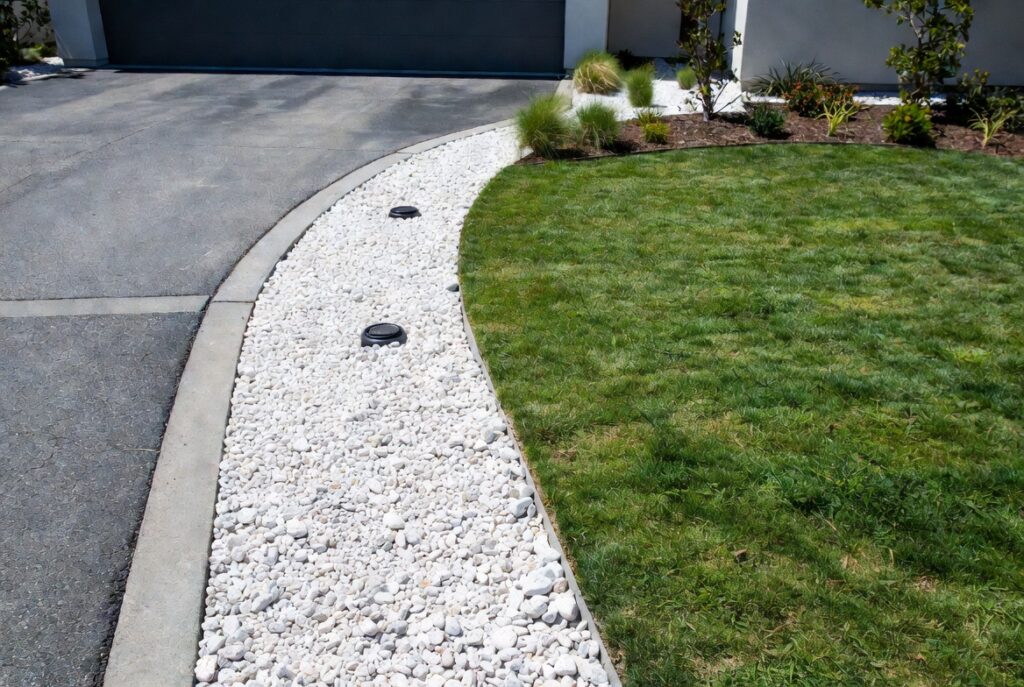
Consider vehicle movement, drainage and the maintenance equipment used near the edge. Keep loose material away from routes where it creates an obstruction. Plan the boundary as part of the driveway rather than a narrow decorative afterthought.
Try this: Observe where tires and foot traffic already cross the edge.
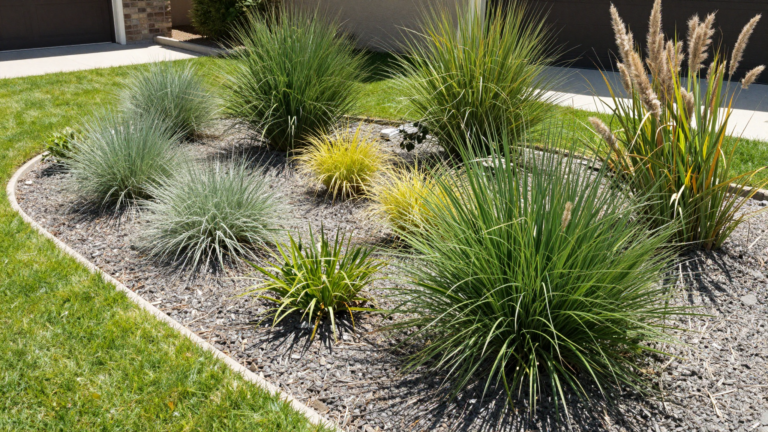
18. Space Grasses for Their Mature Form
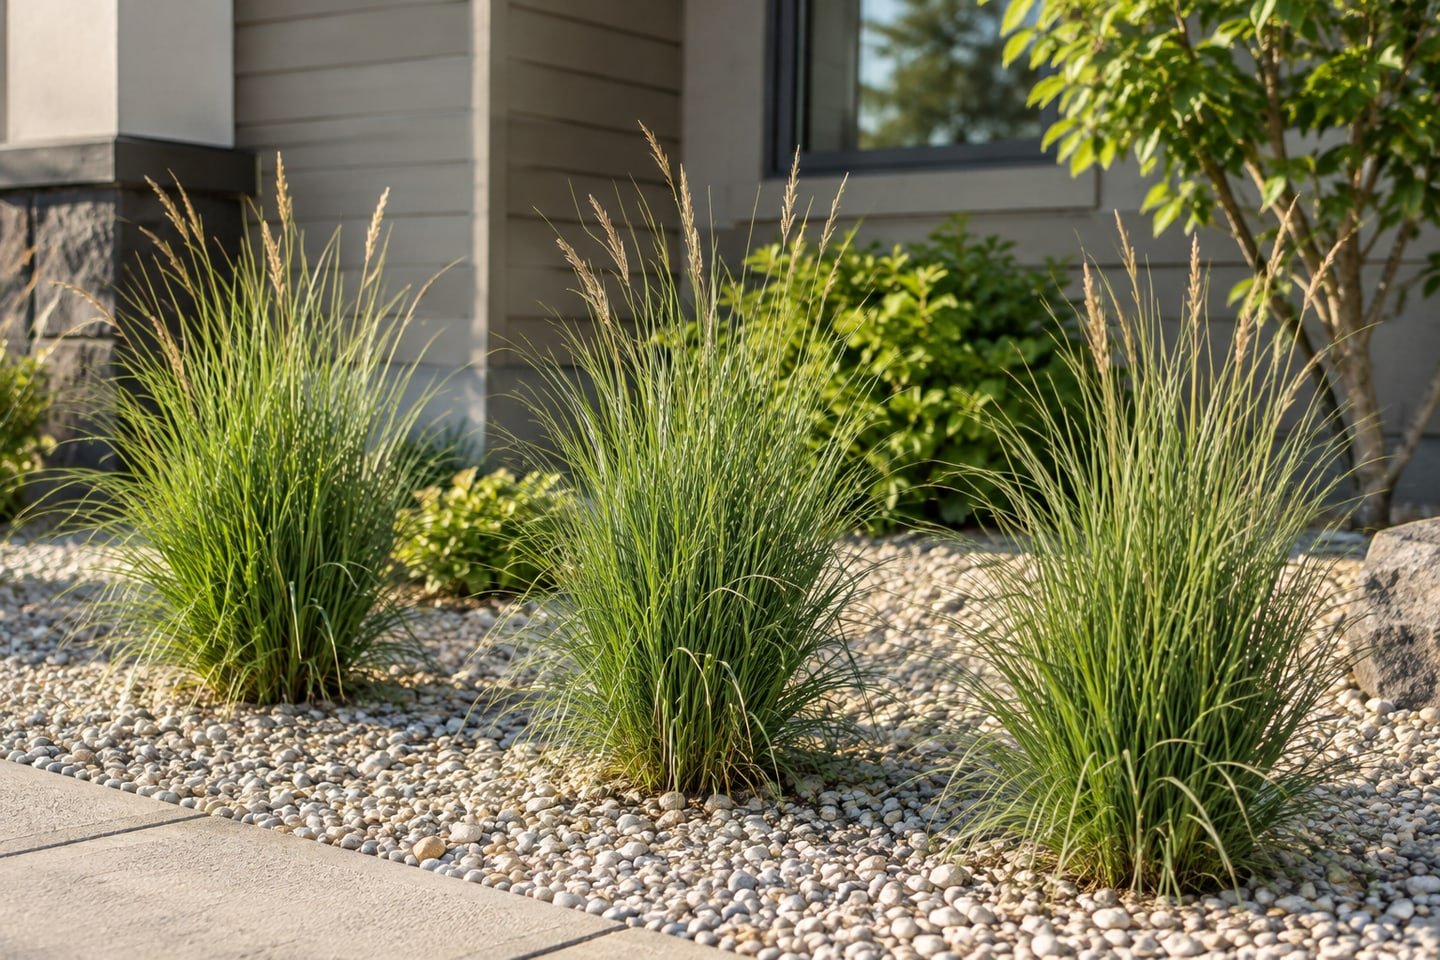
Pale stone can make fine foliage easy to see. Choose noninvasive grasses appropriate to the region and exposure, and leave room for their mature spread. A small plant should not determine permanent spacing.
Try this: Compare mature height with nearby windows and paths.
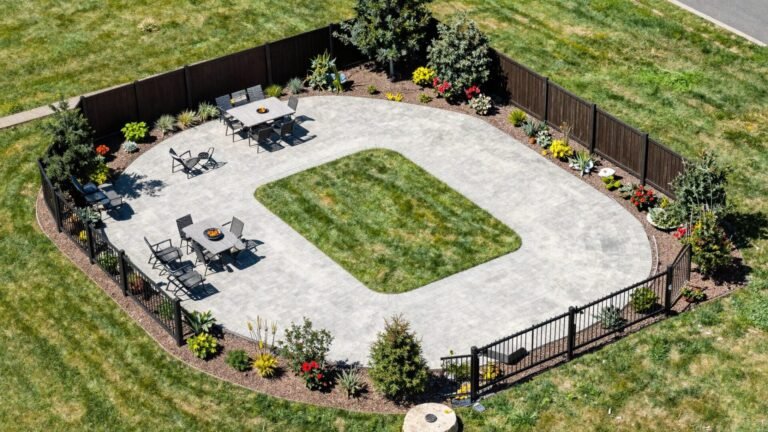
19. Retain the Parts of the Yard You Use
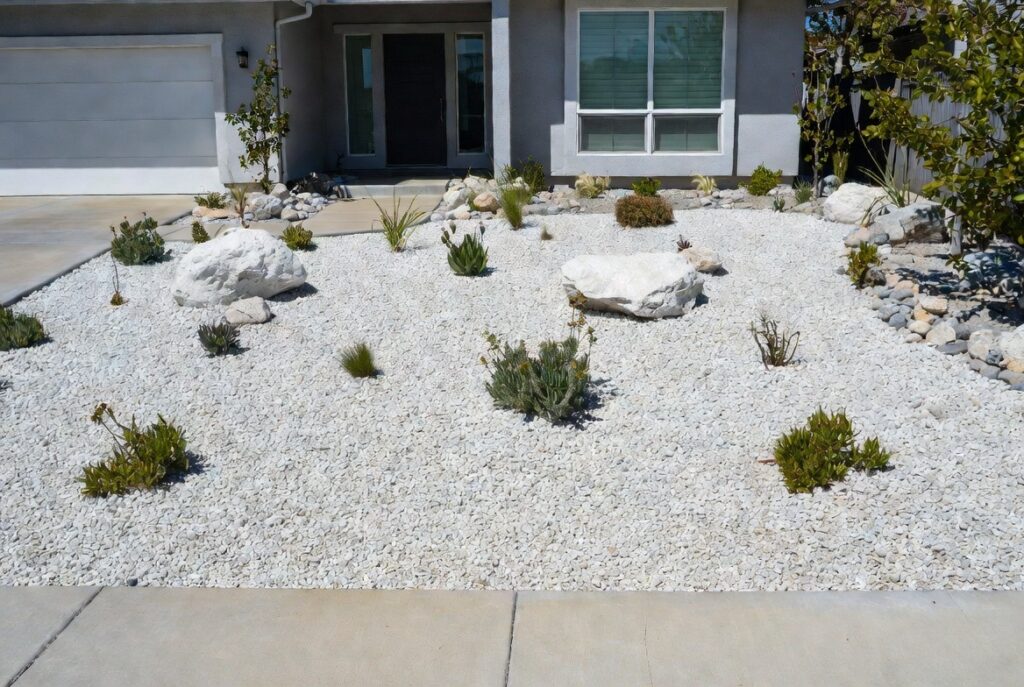
Before replacing a large lawn, identify play, sitting, access and cooling needs. Stone may suit selected beds while other surfaces serve those activities better. Include disposal, establishment and ongoing care in the plan.
Try this: Change one section and observe it through warm weather.
20. Order White Rock Landscaping Stone From a Real Sample
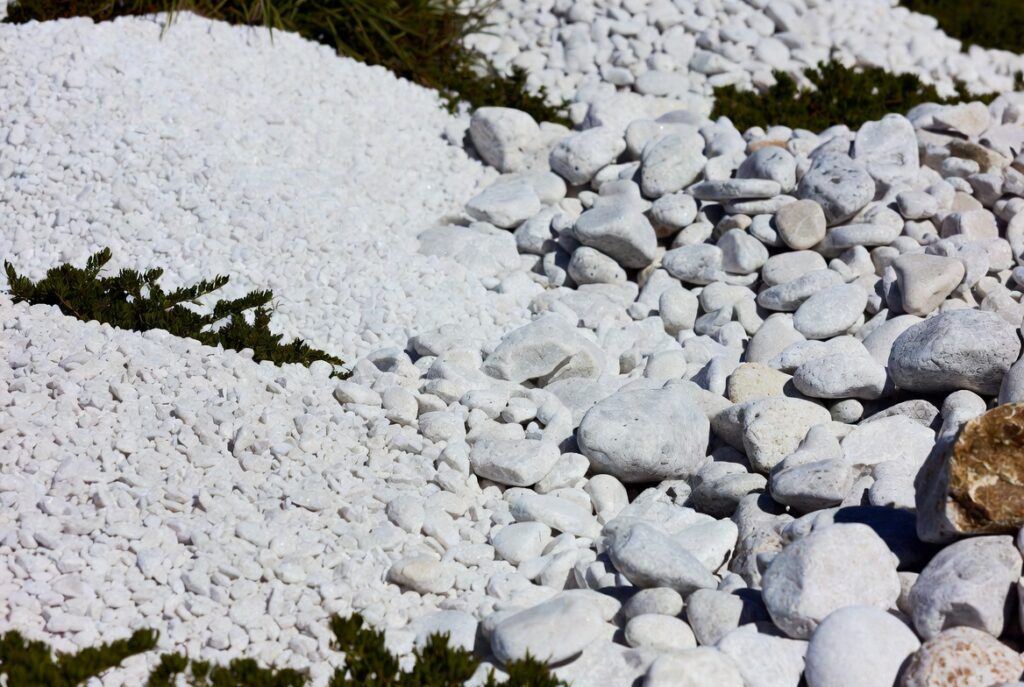
Measure the contained area, subtract areas occupied by paving or structures and use the specified layer depth to calculate volume. The worked example below explains the arithmetic. Ask the supplier to convert that volume to an order for the chosen stone rather than guessing a universal bags-per-yard figure.
Try this: Check the sample when wet as well as dry.
White-rock quantity worksheet: an explicit worked example
Measure the bed area, subtract areas that will not receive stone, then multiply by the chosen installed depth. In US units: cubic yards = square feet × depth in inches ÷ 324. In metric units: cubic meters = square meters × depth in meters. Depth is an input to confirm with the supplier for the actual stone size and use, not a recommendation supplied by this formula.
Worked example, using assumed measurements: a rectangular strip is 12 ft long and 3 ft wide, so its area is 36 sq ft. If the supplier specifies a 2 in installed depth for the selected decorative stone, volume is 36 × 2 ÷ 324 = 0.222 cubic yards, or 6 cubic feet. Two inches is an example input, not a universal bed depth. Exclude pavers and other unfilled areas before calculating.
For bags, divide the 6 cubic feet in that example by the volume printed on each bag and round up to whole bags. If a bag states 0.5 cubic feet, the example needs 12 bags before any separately justified allowance. Do not convert volume to tons using one universal density: ask the supplier for the selected material’s bulk density and ordering increment.
Before ordering, put a real sample next to the wall and paving, inspect it wet and dry, and list where fallen leaves will collect. A stone bed that looks simple on delivery day still needs cleaning and weeding. If the area is part of an occupied patio, compare the furniture-footprint test before replacing a useful walking surface with loose stone.
Choose One White Rock Landscaping Area to Test
Use white stone where it improves a specific border, route or display. Keep plant requirements and everyday maintenance central to the decision. A contained, well-chosen area is often easier to use and revise than a whole yard covered at once.
A small-area white-rock trial before a large delivery
Choose one representative patch near the materials it will meet. Put the proposed edging and a stone sample together without making a permanent installation. Check contrast from the house and the ordinary route through the garden. Keep the test clear of tree trunks and working access.
Then list the recurring work: falling leaves, weed removal, replenishment, moving containers and occasional planting changes. Identify how you would reach each part of the bed. A clean-looking photograph does not show that routine, so use your own maintenance list as a design filter.
For quantity planning, keep area, depth and order units on one sheet. For example, a 6-by-4-foot rectangle has 24 square feet before deductions. Layer thickness determines the volume; it is not a universal installation recommendation. Use the supplier’s specified coverage for the exact material and your planned assembly.
Does white rock make a garden maintenance-free?
It still needs an upkeep plan. Leaves, moved stones and changes to the planting remain practical considerations, even when the mineral surface does not decompose like organic mulch.
Should white rock replace every planting-bed mulch?
Choose it by location and purpose. Soil management, plant conditions and future access may favor organic mulch in a planted bed and a smaller mineral accent elsewhere.
Place the accent within a complete front-yard planting plan. For a change in level, review the sloped-yard planning checks before ordering a decorative surface.
References: UMN Extension: organic and inorganic mulches.
Related Guides
- 20 Xeriscape Ideas for a Thoughtful Water-Wise Yard
- 14 Stunning Xeriscaping Ideas for a Beautiful Water-Wise Landscape
- 18 Landscaping Ideas for a More Coherent and Useful Yard
Further Reading
Optional digital guide for this topic
If you prefer a structured workbook, explore this related paid guide.