Fabric storage ideas work best when they help you find a usable piece, understand what remains and return it after cutting. A coordinated shelf can still create extra work when the width is unknown or reserved fabric is mixed with general stock. Start with the collection you actually use, then give different shapes and stages of work appropriate places.
These 23 concepts focus on ordinary sewing supplies and practical selection. Fragile, historic or valuable textiles deserve item-specific conservation advice. Choose the storage materials, furniture and room conditions for the actual fabric, and keep its supplier information available.
Contents
- 1. Choose a cabinet from the collection you actually retain
- 2. Use shallow drawers for short folded lengths
- 3. Stand small sturdy cuts upright in a removable tray
- 4. Keep shelf stacks low enough to lift deliberately
- 5. Compare shallow lidded boxes for occasional supplies
- 6. Give large lengths a broad supported position
- 7. Keep stretch fabrics supported instead of hanging them as decor
- 8. Separate raised textures from crowded stacks
- 9. Store usable remnants with their actual dimensions
- 10. Sort scraps by a project-relevant size decision
- 11. Keep a small color-selection box for ready scraps
- 12. Keep precut packs as identifiable sets
- 13. Reserve project fabric before it returns to general stock
- 14. Keep already cut pieces supported as a project group
- 15. Separate lining and interfacing from the main fabric choices
- 16. Make preparation status visible
- 17. Keep a fabric record that separates length from width
- 18. Use a small swatch file as a browsing aid
- 19. Give incoming fabric a temporary review tray
- 20. Keep unidentified or damaged pieces out of ready stock
- 21. Use a portable tote for a defined working group
- 22. Fit shared-closet storage to the full return movement
- 23. Review the stash before adding more furniture
Plan fabric storage ideas around material, usable shape and project status
Begin by separating usable lengths, remnants, scraps and active work. For preservation-sensitive items, the Canadian Conservation Institute emphasizes physical support, suitable contact materials and limiting light exposure. Its museum-textile advice is a reason to assess special pieces individually, rather than treating a decorative basket as an archival system. The working arrangements below do not certify conservation performance.
Choose an organizer from the decision you need to make
- Everyday yardage: Compare a short stack, drawer or small removable group.
- Fragile or embellished piece: Get item-specific advice and suitable support before choosing a format.
- Irregular remnants: Keep the usable dimensions and shape with the material.
- Cut project pieces: Retain their references and full supported shape.
- Shared room: Test the loaded organizer through removal, work and return.
1. Choose a cabinet from the collection you actually retain

Review your fabric on a clean working surface before assigning a cabinet. Separate usable lengths from project pieces and material that needs a decision. Measure the retained groups in their ordinary stored shapes, then compare those dimensions with the usable shelf openings. A cabinet selected from the actual collection is easier to maintain than one filled first and understood later.
Try this: Keep one unfilled position for returning fabric while you sort, rather than piling it on the floor.
2. Use shallow drawers for short folded lengths

A shallow drawer can keep smaller lengths visible when you arrange them in a single readable layer. Fold each piece to fit the drawer without forcing the lid or catching the edges in the runners. Check its usable depth after adding any lining or dividers. Put the larger lengths elsewhere if they require several hidden layers to fit.
Try this: Lift the middle piece and return it with the adjacent pieces still in place.
3. Stand small sturdy cuts upright in a removable tray

For ordinary sturdy fabrics that tolerate the chosen fold, an upright row can show the available prints without unstacking them. Use a suitable removable tray and keep the row loose enough to select one piece. This is a working organizer, not a conservation method for fragile, embellished or heirloom textiles. Keep those items in a material-appropriate supported arrangement.
Try this: Try a few pieces first; if the row slumps or has to be tightly squeezed, choose another format.
4. Keep shelf stacks low enough to lift deliberately

A low stack can suit folded everyday yardage when the bottom piece remains accessible. Group compatible pieces and avoid making a heavy tower merely to fill a cubby. When you need a bottom piece, move the upper group to a clean support instead of pulling the fabric out by one corner. Judge the organizer with the shelf fully occupied.
Try this: Keep a clear nearby landing surface for the temporary upper stack.
5. Compare shallow lidded boxes for occasional supplies

A closed box can keep an occasional-use group together, but choose the actual container and conditions from the material. Check its internal dimensions, lid movement and loaded handling before buying several. A clear organizer makes identification easier; its appearance alone does not establish light protection, moisture control or long-term preservation.
Try this: Use a small exterior inventory reference so you do not need to open every box to find one print.
6. Give large lengths a broad supported position

A long length can need a wider position than a small quilting cut. Compare the storage footprint with the amount of folding required and the material’s handling needs. Reserve a broad supported drawer or shelf compartment where appropriate. Avoid forcing the piece around a tiny card or leaving most of its weight hanging over an edge to make it fit.
Try this: Unfold the actual length once before choosing the final compartment size.
7. Keep stretch fabrics supported instead of hanging them as decor

Some fabrics need more support than a row of decorative clips provides. Keep stretch, delicate and unusually heavy pieces identifiable, and follow the material supplier’s storage guidance. A broad supported position is worth comparing when hanging would place the weight on a narrow section. Existing folds, embellishments and condition can change the suitable method.
Try this: Do not choose a hanger arrangement solely because the fabric color looks attractive on the wall.
8. Separate raised textures from crowded stacks

Pile, sequins and other surface details can need different handling from a plain woven cotton. Give the actual material enough room to avoid treating every piece as an interchangeable rectangle. Keep its identity and relevant supplier instructions with it. An individual supported tray may be more useful than one universal folding system for a mixed collection.
Try this: Check the contact surface and adjacent pieces before adding pressure from another stack.
9. Store usable remnants with their actual dimensions

A remnant is easier to choose when you know its usable shape. Record the dimensions that actually remain after earlier cutting, including a missing corner or narrower section that affects pattern placement. Keep a short irregular piece separate from a complete rectangle of the same overall length. A rough visual impression should not become an exact yardage entry.
Try this: Measure again when a pattern depends on a close fit.
10. Sort scraps by a project-relevant size decision

Choose scrap groups from the work you genuinely make. A person piecing small blocks may use a different minimum piece from someone repairing garments. Keep the useful group manageable and avoid spending hours sorting fragments with no realistic purpose. Material identity still matters when a future project depends on compatible handling or care.
Try this: Define your smallest retained useful piece before adding more divided boxes.
11. Keep a small color-selection box for ready scraps

Once the material and usable size are understood, a small color group can make creative selection easier. Keep it separate from larger lengths so browsing a few patches does not disarrange the main collection. Leave space to lift one piece rather than compressing a rainbow into a display that collapses during use.
Try this: Limit the box to the scrap projects you expect to make.
12. Keep precut packs as identifiable sets

Keep a precut pack’s supplied identity, piece count and dimensions connected to the set. Similar-looking squares from another pack may have different sizes or materials. If you split a pack, update its record before returning the remainder. A dedicated position can make it easier to compare what is complete without opening several partial bundles.
Try this: Record a missing piece instead of assuming an opened pack still contains its original quantity.
13. Reserve project fabric before it returns to general stock
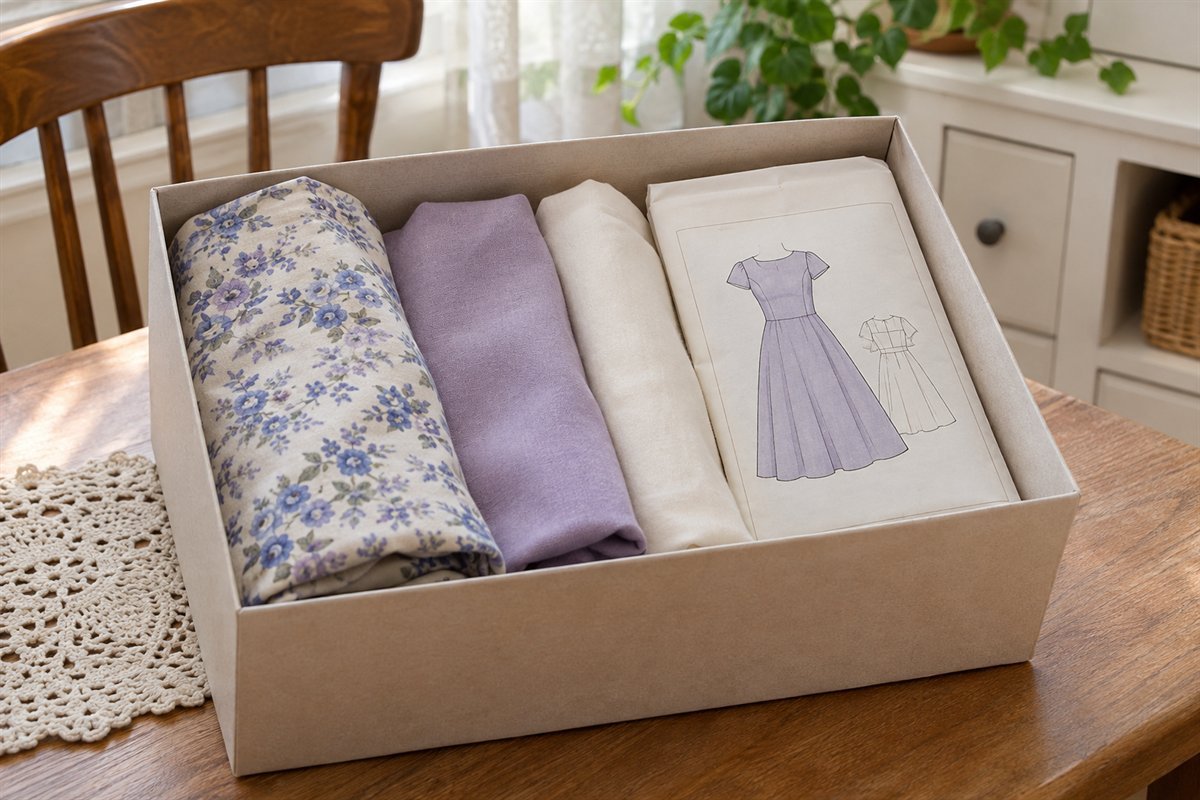
Fabric chosen for a named project needs a clear reserved status. Keep the relevant pattern reference and material requirements together, then separate the group from fabric available for other work. Include the intended lining or coordinating material when useful, while keeping sharp tools in their proper secure storage.
Try this: Check the required width as well as the length before calling the reservation complete.
14. Keep already cut pieces supported as a project group

Cut pieces can be difficult to identify after they lose their relationship with the instructions. Give one active project a supported tray, folder or suitable box and retain the actual piece references. Avoid adding new creases simply to fit a small container. Choose the storage from the work’s shape, including long panels and delicate edges.
Try this: Make a short stopping-point note so the next session begins with the correct pieces.
15. Separate lining and interfacing from the main fabric choices

Keep supporting materials recognizable even when they share a similar pale color. Retain product instructions and compatibility information rather than guessing from touch later. A separate shallow compartment can keep the choice clear without scattering supplies around the room. Do not automatically prewash, fold sharply or heat a material because that worked for another product.
Try this: Keep the manufacturer’s actual instructions with the remaining length.
16. Make preparation status visible

If your work distinguishes material awaiting preparation from material ready to use, reflect that in the organizer. Record what was actually done rather than relying on how crisp or soft the fabric feels. Follow the supplier’s care and preparation guidance for each product. A storage system should preserve that information, not prescribe one washing method for all textiles.
Try this: Use plain status words in your record and leave unknown preparation marked unknown.
17. Keep a fabric record that separates length from width
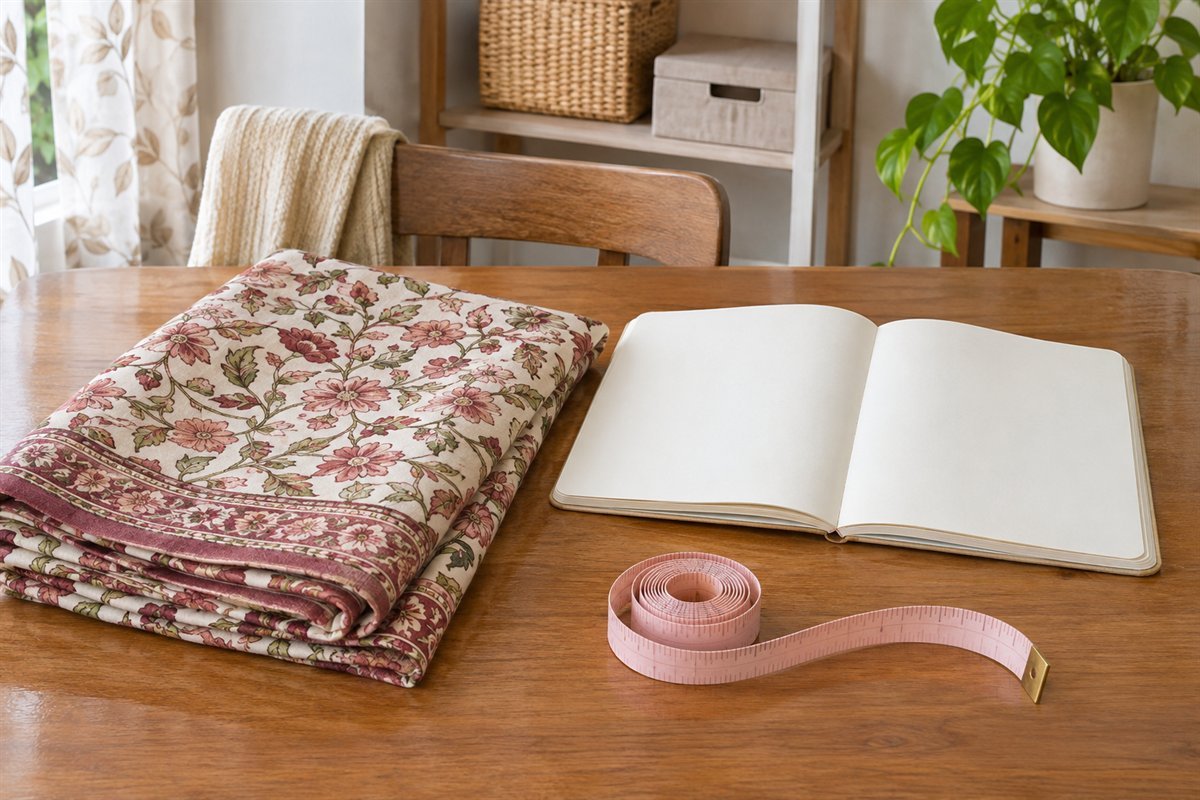
Length alone can hide an important limitation. Record the usable width, remaining length and any irregular cutout that affects the intended pattern. Add material identity and where the piece is stored. If you have only an estimate, say so. Accurate project selection depends on the pattern layout and usable shape, not simply the number of attractive folds in the cabinet.
Try this: Update the record after cutting, before the remaining fabric goes back into storage.
18. Use a small swatch file as a browsing aid

A swatch file can let you browse color and texture while the main collection remains put away. Link each sample to its fabric record and location, then distinguish the sample from the usable project quantity. Avoid removing a sample from a fragile or valuable textile merely to complete a tidy binder.
Try this: Check the actual fabric again before a final purchase or pattern decision.
19. Give incoming fabric a temporary review tray

Assign new material a short review step before adding it to the collection. Check the supplied information, intended project, quantity and suitable storage position. A temporary tray helps only if material moves through it. If the tray repeatedly overflows, review the buying and assignment routine rather than adding another permanent untracked pile.
Try this: Give every new retained piece a destination before the next purchase arrives.
20. Keep unidentified or damaged pieces out of ready stock

A piece awaiting identification or assessment should have a clear next action. Keep it apart from ready-to-use stock and seek suitable advice for the actual concern. Do not apply a generic cleaning, pest or repair treatment to every textile. The useful part of the review group is a decision and record, rather than a hidden box labeled miscellaneous.
Try this: Set a review reminder in the same record that identifies the piece.
21. Use a portable tote for a defined working group
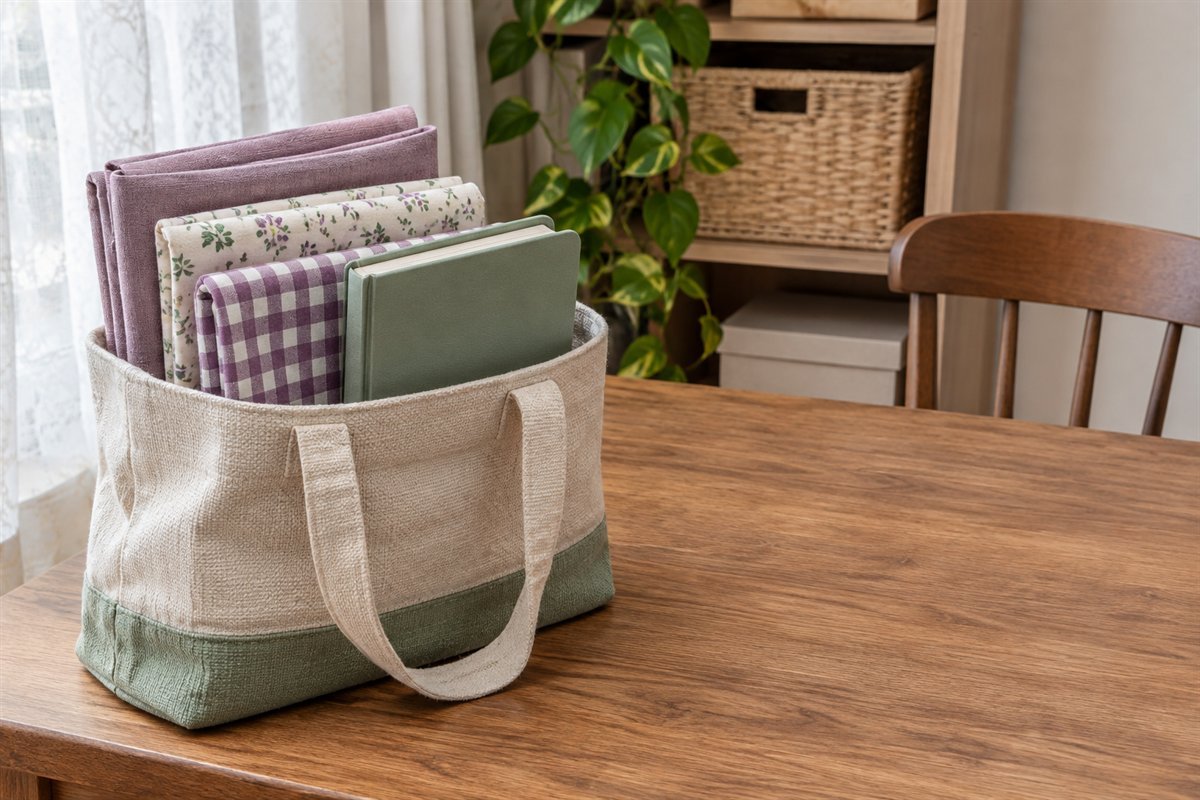
A removable tote can move a modest group between storage and the worktable. Choose its dimensions and carrying arrangement for the actual contents, keeping the load manageable for you and following product guidance. Give the tote a return position so it does not become a permanent obstacle beside the chair.
Try this: Carry only the current working group; leave reserve material in its assigned place.
22. Fit shared-closet storage to the full return movement

A shared closet can hold suitable fabric storage if its conditions and access work for the material. Measure the opening, box handles and lid clearance with neighboring clothes in place. A container that fits on the shelf but cannot be removed easily will encourage fabric to accumulate elsewhere. Keep household routes and the closet’s ordinary use practical.
Try this: Remove and replace the loaded box during the layout test.
23. Review the stash before adding more furniture

Before buying another cabinet, review what remains usable, reserved, active or awaiting a decision. Keep material identity with any fabric you transfer to another maker. Decide which storage limit supports realistic work and use that limit during future shopping. More furniture rarely resolves the uncertainty created by unmeasured lengths and unnamed project piles.
Try this: Resolve one unused group before adding another organizer.
A usable-fabric record before your next purchase
Create one entry for each retained group and link it to its actual storage position. Record the product or material information that was supplied, including care instructions and print direction where relevant. Keep unknown information marked unknown; a photograph or texture is not a reliable fiber identification.
Record the usable dimensions separately: remaining length, usable width and any irregular areas. Use units consistently. Note whether the values were measured or estimated, and remeasure when a pattern requires a close fit. A tidy folded rectangle can conceal a missing section, so the storage footprint is not the available cutting area.
Add preparation status and one project status: available, reserved for a named project, cut or active, or awaiting review. Keep the actual pattern requirements separate from the stash record. This helps distinguish material present in the house from material available for another project.
For a hypothetical example, a record might say a piece is approximately two yards long, with the width not yet checked and a corner already cut away. That entry should prompt measurement and pattern-layout review before shopping or cutting. It is not enough information to promise that a two-yard pattern will fit. This example is an explanation of the decision, not a tested project measurement.
After using the material, update the dimensions and status before putting it away. Return the related instructions and record to the same reference. Keep the routine short enough to follow during normal sewing; the purpose is a usable choice, not an elaborate catalog that quickly becomes outdated.
Is open shelving suitable for every fabric?
No. Assess the actual textile, light exposure, contact materials and handling needs. Ordinary working supplies and fragile or historic textiles may need different approaches.
Should I sort fabric by color or type?
Preserve material identity and the requirements of your projects first. Color can be a useful second grouping once the usable quantity and handling information remain clear.
How can I avoid buying fabric I already own?
Keep a current record linking identity, usable dimensions, preparation status, reserved projects and location. Check the actual piece again when a pattern depends on a precise fit.
A practical next step
Choose fabric storage ideas from the pieces and projects you use. Keep the material identity, usable shape and project status connected, then test one organizer before expanding the system. A modest collection you can select and return is more useful than a larger display you cannot confidently cut from.
Plan a sewing room around cutting, stitching and pressing. Organize the wider craft room by material and task.
Images are original AI-generated organization concepts, not tested products or certified textile-preservation arrangements.
Sources and care references
Optional digital guide for this topic
If you prefer a structured workbook, explore this related paid guide.