Laundry closet ideas need to answer two views of the same space: the front seen from the room and the equipment used with that front open. A handsome enclosure is only useful when you can load the machines, place a basket and retrieve what the household needs.
These 22 original concepts compare layouts, door types, finishes and adjacent work areas. They focus on planning a complete recess rather than filling it with storage. Set the actual appliance requirements first, then choose the cabinet and decorative details within that workable arrangement.
Contents
- 1. Compare side-by-side laundry closet ideas from the full opening
- 2. Use a compatible stacked pair to free a separate side bay
- 3. Leave a top-loading washer's lid fully usable
- 4. Plan a one-appliance closet around the actual model
- 5. Keep the finished doorway from narrowing access
- 6. Check paired hinged doors against the surrounding room
- 7. Count the space occupied by folded bifold leaves
- 8. Test sliding fronts for access to each machine
- 9. Let an open-front recess look deliberately finished
- 10. Relate the closet front to the hallway's existing details
- 11. Put a distinct color inside a quiet exterior
- 12. Make the floor junction a deliberate part of the entrance
- 13. Keep the back wall visually simple around the equipment
- 14. Give appropriate supplies their own closed side cabinet
- 15. Use a modest linen shelf without filling every upper gap
- 16. Give the carrying basket a bay outside appliance clearances
- 17. Add a separately supported work surface where it fits
- 18. Compare a folding ledge through its open and stored positions
- 19. Light the work without filling the recess with decoration
- 20. Put a short garment rail in a genuinely separate area
- 21. Give air-drying a suitable place beyond the machine opening
- 22. Test the closet through one complete ordinary load
Start with an appliance-first closet brief
Record the exact equipment models, full dimensions and intended installation arrangement. Add the manufacturers' requirements for the enclosure, ventilation, connections, door or lid movement and service access. Draw the finished closet opening and all surrounding doors with the actual basket in use. Mark which remaining area is genuine storage and which is reserved for the equipment. Have the combined plan checked before ordering fitted cabinetry or altering the space.
What to put on the same closet drawing
- Equipment: Actual models, approved arrangement and complete installation requirements.
- Opening: Finished clear width, trim, tracks, handles and folded or swung door positions.
- Ordinary use: Open machine doors or lids, occupied loading position and carrying basket.
- Air and connections: Model-specific requirements and access to everything that must remain reachable.
- Furniture: Full cabinet, drawer, work surface and hamper movement.
- Future access: A practical route for service and eventual appliance replacement.
1. Compare side-by-side laundry closet ideas from the full opening

A side-by-side pair creates a broad appliance front that needs to work with the closet opening. Draw both machines, their doors and the position where a carrying basket will stand. The finished opening matters as much as the recess behind the trim.
Keep the first layout free of extra cabinetry so you can see the real space available. Confirm the exact equipment and installation requirements before allocating the remaining width. A symmetrical elevation is useful only when the doors, loading position and access all work in the same arrangement.
2. Use a compatible stacked pair to free a separate side bay

A stacked arrangement may release width for a separate useful bay instead of filling the entire opening with appliance fronts. Decide what that bay will do before choosing its cabinet dimensions. An empty basket or a modest linen section can be more useful than an awkward sliver of storage.
Whirlpool's guide requires checking that the particular machines can be stacked and using the intended compatible kit. Confirm the model-specific installation with the actual manufacturer and installer. Similar-looking machines are not enough to establish that they can be placed together.
3. Leave a top-loading washer's lid fully usable

A top-loading machine changes the upper part of the closet design. Show the complete lid movement and useful access to the controls before drawing an overhead cabinet or worktop. An uninterrupted counter is not the right goal if it prevents the existing washer from opening.
Keep the first storage proposal to a separate side section. This lets the appliance remain usable while the actual clearances and reach are checked. Choose the cabinetry after that review rather than buying a cabinet and discovering that its lower edge conflicts with a normal wash.
4. Plan a one-appliance closet around the actual model

A single laundry appliance can leave a different balance of storage and working space from a two-machine pair. Confirm what the chosen model does and its complete installation needs rather than treating a single round door as proof of an all-in-one washing and drying function.
Use the remaining area for a specific job, such as an accessible basket bay beside the machine. Leave the layout adaptable until the equipment specification is settled. A photograph cannot establish cycle performance, capacity, utility connections or whether a particular model can be installed in that recess.
5. Keep the finished doorway from narrowing access

Door stops, folded leaves, handles and trim can reduce the useful opening even when the interior dimensions look generous. Include them in the same drawing as the machines. Check the route for bringing equipment in and for moving a basket through the opening during ordinary use.
Let the casing frame the closet without treating every spare edge as a place for another shelf. Equipment replacement and service access also deserve room in the brief. Resolve the real opening before choosing an especially thick decorative frame that changes the usable width.
6. Check paired hinged doors against the surrounding room

Two hinged leaves can give access across a wide closet front, but their open positions occupy space outside it. Draw those leaves beside nearby room doors, furniture and the occupied loading position. A door that clears a closed machine may still interrupt the place where you stand.
Select the complete door arrangement against the appliance requirements, including any required ventilation openings. Do not infer air-opening performance from a decorative louver pattern. Compare the exterior view only after the working position and the room around the open leaves are resolved.
7. Count the space occupied by folded bifold leaves

Bifold doors can gather near the sides instead of swinging as broad leaves into the room. Their folded thickness and hardware still take space at the opening. Check access to the machine doors and controls with the bifolds in the position they will actually use.
Keep handles, tracks and required airflow in the same review. The useful comparison is the finished working opening, not the width printed on a door package. An installer should coordinate the chosen front with the actual equipment rather than treating a generic closet-door illustration as an installation plan.
8. Test sliding fronts for access to each machine

A sliding front leaves part of the opening covered while another part is exposed. Compare whether that movement gives enough access to each appliance and to the storage you use beside it. Reaching a basket should not require an awkward sequence of shifting several doors.
Review the actual tracks, handles and front depth along with the model's enclosure requirements. A visually tidy closed front is not evidence that the required air openings or service access remain available. Keep the arrangement only if the entire use sequence works, including removal of an appliance when needed.
9. Let an open-front recess look deliberately finished

An open front can be the appropriate visual choice when the location and appliance installation allow it. Use a resolved wall finish and simple perimeter so the recess belongs to the adjoining room. You do not have to add a door solely because the equipment sits in an alcove.
Keep the visible equipment and storage orderly without disguising the controls or filling access spaces. The room will always show its laundry function, so compare that everyday view honestly. An open front still needs the full appliance installation review; removing doors does not answer every airflow or connection question.
10. Relate the closet front to the hallway's existing details
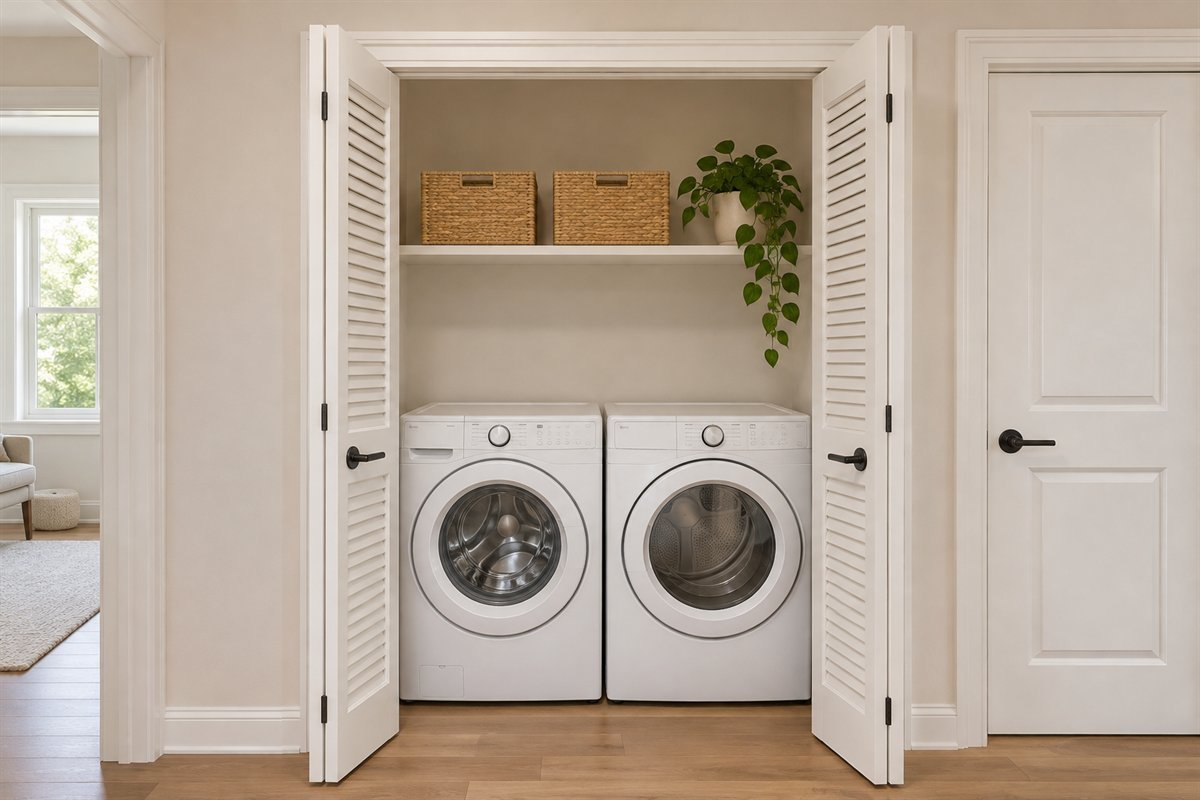
A laundry closet in a prominent hall can share the surrounding trim color and a restrained door profile. This helps the front read as part of the room rather than as a separate decorative feature. Compare its handles and edges with the real neighboring doors.
Preserve the technical requirements of the enclosure while refining that appearance. Required ventilation and useful access cannot be removed to make the laundry front resemble a solid cupboard. Let the installer resolve the functional front, then choose compatible visible details that fit the hallway.
11. Put a distinct color inside a quiet exterior
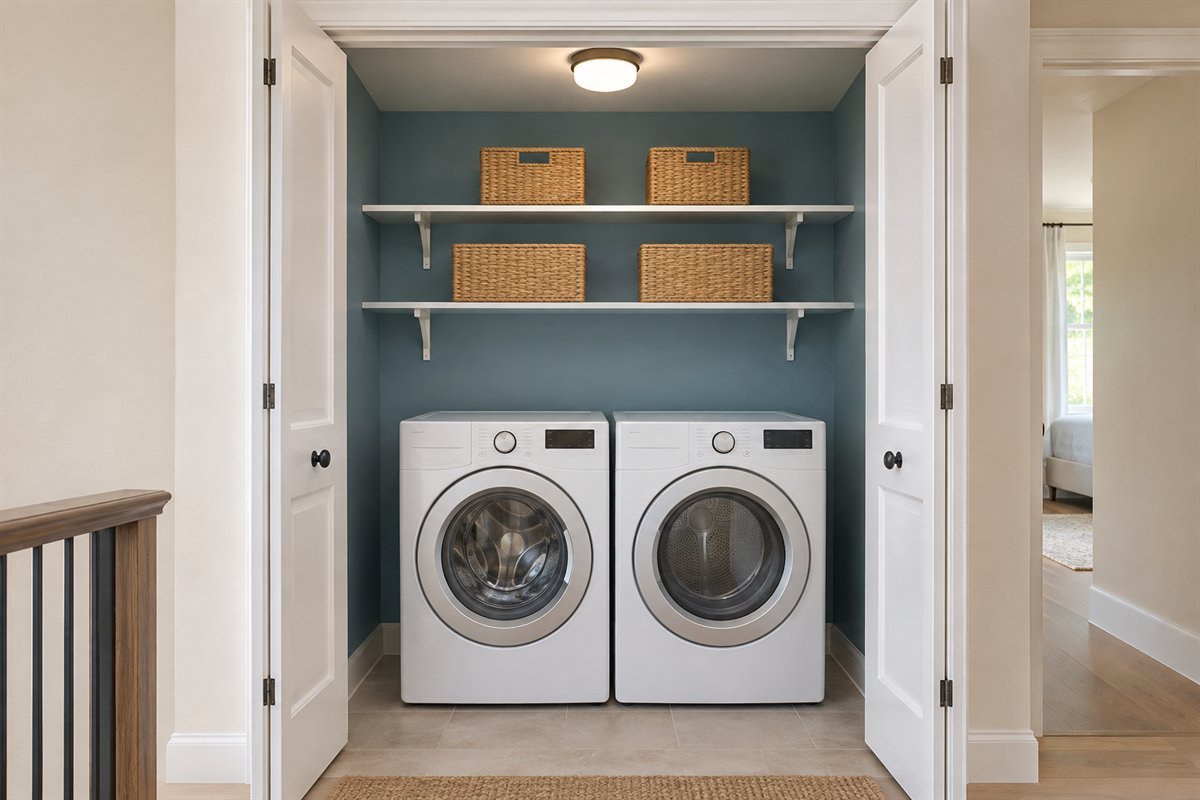
A muted interior color can make the laundry recess feel considered while the outer hallway remains simple. Compare the color with the actual white or metallic appliance finish, which may have a different undertone from the trim. Keep the first proposal limited to a clear background area.
Choose the finish for the real surface and room conditions as well as its appearance. A darker interior does not replace useful task lighting. Check the view with the doors open and normal laundry present, so the color works during use instead of only in an empty staged recess.
12. Make the floor junction a deliberate part of the entrance

A closet floor may meet the hallway at a visible change in material. Compare that junction with the opening and door movement instead of treating it as an afterthought. Keep the finished transition understood before ordering a new surface.
Select the actual floor assembly for the location and equipment requirements. A tile appearance in a concept image does not prove a waterproof installation or a solution to leaks. Leave the loading and carrying route straightforward rather than adding a decorative rug that creates another item to move at the threshold.
13. Keep the back wall visually simple around the equipment

A plain or restrained wall finish can give the recess a finished setting without competing with appliance controls and cabinet lines. Compare it from the distance at which you normally see the closet. Fine decorative detail may add little when machines cover most of the surface.
Keep required access points and equipment connections available. Do not add decorative boxing simply to hide a part that must remain reachable. If a more elaborate wall treatment complicates the real installation or cleaning, a simpler suitable finish can be the more convincing design choice.
14. Give appropriate supplies their own closed side cabinet

A separate side cabinet can keep supplies away from a surface needed for loading or folding. Decide its contents before sizing the shelves and door. The cabinet should open without blocking the machine or the place occupied by the carrying basket.
Keep laundry products in their original containers and follow their storage labels and household access needs. A closed decorative door alone is not proof of secure storage. Keep the visible design restrained and resolve suitable access control independently rather than decanting products to make the shelves look coordinated.
15. Use a modest linen shelf without filling every upper gap

One limited linen area can finish the closet without turning the full space above the machines into dense storage. Choose a reachable shelf for a small clean collection, and confirm its support and position within the equipment requirements.
Leave removal space around the folded items and keep the appliance controls readable. A shelf is useful because you can take something down and return it. If the proposed height or depth makes that difficult, move the linens elsewhere rather than treating the maximum available storage volume as the goal.
16. Give the carrying basket a bay outside appliance clearances
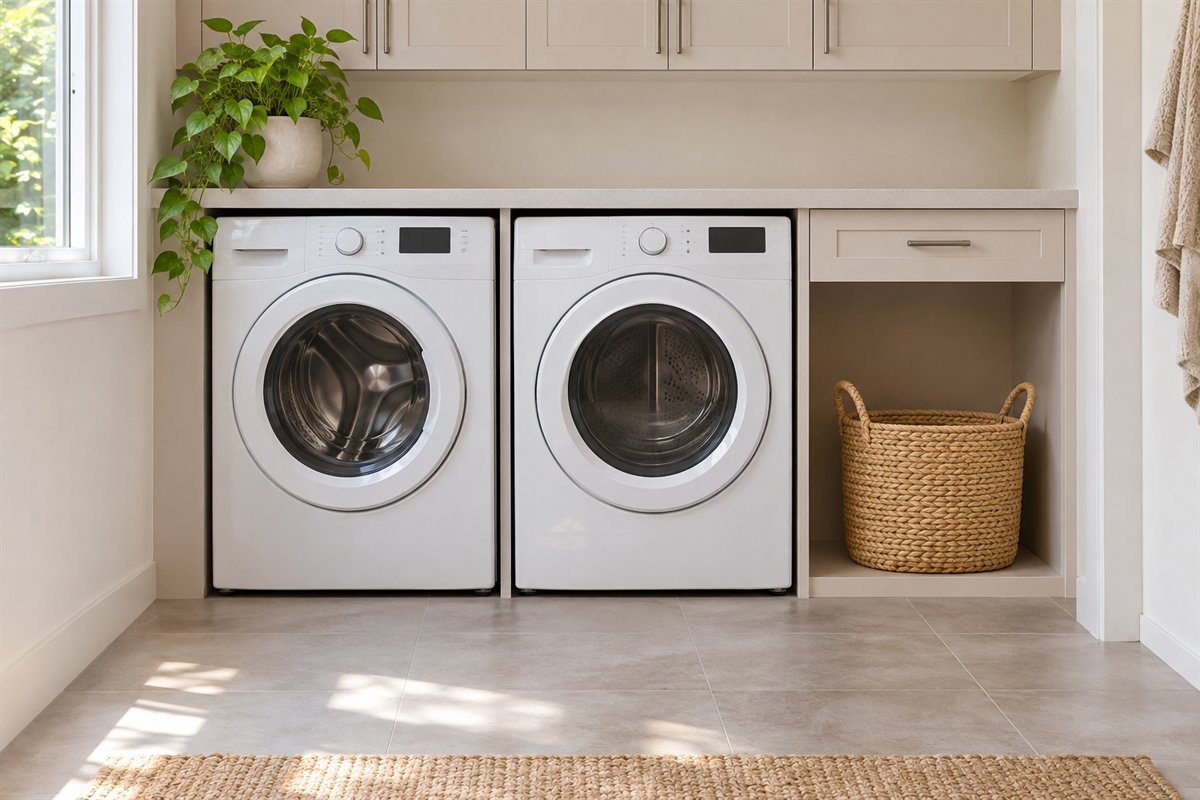
An empty carrying basket needs a return place that does not become the loading position. A dedicated side bay can keep it nearby while leaving the central floor available. Measure its handles and the movement needed to take it out, not only the basket body.
Keep the bay outside spaces reserved for equipment installation and service. A narrow gap beside a machine is not automatically storage. Test the full basket's route to the washer and its return afterward so the attractive built-in opening also works during an ordinary laundry cycle.
17. Add a separately supported work surface where it fits

A work surface beside the appliances can provide a place to set down a small clean load. Keep it distinct from required appliance space and specify its support as part of the cabinetry. Do not assume a loose board across the machines is a complete counter system.
Compare the useful surface with the basket, doors and standing position. A modest counter that remains available can be more valuable than a larger one covered by permanent storage. If the closet cannot accommodate it without crowding the equipment, plan folding in another suitable area.
18. Compare a folding ledge through its open and stored positions
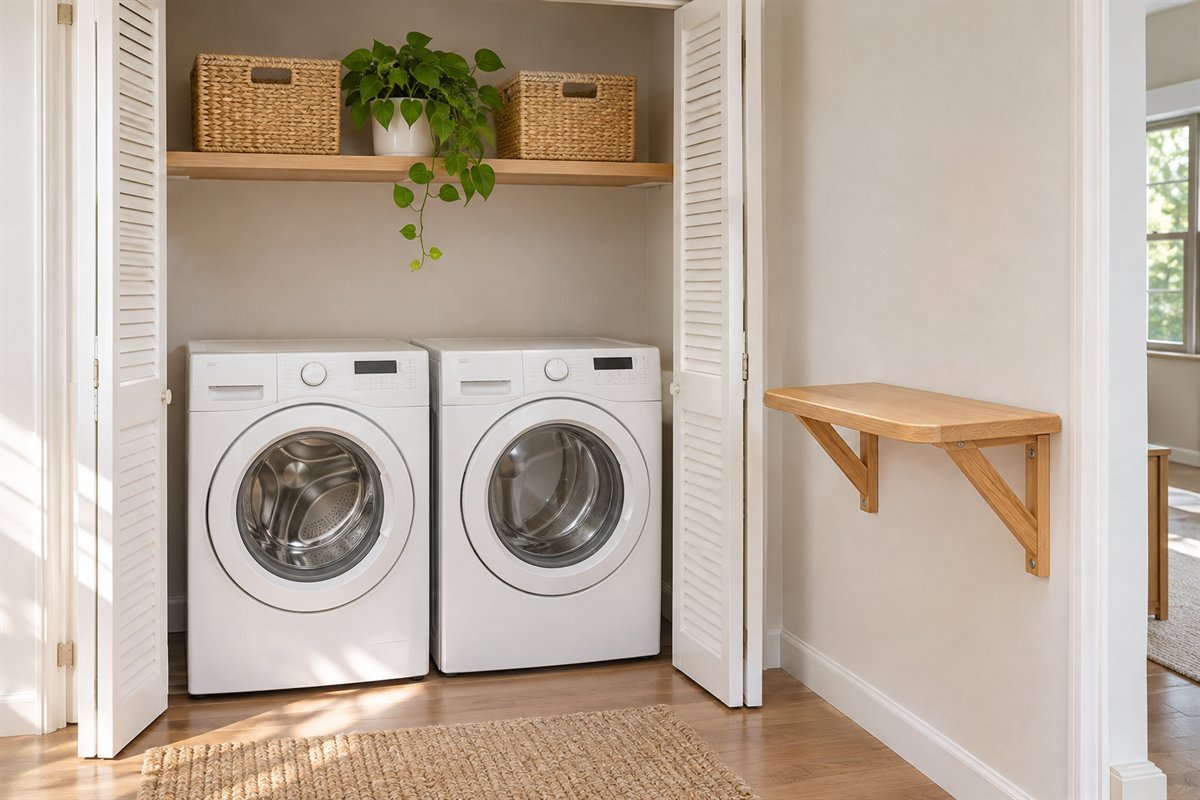
A suitable fold-away surface can serve occasional tasks when a permanent projection would occupy the adjoining room. Check the complete approved product, wall fixing and intended load. Include the open ledge in the same plan as the machine doors.
Its stored position matters too. Handles, brackets and the folded panel must still leave the room usable and accessible. Treat this as a specified furniture option rather than a DIY hinge suggestion. If deploying it interrupts every laundry task, a separate existing table may be the better choice.
19. Light the work without filling the recess with decoration
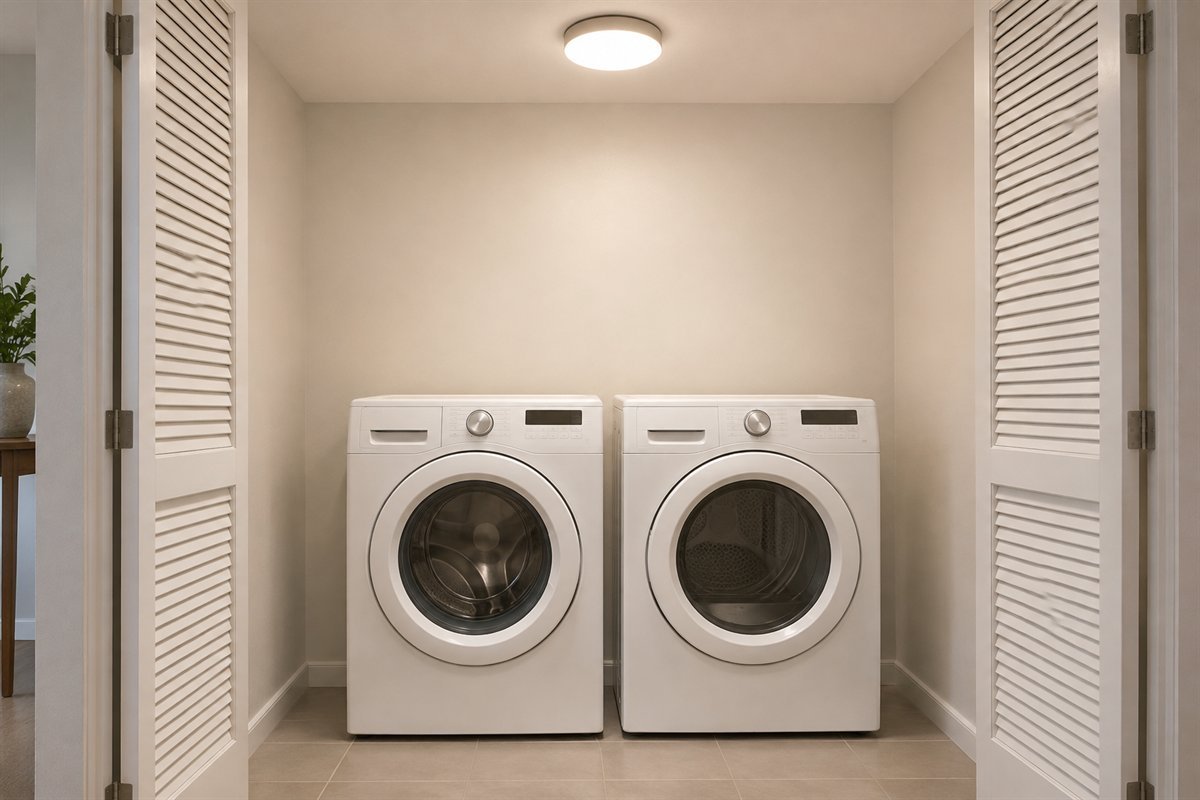
The closet needs useful light for controls, labels and ordinary handling, especially when open doors cast shadows. Compare the lighting with the actual front in its working position. A decorative pendant placed in the opening may create another obstacle instead of helping the task.
Have an appropriate fixture and its installation specified for the actual location. Keep access to the light and surrounding equipment considered. The visual goal is a clear working recess whose finish remains readable, rather than a dramatic scene that depends on every surface being brightly illuminated.
20. Put a short garment rail in a genuinely separate area
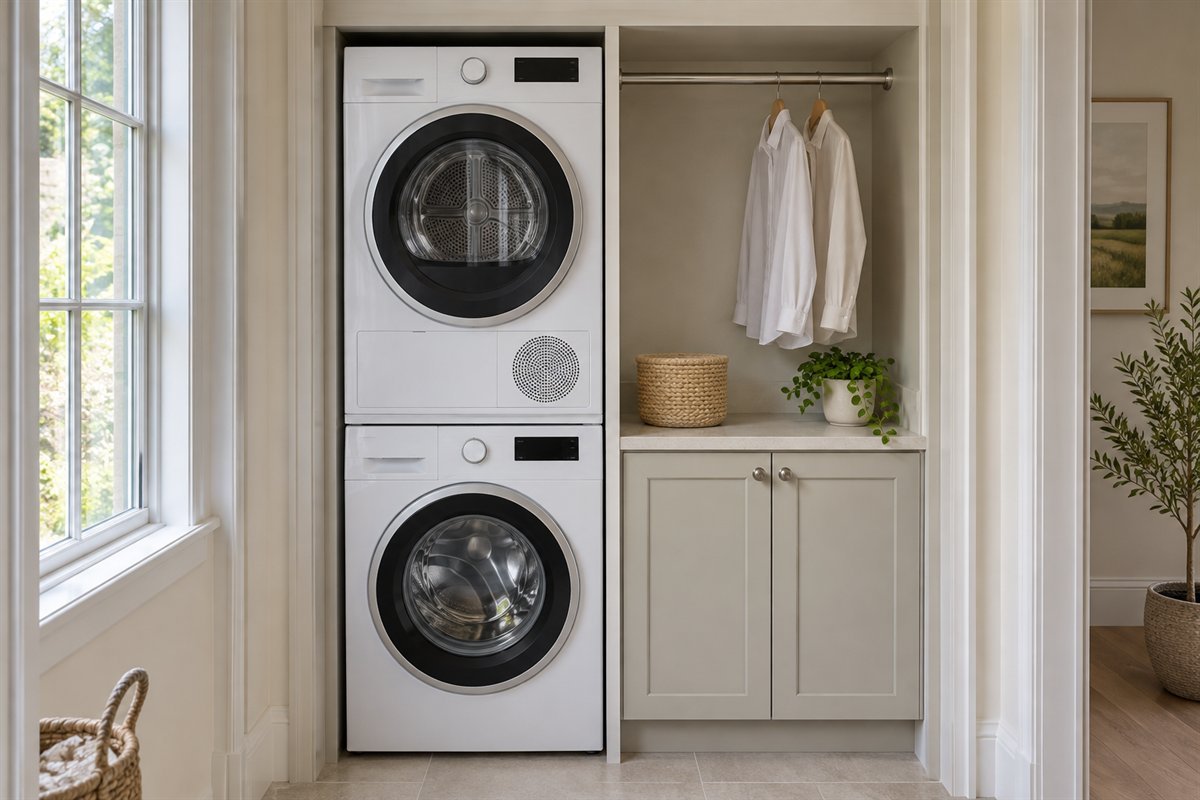
A short rail can hold a few clean garments waiting to return to a wardrobe. Position the complete hanger and garment, not just the narrow rail, in the drawing. Fabric should not hang across appliance controls, required openings or the loading space.
Keep this temporary clean-clothes destination limited and use an appropriately specified rail. A separate side counter area may work better than a line directly above the equipment. If the garments conflict with daily access, move that part of the routine to another room instead of forcing it into the closet.
21. Give air-drying a suitable place beyond the machine opening

A small closet may not have space for an extended drying rack as well as the equipment. Plan a separate suitable drying location instead of assuming the closet must contain every stage. Check the garment labels, rack instructions and conditions of the chosen room.
Include both the rack in use and its storage home in the household plan. The laundry opening can remain clear while garments dry elsewhere. This keeps the closet design honest: a neat closed front is not a reason to squeeze damp clothing among machines and clean linen storage.
22. Test the closet through one complete ordinary load
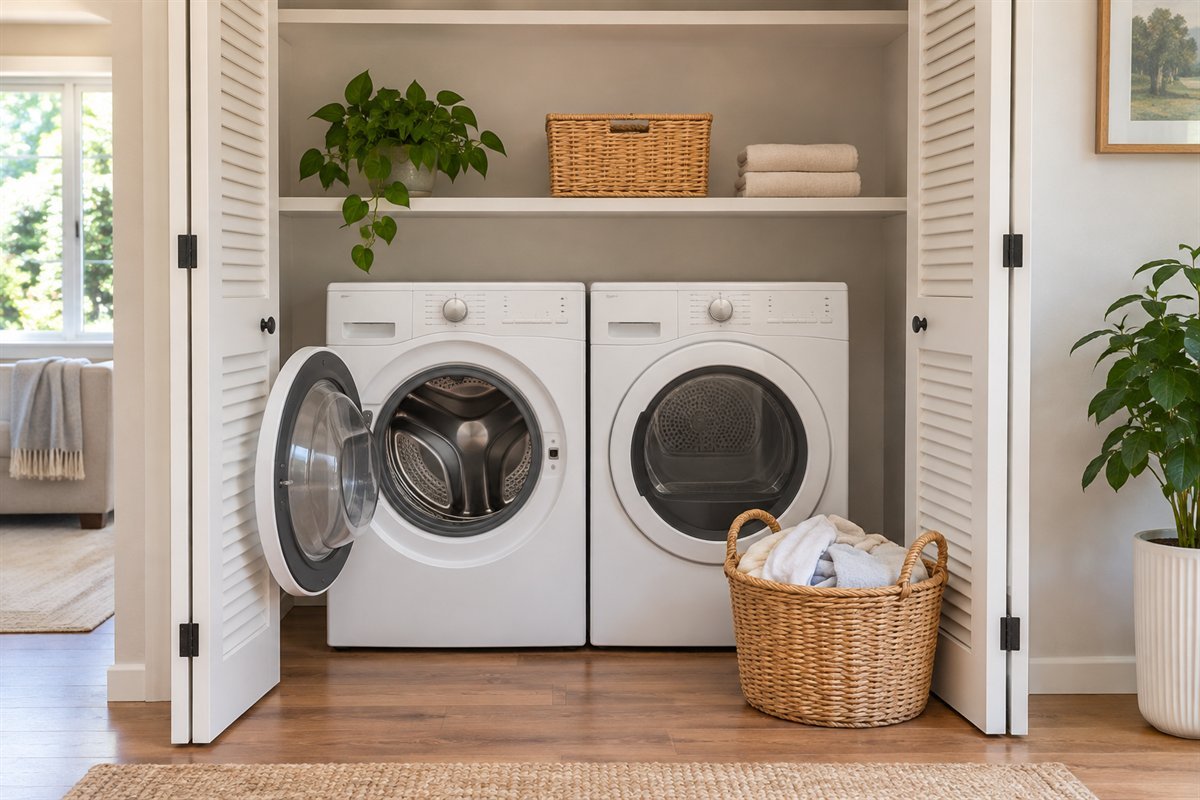
Use the proposed arrangement with an actual carrying basket, open machine doors and the storage needed for that load. Note where you stand and where each item waits. A cabinet front that looks resolved while everything is closed can still create repeated moving when the work starts.
Record the awkward movement before buying more storage. Change one conflict at a time, preserving the actual equipment requirements and useful service access. Finish with a layout that you can explain through the household routine, then refine the colors and handles within that workable arrangement.
Two arrangements to compare before adding storage
Imagine a wide recess where the existing front-loading pair remains side by side. Begin with the complete opening and loading positions. Add a counter or cabinet only after the actual equipment and support requirements are settled.
In a different hypothetical room, an approved stacked pair may leave a separate side bay. Compare using that bay for a work surface or a basket, rather than assuming it can do both at once. Neither sketch establishes a universal closet size or shows a measured installation; the real models and room decide what fits.
Use model instructions before choosing a decorative front
Whirlpool's stacking guide says that only compatible machines should be stacked, with the intended kit, and that exact requirements vary by model. It also calls attention to machine-door movement and air openings for enclosed arrangements. Use the applicable appliance instructions to establish the actual enclosure requirements rather than copying a clearance or louver pattern from an image.
Keep storage and appearance in proportion to the work
Closets by Design's laundry range combines cabinetry, counters and related finishes. IKEA's laundry overview also separates storage, baskets and drying options. Treat these as categories to choose from, rather than a requirement to fit every feature into one recess. The illustrated layouts here are original comparisons; no cabinet or appliance performance has been tested for this article.
How big should a laundry closet be?
There is no single size that resolves every appliance arrangement. Start with the actual models and their installation instructions, then include the finished opening, doors or lids, connections, service access and useful loading position.
Can any washer and dryer be stacked?
No. Confirm that the particular models are approved for stacking together and use the required compatible kit and installation instructions. Similar width or appearance does not establish compatibility.
Are louvered doors enough for a laundry closet?
Their appearance alone does not answer that. The actual equipment determines the enclosure and air-opening requirements. Have the complete front, its openings and the installation checked for the selected models.
Can I put a counter above the machines?
Only when the actual equipment, clearances, support and service access allow the proposed system. A top-loading lid changes that discussion. A separately supported surface in a side bay or another area may work better.
What if the closet cannot also hold folding and drying?
Give those tasks a suitable separate location. Keep the machine opening usable and choose the features the closet can genuinely support. The most useful layout need not contain the entire household laundry routine.
A practical next step
Complete the appliance-first brief and compare two layouts with the doors open. Choose the arrangement that keeps equipment access and the surrounding room usable, then refine its materials and storage. A clear front can come from a few well-placed elements instead of a cabinet in every remaining gap.
Plan the broader small-laundry organization routine. Choose useful laundry room shelving. Find a separate place to fold clean clothes.
The images are original AI-generated decor concepts, not measured installations, product tests or appliance-fitting diagrams.
Sources and care references
- Whirlpool: compatible stacking and model-specific installation planning
- Closets by Design: laundry cabinetry, counters and finish categories
- IKEA: laundry storage, basket and drying categories
Optional digital guide for this topic
If you prefer a structured workbook, explore this related paid guide.