Greenhouse ideas are most useful when they connect an appealing garden structure with a growing purpose you can actually manage. Start with the plants, season and available site, then compare the structure, working space and care routine. A small clear plan is more valuable than filling every shelf with a collection that needs different conditions.
These 24 ideas cover the whole growing space, including compact alternatives and the layout inside. They are planning options, not construction instructions or a promise of year-round growing. Use the original worksheet to separate the appearance, product requirements and plant conditions before buying or changing a structure.
Contents
- 1. Choose the structure around one growing purpose
- 2. Observe the proposed site through the seasons
- 3. Keep the approach useful when carrying plants
- 4. Use a freestanding greenhouse when all sides need access
- 5. Treat a lean-to as a complete installation
- 6. Consider a mini-greenhouse for a limited collection
- 7. Use a cold frame for the task it actually suits
- 8. Compare frame finishes with the garden view
- 9. Choose glazing from the complete product specification
- 10. Give a narrow interior one main growing side
- 11. Keep the central route clear at mature plant size
- 12. Set the bench around the person and the task
- 13. Keep a small temporary tray position available
- 14. Space plant groups for care rather than display density
- 15. Use shelving only where the light still works
- 16. Leave opening hardware reachable
- 17. Plan shade as a managed part of the structure
- 18. Keep a simple record of the conditions
- 19. Give watering equipment a route and return place
- 20. Separate growing space from unsuitable storage
- 21. Connect the greenhouse with an outdoor transition area
- 22. Keep decorative seating outside the growing brief
- 23. Plan the next season before filling the last space
- 24. Review the layout through an ordinary care session
Start with a growing brief and a real site
List the named plants, intended growing season and care you can provide. Compare light, exposure, access and the complete structure with local conditions and applicable requirements. RHS offers useful greenhouse and small-enclosure principles; its UK seasonal examples need interpretation for your own climate. Resolve structural, foundation, glazing, electrical or water work through the appropriate supplier and qualified project guidance.
Choose the greenhouse question to resolve first
- Only a modest plant group needs cover: Compare a suitable mini-greenhouse or cold frame with the actual task and management needs.
- The interior is narrow: Mock up one main growing side before assigning both walls.
- Plants outgrow the planned position: Include mature spread and required care access, not only container bases.
- The structure looks complete but conditions are uncertain: Record the actual conditions and compare them with the named plants before adding more.
1. Choose the structure around one growing purpose
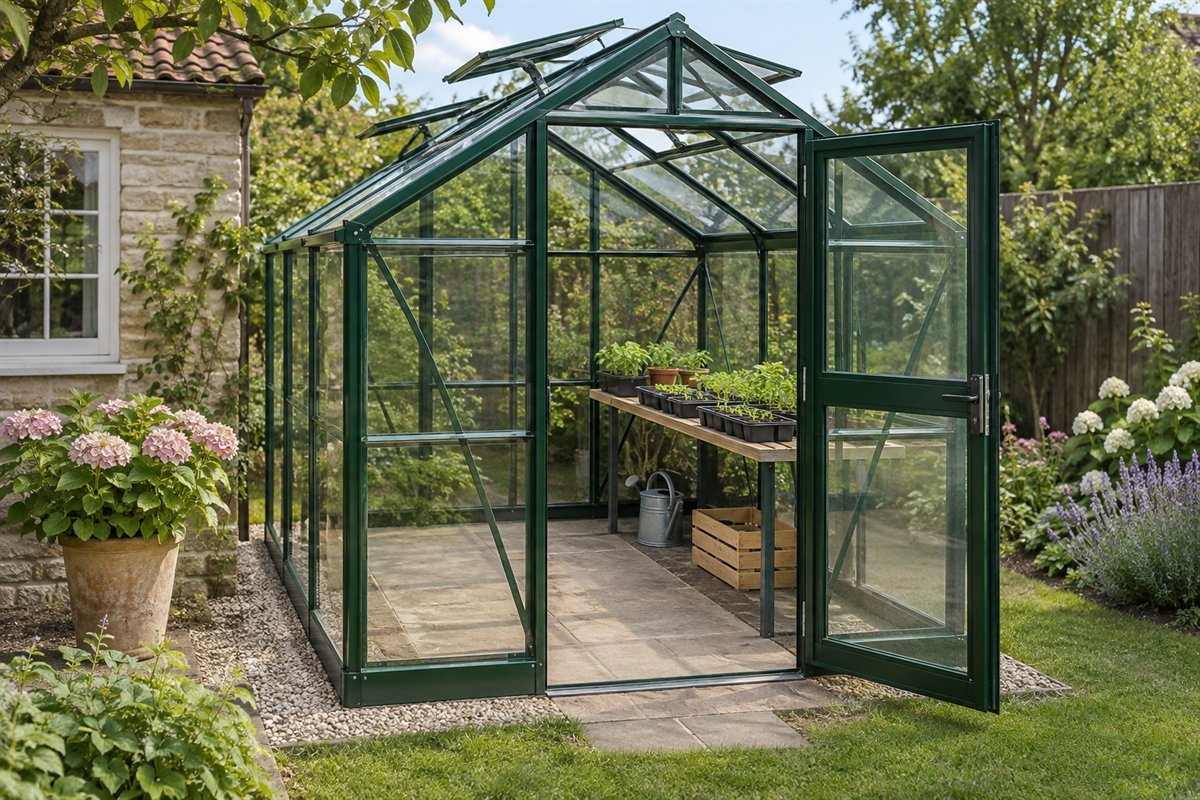
Start with the growing job rather than the most decorative greenhouse photograph. Raising a modest group of young plants, keeping a selected collection or managing seasonal containers can call for different space and conditions. Write down the actual plants and the time of year you intend to use the structure. Keep that brief small enough to manage before adding another growing area or an elaborate storage system.
Choose one main purpose and list what would make the space suitable for that purpose.
2. Observe the proposed site through the seasons

Record the light, nearby shade and ordinary access at the proposed site. RHS guidance relates greenhouse siting to growing requirements and seasonal use; its UK orientation examples should not become a universal rule for every climate. Compare local conditions and the actual structure before deciding. A sunny-looking photograph cannot establish winter light, wind exposure or whether the site is suitable for the intended installation.
Keep a dated light record and discuss the site requirements with the supplier before purchase.
3. Keep the approach useful when carrying plants

The approach is part of the growing workspace. Try carrying a typical tray from the place you prepare plants to the proposed entrance. Include turning, setting it down and opening the door. Keep the route appropriate to the actual garden and household rather than designing only the view from the house. Resolve ground, drainage and installation requirements as part of the real project.
Test the ordinary carried item and route before fixing the structure’s position.
4. Use a freestanding greenhouse when all sides need access

A freestanding structure lets you plan the interior without relying on an existing wall, but it still needs a site and an appropriate installation. Leave the maker’s required access around it for assembly, opening, inspection and care. Compare the whole occupied site rather than its advertised footprint alone. Nearby planting and storage should not gradually take over the space needed to use the structure.
Draw the greenhouse and its required surrounding access on the same site plan.
5. Treat a lean-to as a complete installation

A lean-to can be worth comparing where the property has an appropriate wall and site. Its suitability depends on the complete system, wall connection and local project requirements. Do not treat the wall as automatically ready for a glazed addition. Compare the light, opening hardware and usable interior with the plants you intend to grow, then resolve the actual assembly and water-management details through appropriate guidance.
Ask the supplier what the existing wall and site must provide before selecting the model.
6. Consider a mini-greenhouse for a limited collection

A mini-greenhouse can offer covered growing space where a walk-in structure is unnecessary. RHS notes that these smaller enclosures can have more variable conditions and that shelves shade the area below. Compare the exact openings, plant size and care demands rather than filling every shelf immediately. A smaller purchase is useful only if you can manage the actual growing environment it creates.
Choose a modest plant group and check its light and management needs before adding another tier.
7. Use a cold frame for the task it actually suits

A cold frame is another option to compare for particular seasonal jobs rather than a miniature substitute for every greenhouse use. Its low form and opening method create a different working position. Follow the actual product guidance and suitable plant advice, including any gradual transition needed before moving plants outside. Do not infer frost protection or year-round suitability from the fact that the structure has a lid.
Decide which named plants and season the frame would serve before choosing its size.
8. Compare frame finishes with the garden view

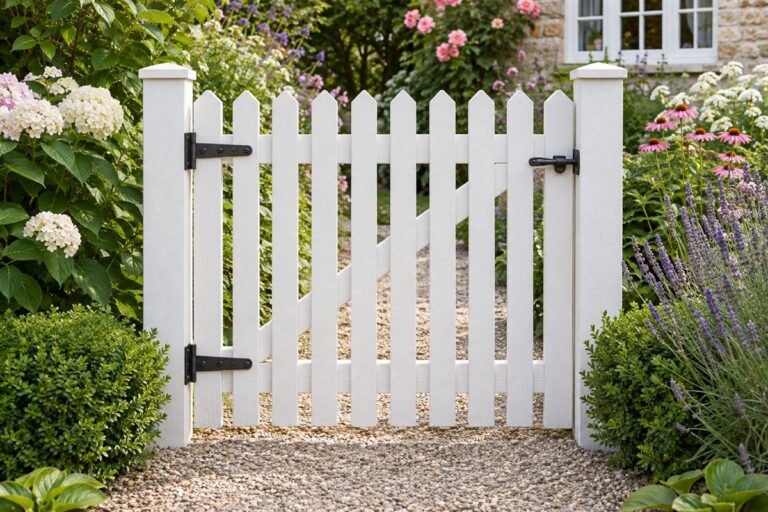
The frame can relate to an existing gate, fence or house detail without making the greenhouse a decorative ornament alone. Compare the finish from the usual garden and house viewpoints after the site and growing brief work. Keep product care and replacement parts in the decision. One deliberate material connection is enough; avoid surrounding the glazing with plants simply to hide a structure that needs light and maintenance access.
Compare finish samples or actual products against the retained garden materials.
9. Choose glazing from the complete product specification

Glazing options have different characteristics, so compare the actual product specification with the climate, intended plants and household. Ask about replacement panels, use requirements and care as well as appearance. The clarity of a pane in an AI image cannot establish its material, strength or thermal performance. Avoid a visual imitation assembled from unknown old glass when the project needs a properly specified structure.
Record the exact glazing system and its relevant instructions in the planning sheet.
10. Give a narrow interior one main growing side

One main growing side can be a useful starting point in a narrow greenhouse. Compare the bench depth with the person working, carried containers and the plants’ expected spread. Filling both sides immediately may leave little room for an ordinary care task. Use the clear side deliberately and expand only when the actual collection and management routine justify it.
Mock up the occupied working position before buying a second bench.
11. Keep the central route clear at mature plant size

A route that works beside young plants may become crowded as they grow. Draw the expected mature spread as well as the pot footprint and choose appropriate supports for the actual crop. Keep the door, controls and care access usable throughout the intended season. If one plant would occupy the passage, change the growing plan rather than relying on repeated squeezing past it.
Review the plant footprint before moving it into its final growing position.
12. Set the bench around the person and the task

A useful bench supports the actual task and the person doing it. Compare its working height, reach and support information with the containers you use. Leave enough surface for a tray to be set down without shifting the whole collection first. The greenhouse need not hold the full potting inventory; the existing potting-bench guide can help you plan a separate preparation position where that is more practical.
Try the task at a comparable surface before choosing the bench dimensions.
13. Keep a small temporary tray position available
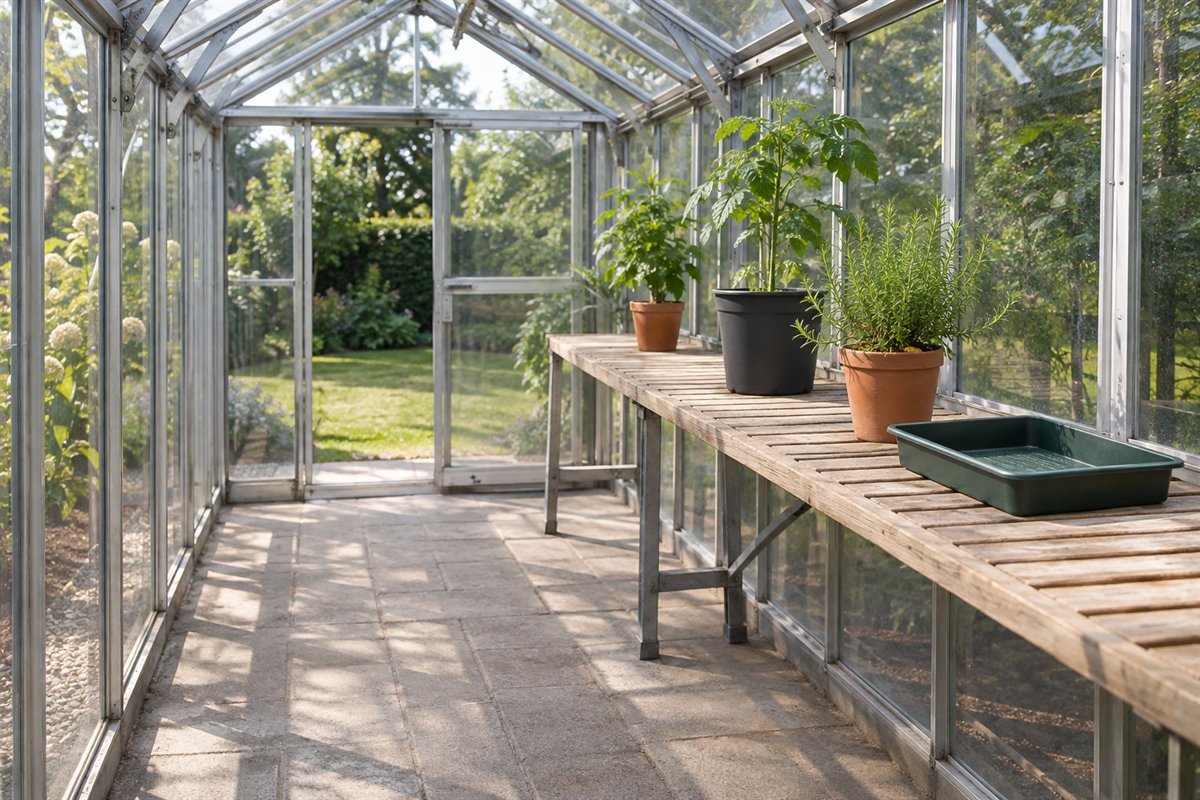
A clear temporary position can help when checking, watering or moving a few pots. Keep it separate from the space already assigned to long-term plants. Choose a suitable tray and support, then return it to an agreed position after the task. Without that small allowance, a simple care session may depend on putting containers in the doorway or on the central route.
Set down the ordinary carried group and check that the door and route remain usable.
14. Space plant groups for care rather than display density

A densely packed collection may make an attractive photograph while leaving little room to inspect individual pots. Compare each group with its actual growing needs and the way you reach, turn or remove it. Keep a modest number that you can manage within the available conditions. Space alone does not establish suitable air movement or prevent every plant problem, so continue the plant-specific care routine.
Remove one pot from the middle of the group without disturbing the others.
15. Use shelving only where the light still works

Additional shelves can increase the number of positions but also change the light available below. Compare the actual plants at each level and the support instructions for the loaded shelves. Avoid treating vertical space as automatically usable growing area. A smaller group on a better-positioned bench may be more useful than several crowded tiers that are difficult to inspect or care for.
Observe the lower positions during the relevant season before assigning plants permanently.
16. Leave opening hardware reachable

Keep intended vents, doors and operating hardware free of storage and plant growth. RHS emphasizes ventilation in managing greenhouse heat; an opening that is present but difficult to use does not serve the same practical purpose. Follow the system’s actual instructions and check it during ordinary care. Do not infer a complete ventilation design from the number of open panels shown in a concept image.
Operate the actual controls with the growing layout in place.
17. Plan shade as a managed part of the structure

Shade may be needed for the actual conditions and plants, but it also reduces light. Compare a compatible system and how it works with the ventilation and seasonal plan. RHS distinguishes shading approaches and notes that fittings can interfere with vents. Choose through the actual structure and product guidance rather than draping spare fabric over a roof opening or treating permanent heavy shade as a universal solution.
Record when shade is reviewed and how the openings remain usable.
18. Keep a simple record of the conditions

Observation is more useful than assuming the greenhouse matches the outdoor forecast. A suitable maximum-minimum thermometer can inform your review of conditions, as RHS recommends. Follow its placement and use instructions and compare readings with the requirements of the actual plants. One measurement is not a complete climate assessment, and no single target temperature suits every collection or growing stage.
Record the reading, date and the adjustment you actually made, without inventing a successful growing result.
19. Give watering equipment a route and return place

Plan how water reaches the intended pots and where the ordinary equipment returns afterward. Include the full watering can or hose route rather than just the position of a tap in an inspiration image. Keep any permanent water work appropriate to the actual project. Choose the watering method from the plants and conditions, not a universal timetable copied from another climate.
Practice reaching the farthest pot and returning the equipment without blocking the route.
20. Separate growing space from unsuitable storage

A greenhouse is not automatically suitable storage for every garden supply. Keep seeds, products and equipment in the conditions their instructions require, bringing out what a task actually needs. Use a separate suitable storage area where necessary rather than filling the growing benches with bags and decorative jars. The existing potting-shed guide addresses the larger workspace and inventory; keep that job distinct from managing the plant environment.
List what belongs in the greenhouse and give everything else a proper return destination.
21. Connect the greenhouse with an outdoor transition area

An appropriate outdoor holding position can support a planned transition for particular plants. RHS describes cold frames and mini-greenhouses as options within seasonal growing routines, but the exact process depends on the plant and conditions. Keep the outdoor group separate from the main route and follow suitable plant guidance. Moving a tray outside once is not evidence that every tender plant is ready for the garden.
Write the plant-specific transition and review conditions before changing its location.
22. Keep decorative seating outside the growing brief
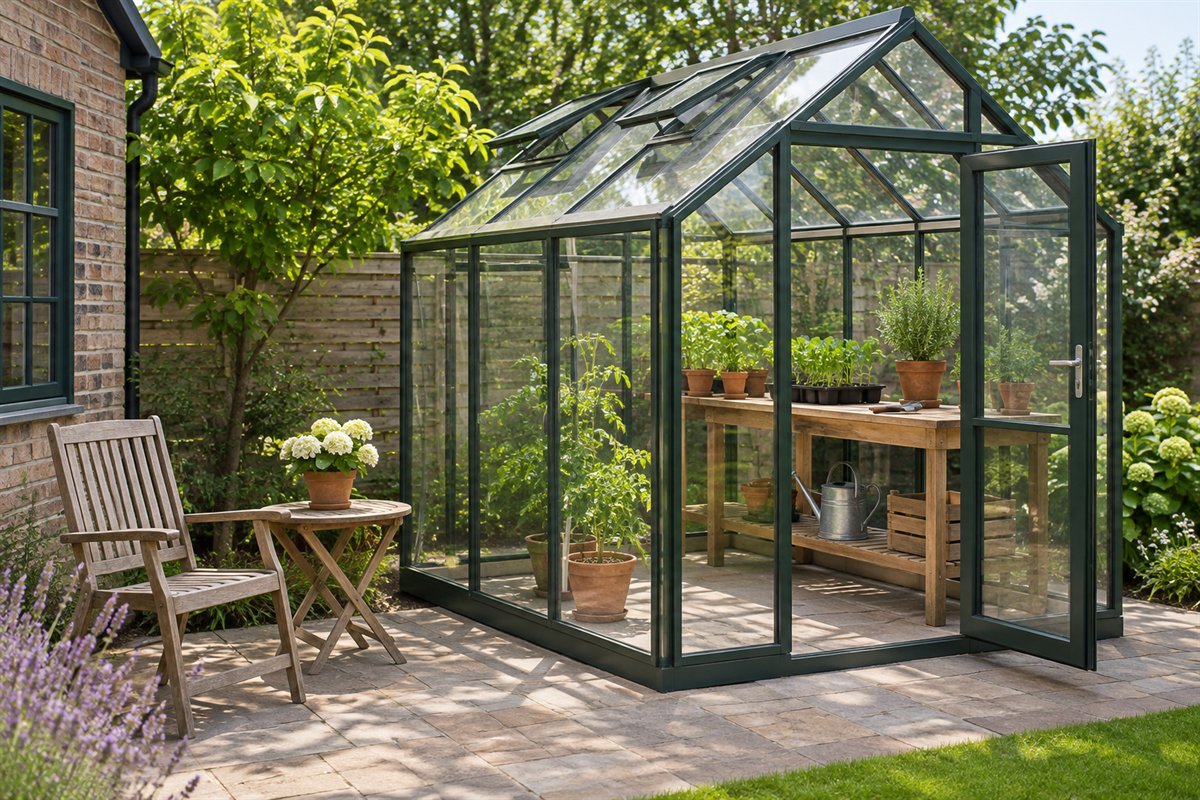
A chair outside can let you enjoy the greenhouse as part of the garden without taking over its growing interior. Choose the actual outdoor furniture for the exposure and keep the greenhouse door and maintenance access clear. If you want a glazed sitting room instead, treat that as a different building and comfort brief. A plant-growing enclosure is not automatically an appropriate living room.
Decide whether the main project is growing, sitting or a properly planned combination before adding furniture.
23. Plan the next season before filling the last space

Keep a record of what moves in, moves out and needs a different environment at the seasonal change. An unheated greenhouse should not be assumed frost-free or suitable for every tender plant. The appropriate next step may be reducing the collection or choosing another location rather than adding heating without a complete plan. Follow plant-specific and structure-specific guidance for the season you actually face.
Leave one clear review area and make the seasonal decisions before the greenhouse is full.
24. Review the layout through an ordinary care session

Test the whole sequence: enter with a tray, inspect the collection, use the controls, water as appropriate and return the equipment. Record the point where the route or growing space becomes awkward. Correct that specific conflict before adding another shelf or a larger group of plants. A useful greenhouse plan can evolve with observed conditions and manageable growing goals rather than becoming a permanently staged photograph.
Use the original growing-space worksheet below and update it from actual observations.
An original greenhouse layout-and-growing worksheet
Make two linked sheets: the site and layout plan, and the plant-and-season record. The first holds the structure, openings, required surrounding access, benches and working route. The second holds plant identity, growth stage, expected spread, conditions needed, observation and next action. This is an original planning exercise, not a construction drawing or a tested growing schedule.
For a hypothetical width comparison, a greenhouse with a usable interior width of 96 inches, a 24-inch bench on one side and a 20-inch container zone on the other has 52 inches of nominal width between those zones: 96 minus 24 minus 20. This arithmetic is not a passage recommendation or a product plan. It excludes framing projections, mature foliage, handles, the person working and other real constraints. Mark those as well before judging whether the arrangement works. If the complete occupied layout does not fit, change the bench, growing plan or structure.
For the plant-and-season record, choose a modest named group rather than listing a broad category such as tropical plants. Find appropriate guidance for its actual growing stage and local conditions. Record what you know and what still needs checking. Different plants may not belong in one enclosure simply because their pots fit on the same bench. Do not record a harvest, survival result or temperature performance unless it was actually observed.
Add the ordinary care sequence to the layout: the tray arrives, the pots are reached, the openings are operated and equipment returns. Keep one temporary working position available while that happens. A separate potting bench or shed may handle preparation and supplies so the greenhouse remains devoted to its growing role. Link the spaces through a route you have actually tried rather than putting every task inside the glazed enclosure.
At the seasonal review, note which plants leave, which remain and whether their required conditions can be provided. Check the product’s care and inspection requirements as well as the plants. An empty bench can be a useful management choice. Keep any proposals for heating or new services as a separate properly specified project; do not infer suitability from an AI illustration or a general greenhouse label.
Choose the growing enclosure before the decorative extras
Compare three possible starting briefs. A modest collection in a suitable mini-greenhouse may require less floor area but careful attention to the smaller enclosure’s conditions. A narrow walk-in structure may begin with one main bench and a clear opposite side. A larger growing brief may need a more developed plant and management plan before any structure is selected. These are original planning comparisons, not a ranking of products or fixed size categories.
Keep the garden finish, path material and an outdoor sitting position as a separate decorative layer. Choose those after the site, structure and care brief make sense. The attractive view should remain connected to a space you can inspect, enter and manage through the actual season.
What should I put inside a small greenhouse?
Start with the named plant group, suitable growing positions, a usable route and a small temporary working surface. Keep supplies elsewhere when their storage conditions or footprint do not belong in the growing space.
Is a mini-greenhouse the same as a walk-in greenhouse?
No. Its smaller volume, openings and shelves create different management conditions. Compare the actual product with the intended plants and tasks rather than assuming it is simply a smaller version of the same environment.
Can I grow plants in a greenhouse all year?
Only where the actual conditions meet those plants’ needs through the relevant season. An unheated structure is not automatically frost-free, and a sunny enclosure can also overheat.
Can I build a greenhouse from the pictures?
No. The images illustrate layout concepts. Choose a properly specified structure and resolve site, installation and local requirements through appropriate project guidance.
A practical next step
Choose a manageable growing purpose, compare the complete site and interior, and keep a record of actual conditions. Add plants and decorative details only when the layout and care routine can support them.
Plan a separate potting shed for preparation and garden supplies. Choose a potting bench around the actual working task. Coordinate the greenhouse with a small garden plan.
Images are original AI-generated greenhouse concepts, not construction drawings, specified glazing, measured layouts or verified growing installations. The worksheet and width calculation are original hypothetical planning examples. Follow actual plant, product, installation and local project guidance; no structural, frost-protection or growing outcome is certified.
Sources and care references
- RHS: choosing a greenhouse for growing requirements and site
- RHS: greenhouse ventilation, shading and observing conditions
- RHS: the uses and limitations of cold frames and mini-greenhouses
Optional digital guide for this topic
If you prefer a structured workbook, explore this related paid guide.