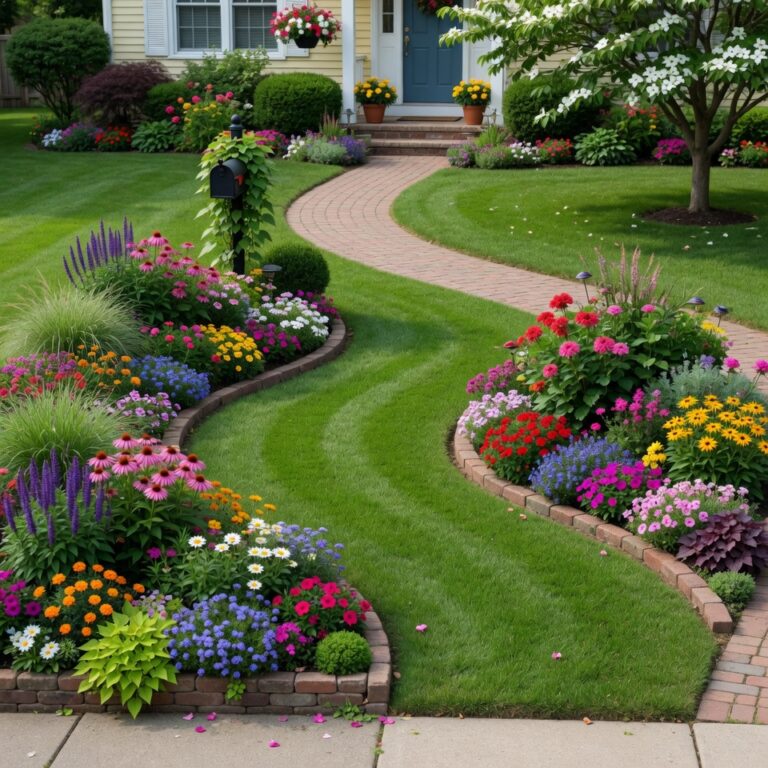
A mailbox is one of the few pieces of curb appeal that’s actually governed by federal regulation, not just personal taste, and getting it wrong can mean your carrier stops delivery entirely.
Every number in this guide comes directly from the USPS Domestic Mail Manual and official postal installation standards, not general landscaping advice.
None of these rules mean your mailbox has to look plain. Once you know the actual requirements, you’re free to choose a style that fits your home while still staying fully compliant.
1. Height: 41-45 Inches from the Road Surface
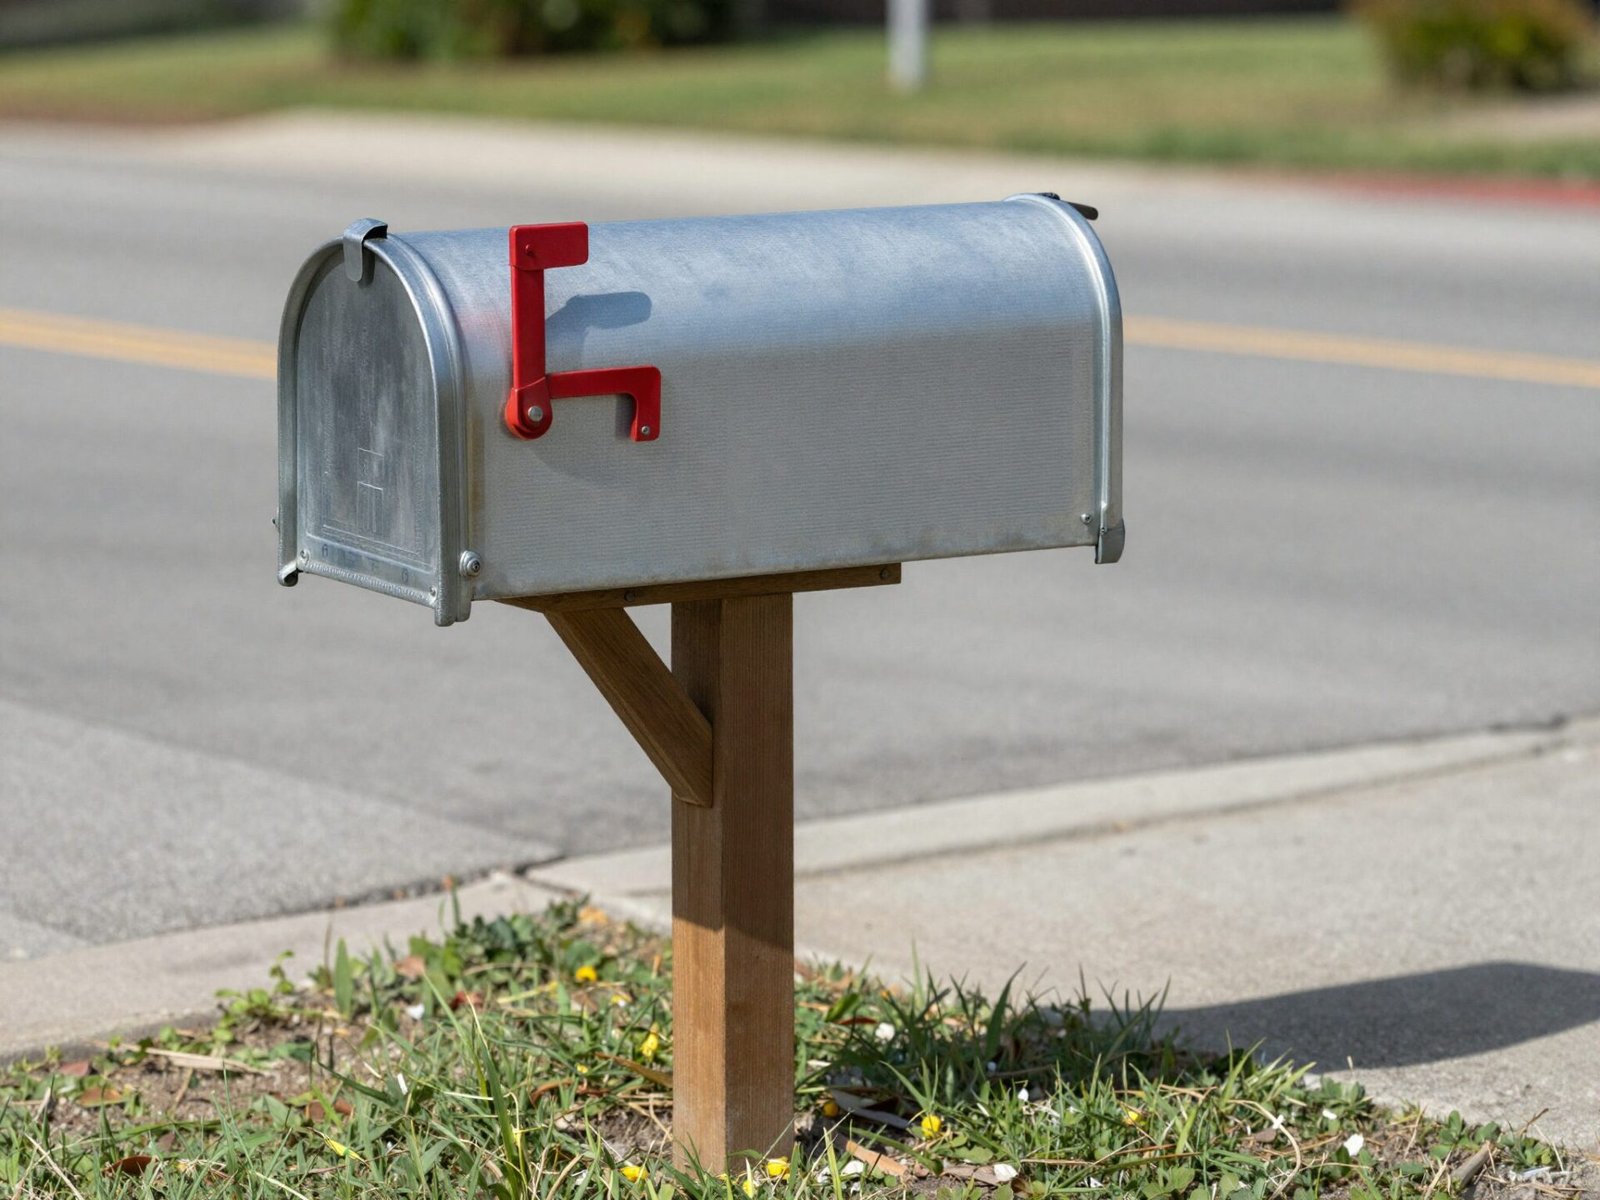
The single most important USPS measurement is height: the bottom of the mailbox, or the point of mail entry for a locking model, needs to sit between 41 and 45 inches above the road surface.
This range exists so a carrier can reach the box from a mail truck window without having to get out of the vehicle, which keeps delivery efficient across an entire route.
A box installed outside this range, even by a few inches, can result in the carrier leaving a correction notice and withholding delivery until it’s fixed.
💡 Smart tip: Aim for the middle of the range, around 43 inches, to give yourself a small margin of error if the road grade shifts slightly over time.
⚠️ Mistake to avoid: Don’t measure height from your lawn or a raised flower bed. USPS specifically measures from the actual road surface where the delivery vehicle’s tires sit.
2. Setback: 6-8 Inches from the Curb
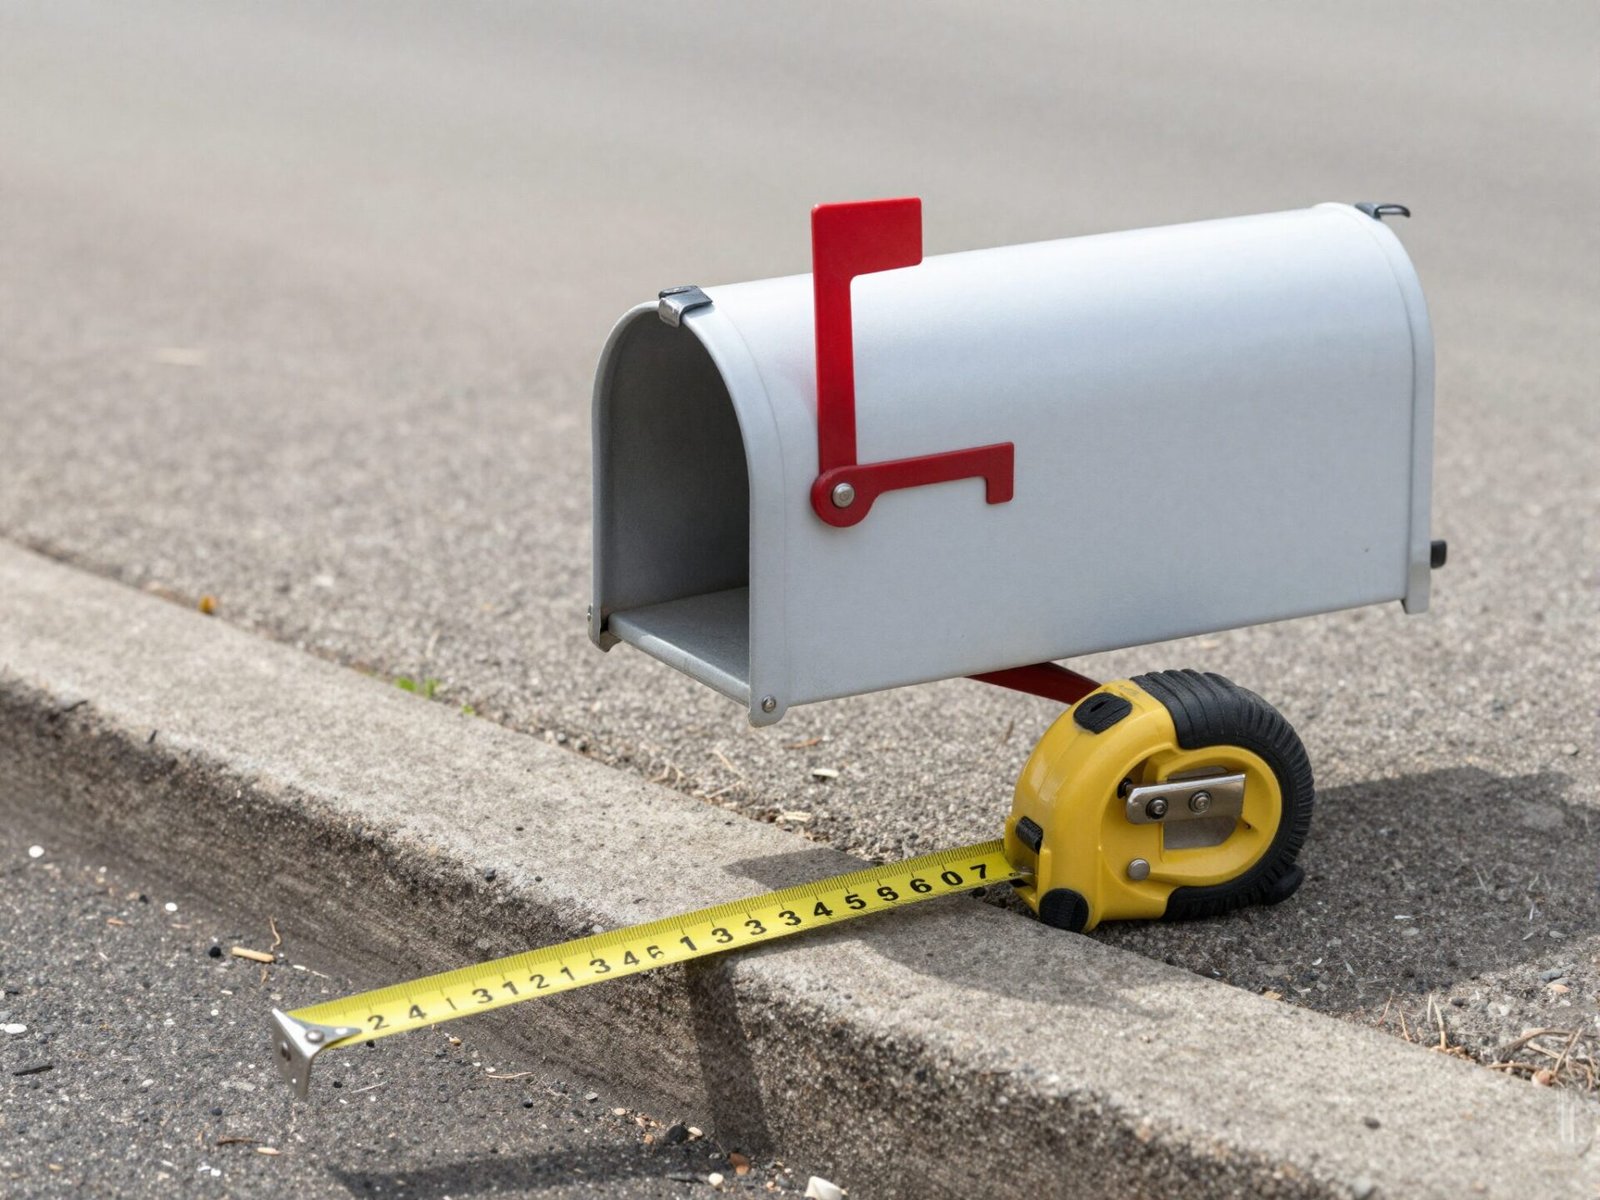
Beyond height, the mailbox door needs to sit 6 to 8 inches back from the face of the curb, measured to the door itself rather than the post behind it.
This setback lets a carrier’s vehicle pull alongside the box closely enough to reach it without the mirror or door clipping the curb.
If your street doesn’t have a formal curb, this measurement gets less precise, and it’s worth confirming placement with your local post office directly.
💡 Smart tip: When installing a new post, measure setback from where the door will sit when open, not just the post’s resting position, since the door adds a few inches when fully extended.
⚠️ Mistake to avoid: Don’t measure setback to the post itself. USPS specifically references the mailbox door’s position, which is what actually matters for carrier reach.
3. Measure from Road Level, Not Grass Level
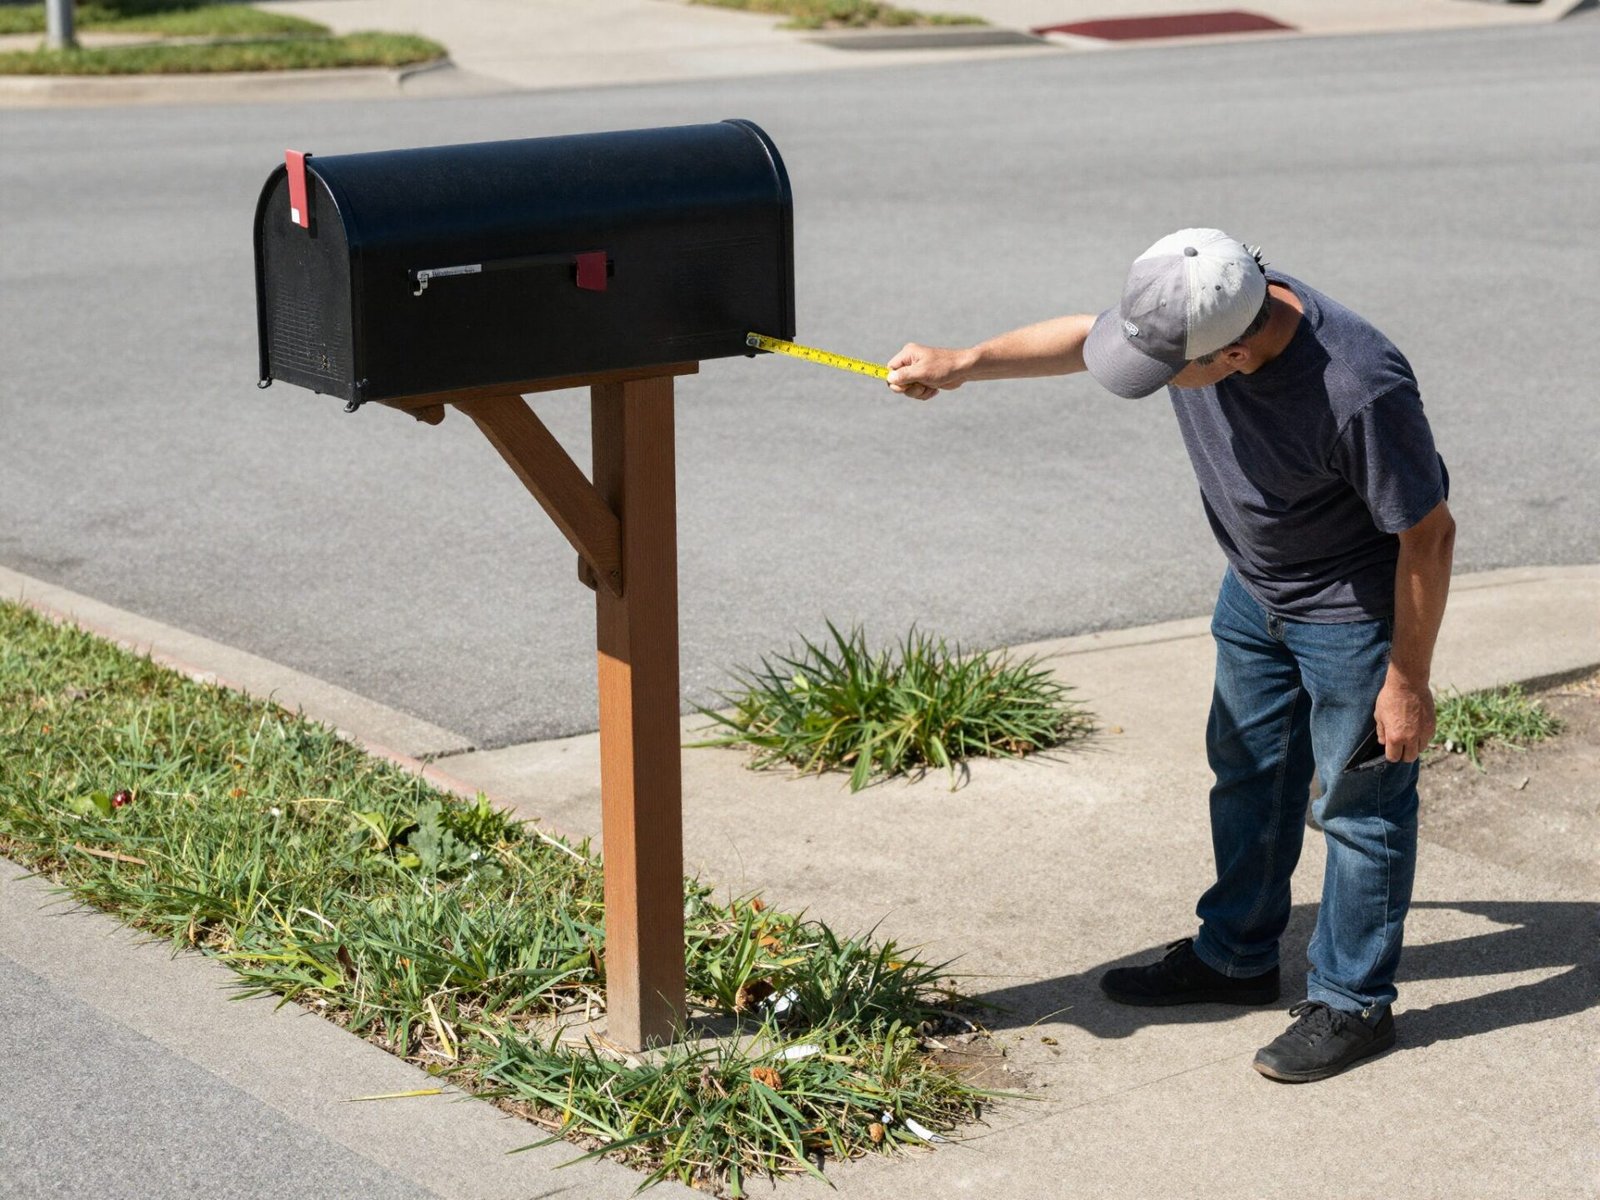
The height measurement always starts from the actual paved road surface, specifically the point where a delivery vehicle’s tires make contact, not from the grass or landscaping around the post.
This distinction matters more than it sounds, since a raised lawn or landscaping bed can throw off a measurement taken from ground level near the box itself.
Getting this reference point right the first time avoids having to reinstall the whole post after a failed measurement.
💡 Smart tip: Find the exact road-surface reference point before you dig the post hole, not after, since correcting height after installation means resetting the post entirely.
⚠️ Mistake to avoid: Don’t estimate road level by eye from a distance. Walk to the actual curb edge and measure the true pavement height directly.
Loving These Ideas? Get the Step-by-Step Guide
Grab the full 5-day eBook and turn these ideas into a finished room.




4. Size Limits: Roughly 18.5-22.8 Inches Long, 6.25-11 Inches Wide
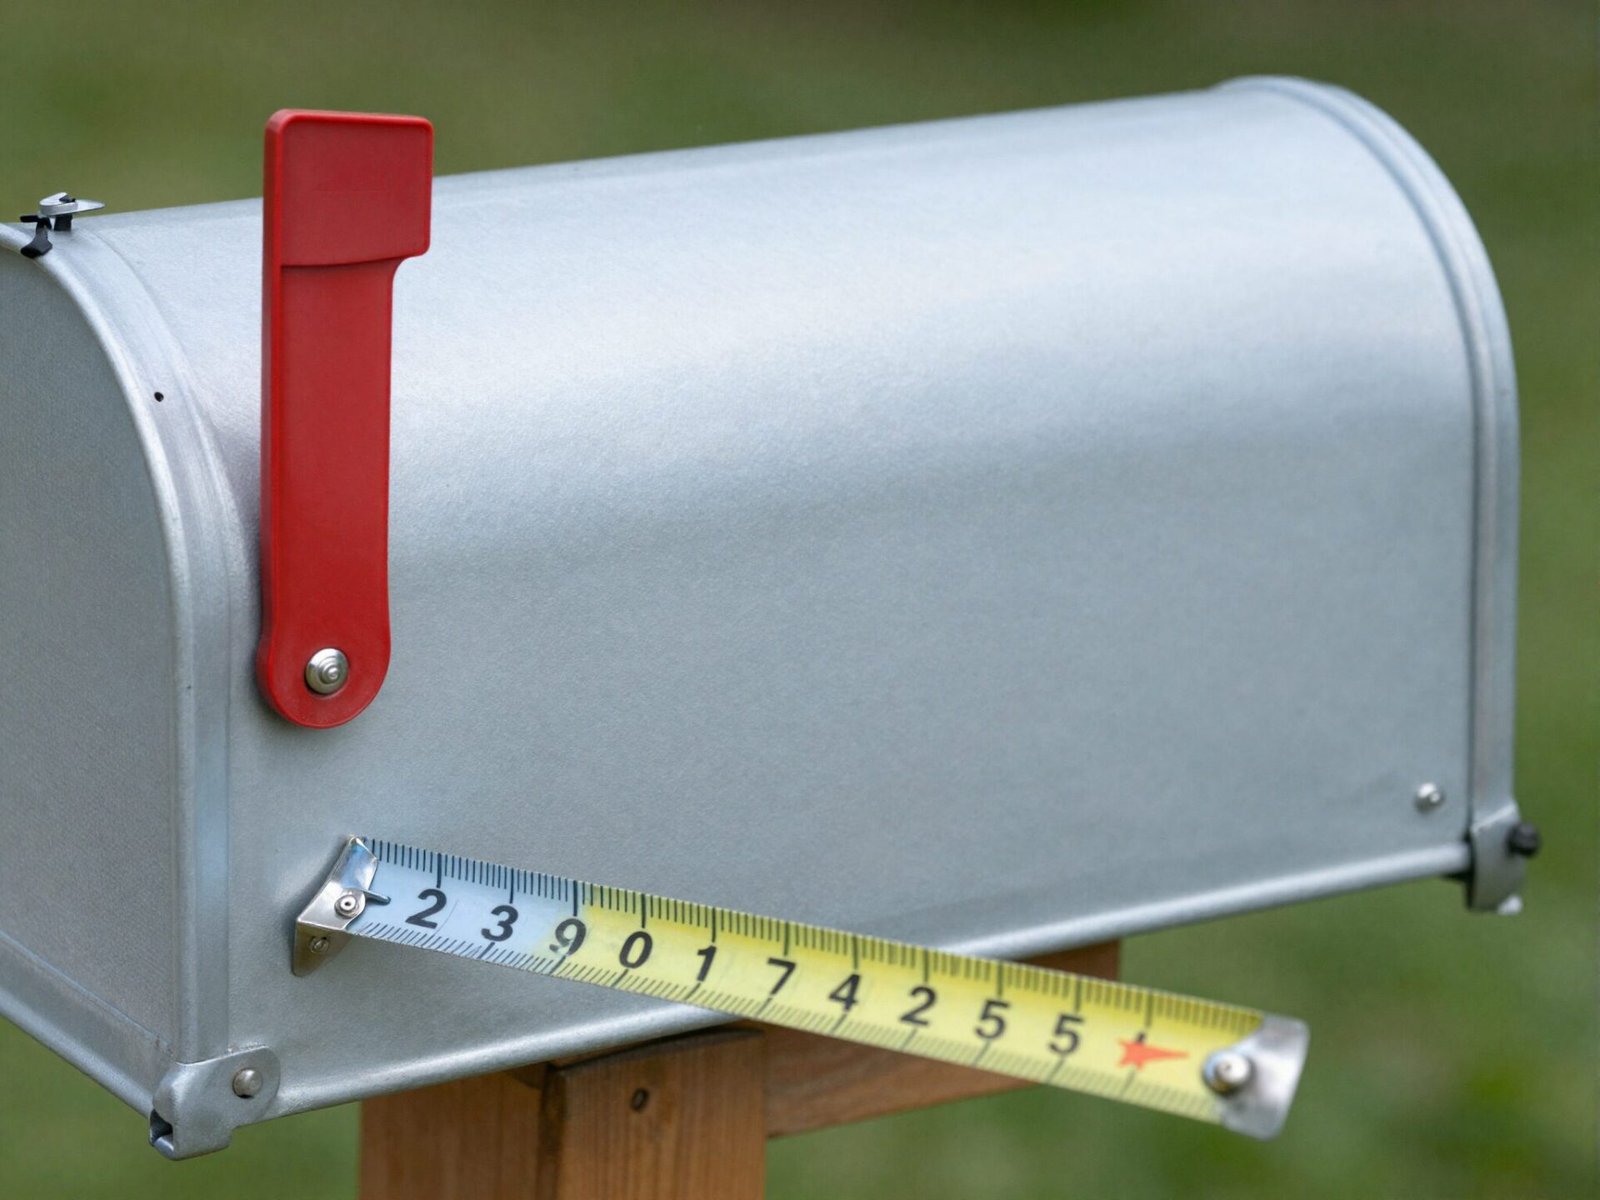
USPS-approved curbside mailboxes generally fall within a length of about 18 9/16 to 22 13/16 inches, a width of 6 1/4 to 11 inches, and a height of 6 to 15 inches.
You have real creative freedom within that range for shape and design, but the structure still has to be sturdy enough not to pose a safety hazard to carriers or pedestrians.
Anything outside these general dimensions typically needs specific sign-off as a custom or non-standard box before installation.
💡 Smart tip: Check the manufacturer’s listed dimensions before purchasing a decorative or oversized mailbox design, since style options can sometimes drift outside standard sizing.
⚠️ Mistake to avoid: Don’t assume any attractive mailbox at a home goods store is automatically USPS-compliant. Confirm it carries proper approval before installing it permanently.
5. Choose a PMG-Approved Mailbox
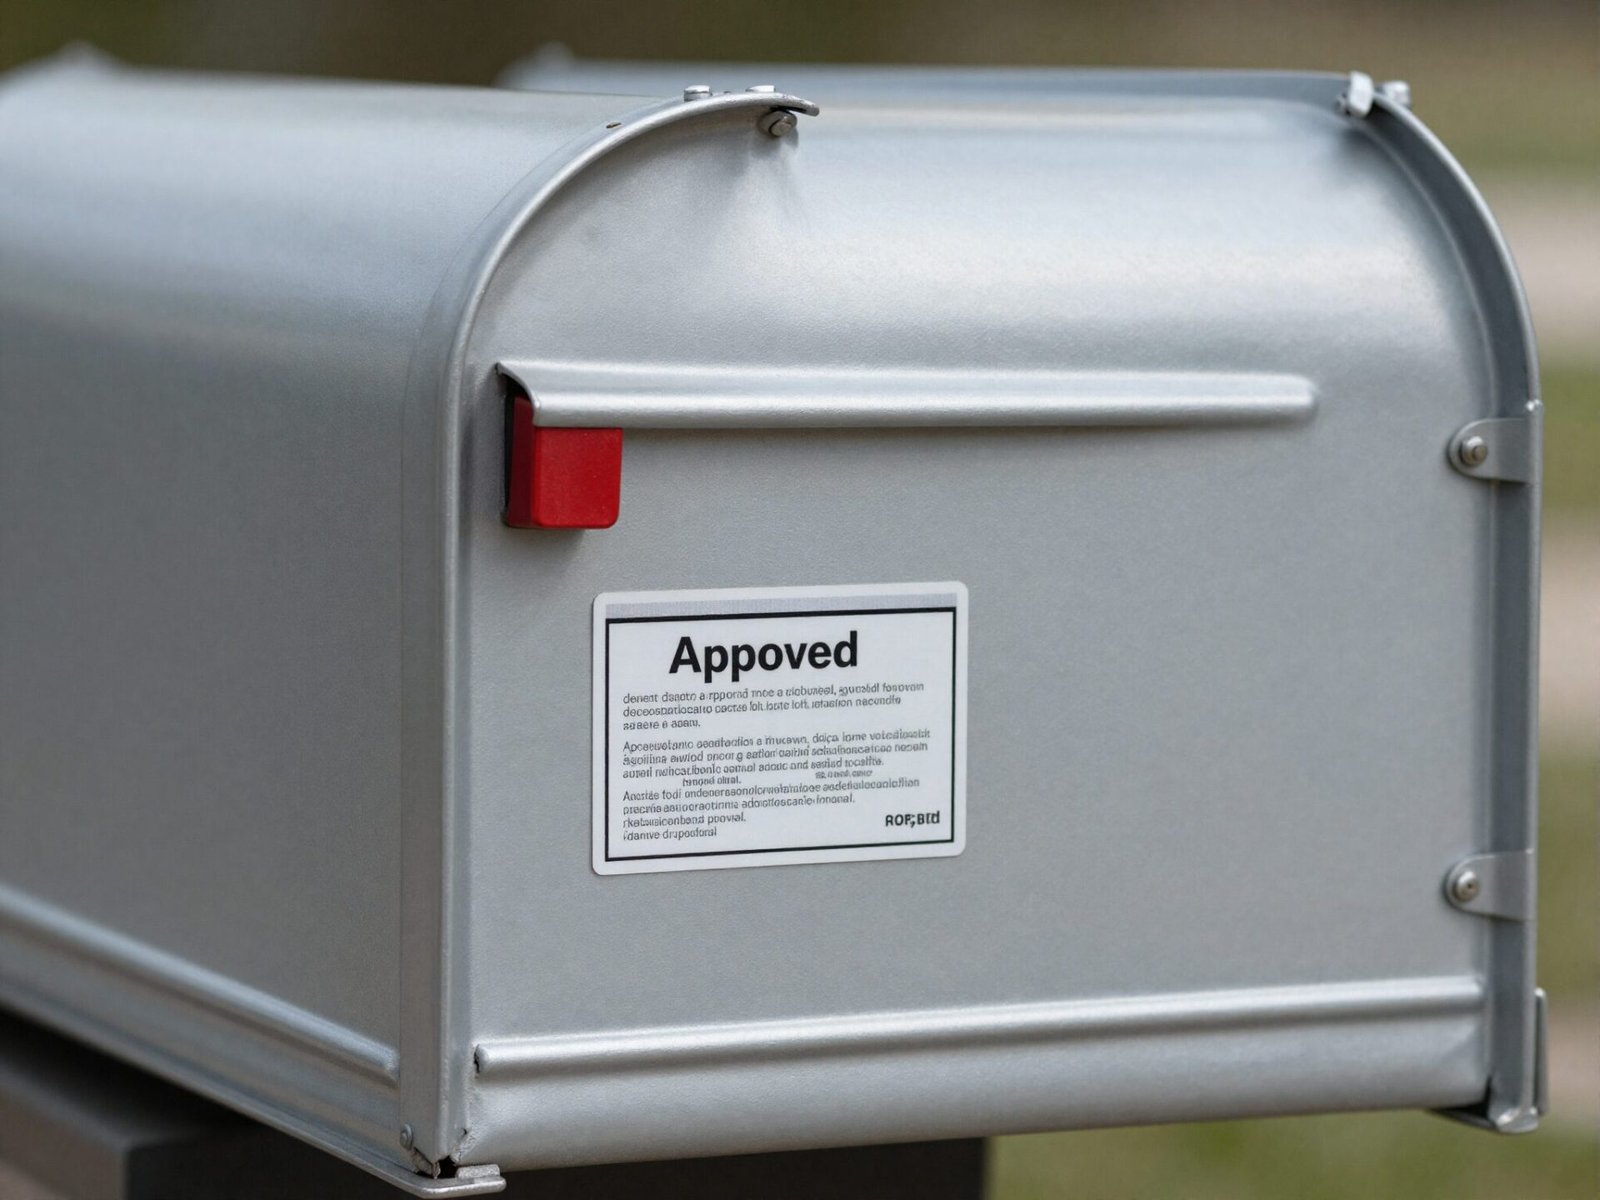
The baseline requirement for any curbside residential mailbox is that it bear the Postmaster General seal of approval, confirming it’s been tested and certified to meet USPS construction standards.
This seal is typically noted directly on the product packaging or in the product description when purchasing, making it easy to verify before you buy.
Custom or non-standard boxes without this seal aren’t automatically disqualified, but they require separate sign-off from your local postmaster before installation.
💡 Smart tip: Look for the PMG approval callout specifically in the product listing before purchasing, rather than assuming any mailbox sold at a major retailer automatically qualifies.
⚠️ Mistake to avoid: Don’t install a decorative or handmade mailbox without confirming approval status first. It can result in your carrier declining to service it until it’s addressed.
6. Position on the Right Side of the Carrier’s Direction of Travel
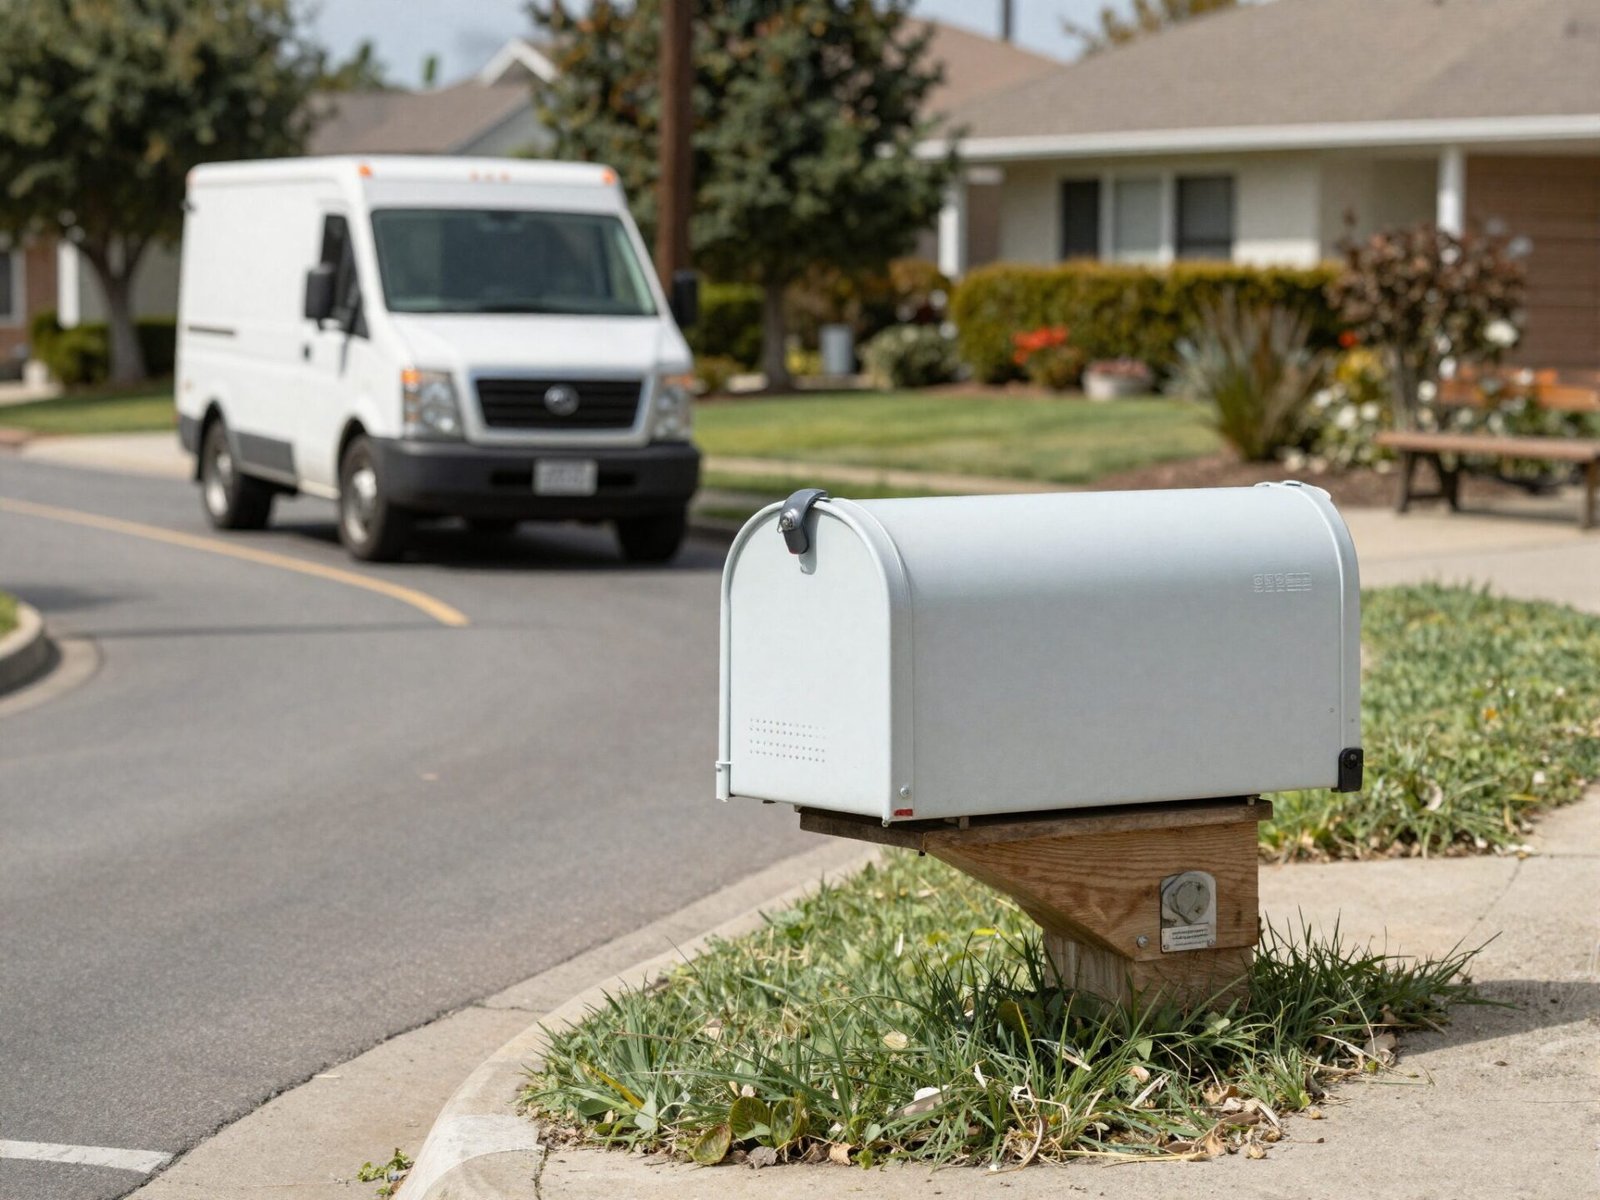
Mailboxes are generally expected to sit on the right-hand side of the road in the direction the carrier travels, which is mandatory on most newer rural delivery routes.
This positioning lets the carrier reach the box from the driver’s seat without crossing lanes or reaching awkwardly across the vehicle.
If you’re unsure which direction your specific route travels, your local post office can confirm the correct side for your address.
💡 Smart tip: Observe your current mail carrier’s route direction over a few days if you’re uncertain, or simply call your local post office to confirm before installing a new post.
⚠️ Mistake to avoid: Don’t assume mailbox side placement is purely aesthetic. On many routes, it directly affects whether your carrier can safely and efficiently service the box.
7. Use Durable, Approved Materials
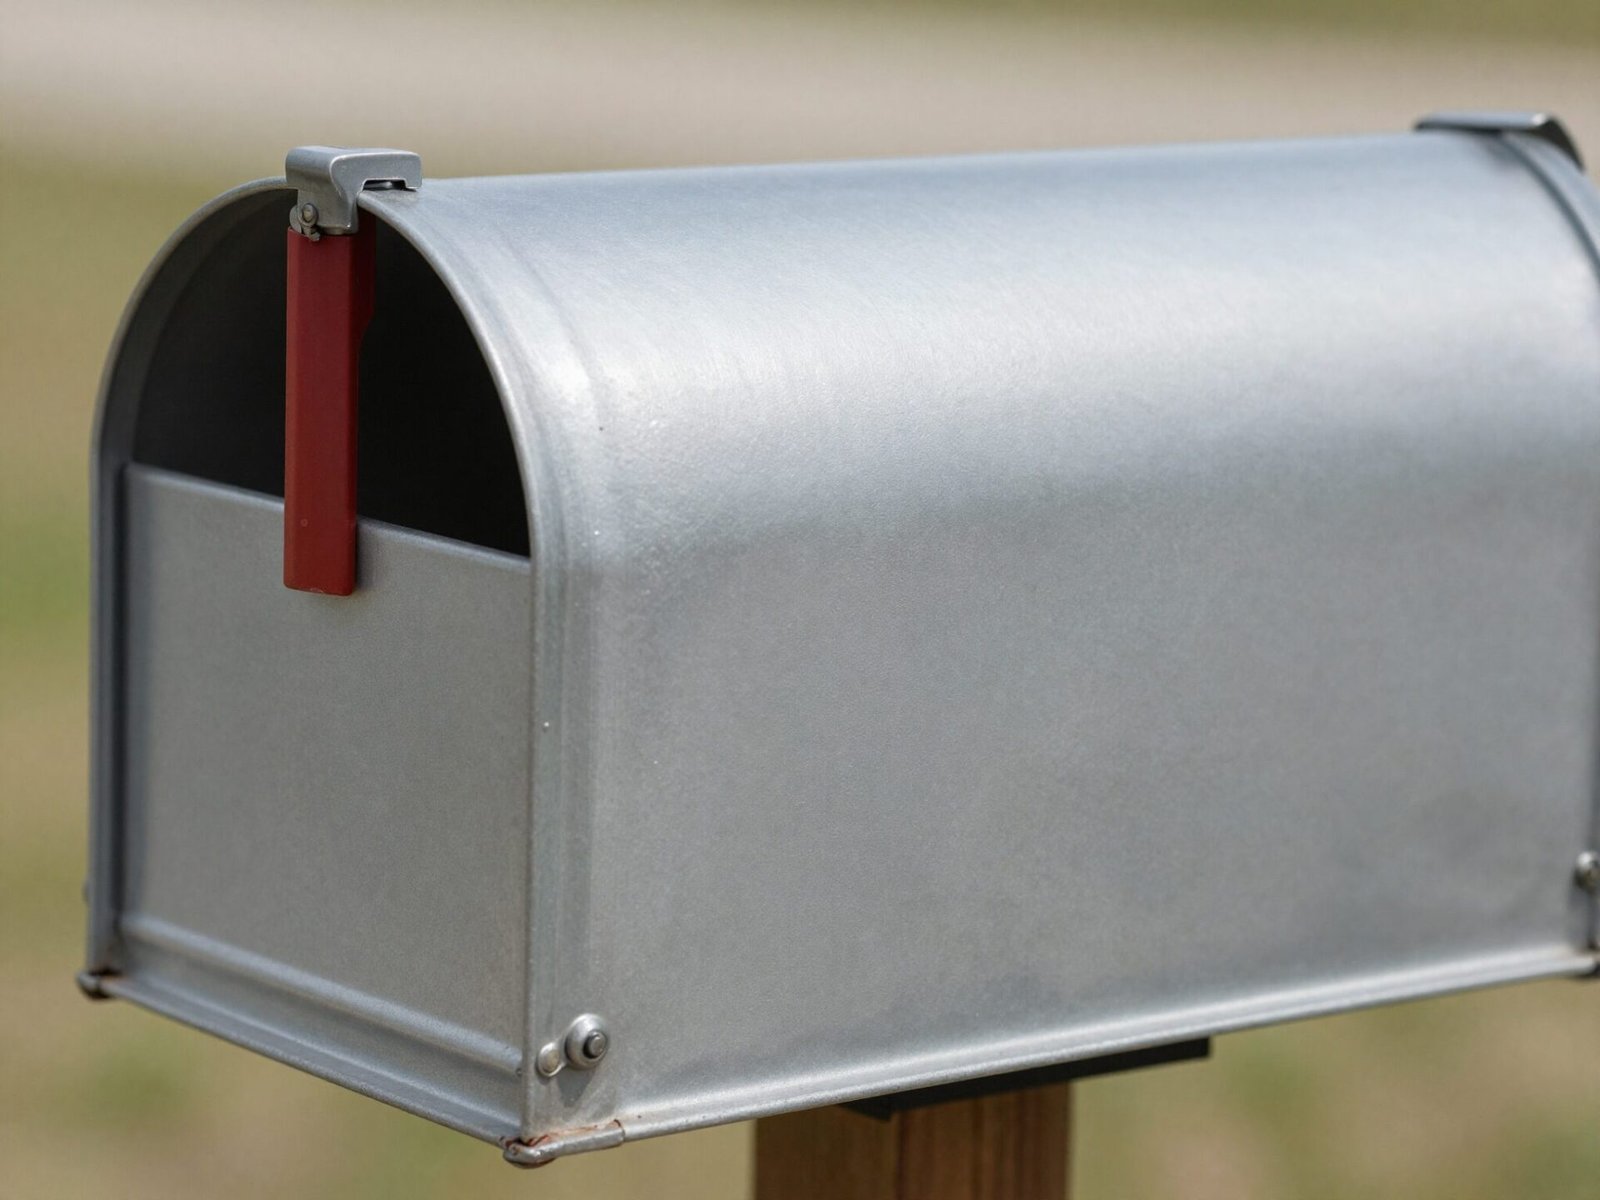
USPS requires mailbox construction from durable, weather-resistant materials, typically approved metal or plastic, while transparent or flammable materials are explicitly prohibited.
This requirement protects both the mail itself from weather damage and ensures the structure holds up safely over years of daily use.
Decorative wood or stone surrounds are generally fine as long as the actual receptacle itself, where mail is placed, meets the approved material standard.
💡 Smart tip: If you want a custom look, build decorative elements around an approved metal or plastic mailbox insert rather than fabricating the entire receptacle from an unapproved material.
⚠️ Mistake to avoid: Don’t use glass, wood, or other flammable materials for the actual mail receptacle, even if it fits the size requirements. Material matters as much as dimensions.
8. Make House Numbers at Least 1 Inch Tall
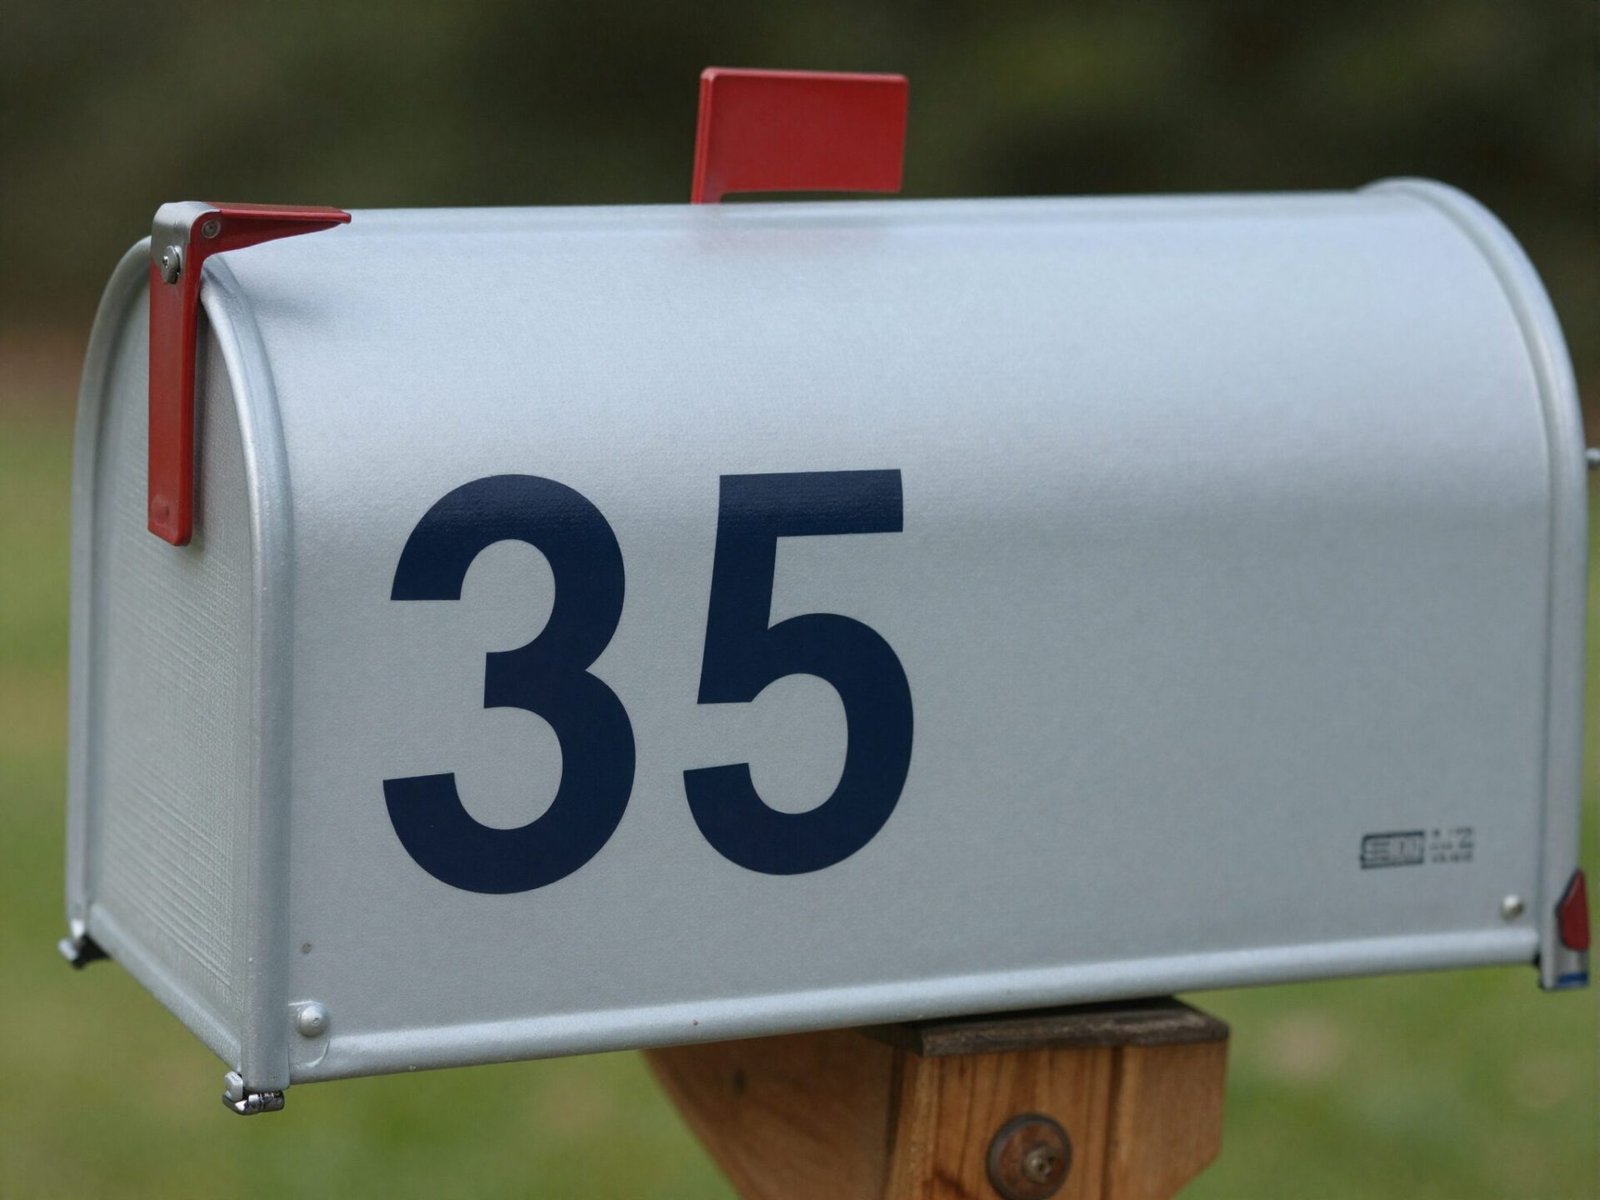
House numbers on or near the mailbox need to be at least 1 inch tall with high contrast against the mailbox’s background color, so a carrier can read them quickly while moving along the route.
Clear numbering isn’t just a USPS preference — it directly speeds up delivery accuracy and reduces misdelivered mail on streets with similar-looking homes or addresses.
This is also one of the easiest and cheapest requirements to meet, usually solvable with a simple set of adhesive or mounted numerals.
💡 Smart tip: Choose a number color that contrasts strongly with your mailbox’s finish — dark numbers on a light box or light numbers on a dark box both read far more clearly than similar tones.
⚠️ Mistake to avoid: Don’t rely on small, decorative numeral styles that prioritize looks over legibility. If a carrier can’t read them at a glance, the requirement isn’t genuinely met.
9. Keep the Post Break-Away for Safety
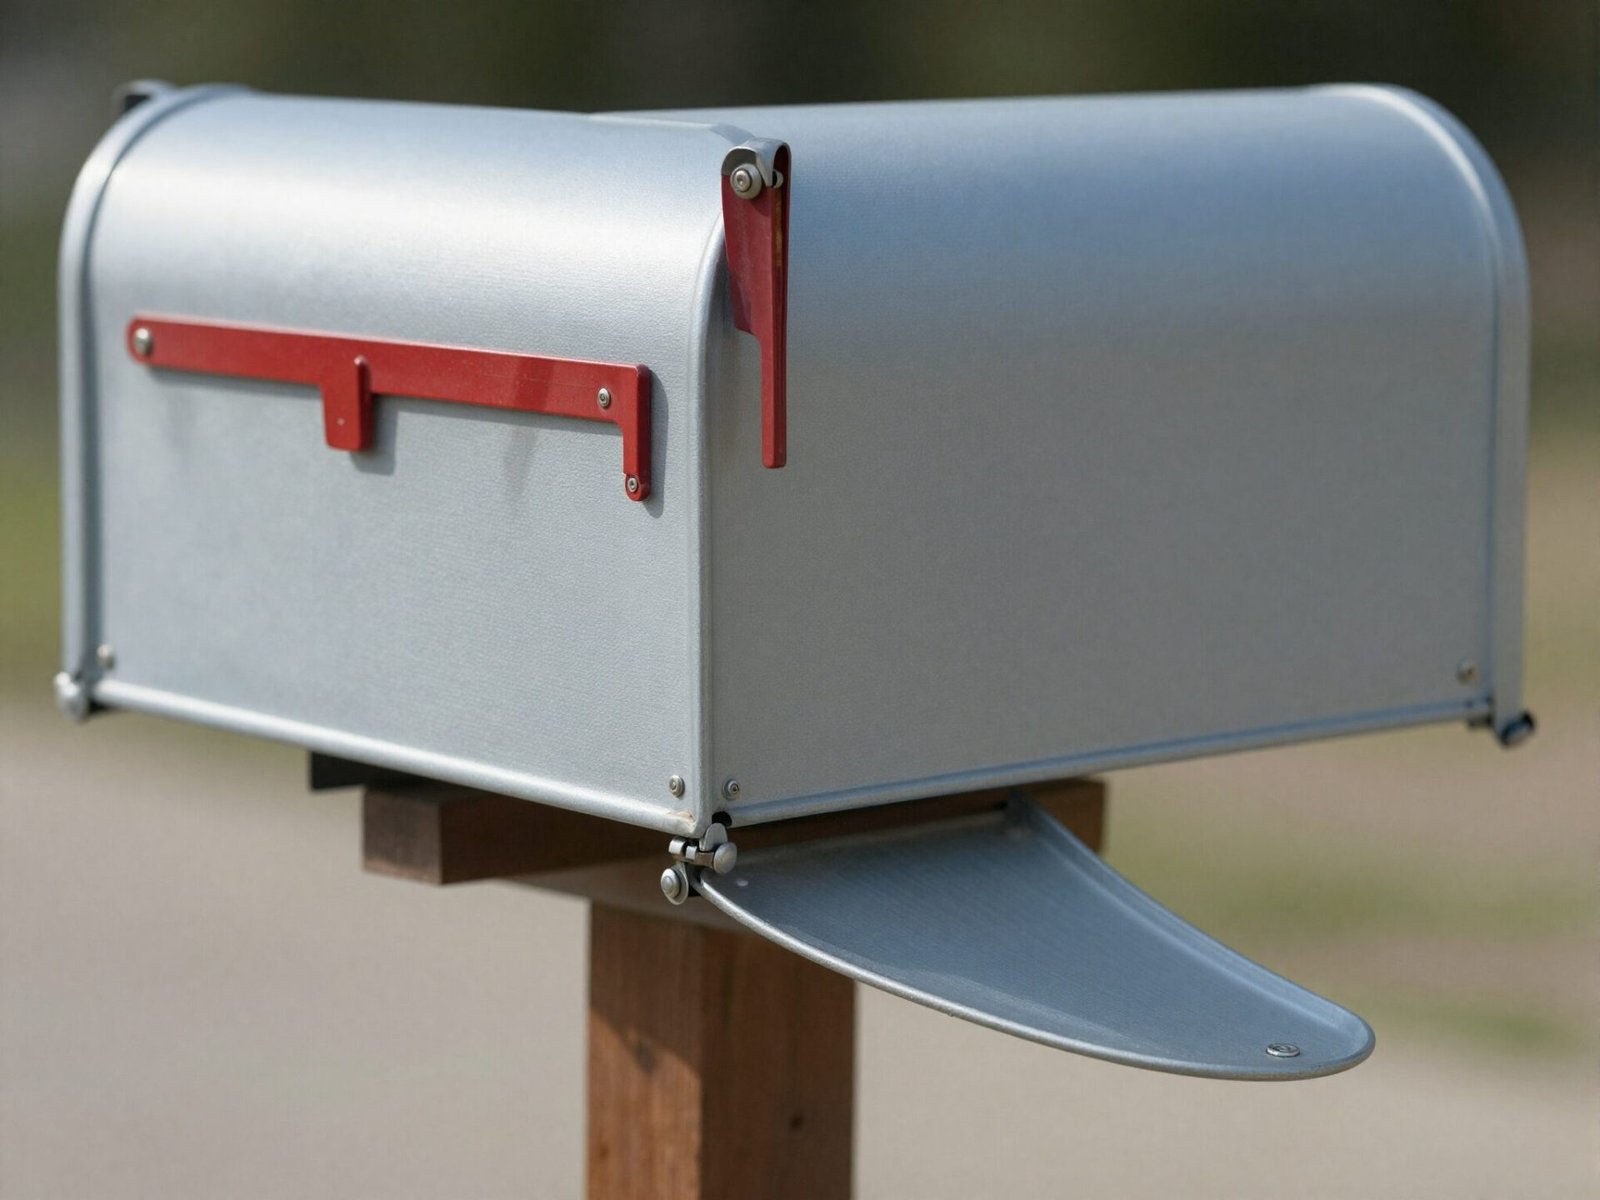
Mailbox post supports are recommended to use a break-away design, meaning the post gives way on impact rather than staying rigidly fixed in the ground.
This matters for accident prevention — a vehicle that veers off the road and strikes a rigid, deeply anchored post is far more likely to suffer serious damage or injury than one hitting a break-away design.
This is one of the safety-oriented standards behind USPS mailbox guidance, separate from the delivery-efficiency reasoning behind height and setback.
💡 Smart tip: If you’re setting a post in concrete for stability, research break-away mounting hardware specifically designed to combine sturdiness with this safety feature.
⚠️ Mistake to avoid: Don’t over-engineer a mailbox post for maximum rigidity. An unnecessarily solid, immovable post can actually increase injury risk in a vehicle collision.
10. Locking Mailboxes Need a Keyless Delivery Slot
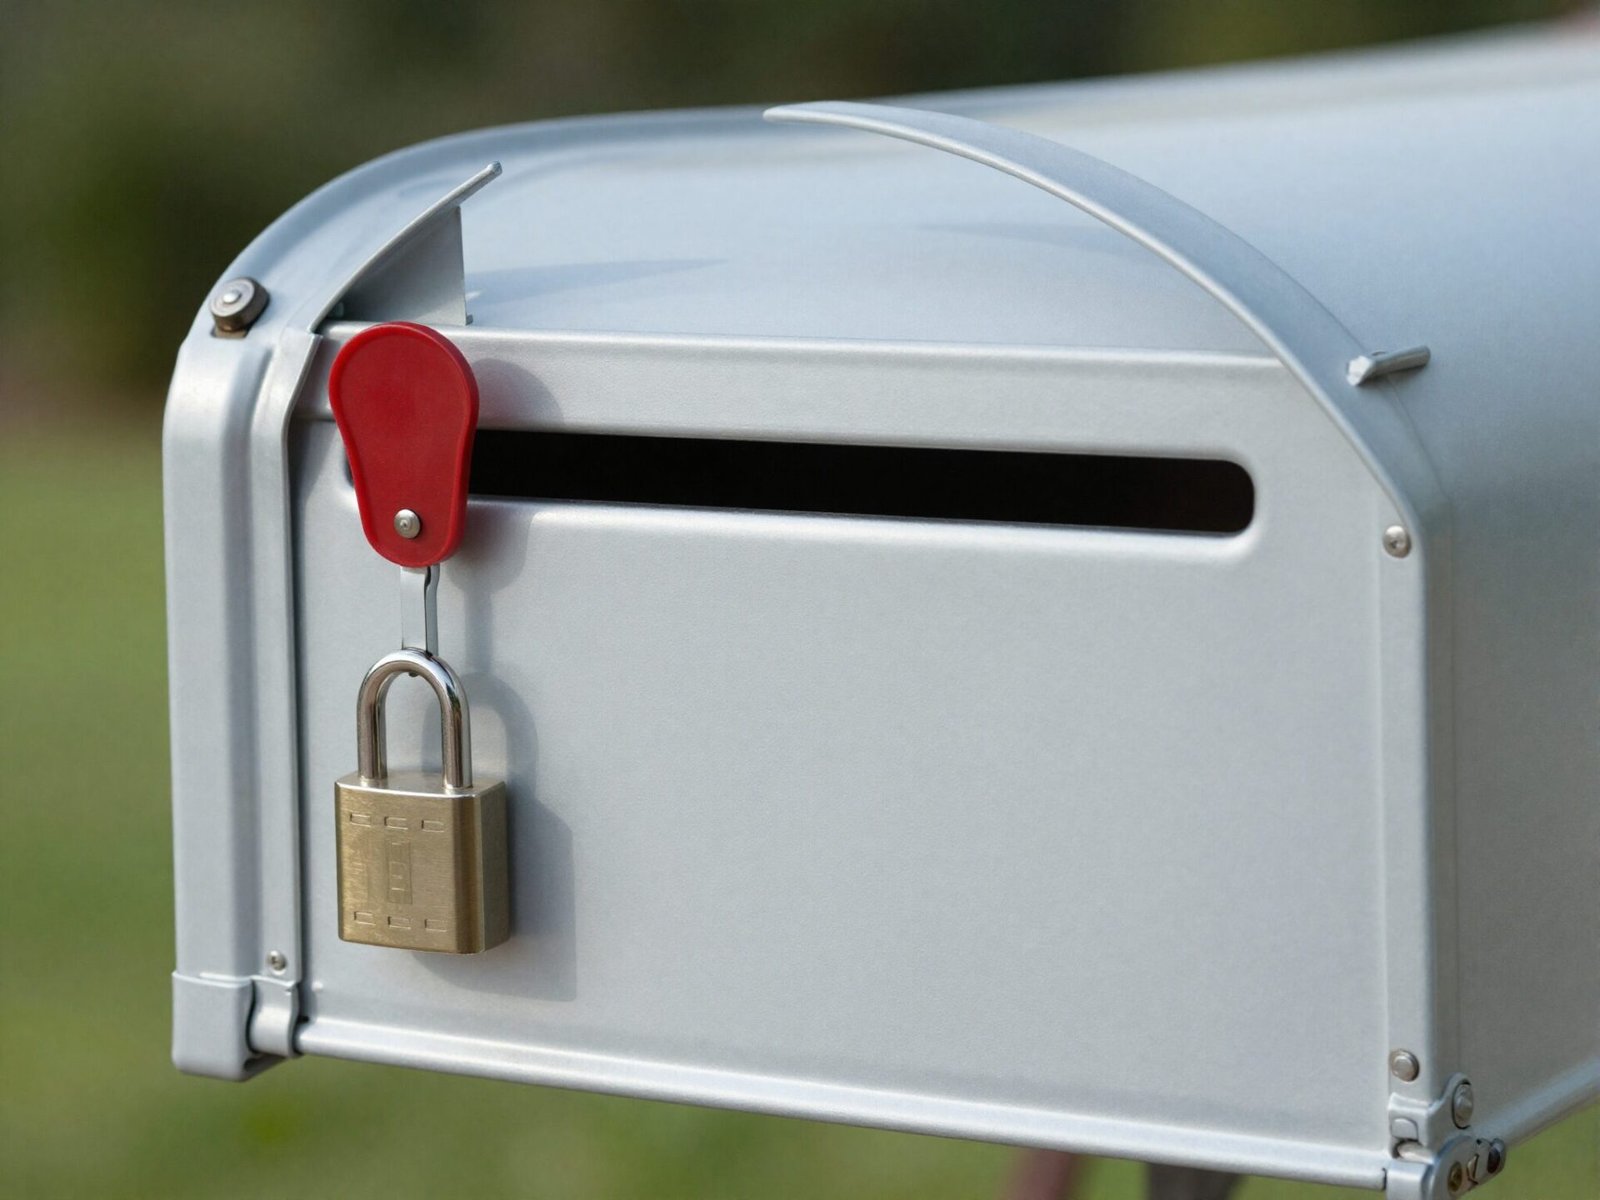
Locking mailboxes are permitted, but only if they include a large enough incoming mail slot that lets the carrier deposit mail without needing a key at all.
This keeps mail secure for the homeowner after delivery while still letting the carrier complete the drop-off without any special access or extra steps.
A locking box without this keyless slot design generally isn’t compliant, since it would require the carrier to have a key or code for every stop on the route.
💡 Smart tip: When shopping for a locking mailbox, confirm the incoming slot size specifically accommodates standard mail and small parcels, not just letters.
⚠️ Mistake to avoid: Don’t install a fully locked mailbox that requires a key for both incoming and outgoing mail. That configuration blocks normal carrier delivery entirely.
11. Account for Slope When Your Yard Isn’t Flat
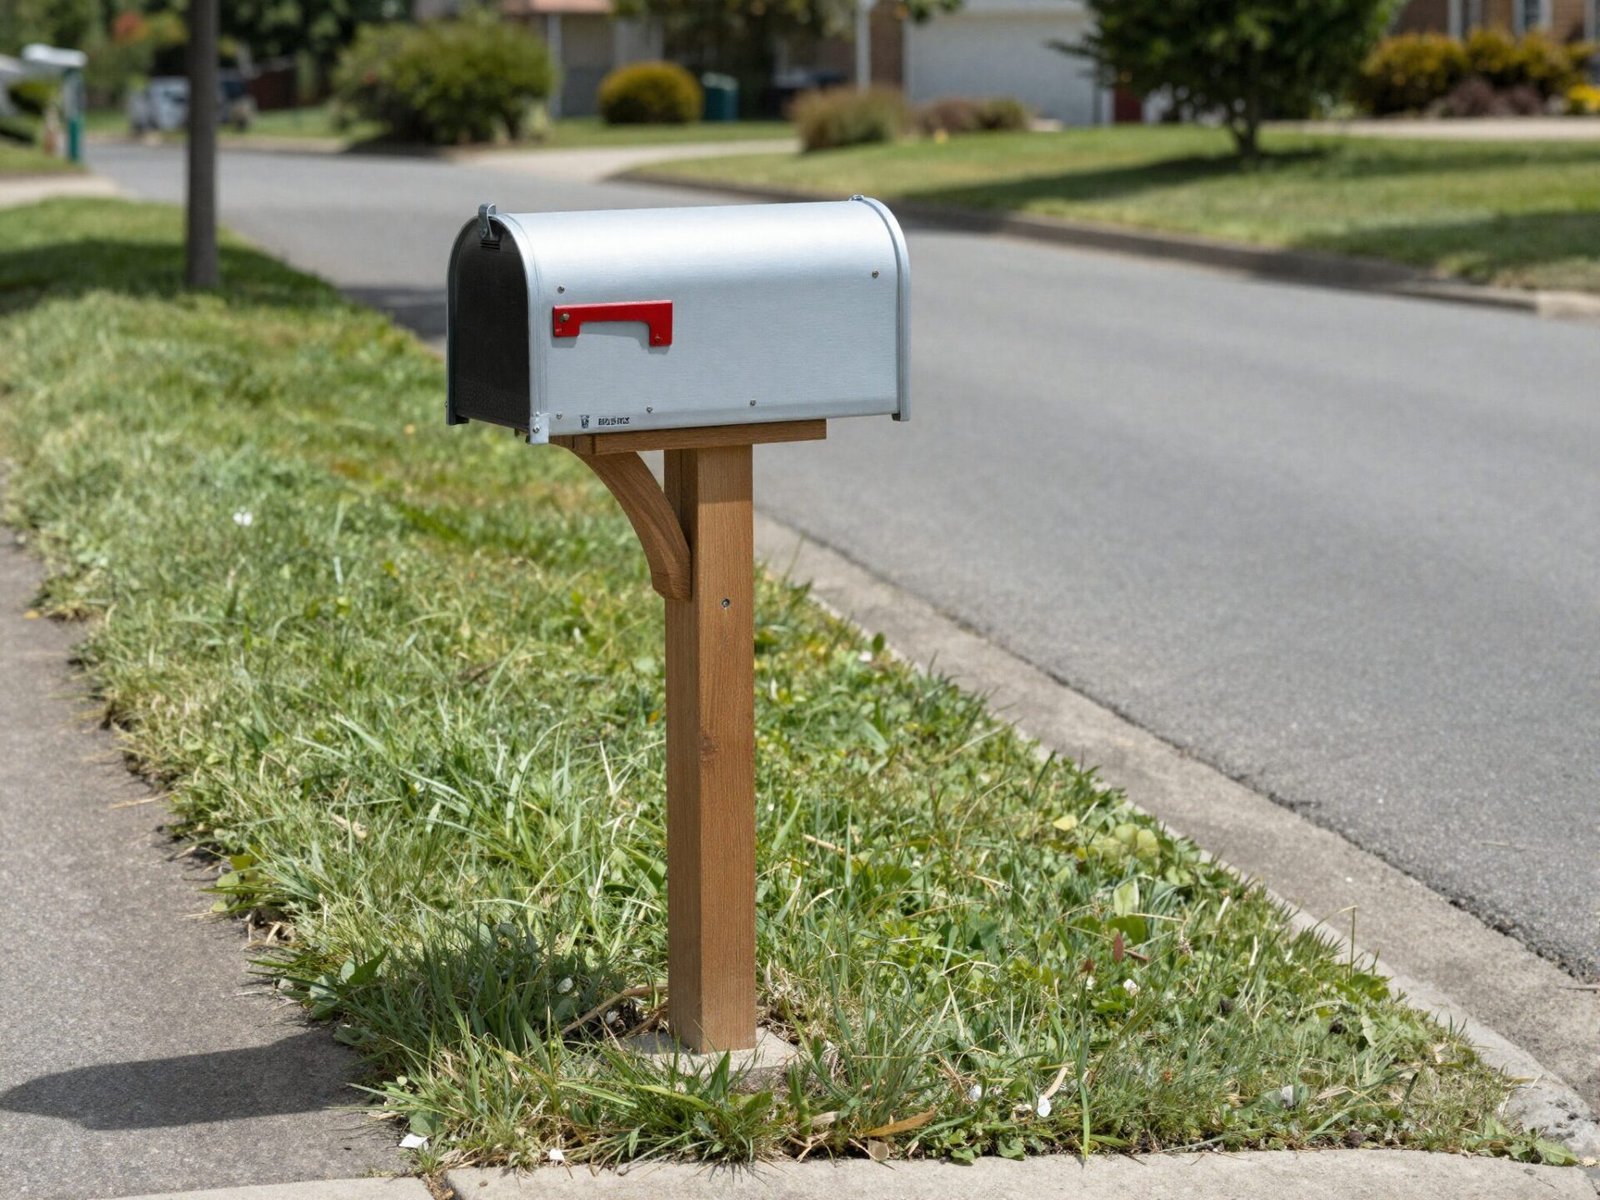
On a sloped property, the post height needed to hit 41-45 inches above the actual road can look noticeably different than it would on a flat lot.
Since the measurement always references the road surface, not the ground at the post’s base, a sloped yard often means a visually taller or shorter post than you’d expect.
This is a common source of confusion during installation, since it’s easy to measure from the ground right at the post instead of the true road-level reference point.
💡 Smart tip: Use a long, straight board or laser level running from the road surface to the post location to get an accurate height reading on a sloped lot.
⚠️ Mistake to avoid: Don’t set a post to a “normal-looking” height by eye on a sloped yard. Measure from actual road level every time, regardless of how it looks visually.
12. ADA-Compliant Height for Cluster and Parcel Lockers
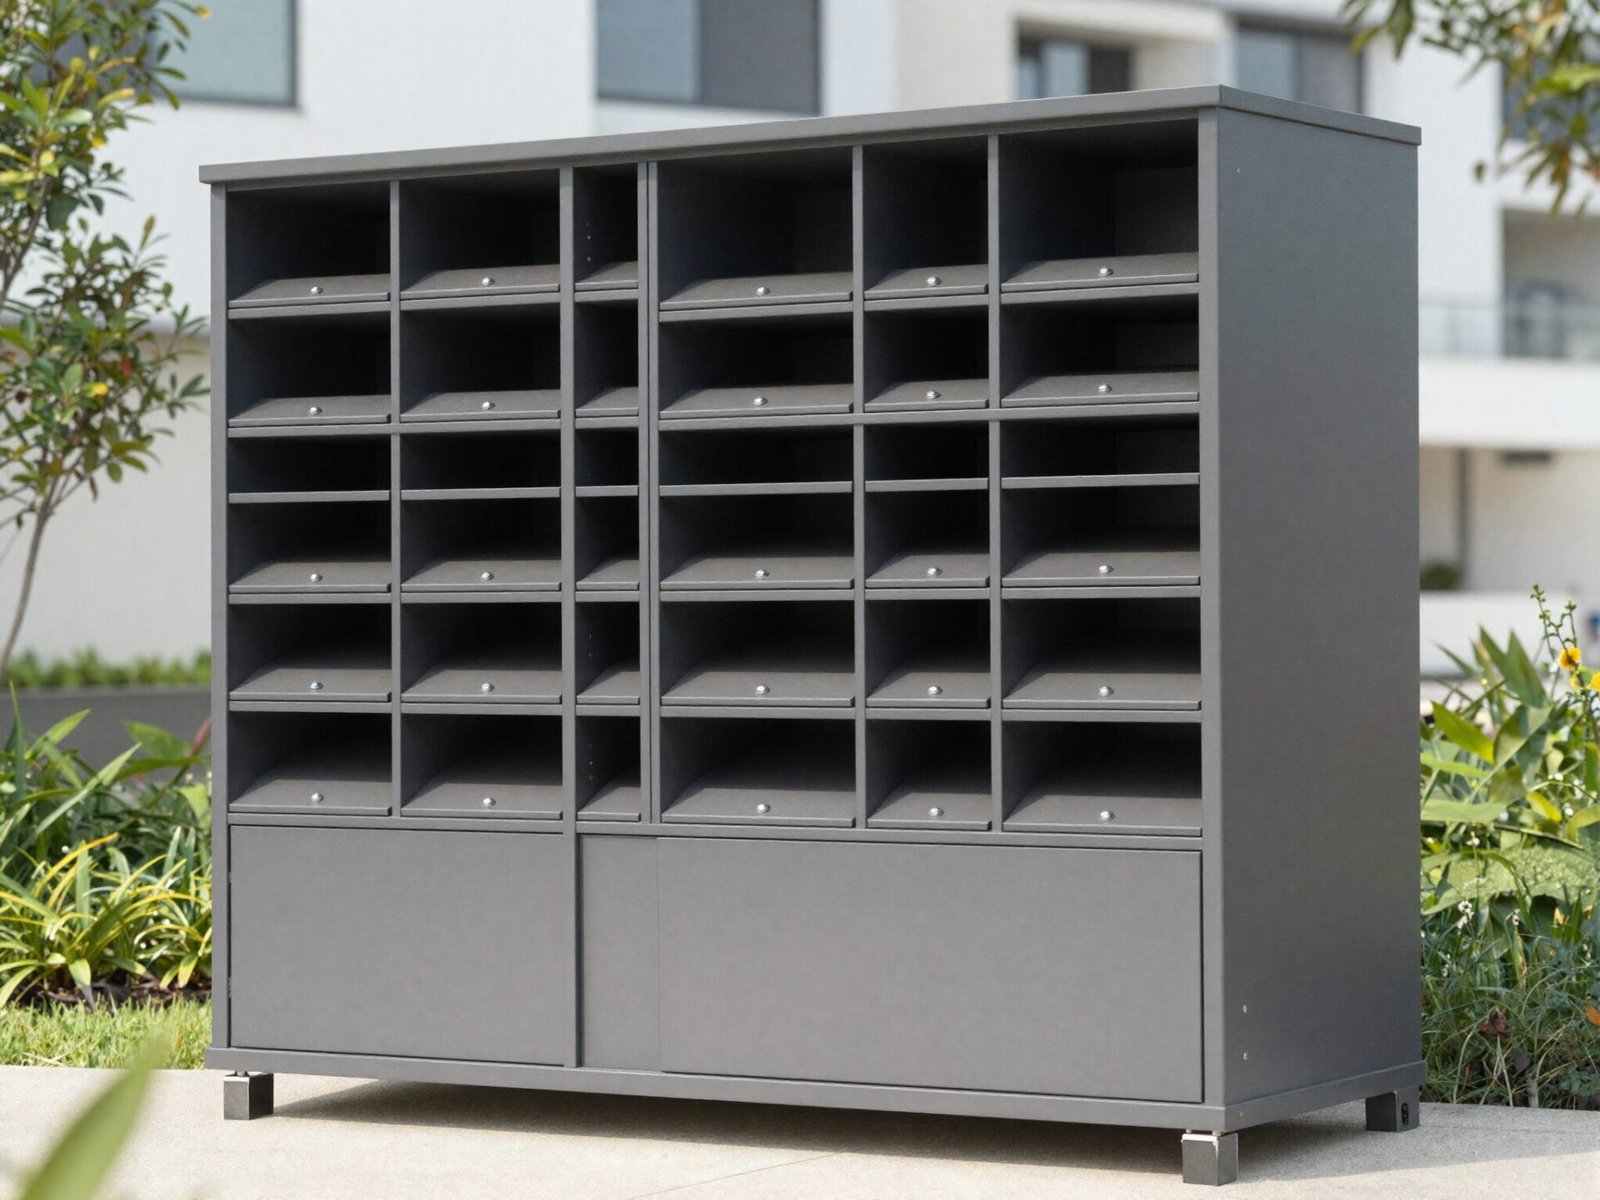
For multi-unit cluster mailboxes and parcel lockers, compartments generally sit between 28 and 67 inches off the ground, with at least one compartment kept at 48 inches or below to satisfy ADA reach requirements.
This differs from single curbside mailbox rules, since a cluster unit serves multiple households and needs accessible options across a range of user heights and abilities.
Parcel lockers within these units generally follow a ratio of at least one locker per five mailbox compartments.
💡 Smart tip: If you’re involved in planning a new multi-family or HOA mailbox installation, contact your local USPS Growth Manager early, since centralized delivery is often mandated for new construction.
⚠️ Mistake to avoid: Don’t apply single curbside mailbox height rules to a cluster box installation. The compartment range and ADA accessibility requirements are genuinely different standards.
13. Common Mailbox Installation Mistakes
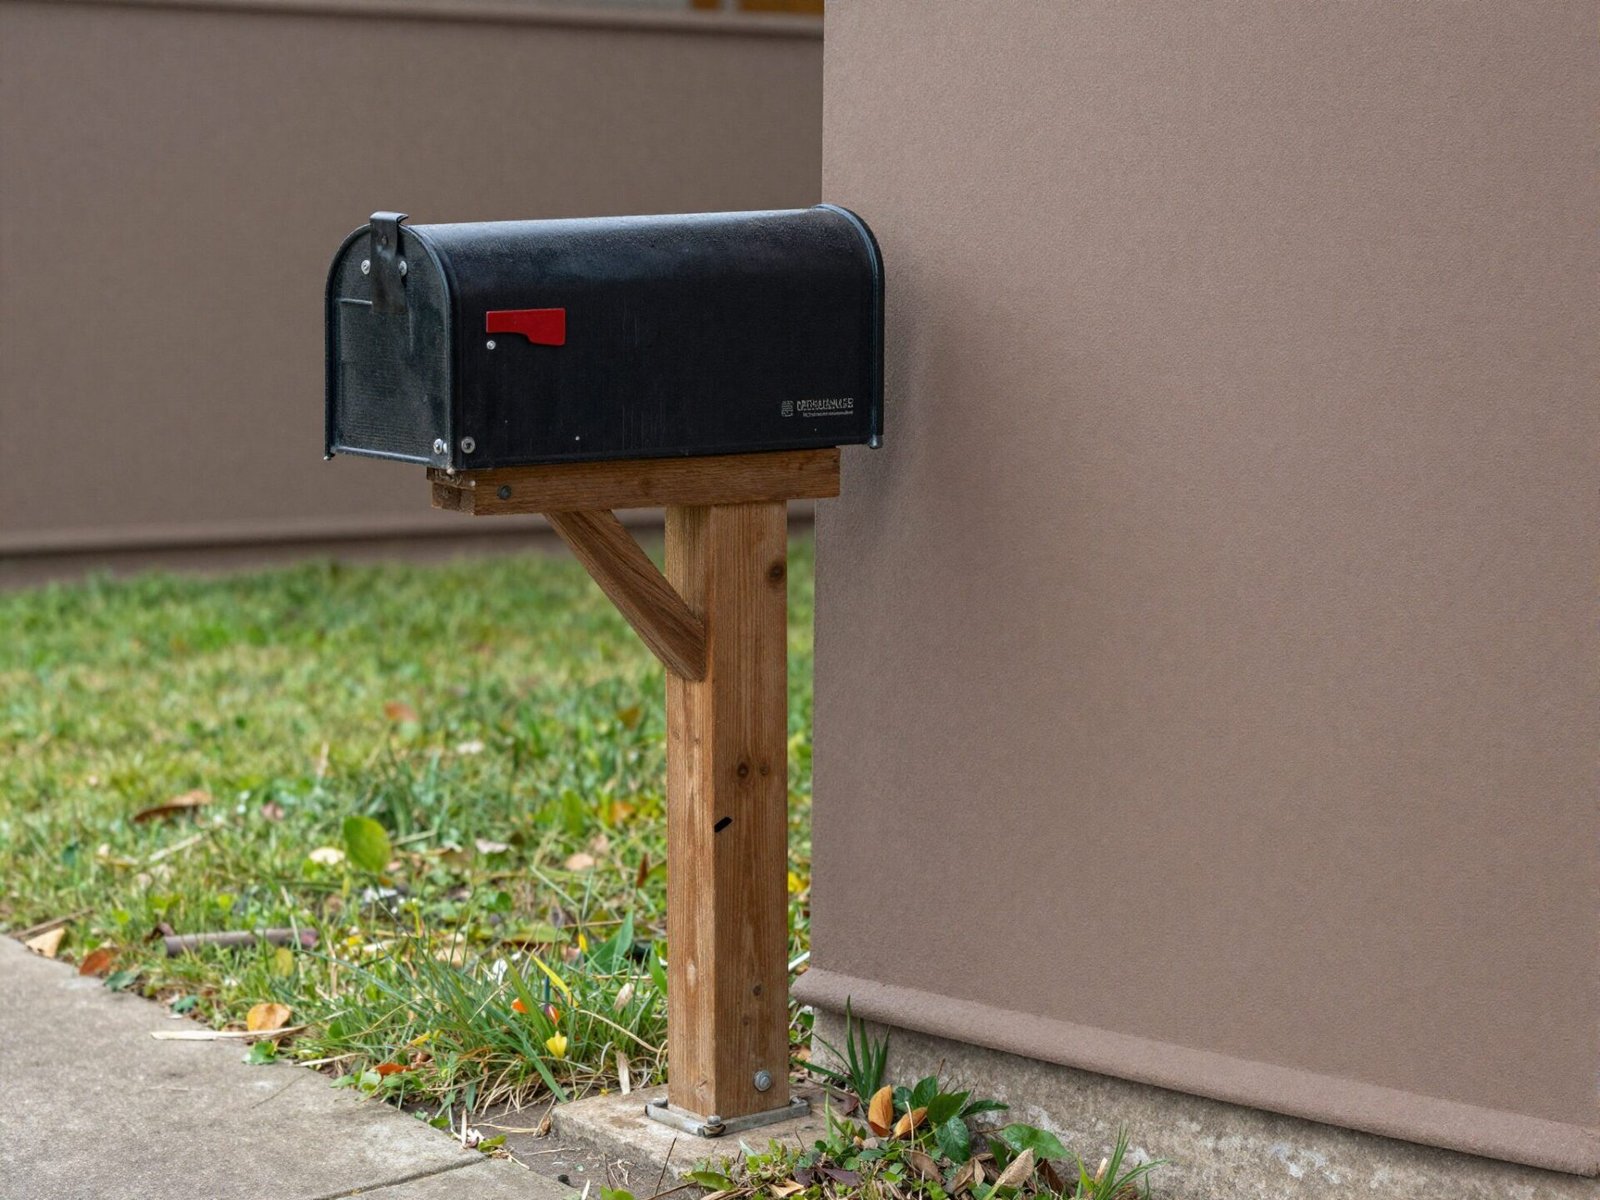
A handful of mistakes account for most mailbox compliance issues, and nearly all of them come down to skipping a measurement rather than any real complexity in the rules.
Measuring height from the lawn instead of the actual road surface is the most common error, followed closely by neglecting the post over time until it leans or sags out of range.
Choosing an attractive but non-approved mailbox design, and forgetting that setback is measured to the door rather than the post, round out the frequent issues.
💡 Smart tip: Re-check your mailbox’s height and setback annually, especially after winter freeze-thaw cycles that can shift posts gradually over time.
⚠️ Mistake to avoid: Don’t assume a mailbox installed correctly years ago is still compliant today. Posts settle, lean, and shift, and small changes can push measurements outside the required range.
Effort & Cost Snapshot
| Idea | Effort | Approx. Cost |
|---|---|---|
| 1. Height (41-45 in) | Medium | $0 (adjustment) |
| 2. Setback (6-8 in) | Low | $0 |
| 3. Measuring from Road Level | Low | $0 |
| 4. Size Limits | Low | $40–$150 (mailbox) |
| 5. PMG-Approved Mailbox | Low | $40–$200 |
| 6. Correct Side Placement | Low | $0 |
| 7. Durable Approved Materials | Low | $40–$150 |
| 8. 1-Inch House Numbers | Low | $10–$40 |
| 9. Break-Away Post | Medium | $30–$100 |
| 10. Locking Mailbox with Slot | Medium | $100–$400 |
| 11. Adjusting for Sloped Yards | Medium | $0 (planning) |
| 12. ADA Cluster Box Compliance | High | $1,000–$5,000+ |
| 13. Avoiding Installation Mistakes | Low | $0 |
Every rule in this guide serves a real, practical purpose: carrier safety, delivery efficiency, or accessibility, not arbitrary bureaucracy.
Get the height and setback right first, since those two measurements alone resolve the vast majority of mailbox compliance issues homeowners run into.
Continue Your Home Transformation
Explore the full collection of step-by-step eBooks and get the guide that fits the room you're working on.